OBSTACLE COURSE : MAKING INTELLIGENCE
obstacle 1: personal makers mark
[ design a 2"x 2" personal identity mark ]
A preliminary iteration highlighting my initials lacked clarity and a resemblance to my design aesthetic. I also found little personal significance to labeling myself as a designer simply with my initials. This realization led me to use my last name, Muse. The connection:
1.) a family line of artists and architects &
2.) its definition (with a level of modest, serendipitous irony)
v. "to think or meditate on an object" n."any goddess presiding over a particular art"
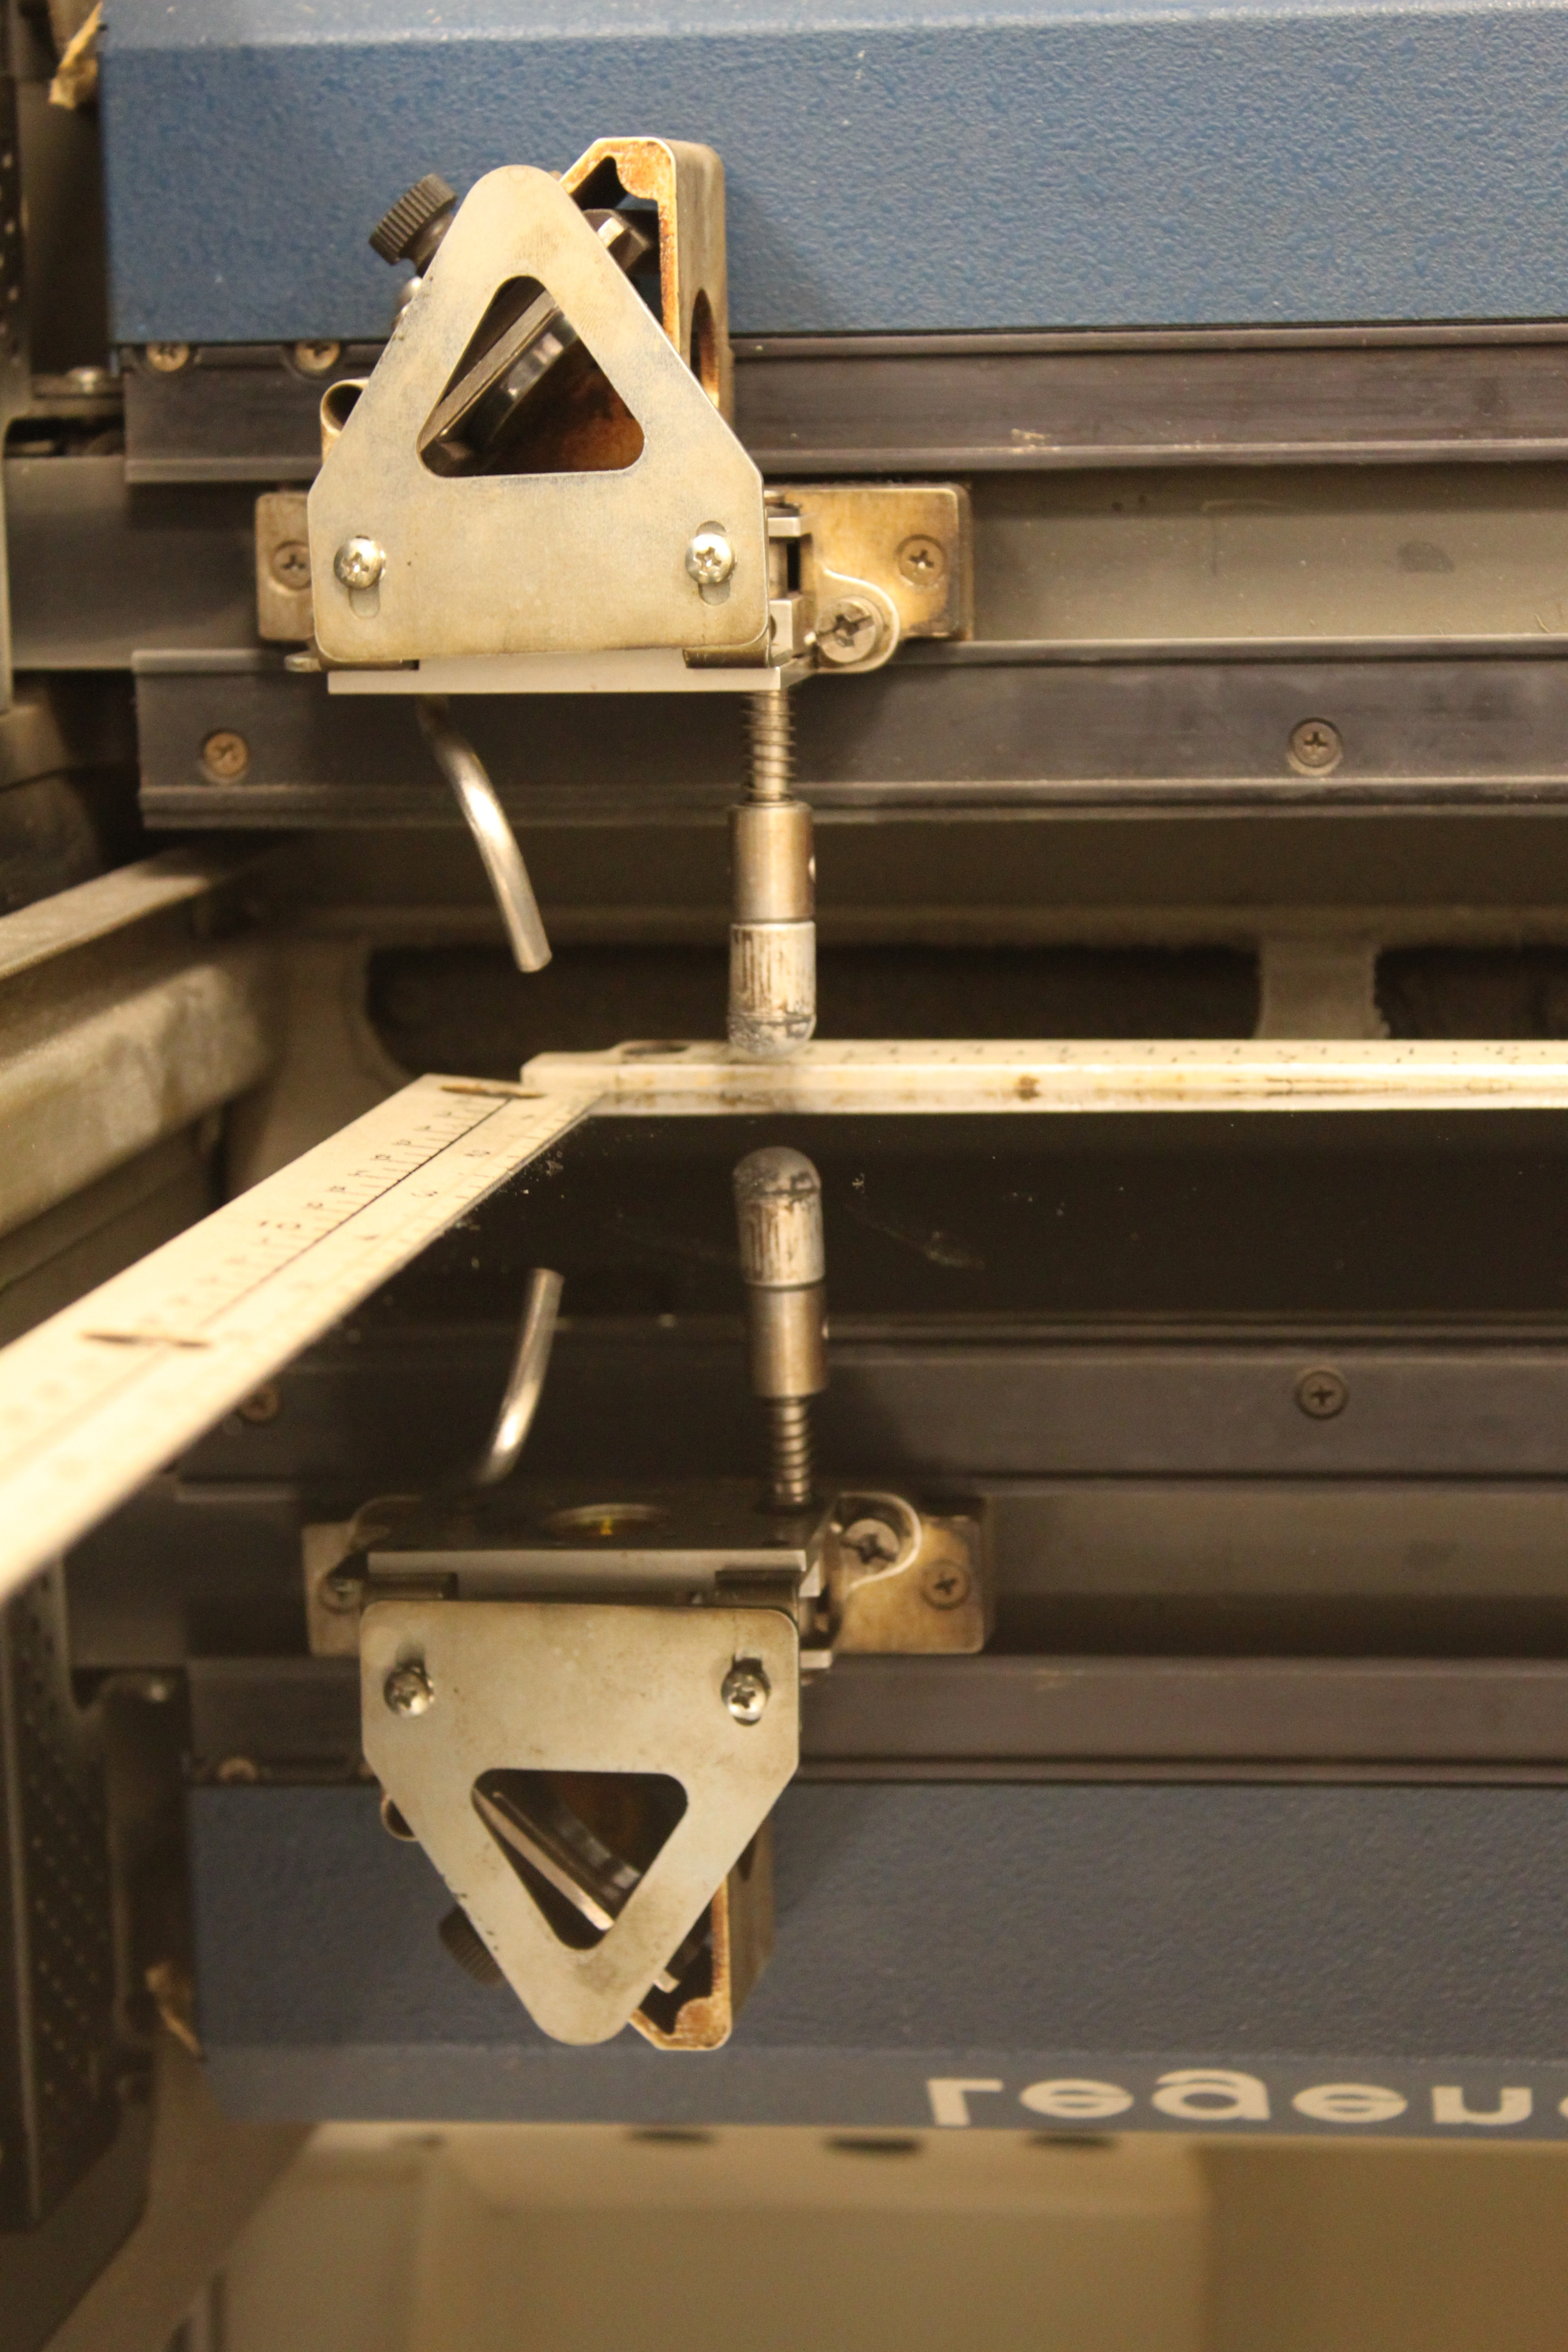
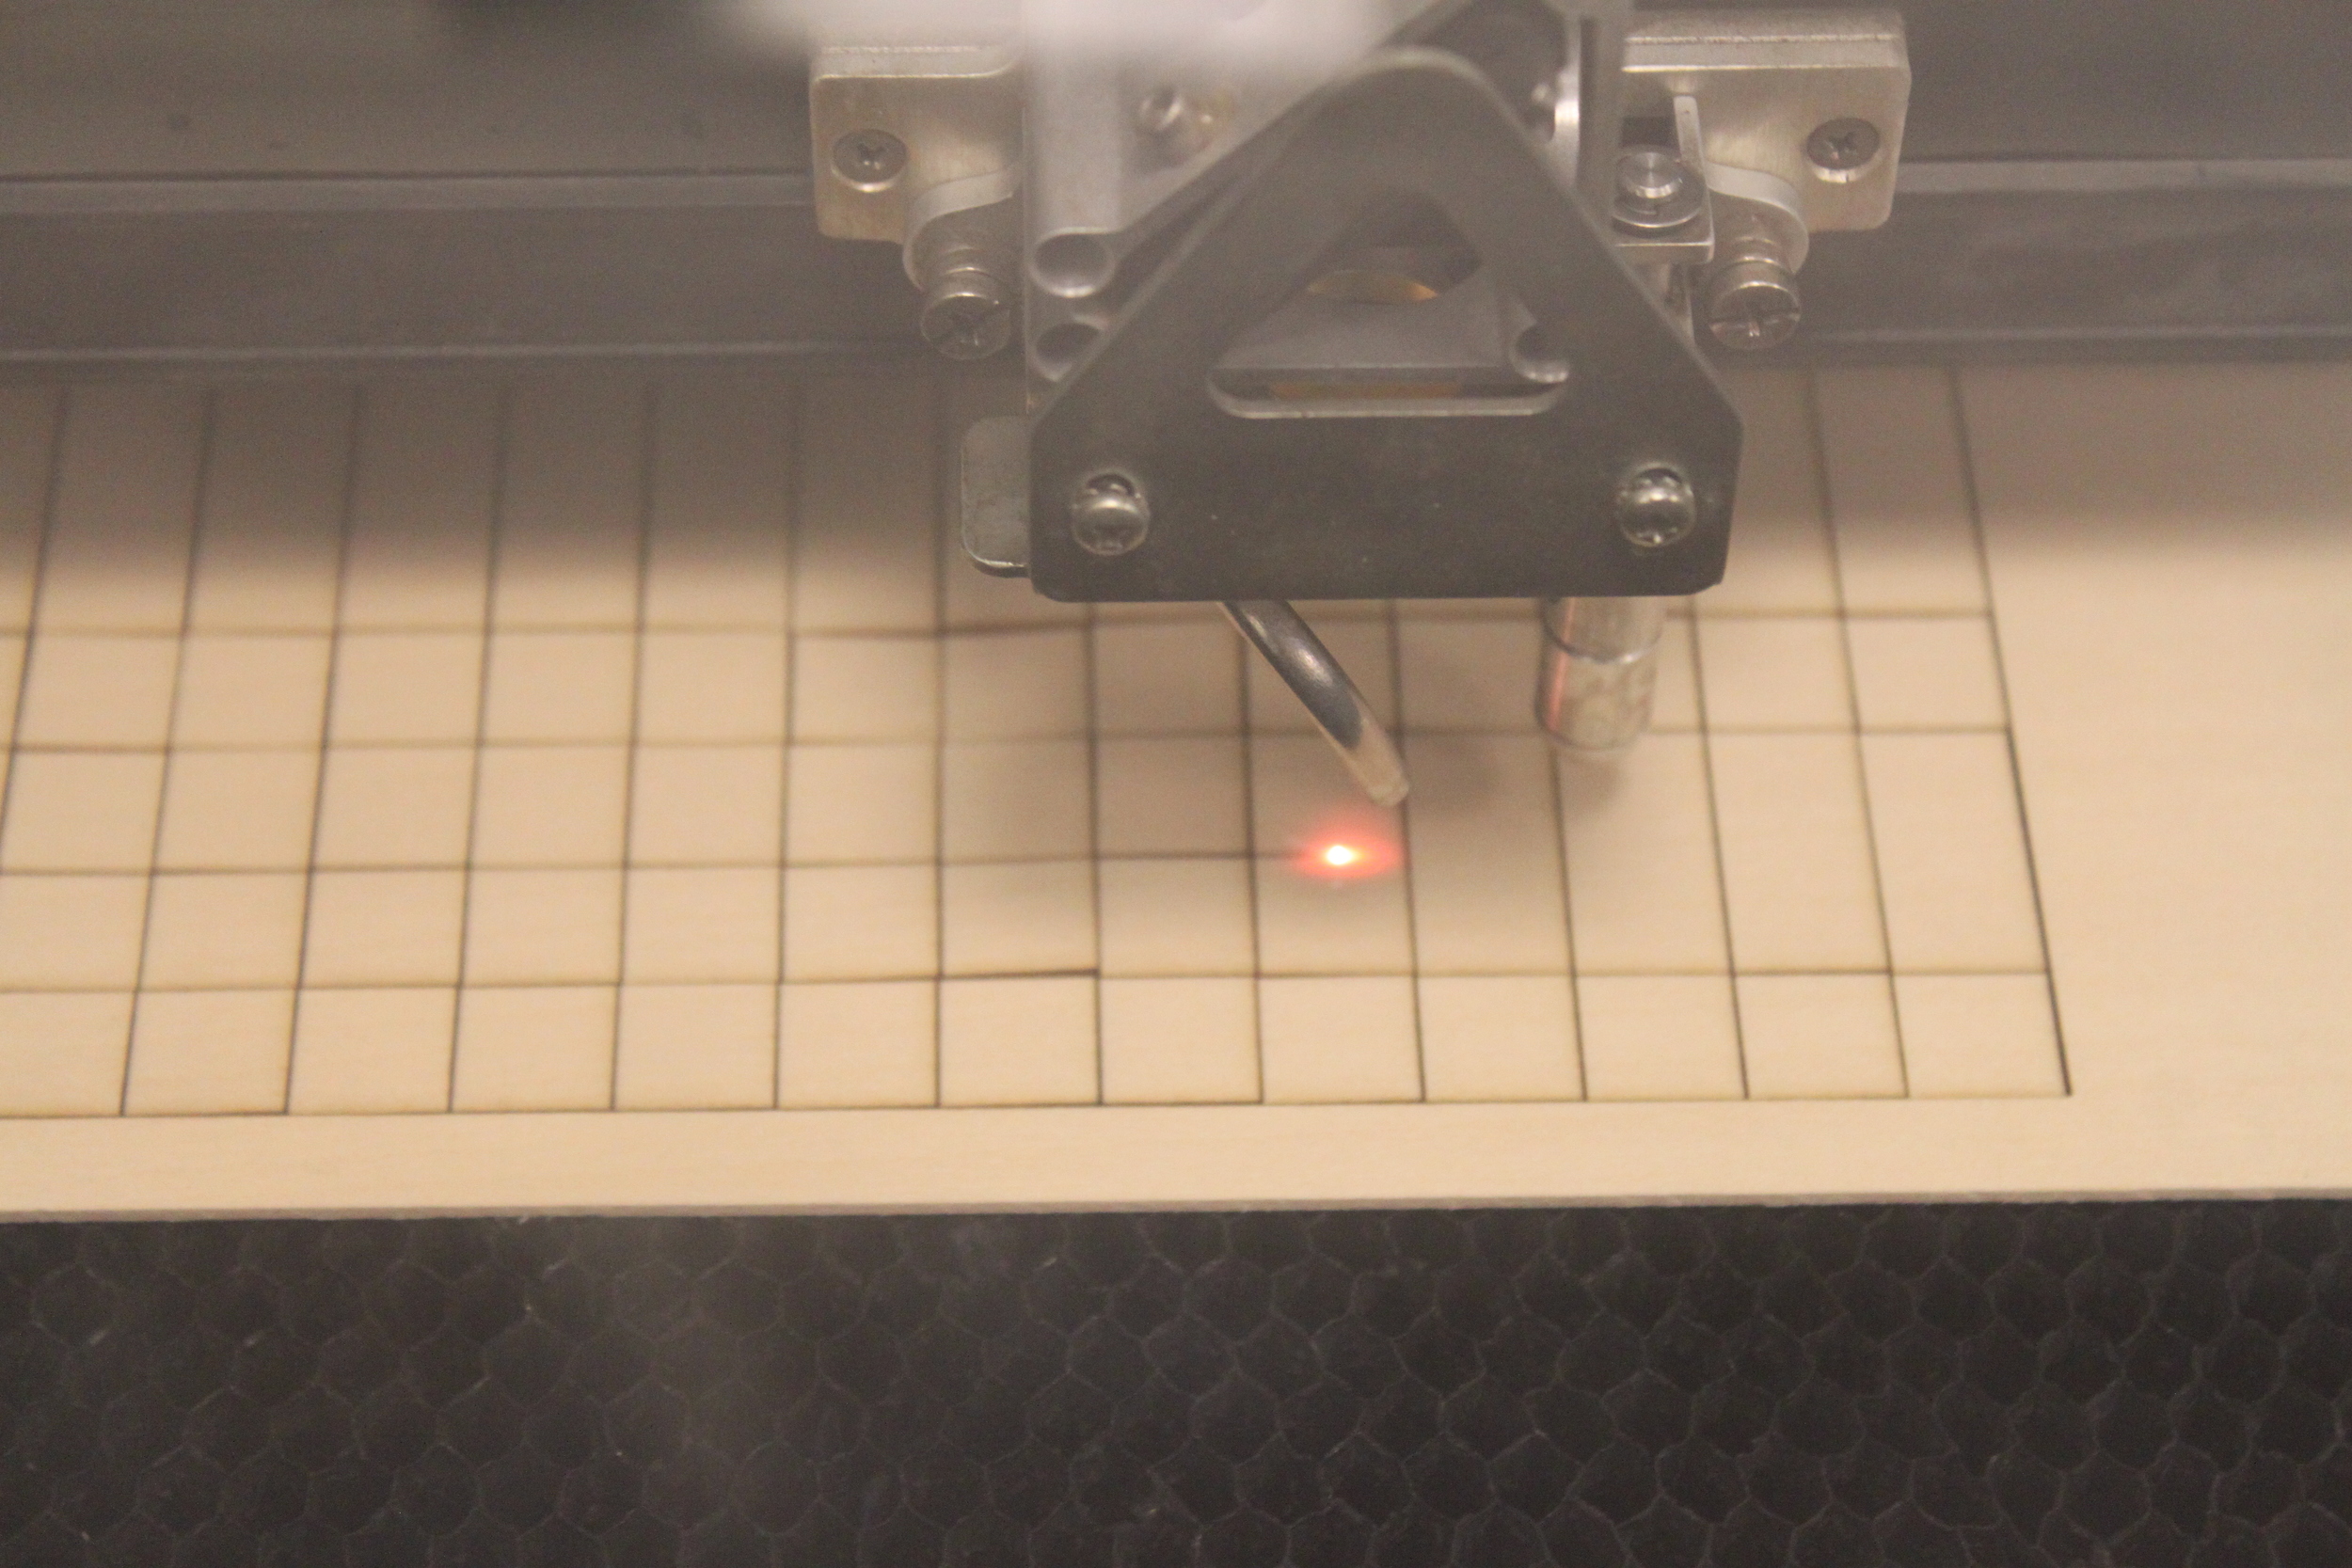
obstacle 2: translating concept to reality
[ utilize a specialty rubber sheet to translate the digital logo file into a physical rubber stamper. create a handle for the rubber ]
The physical stamp was made from recycled wood using a band saw and belt sander. The sander brought out the natural beauty of the grain of the wood, originally discarded for the defects. The logo was laser cut to mark to front of the block and the rubber reflected image of the logo was glued to the bottom.
obstacle 3: "do bend, fold, or mutilate" (to resist gravity)
[ hold a block 20" away from a vertically mounted piece of form core using only one deck of cards. cards can be cut or folded but their integrity must remain in tact and no glue or adhesive may be used ]
process : 1. test ways two cards can join 2. experimented and developed spatial module 3. connected modules together 4. created support cable out of remaining cards to hold weight of block off wall
challenges : using every card and having to balance the block on the edge of the structure rather than creating a pocket with extra cards
result : an architectural solution to the problem of a sturdy arm like structure that worked in compression horizontally on a surface but needed tension to work vertically off a wall. an unusual level of knowledge about connecting cards, a potential new party trick.
process : module developed
obstacle 4: relationship in balance (leveraging gravity)
[ given two identical MDF blocks, balance one block 2" off of a table horizontally while the other rests vertically on the table meeting the edge. no material can be built between the blocks ends but can surround them ]
materials : 1/4" acrylic sheet, 1/4" & 1/8" acrylic rods
process : 1. select a material to counter weight the levitating block 2. use a similar system to ground the back end of the block on the table 3. drill holes in the blocks 4. use a heat gun to bend the rods and connect the blocks with the acrylic
challenges : material qualities of the rods, they were very responsive to temperature change and snapped often.
result : a translation of a system responding to both blocks and connecting them in perfect balance. a fair amount of money spent on acrylic that produced an interesting window feature until the temperature outside the window dropped and the rods snapped.
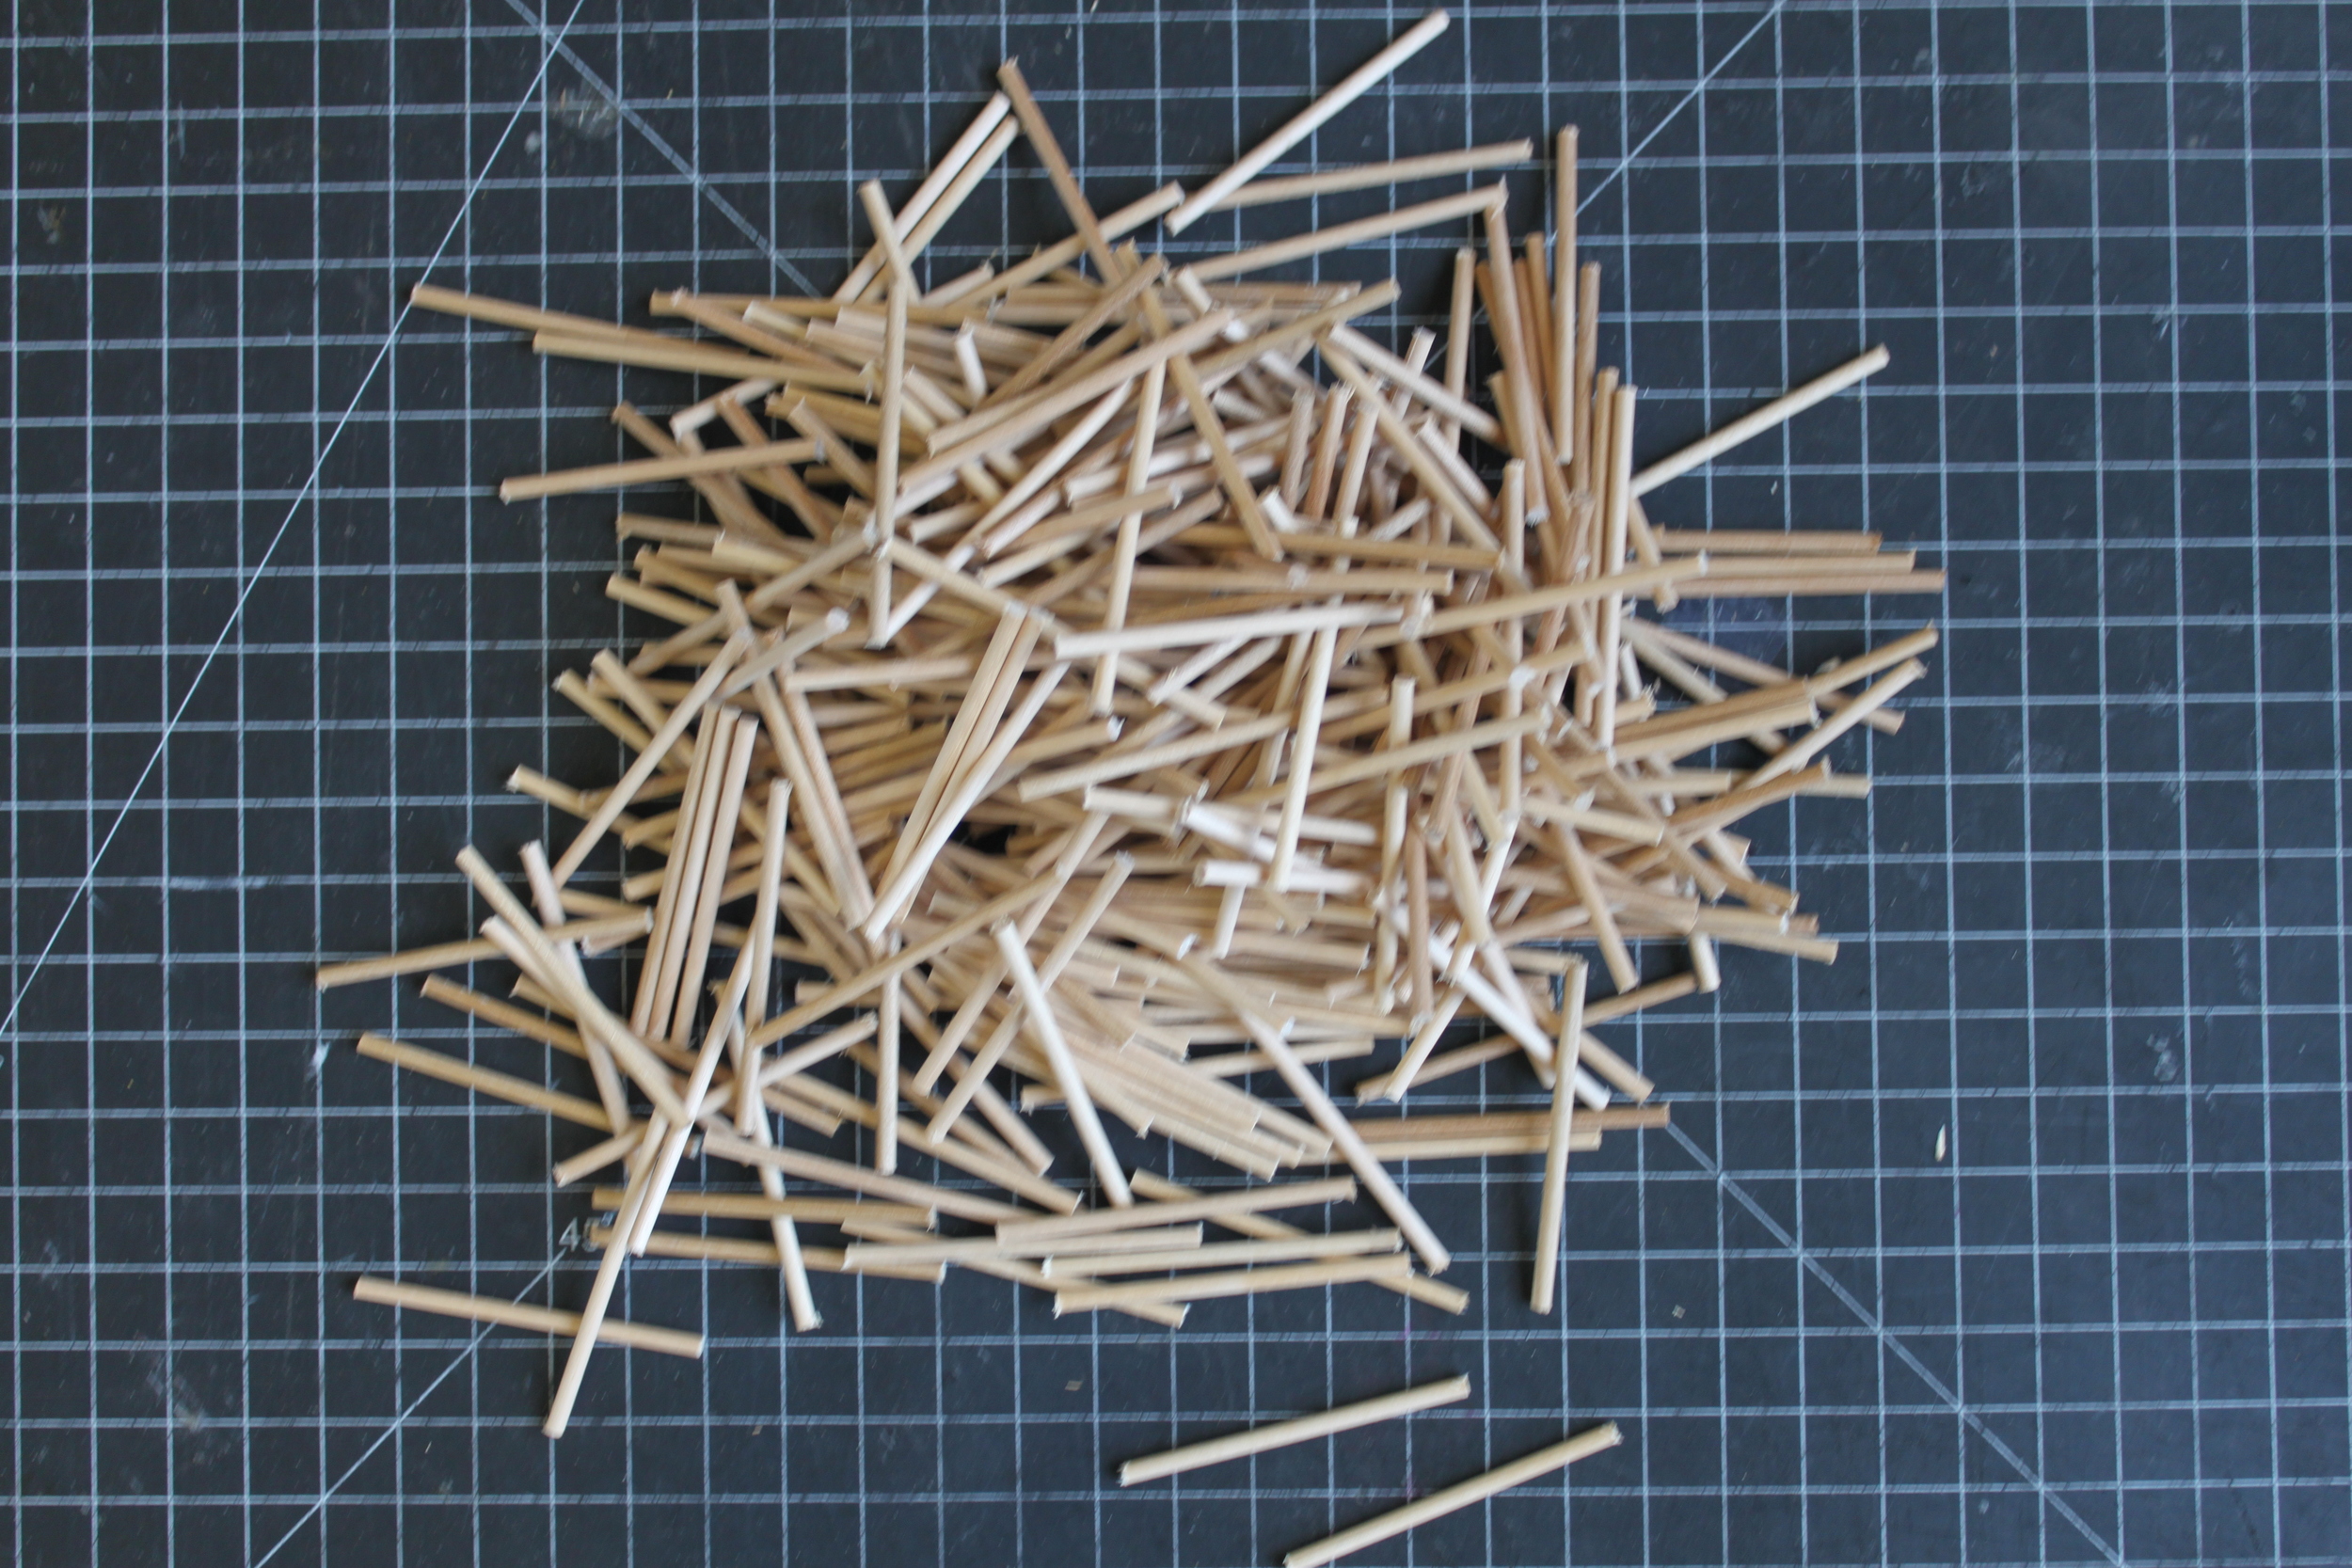
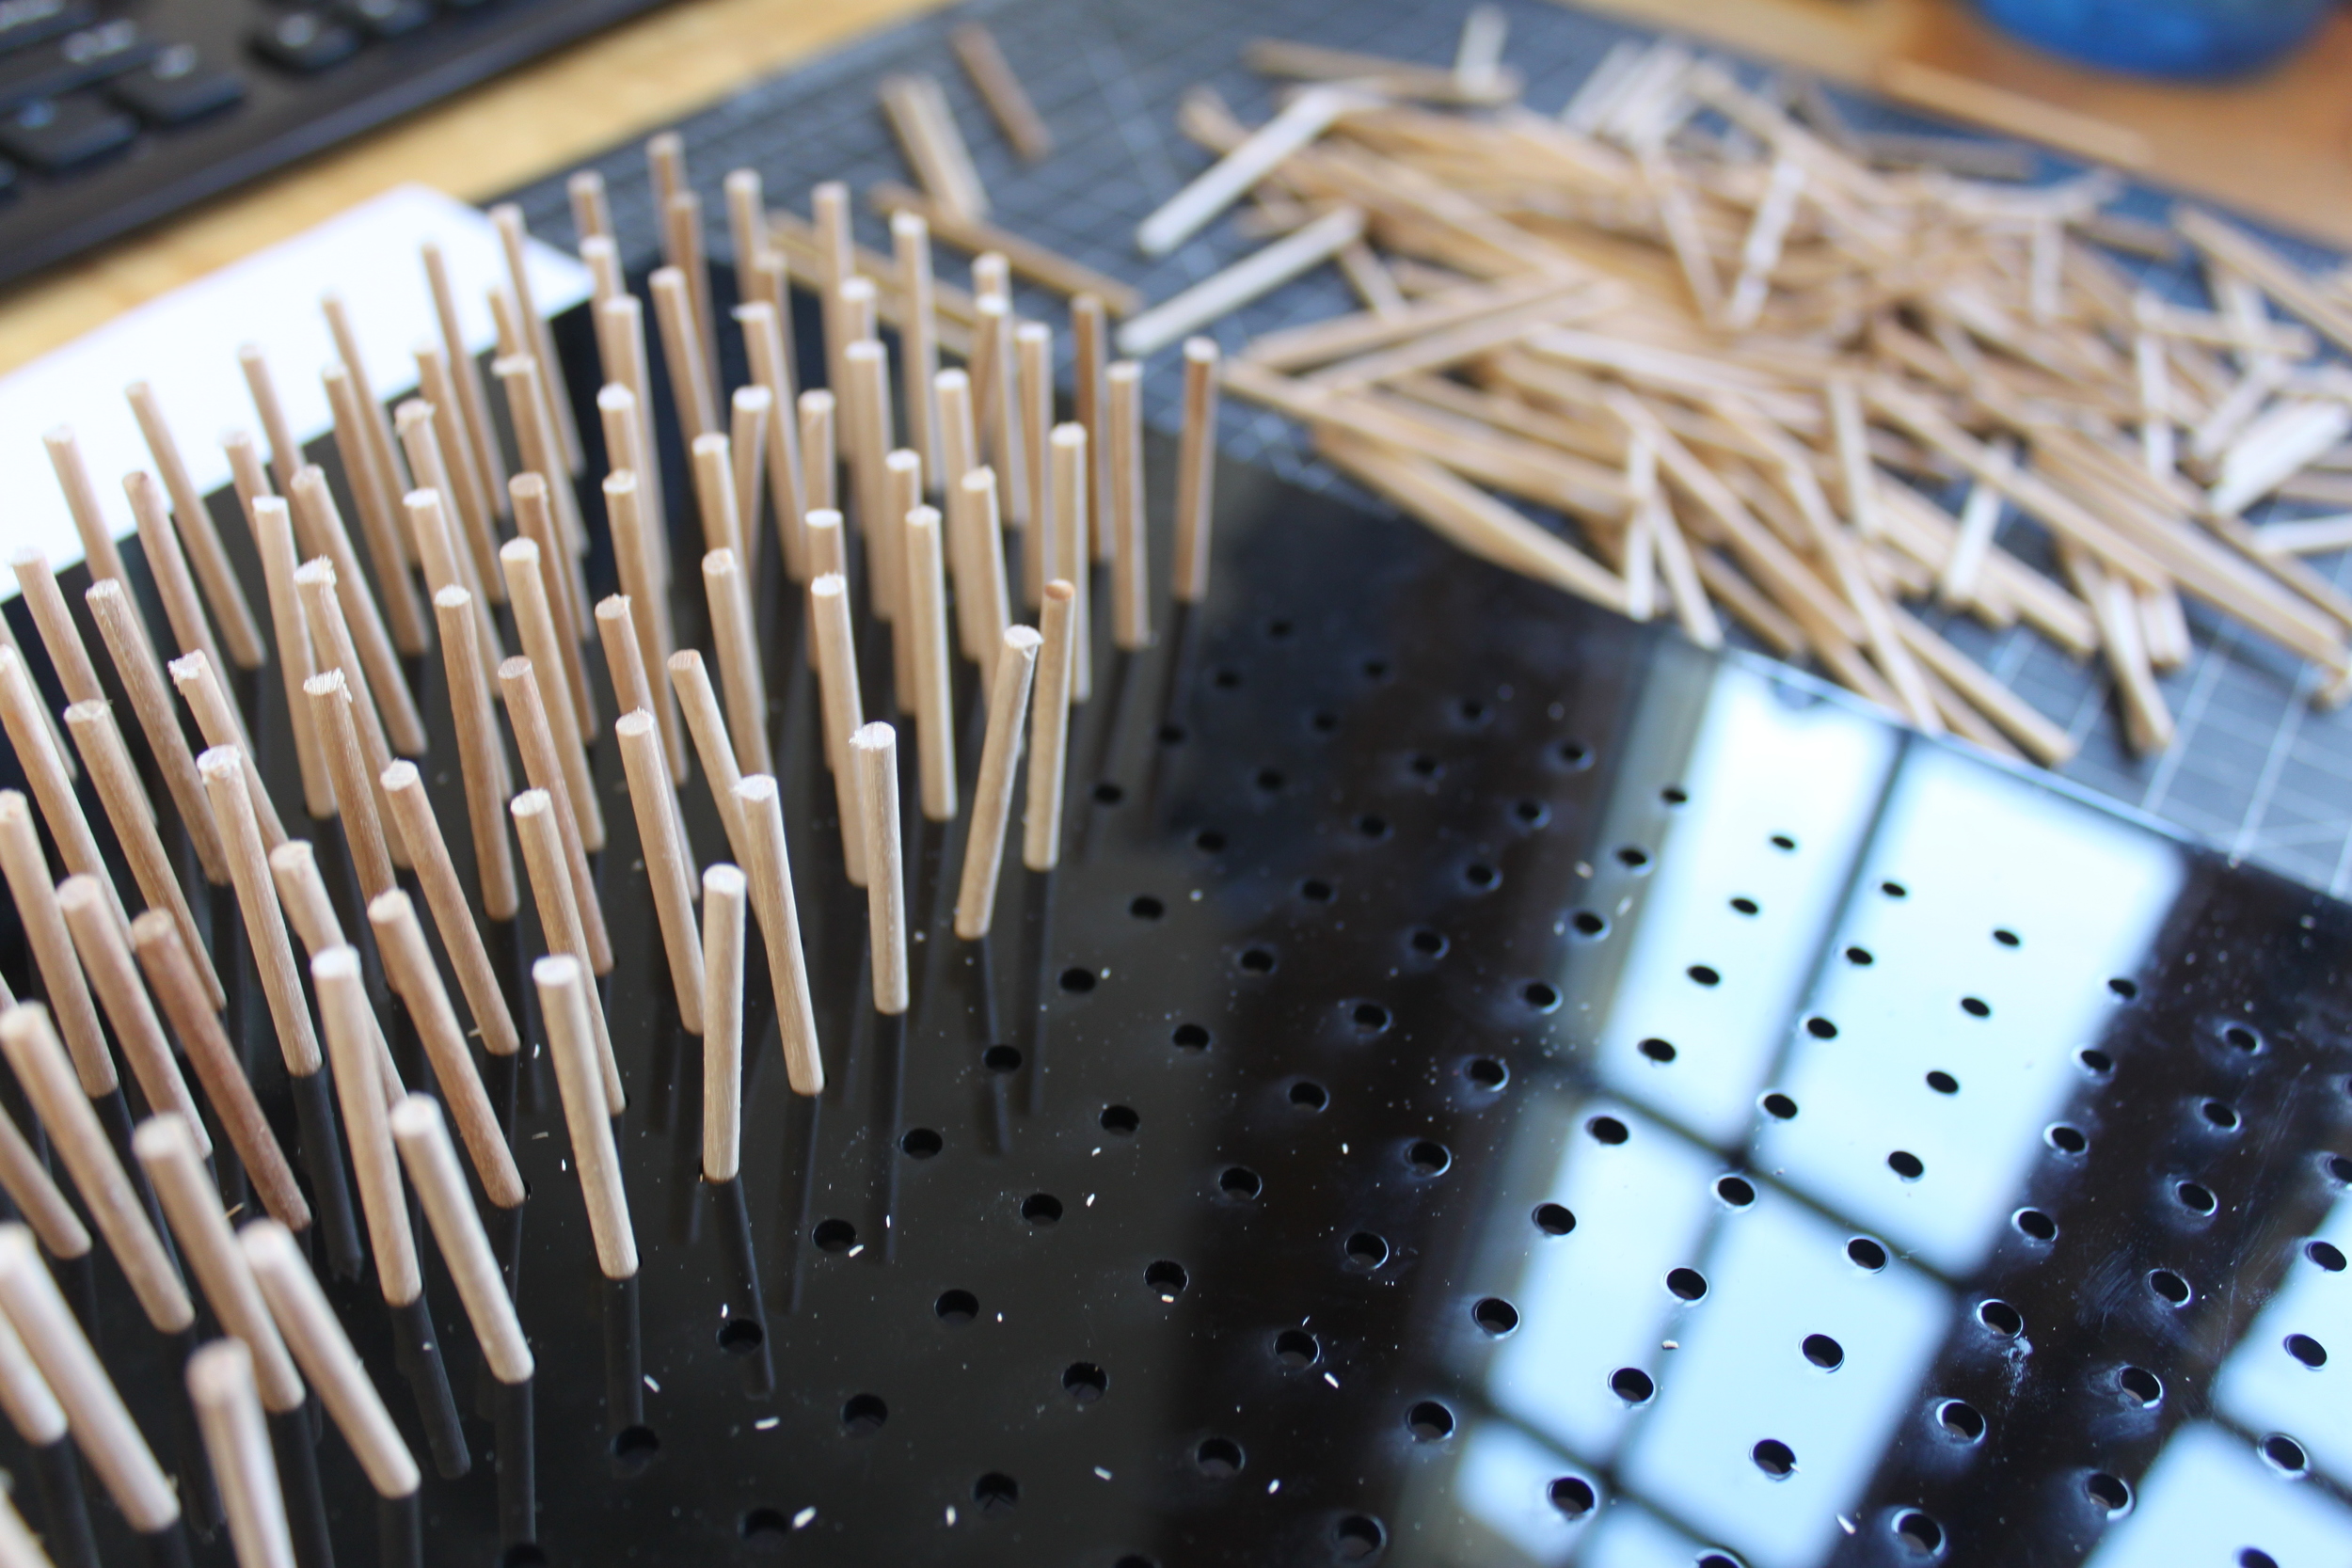
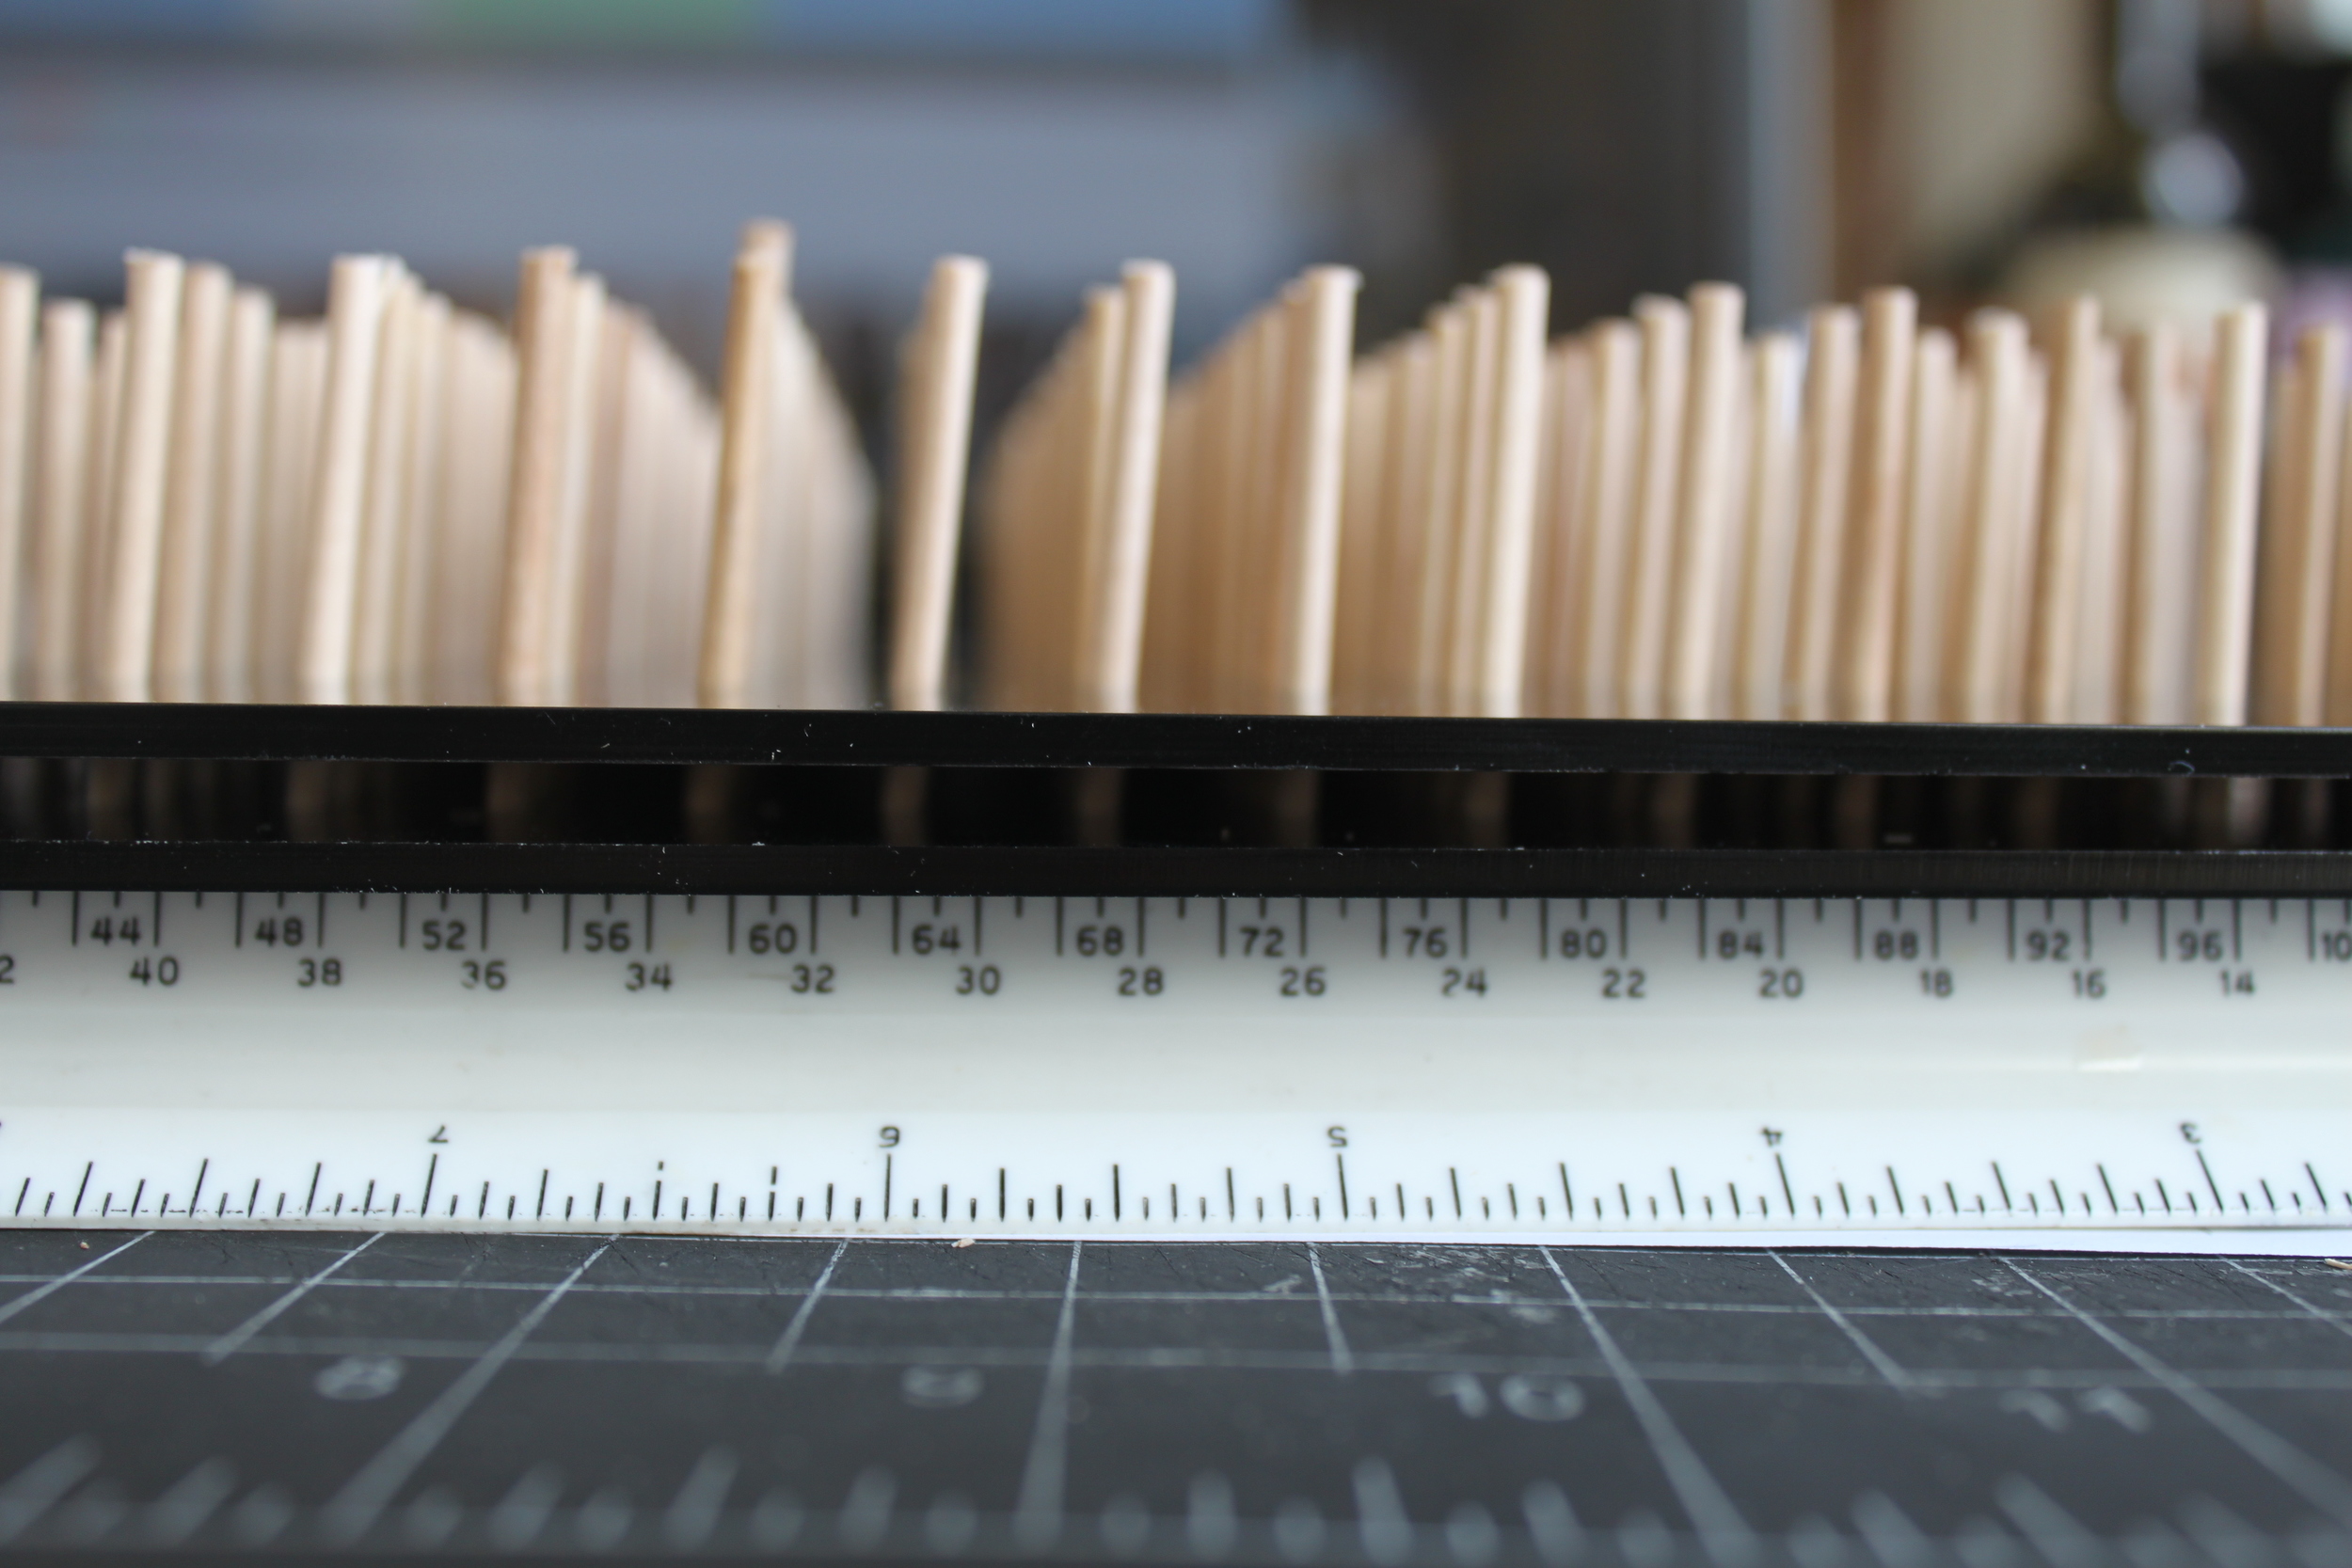
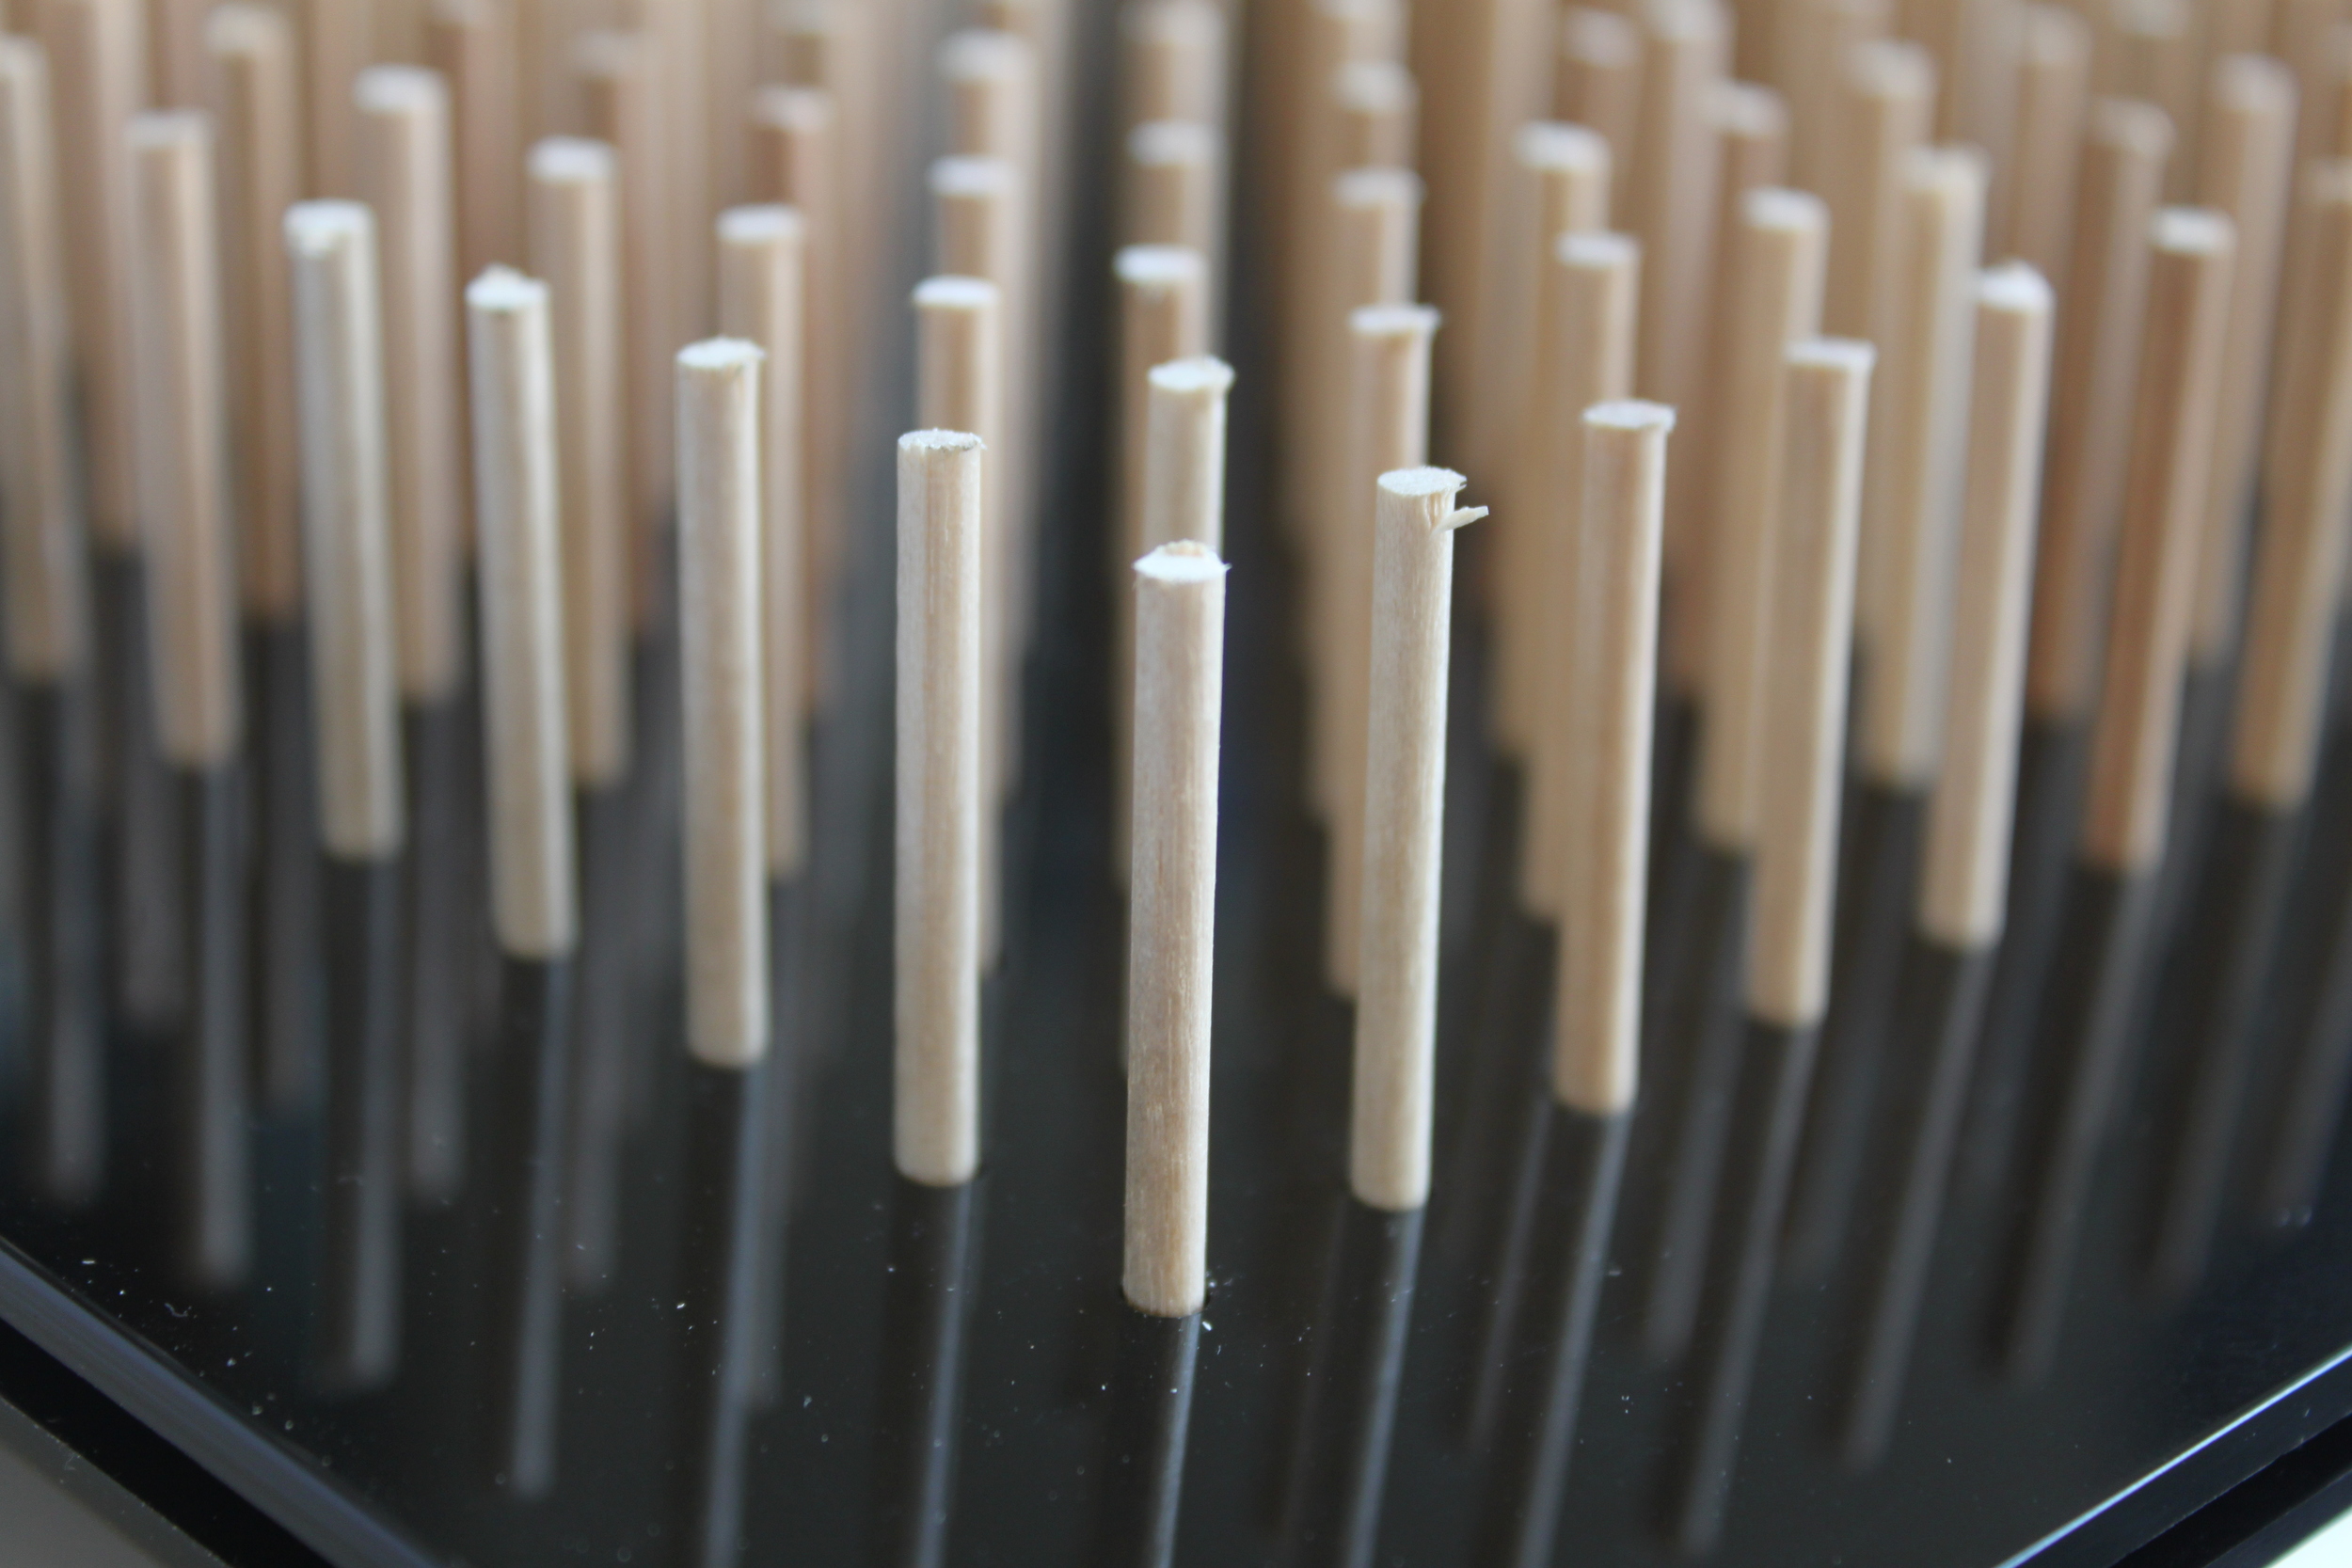
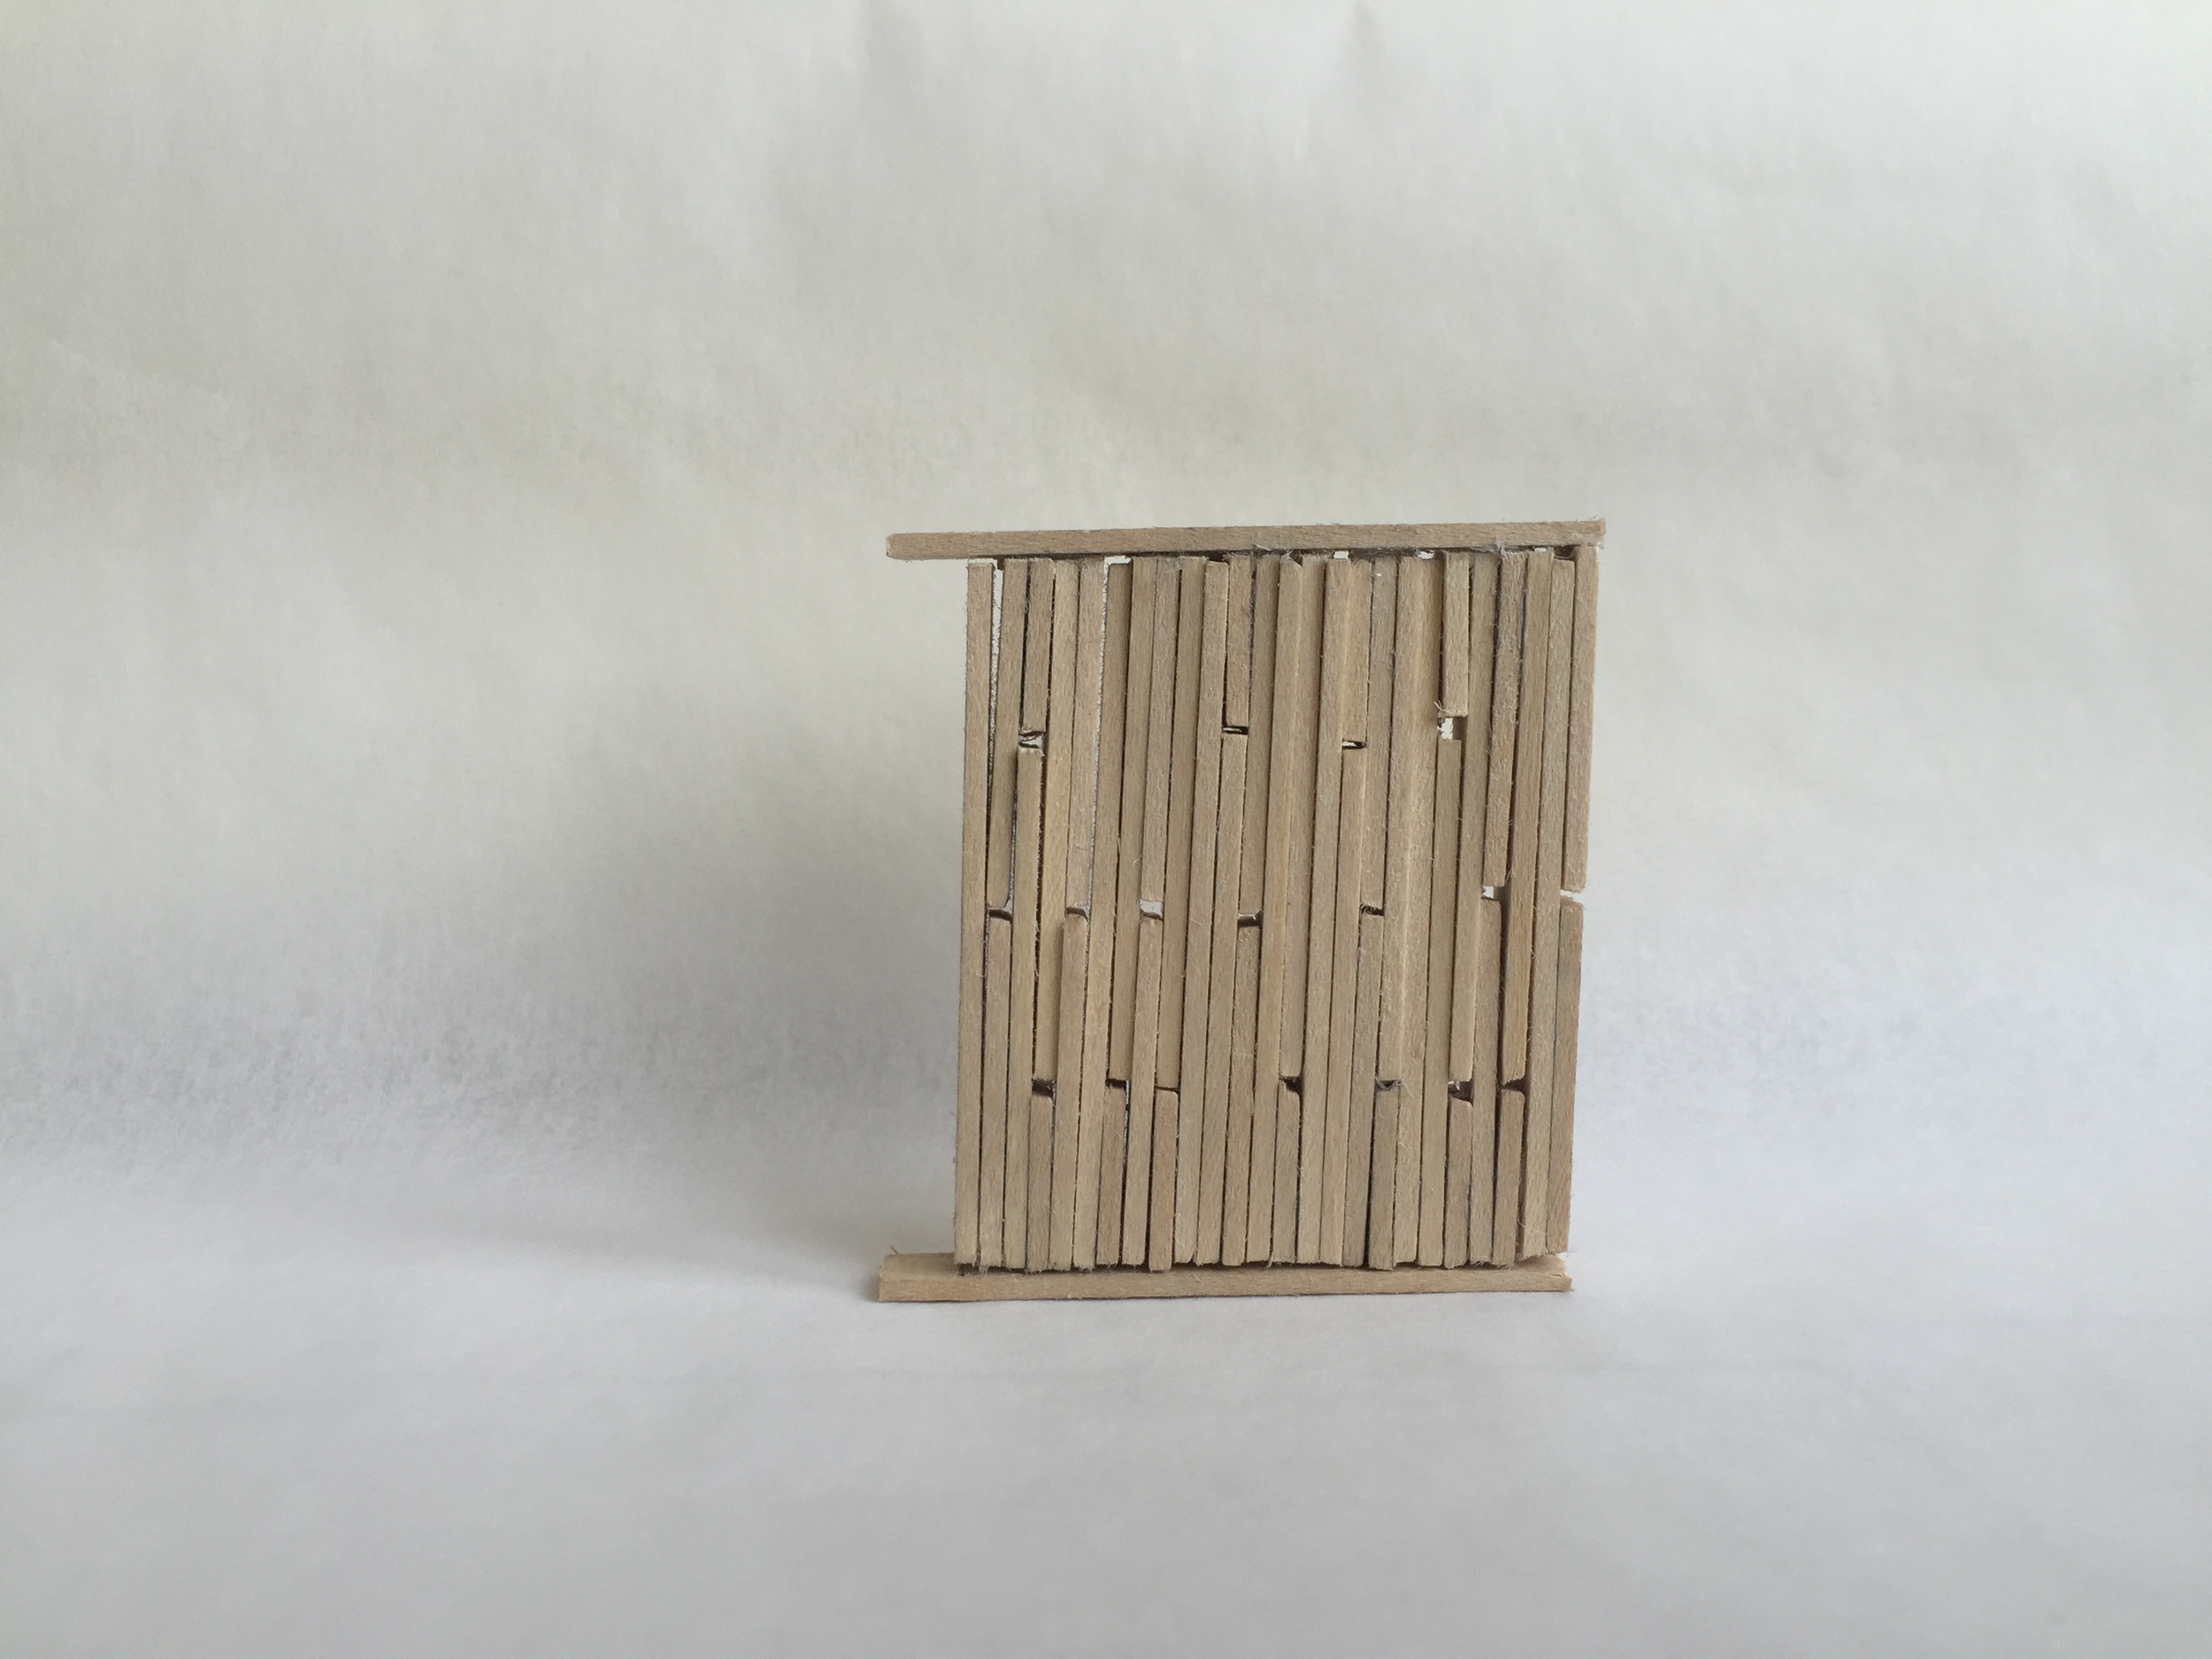
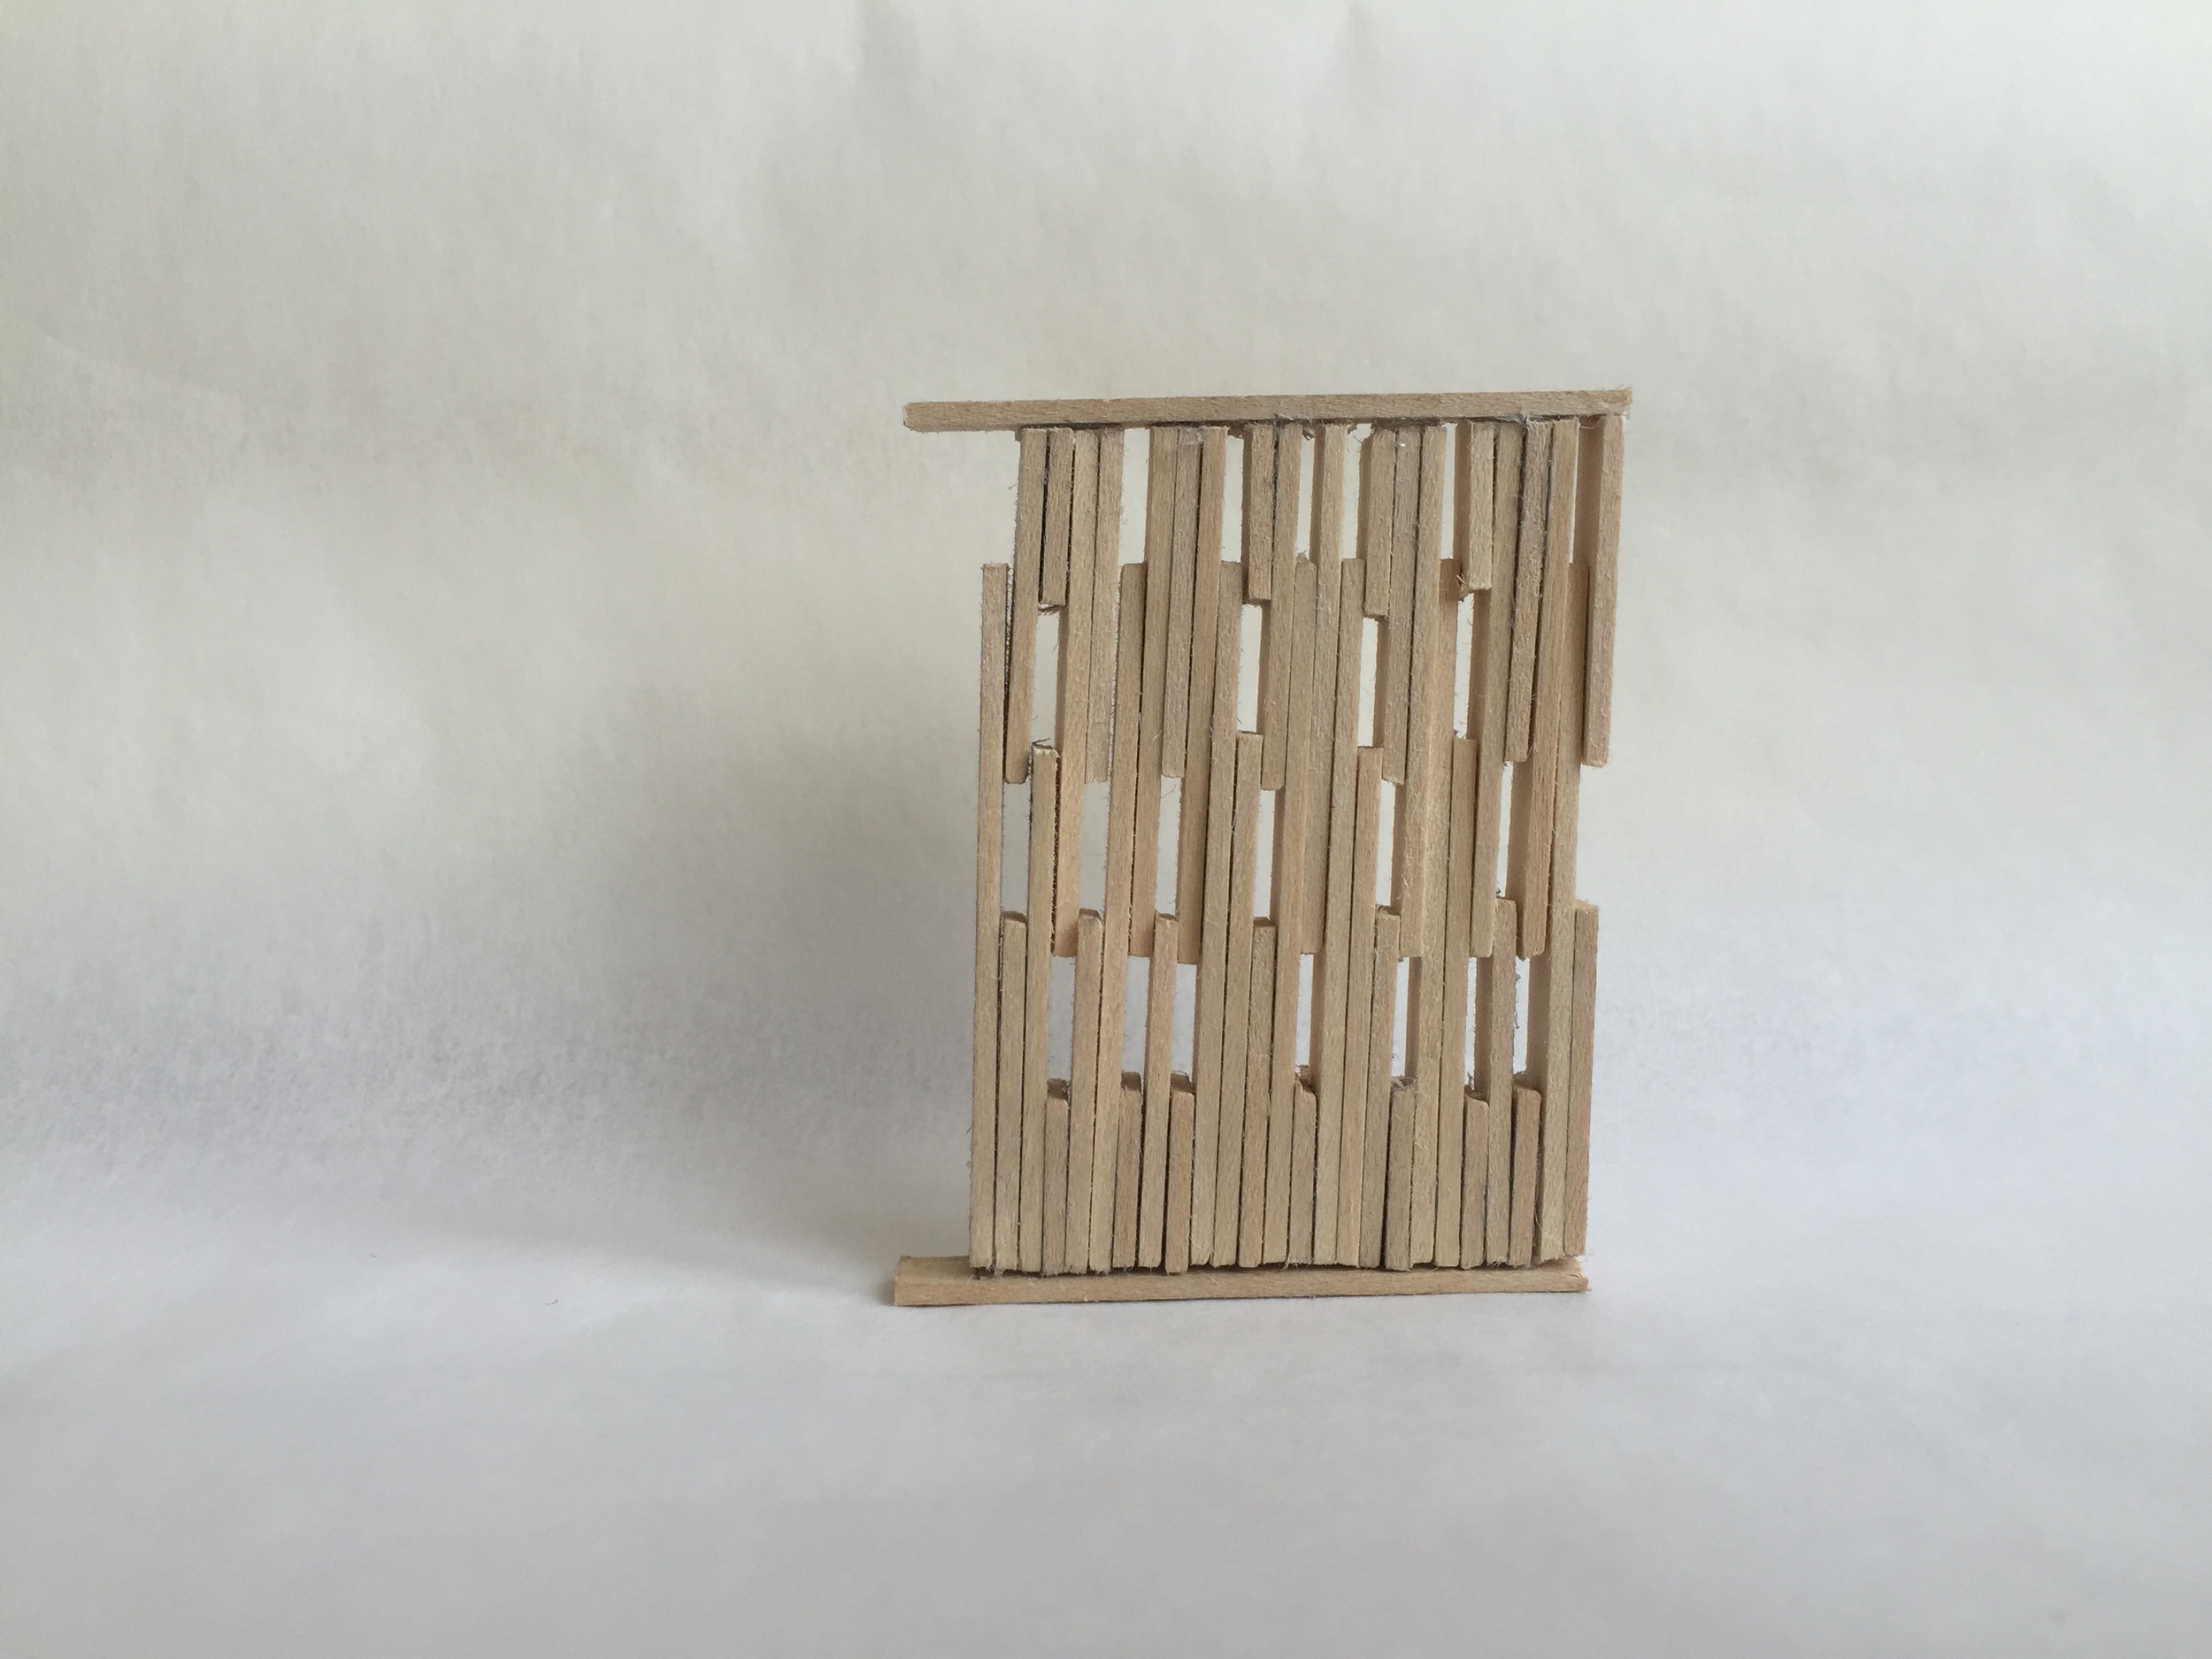
obstacle 5: popsegrity (resisting gravity, physicAL AND CULTURAL)
[ support a 10.75 oz tomato soup can 10" off the ground using only popsicle sticks. the popsicle sticks must be used with a tension material to create a tensegrity structure ]
materials : popsicle sticks, fishing wire
process : 1. create a 5 stick module that acts both in compression and tension 2. multiply that system to reach the desired height
challenges : with height, the system started to slant
result : a simple module that did not multiply cleanly. a structure that did the task.
obstacle 6: eggologics
[ move an egg from point A at +40" to point B at ground level. the egg must travel for 1 minute, can not break and must experience a moment of privacy along its path ]
The most rewarding part of this project was to have a guest jury of 20 kindergarteners. They were ruthless, expressed their opinions openly and learned that sometimes, eggs break and it's ok to fail.
materials : plywood, conservation board, string, washers.
process : 1. develop an origami shell that holds an egg 2. develop a frame that reaches the 40" of similar formal language 3. create a pulley system that moves in response to the weight of an egg being added to the system 4. develop a series of levels of similar language to create a more gradual drop and increase path time 5. try and repeat many times, tweaking the system
challenges : the shape of an egg leads to unpredictable rolls. the machine worked each time with a round ball, but the irregular oval of an egg and it's shifting weight was a variable impacting the path.
result : the eggevator. an aesthetically pleasing origami like structure that successfully moved the egg from point A to point B about every 5th run. Usually it would get stuck in it's moment of privacy shell and need some assistance or sometimes it went rogue and passed the egg to the side of it's next level.
disclaimer : most eggs harmed during this process were due to user clumsiness, not project test runs.
Obstacle 7 : transformer
[ utilize 3D printing to create a collapsible armature that will hold a phone vertically and horizontally. the print tests tolerance in fabrication and is one piece that was printed unfolded in a flat format to decrease fabrication costs ]
materials : abs printer
process : 1. physical modeling to test dimensions 2. rhino first iteration 3. STL file cost and efficiency check 4. rhino revision 5. STL file sent to printer 6. 3D print 7. print bath to remove support structure
challenges : understanding a 3D models physical characteristics paired with machine tolerances and predicting reality before spending money on fabrication
result : a collapsable phone holder that also serves as a charging dock and encourages multitasking at the desk. very useful product but upon reflection, creating a $40 3D print to do a task that a $5 cut piece of wood could just as successfully have achieved was not economically efficient or ideal.
rhino file hinge development
ABS 3d Print on tray before bath
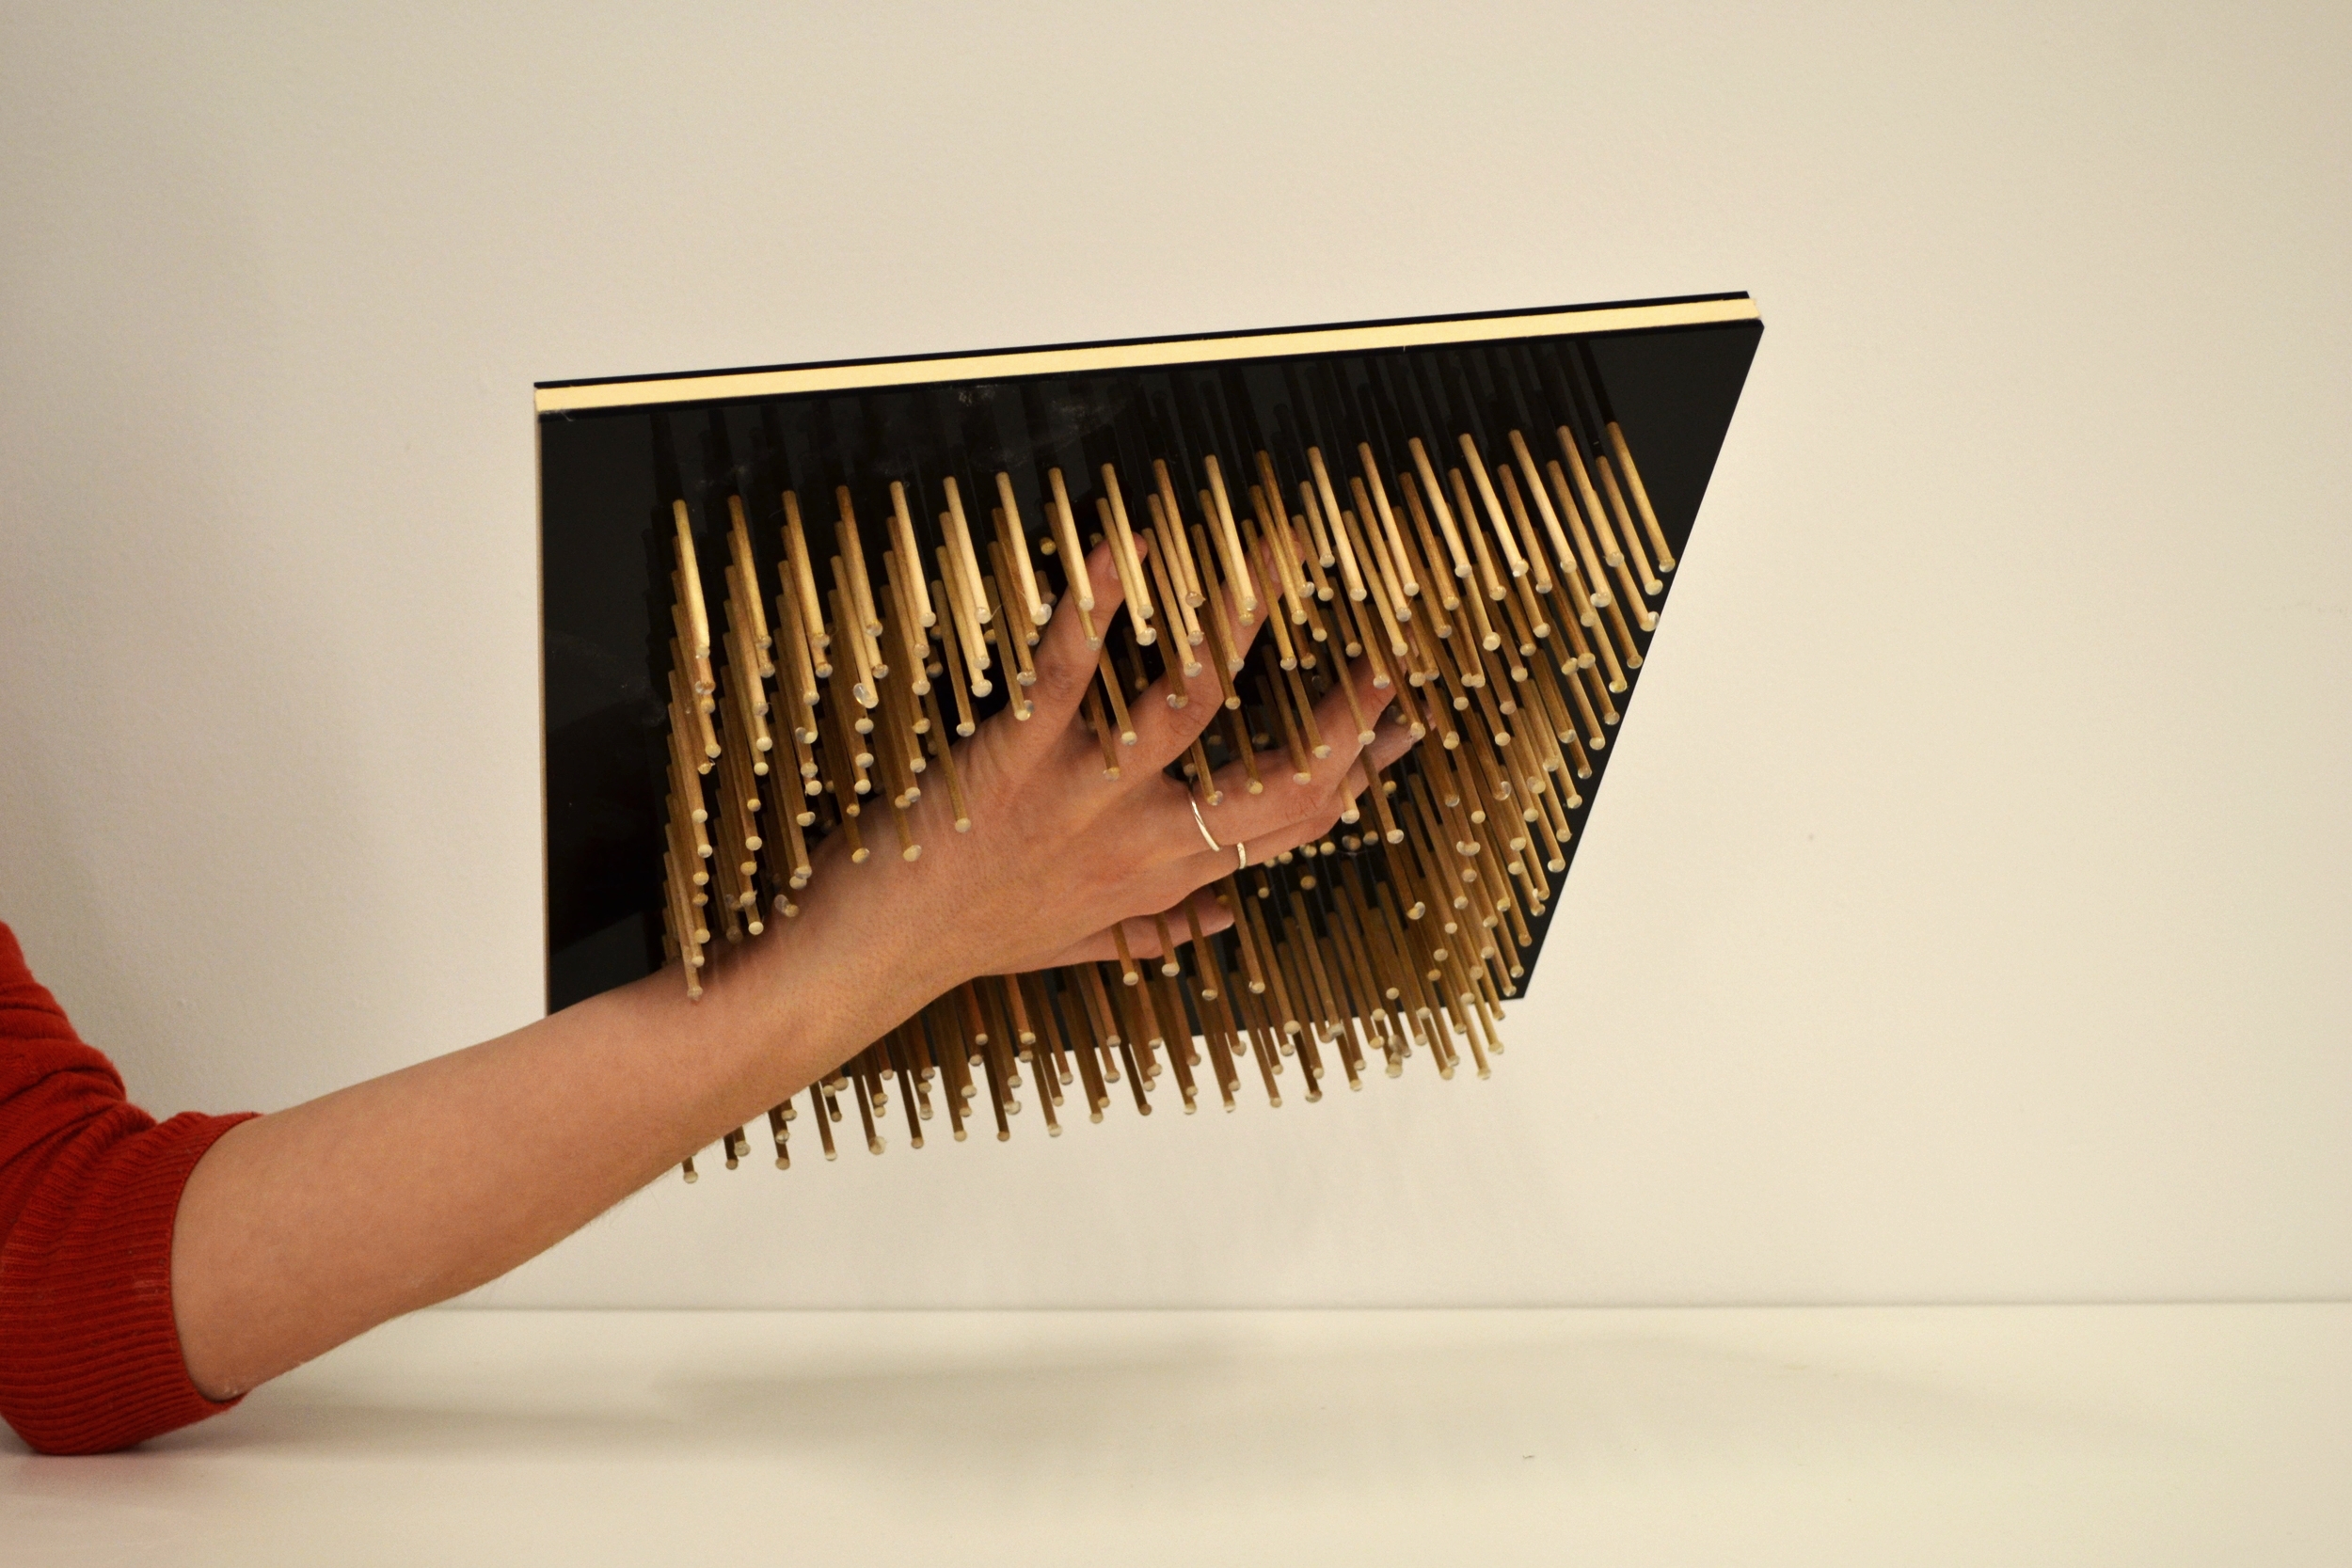
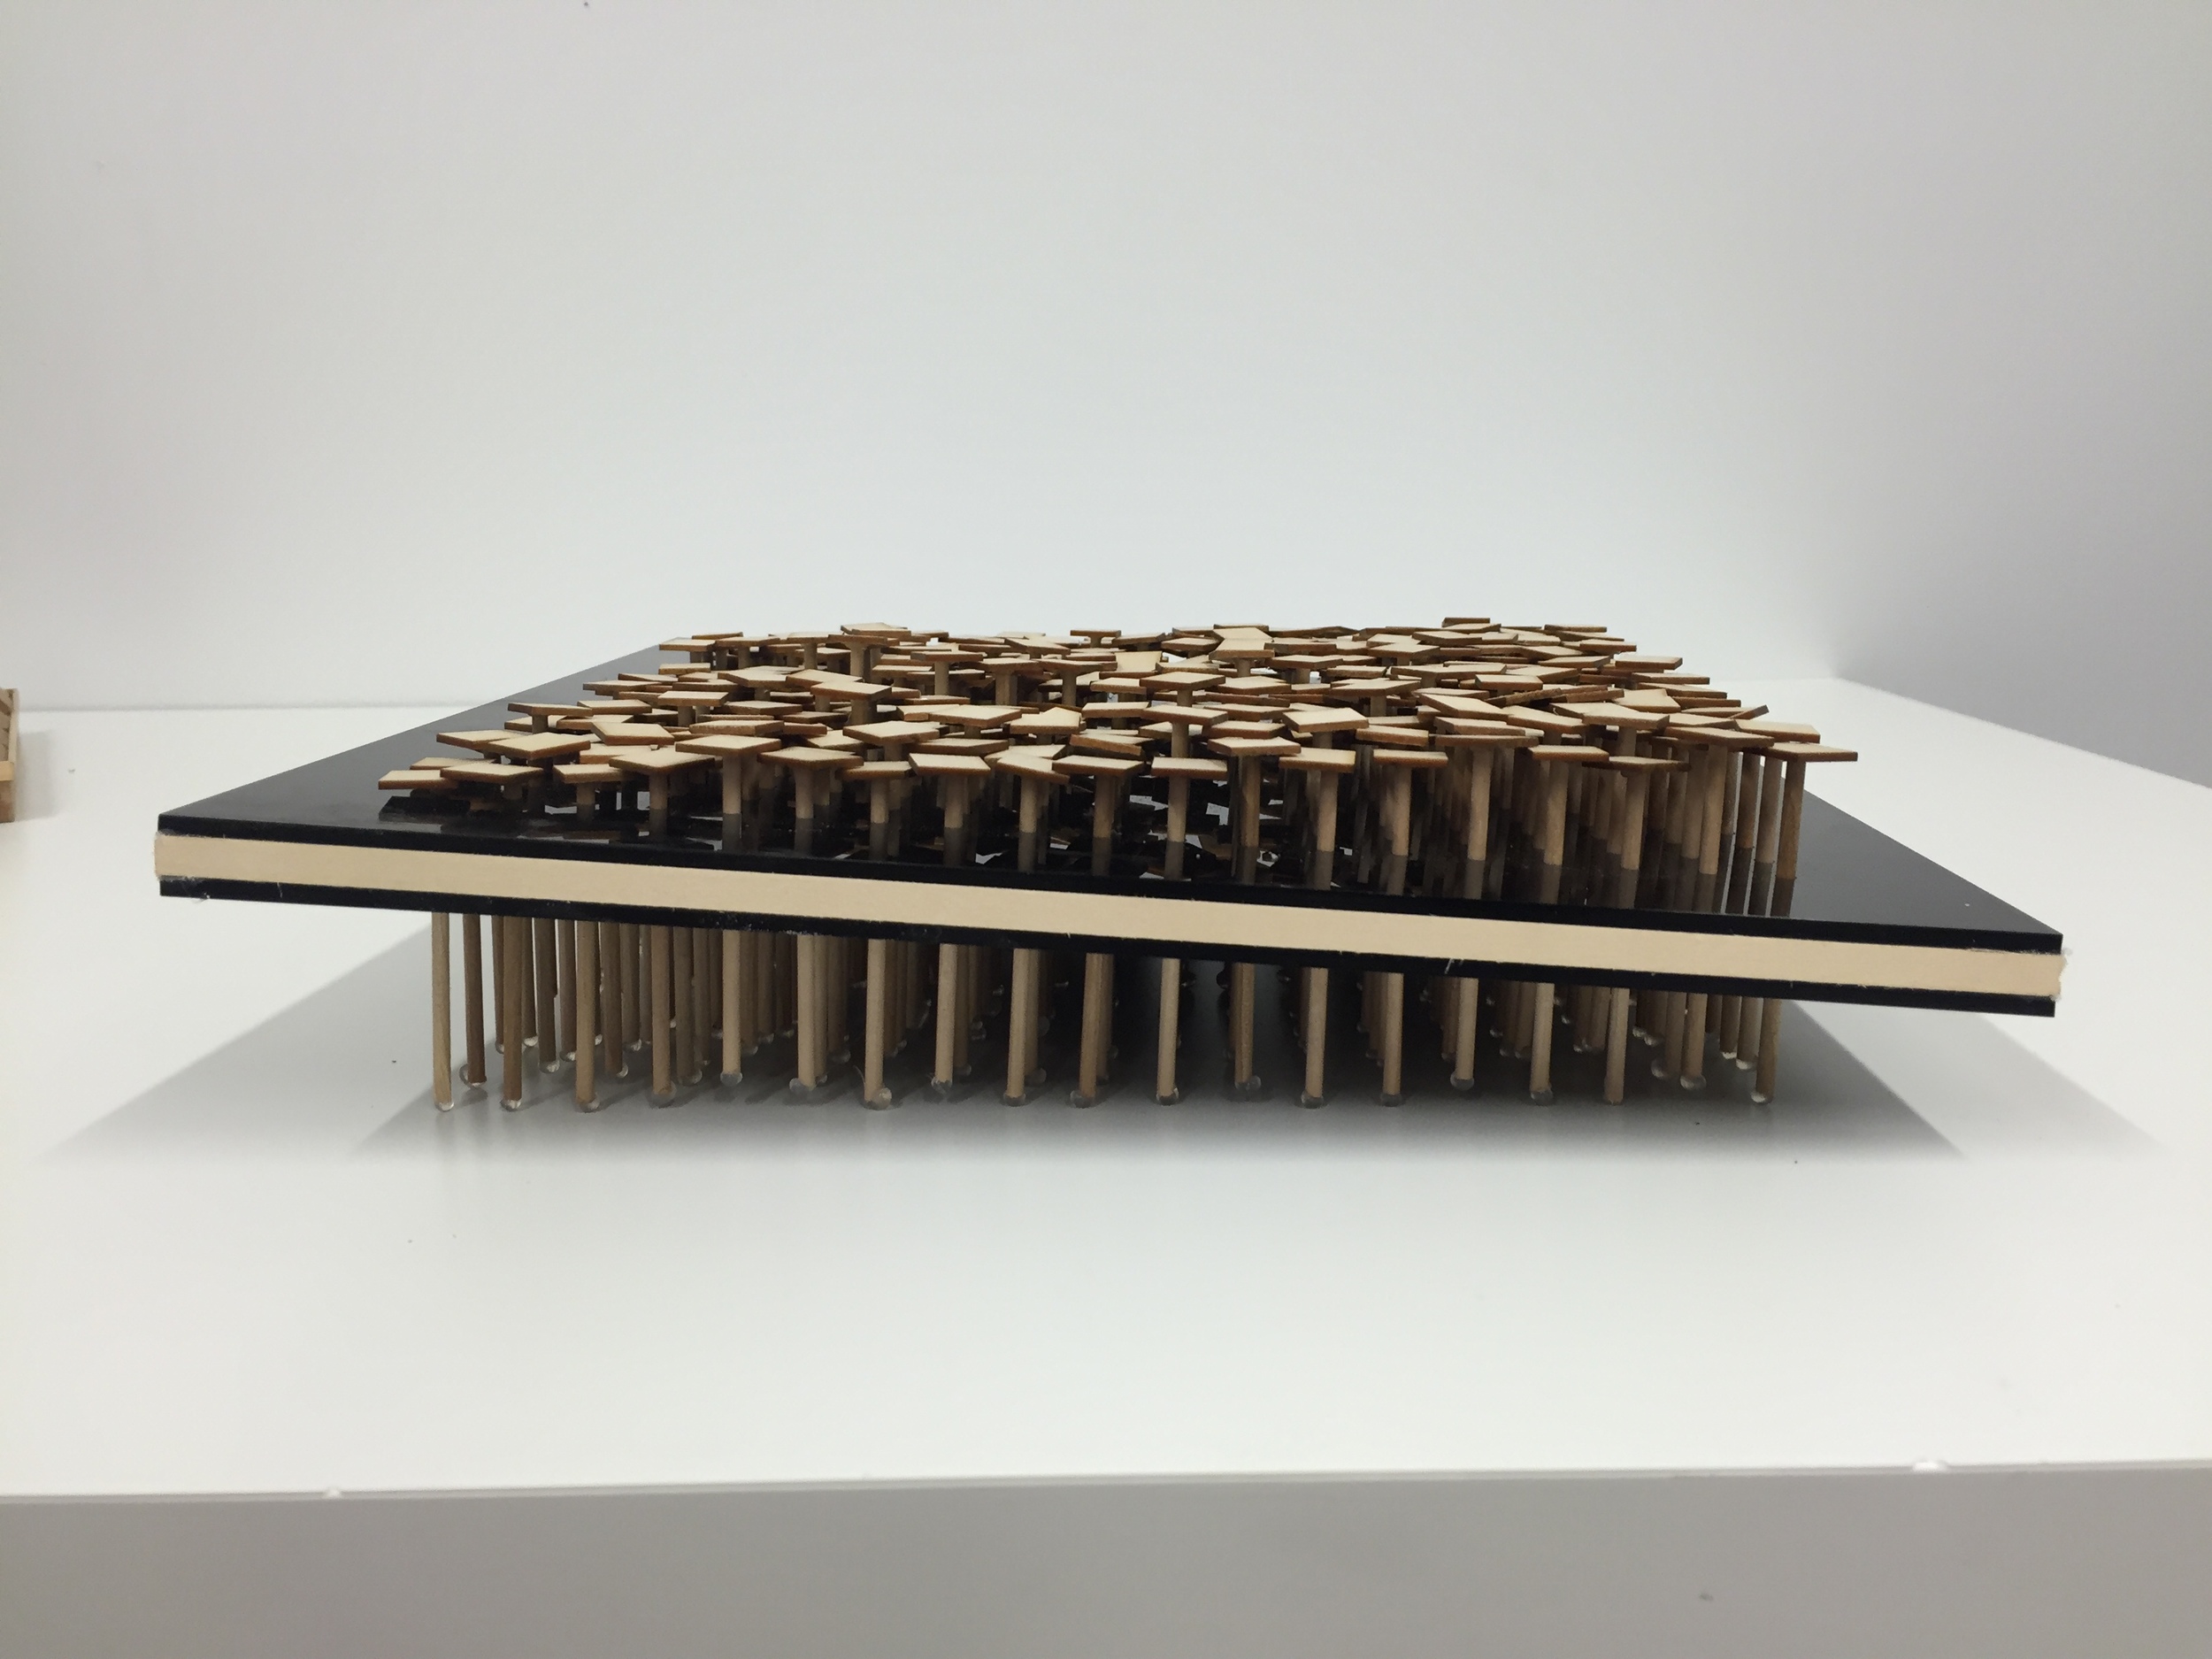
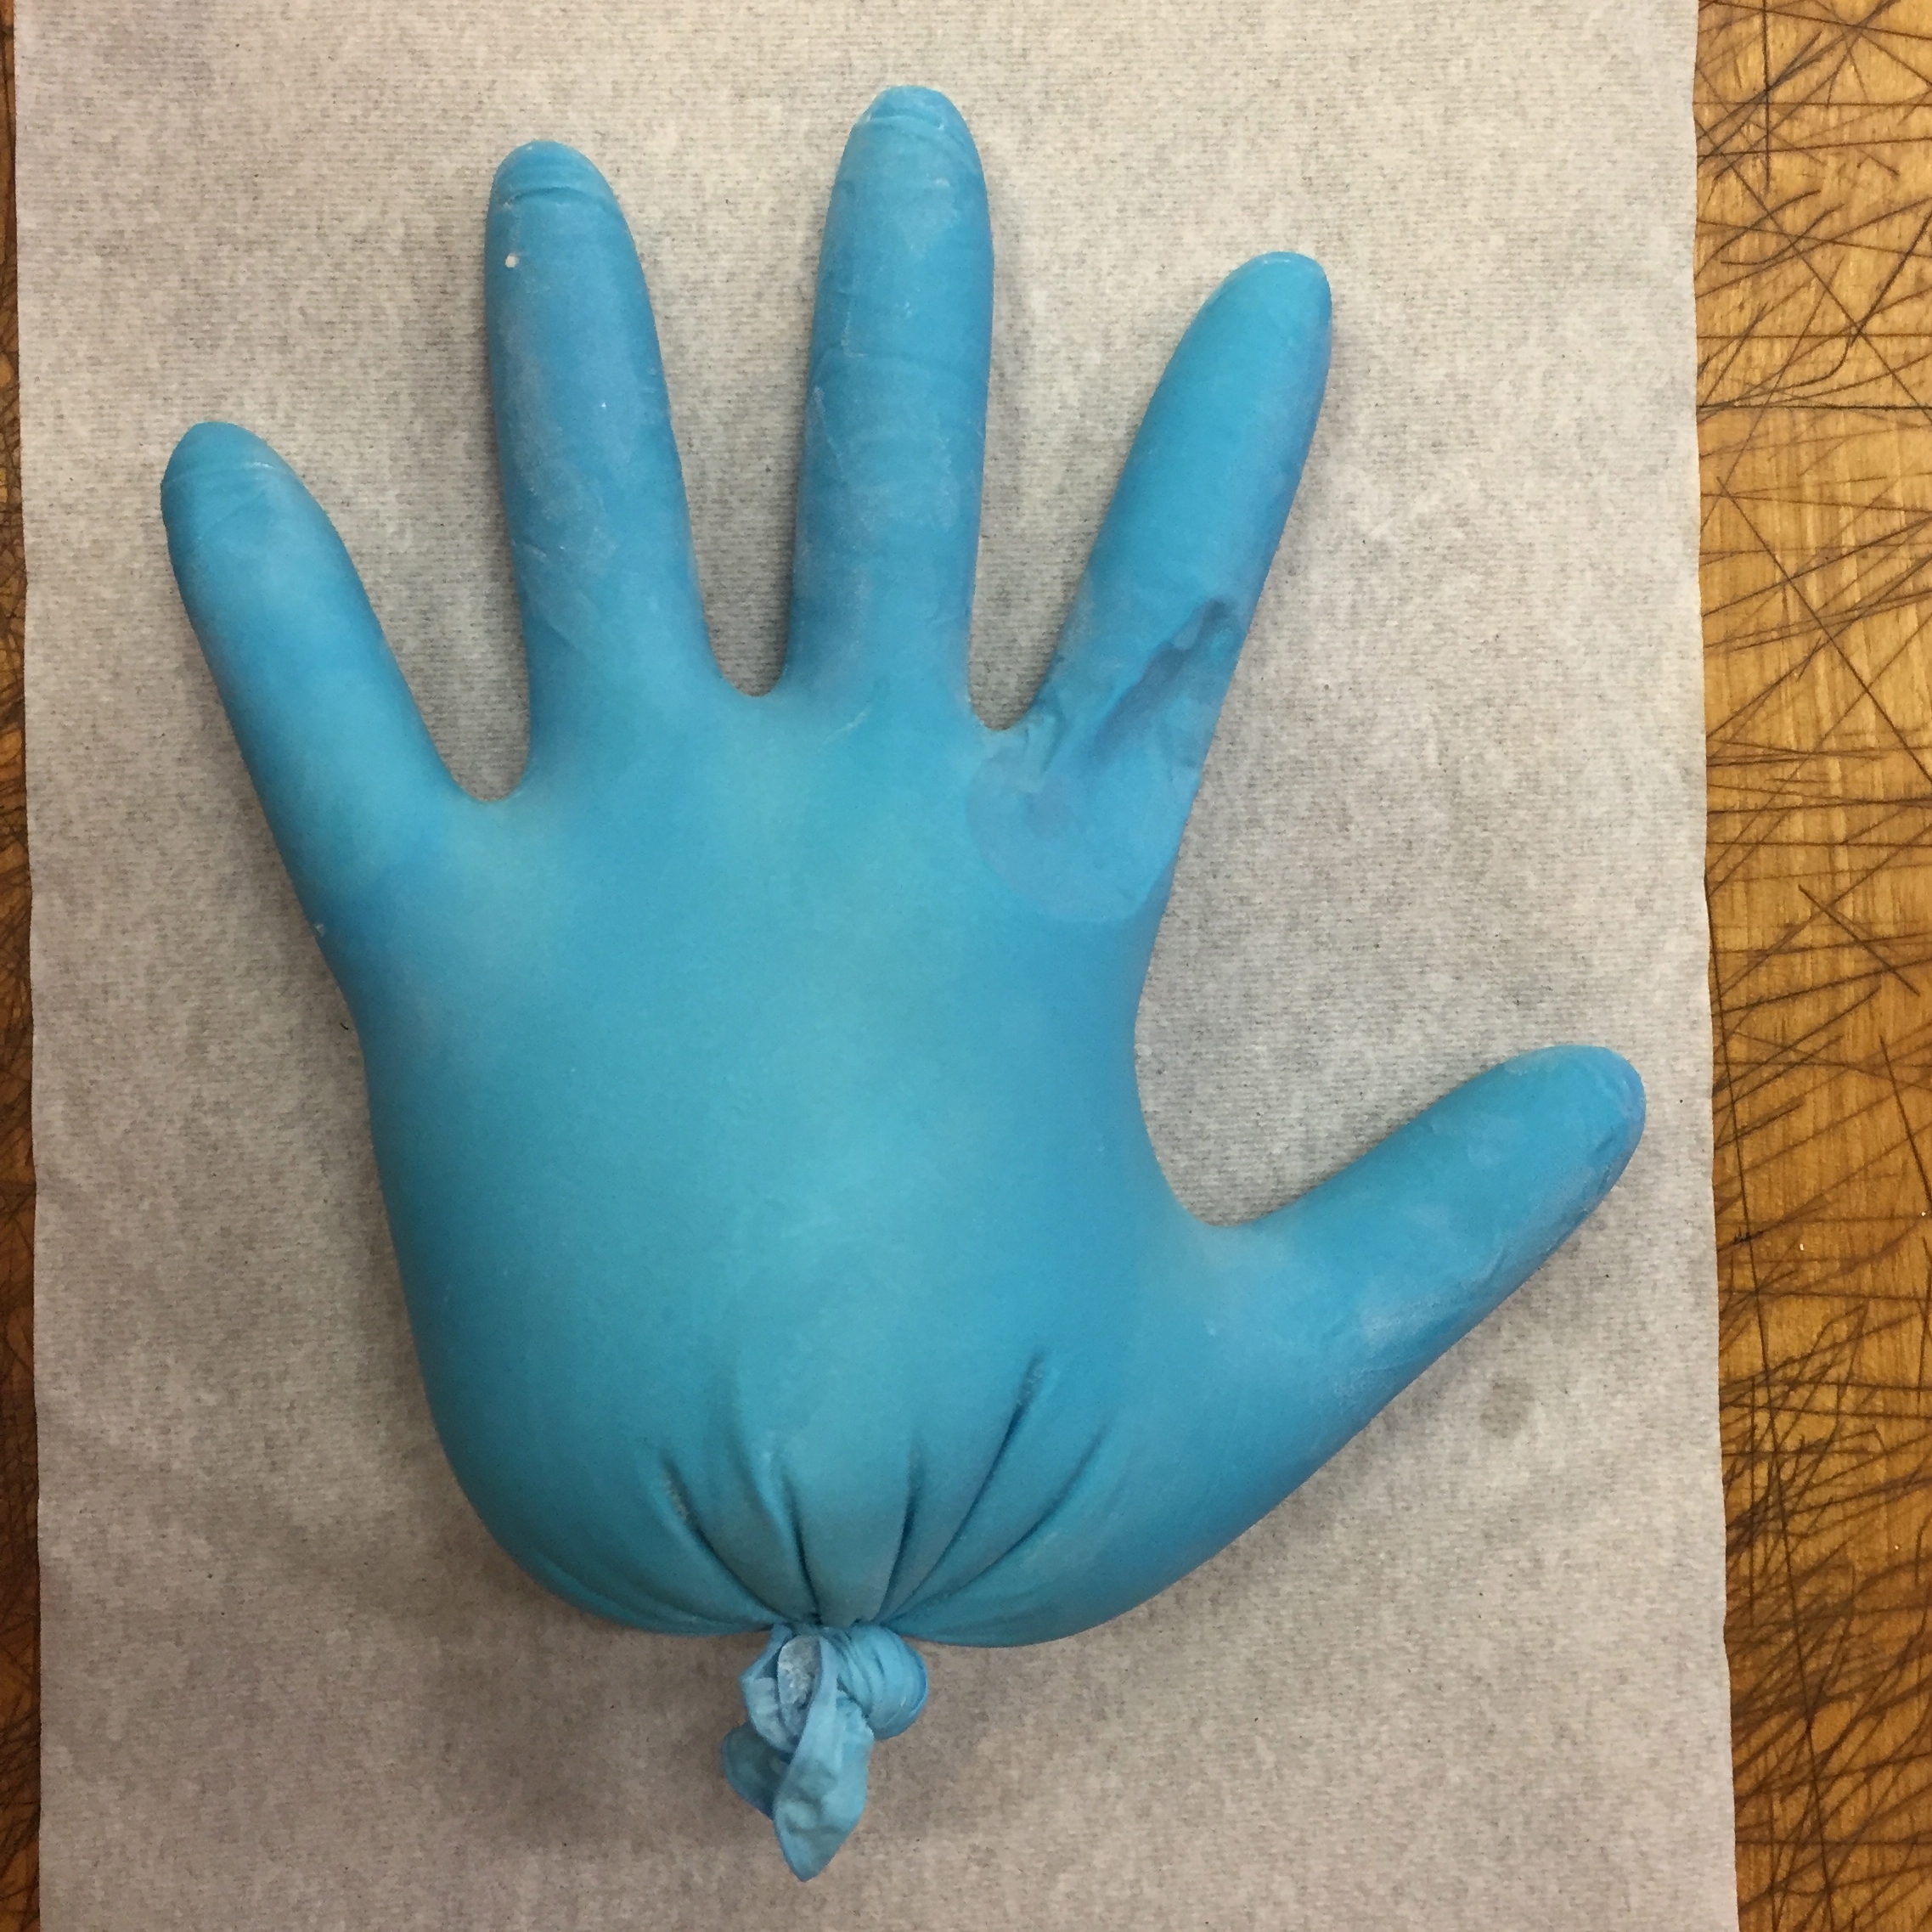
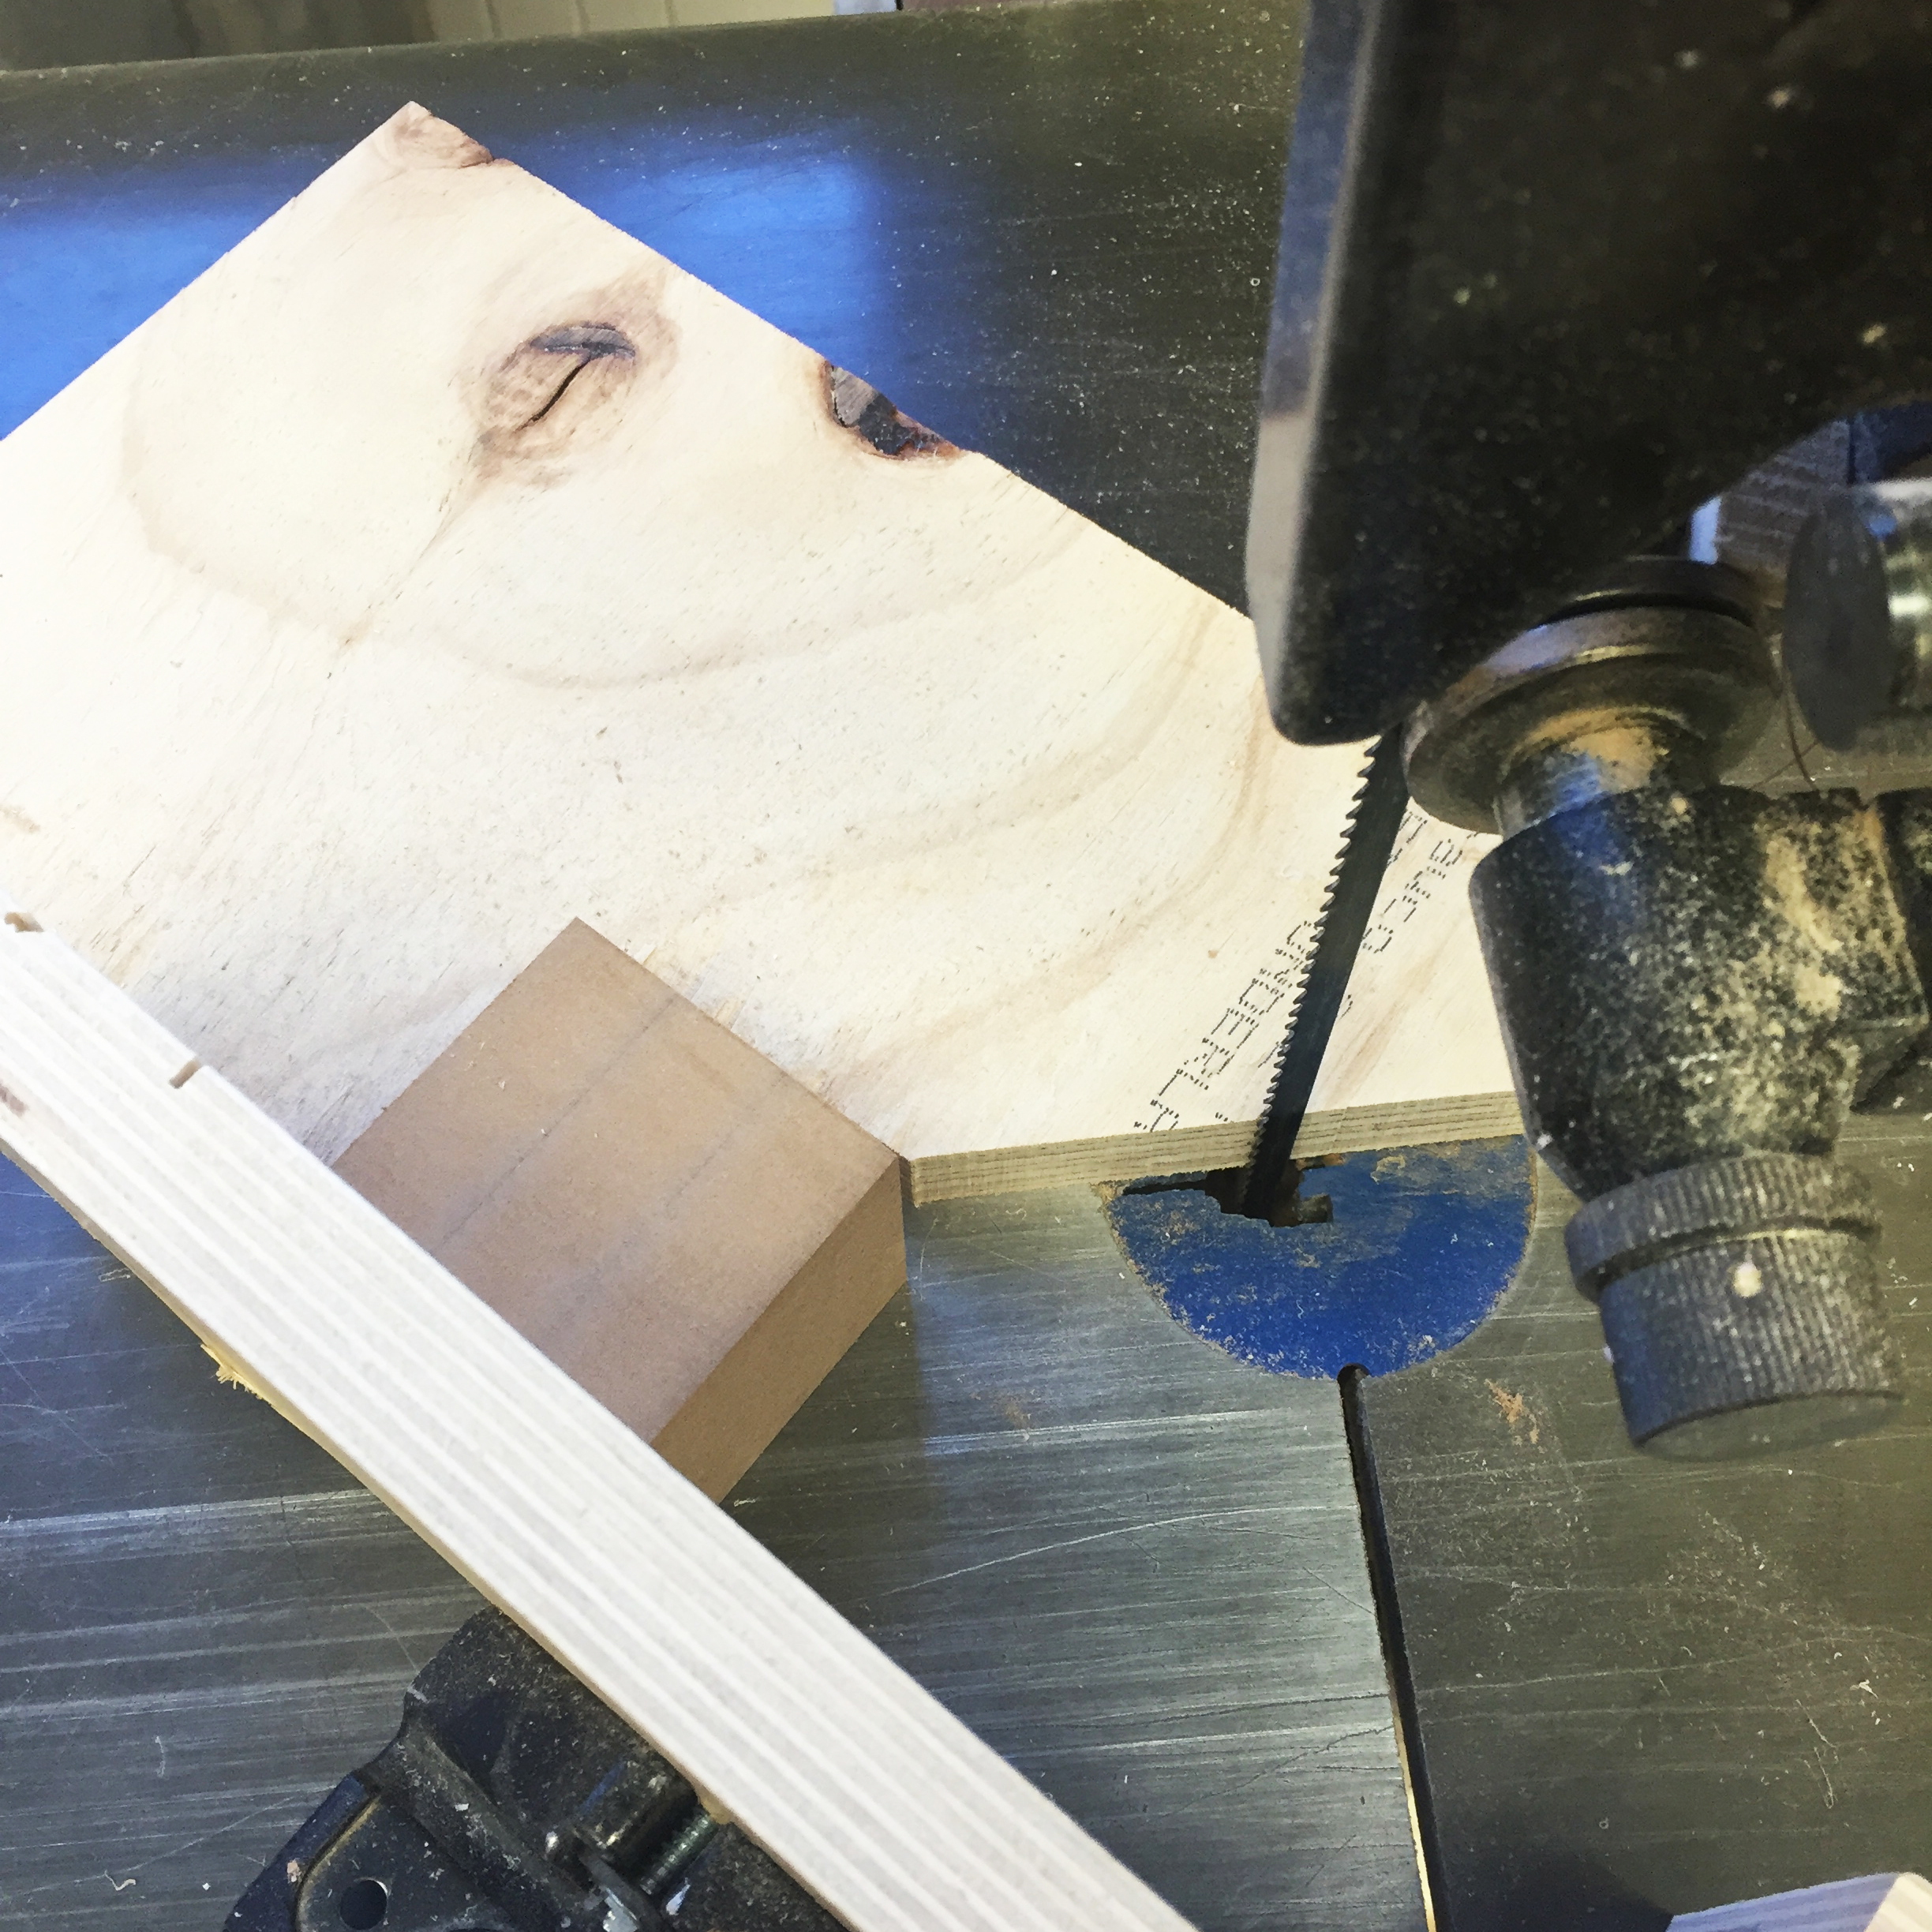
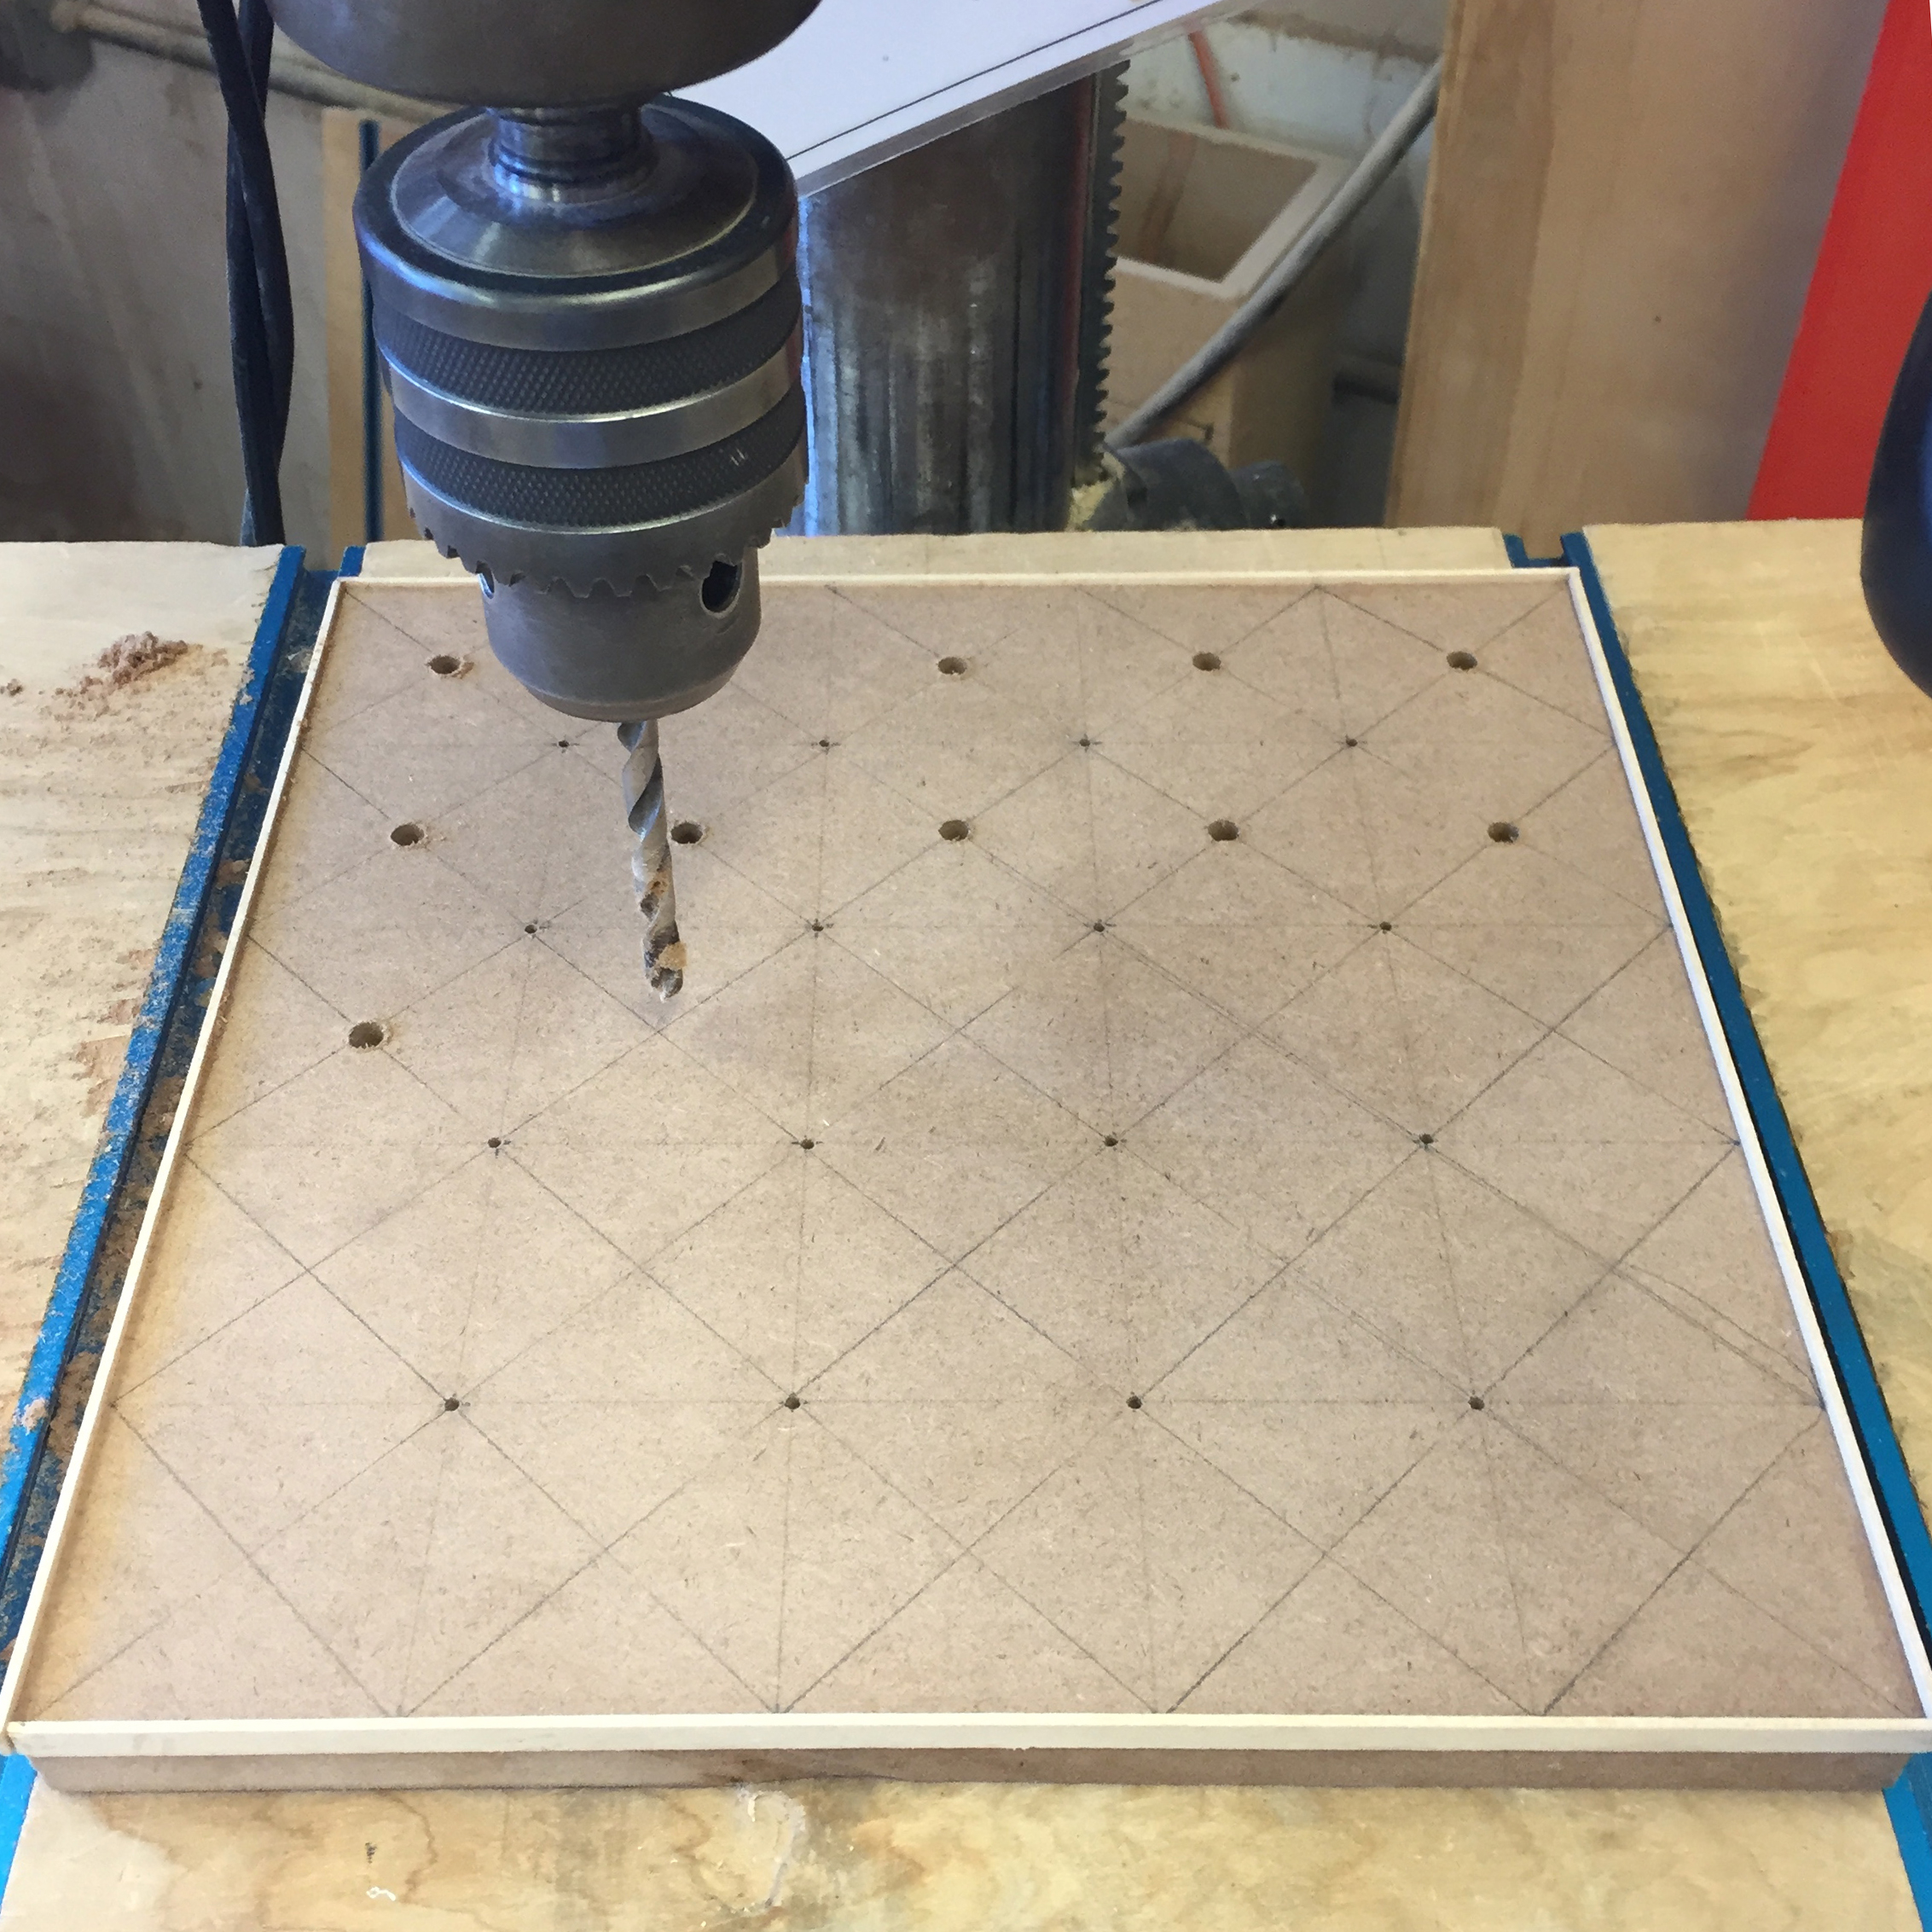
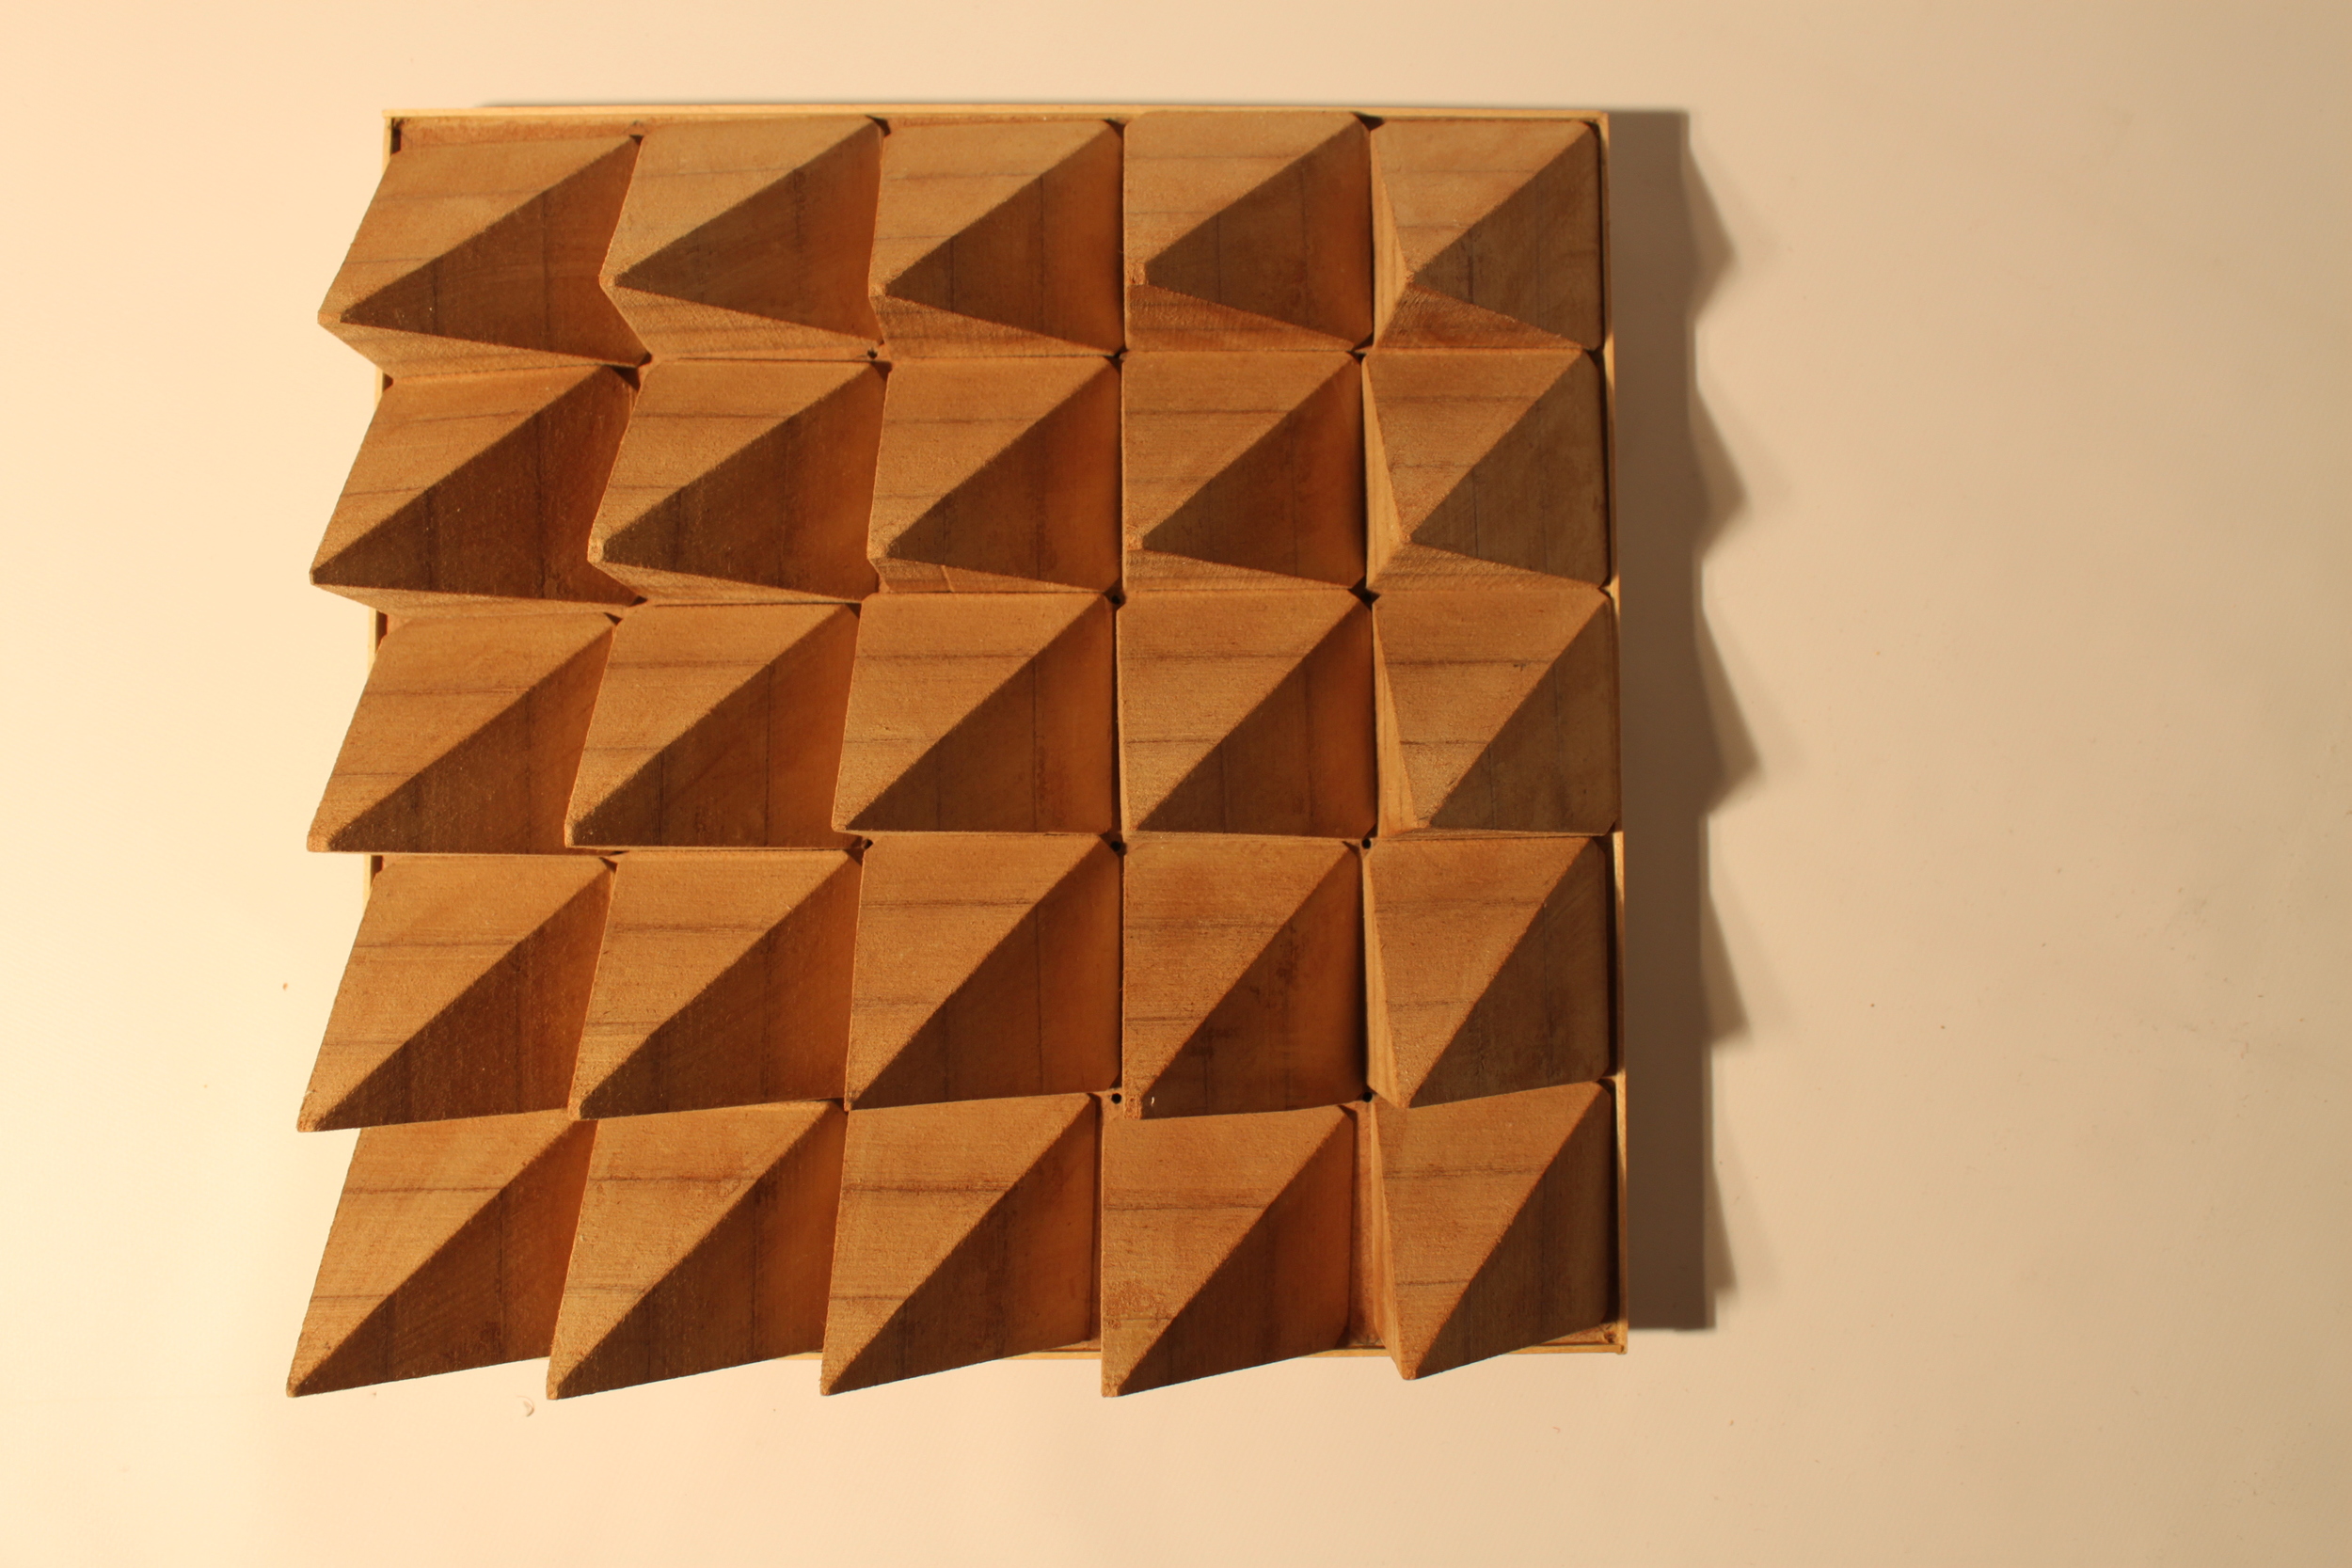
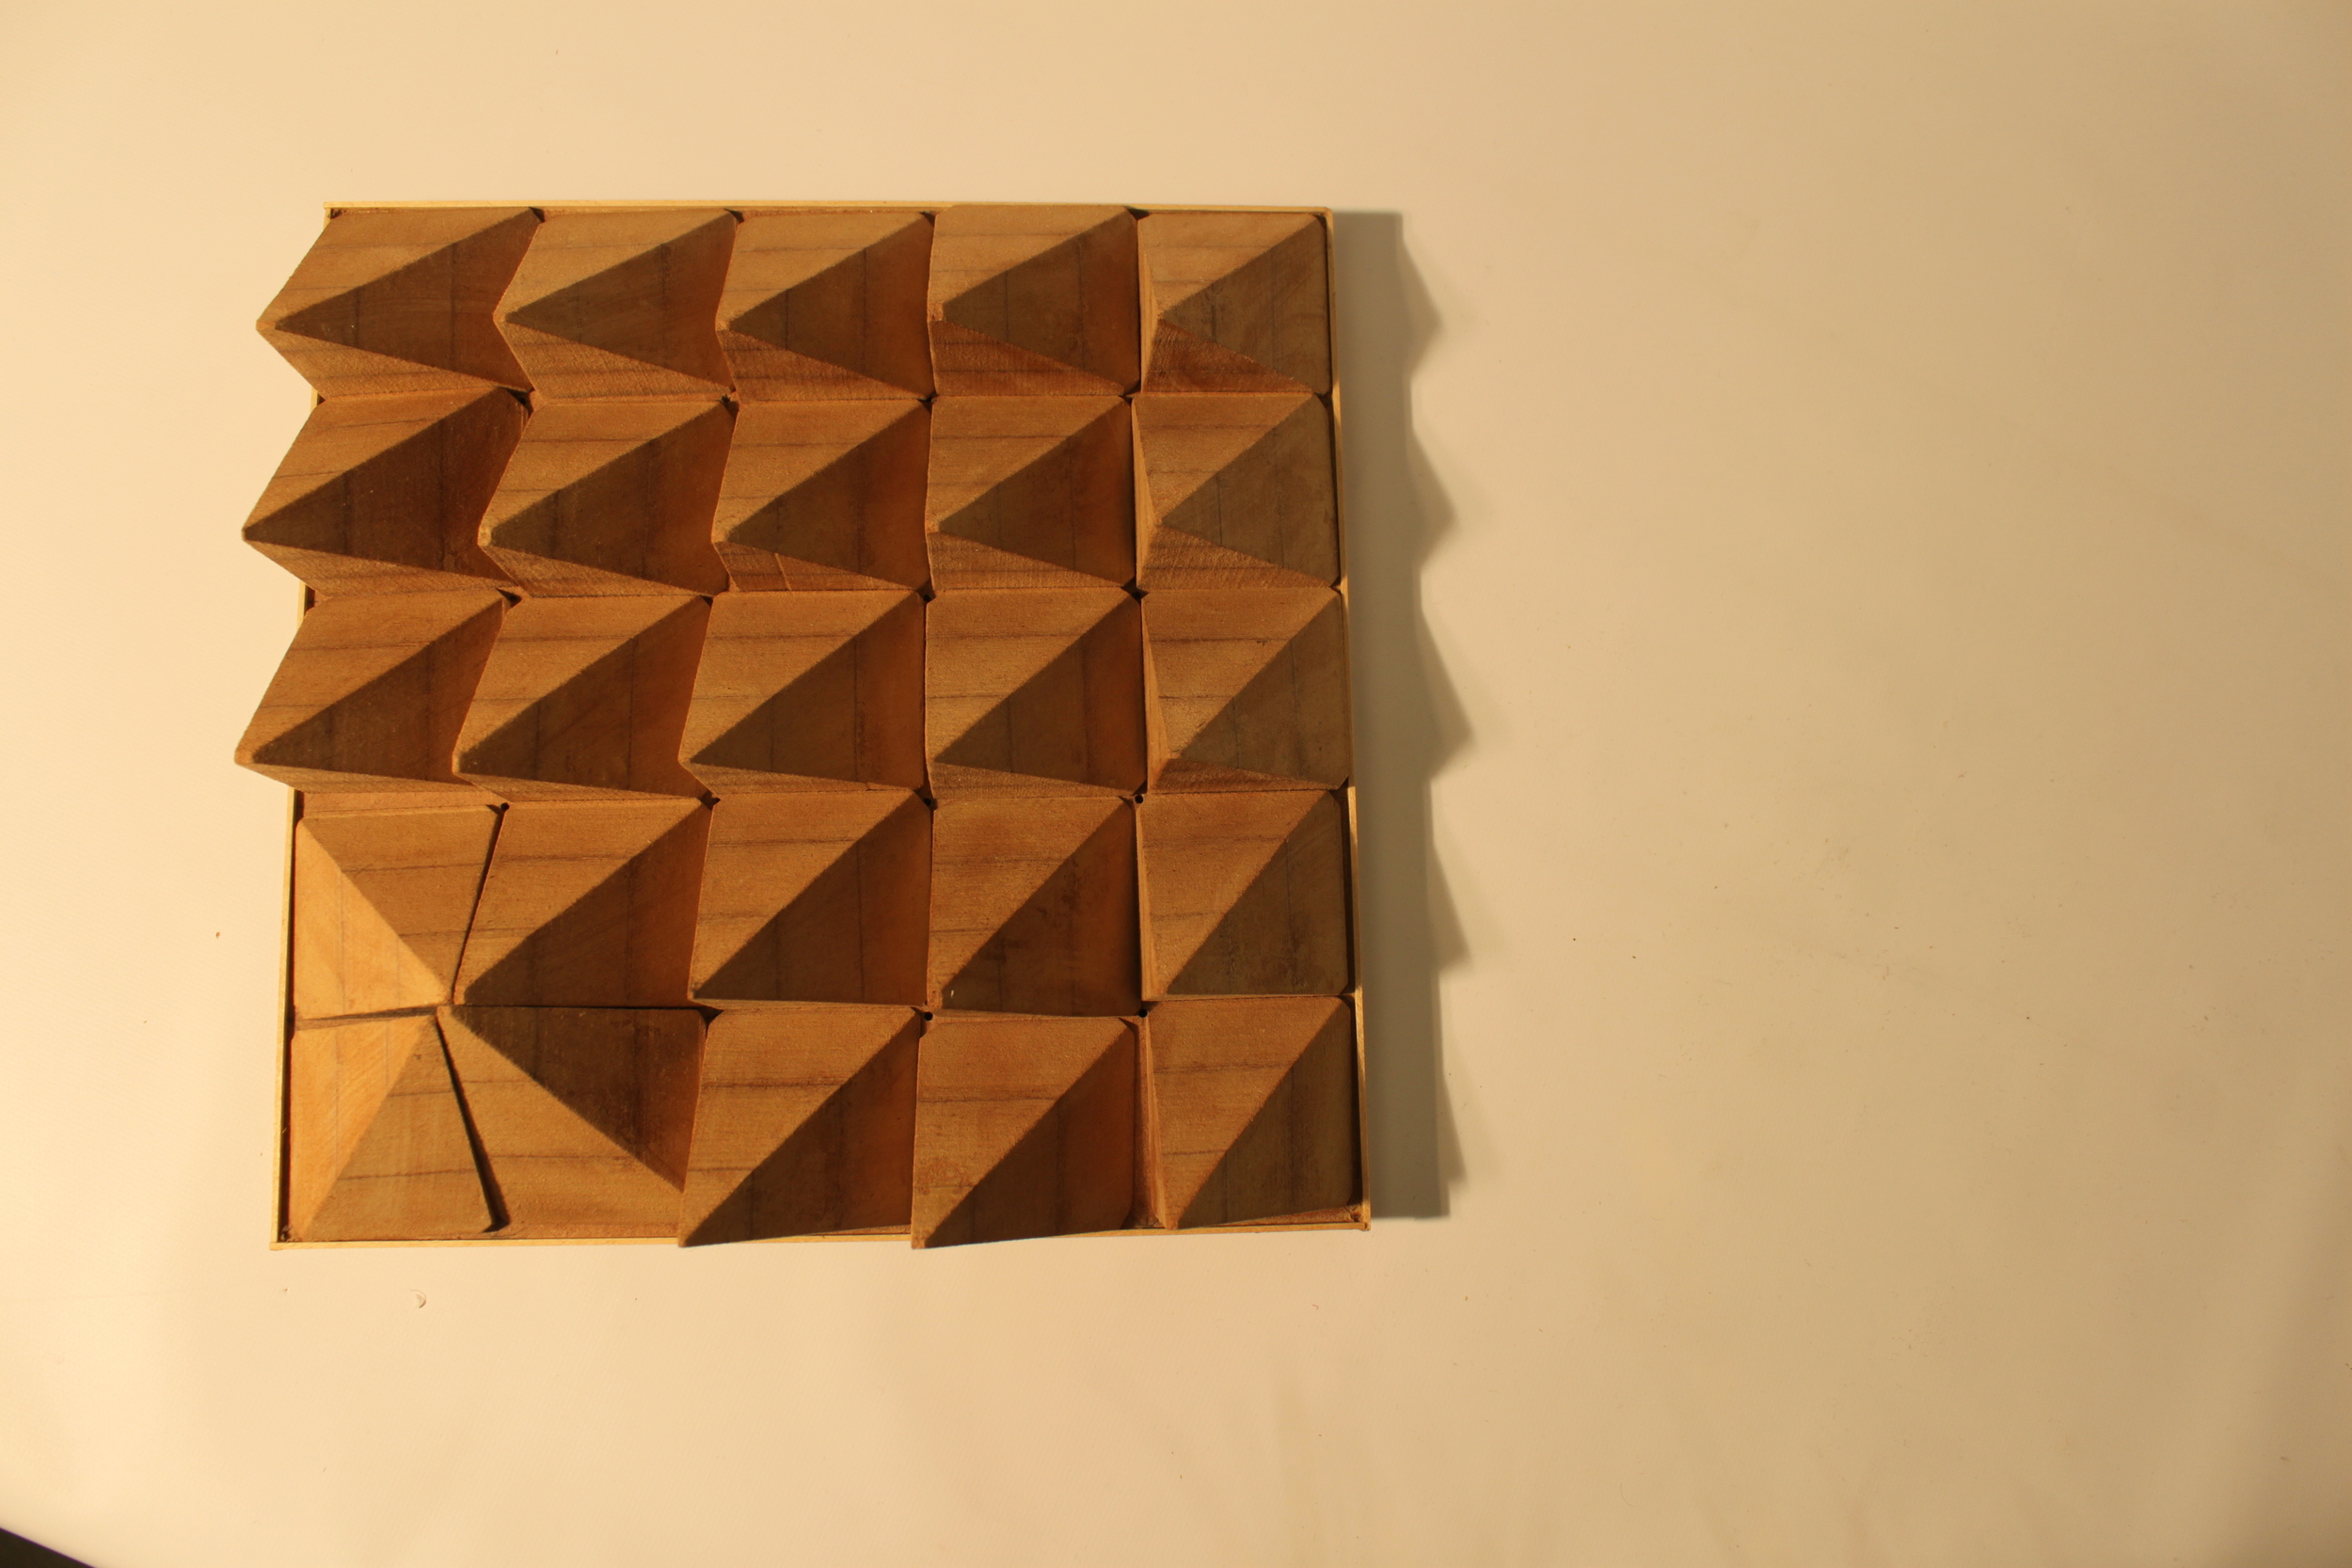
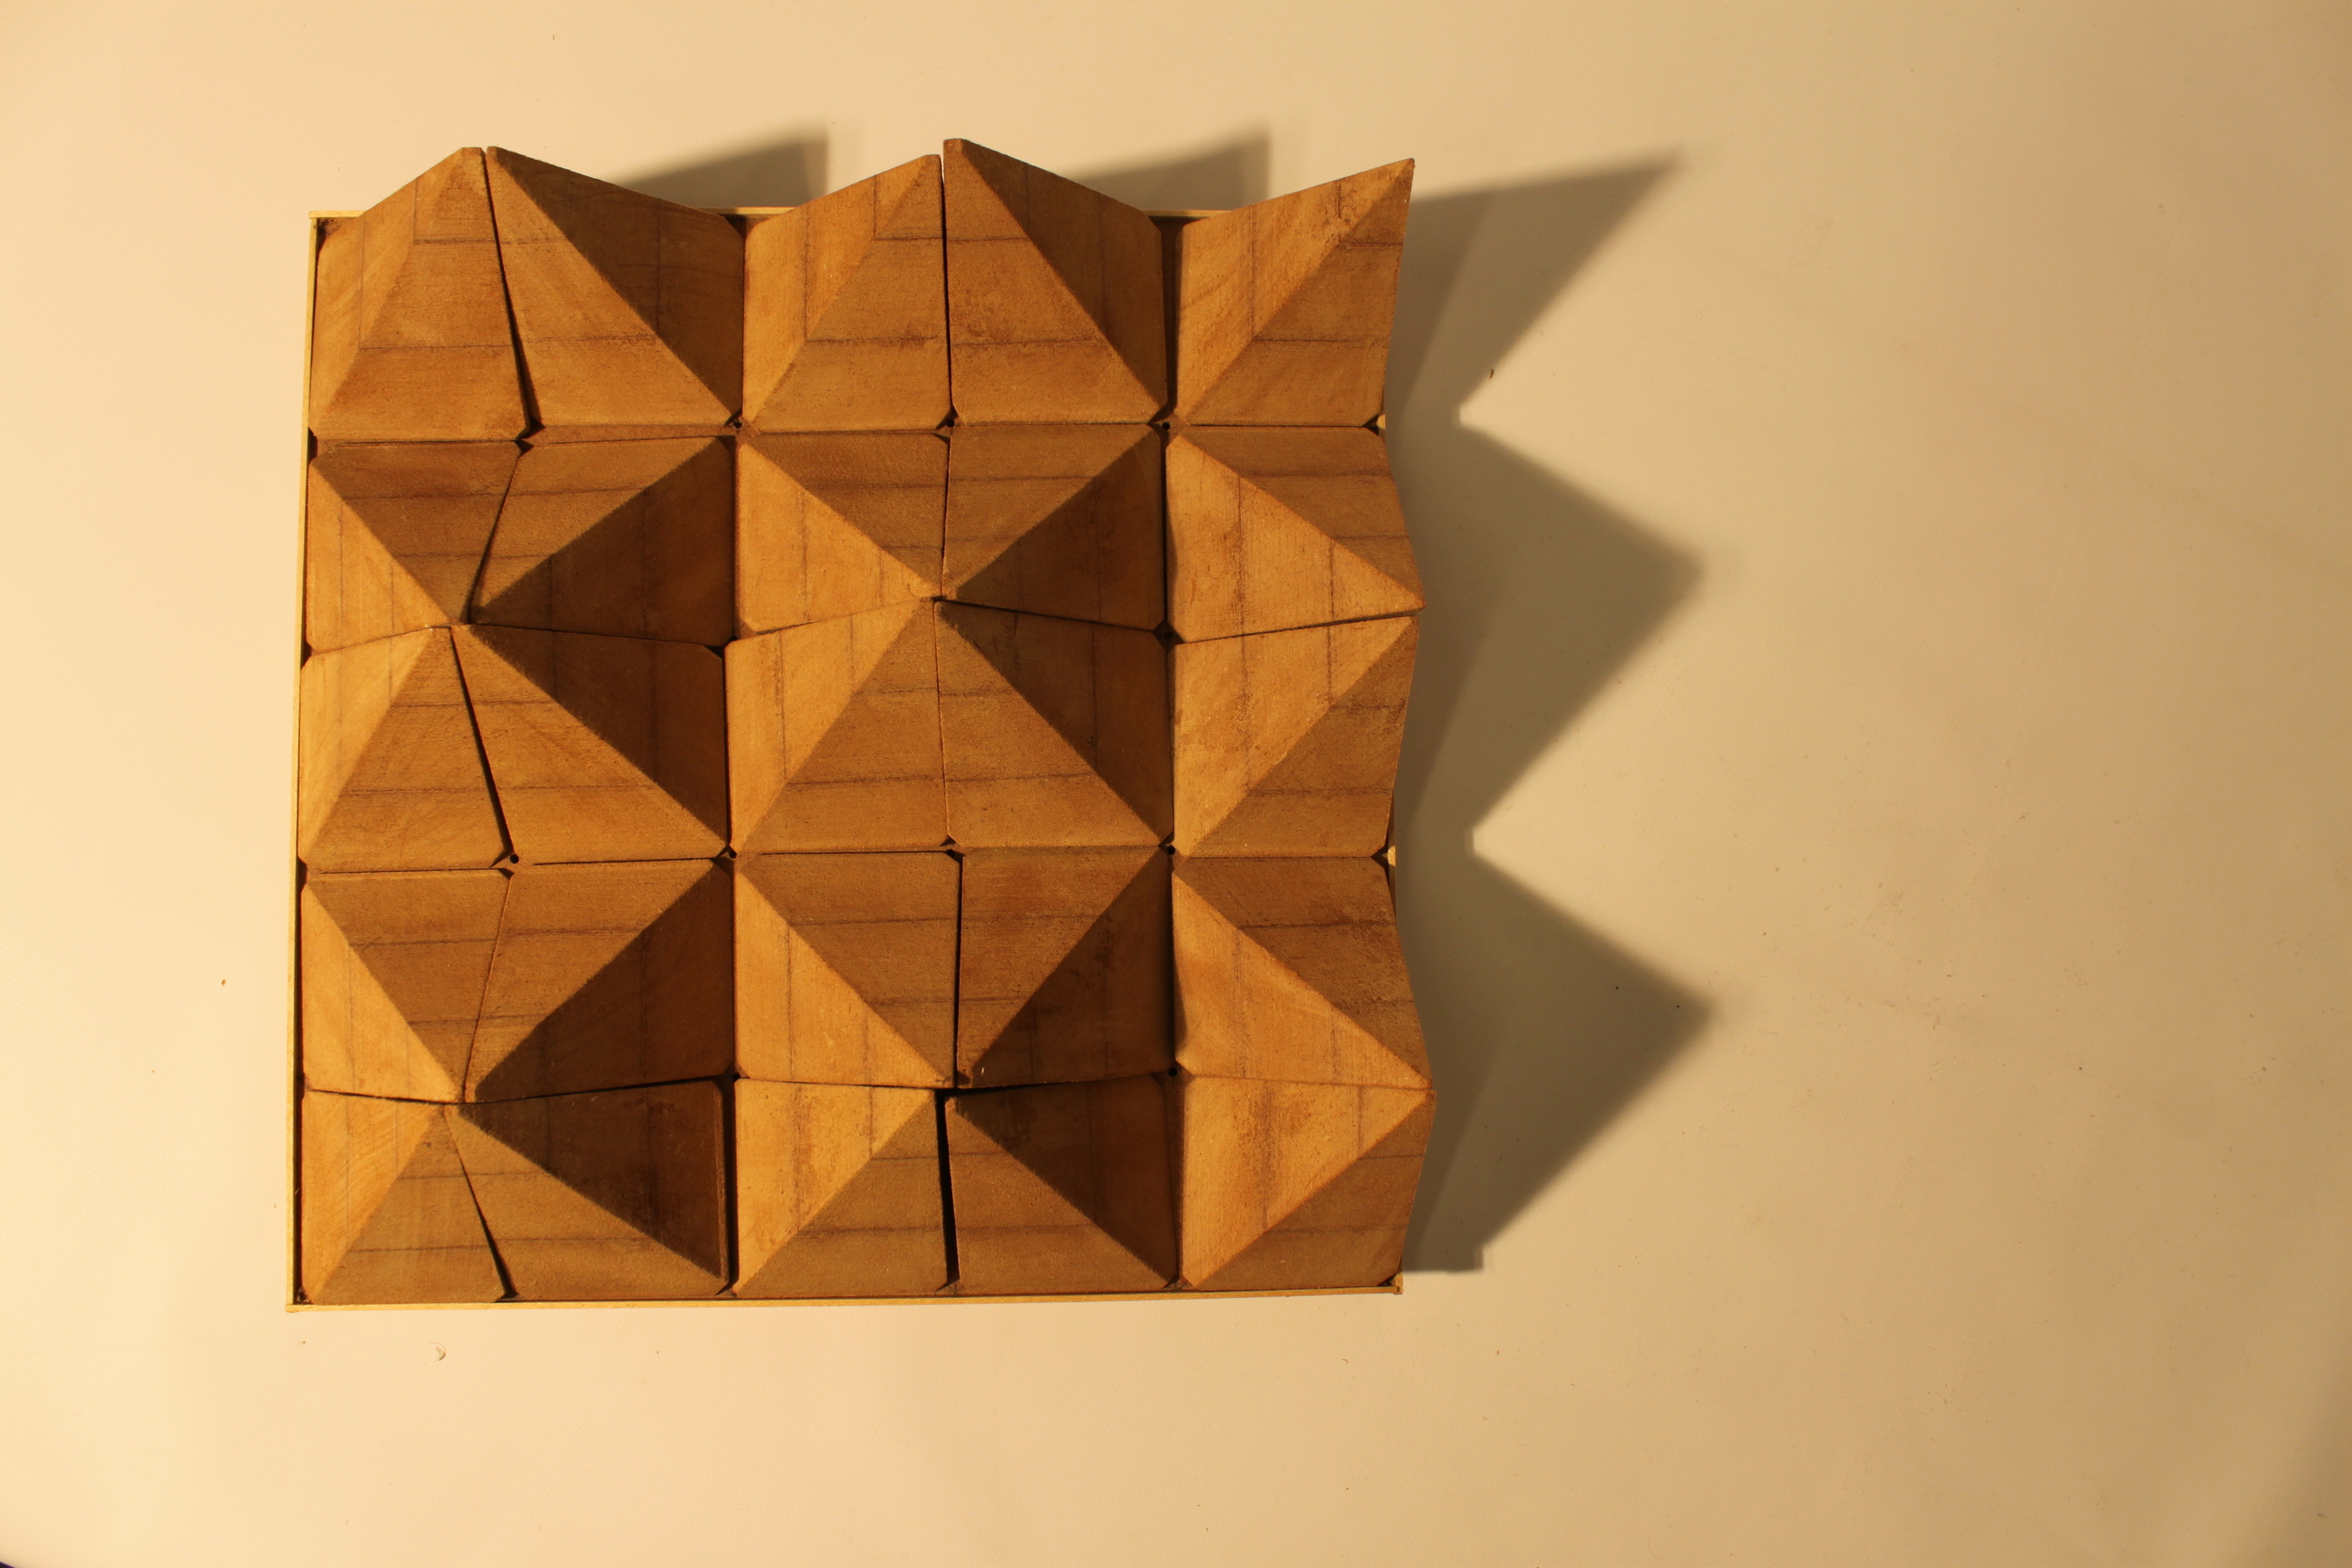
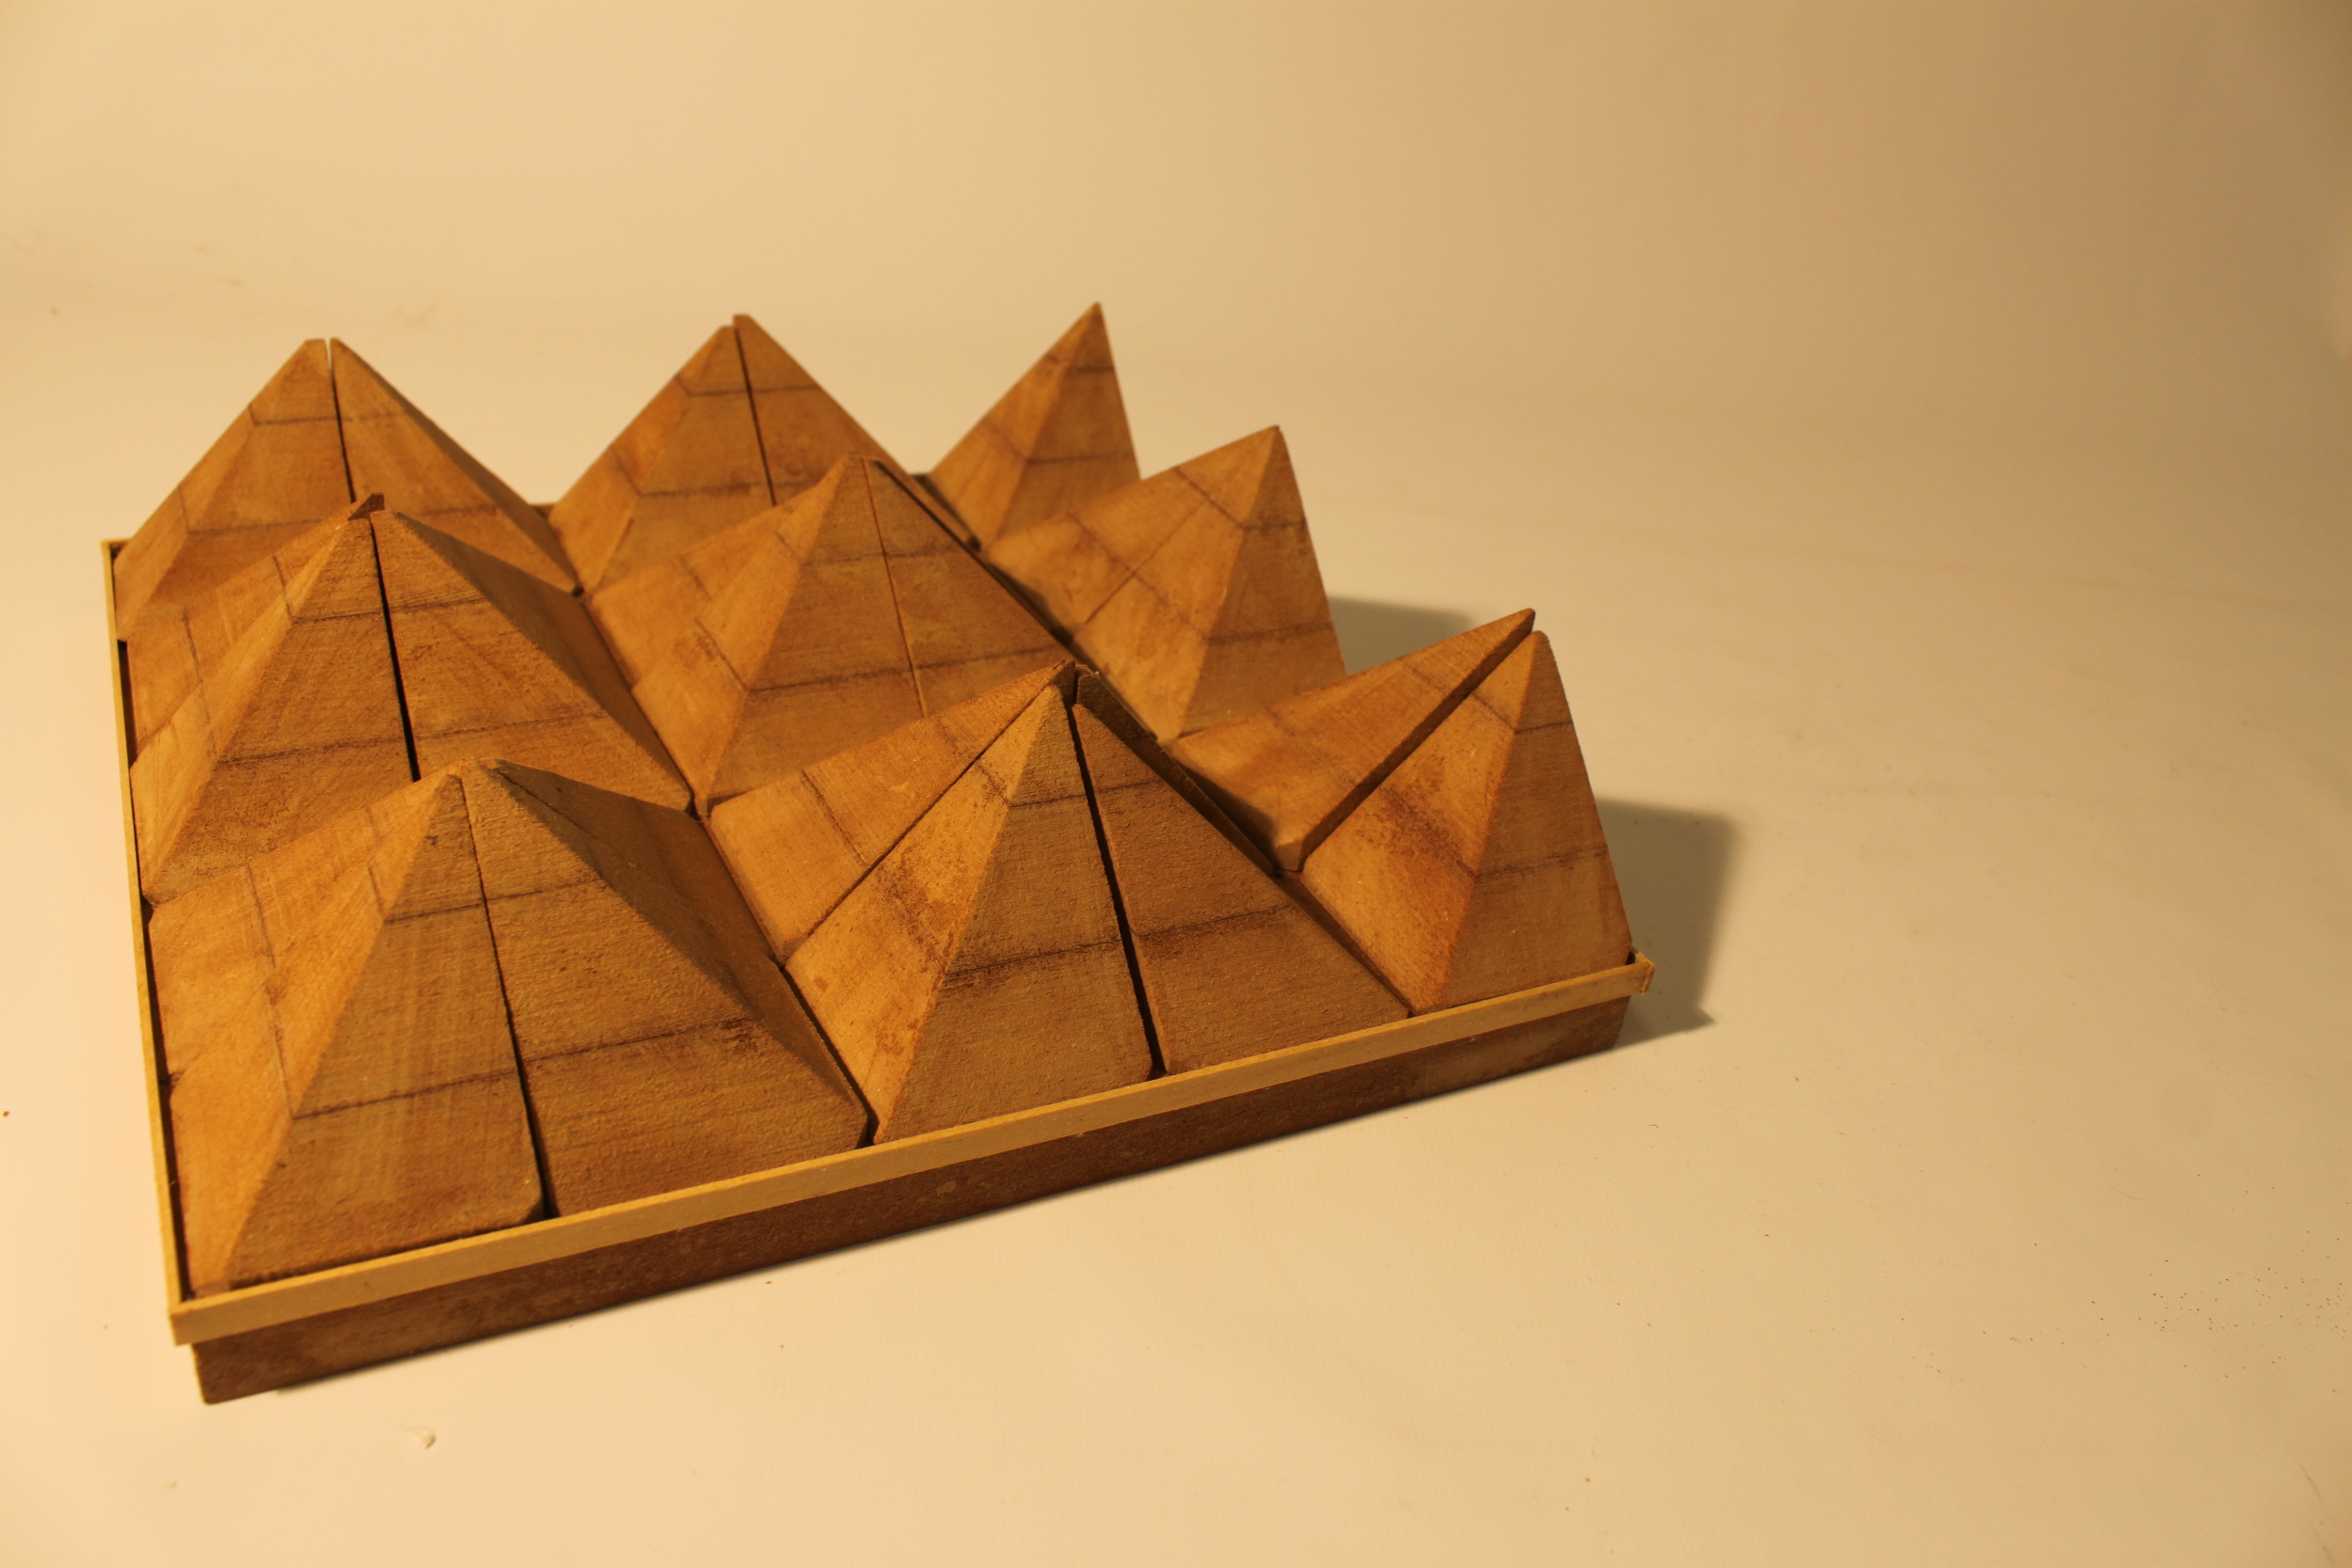
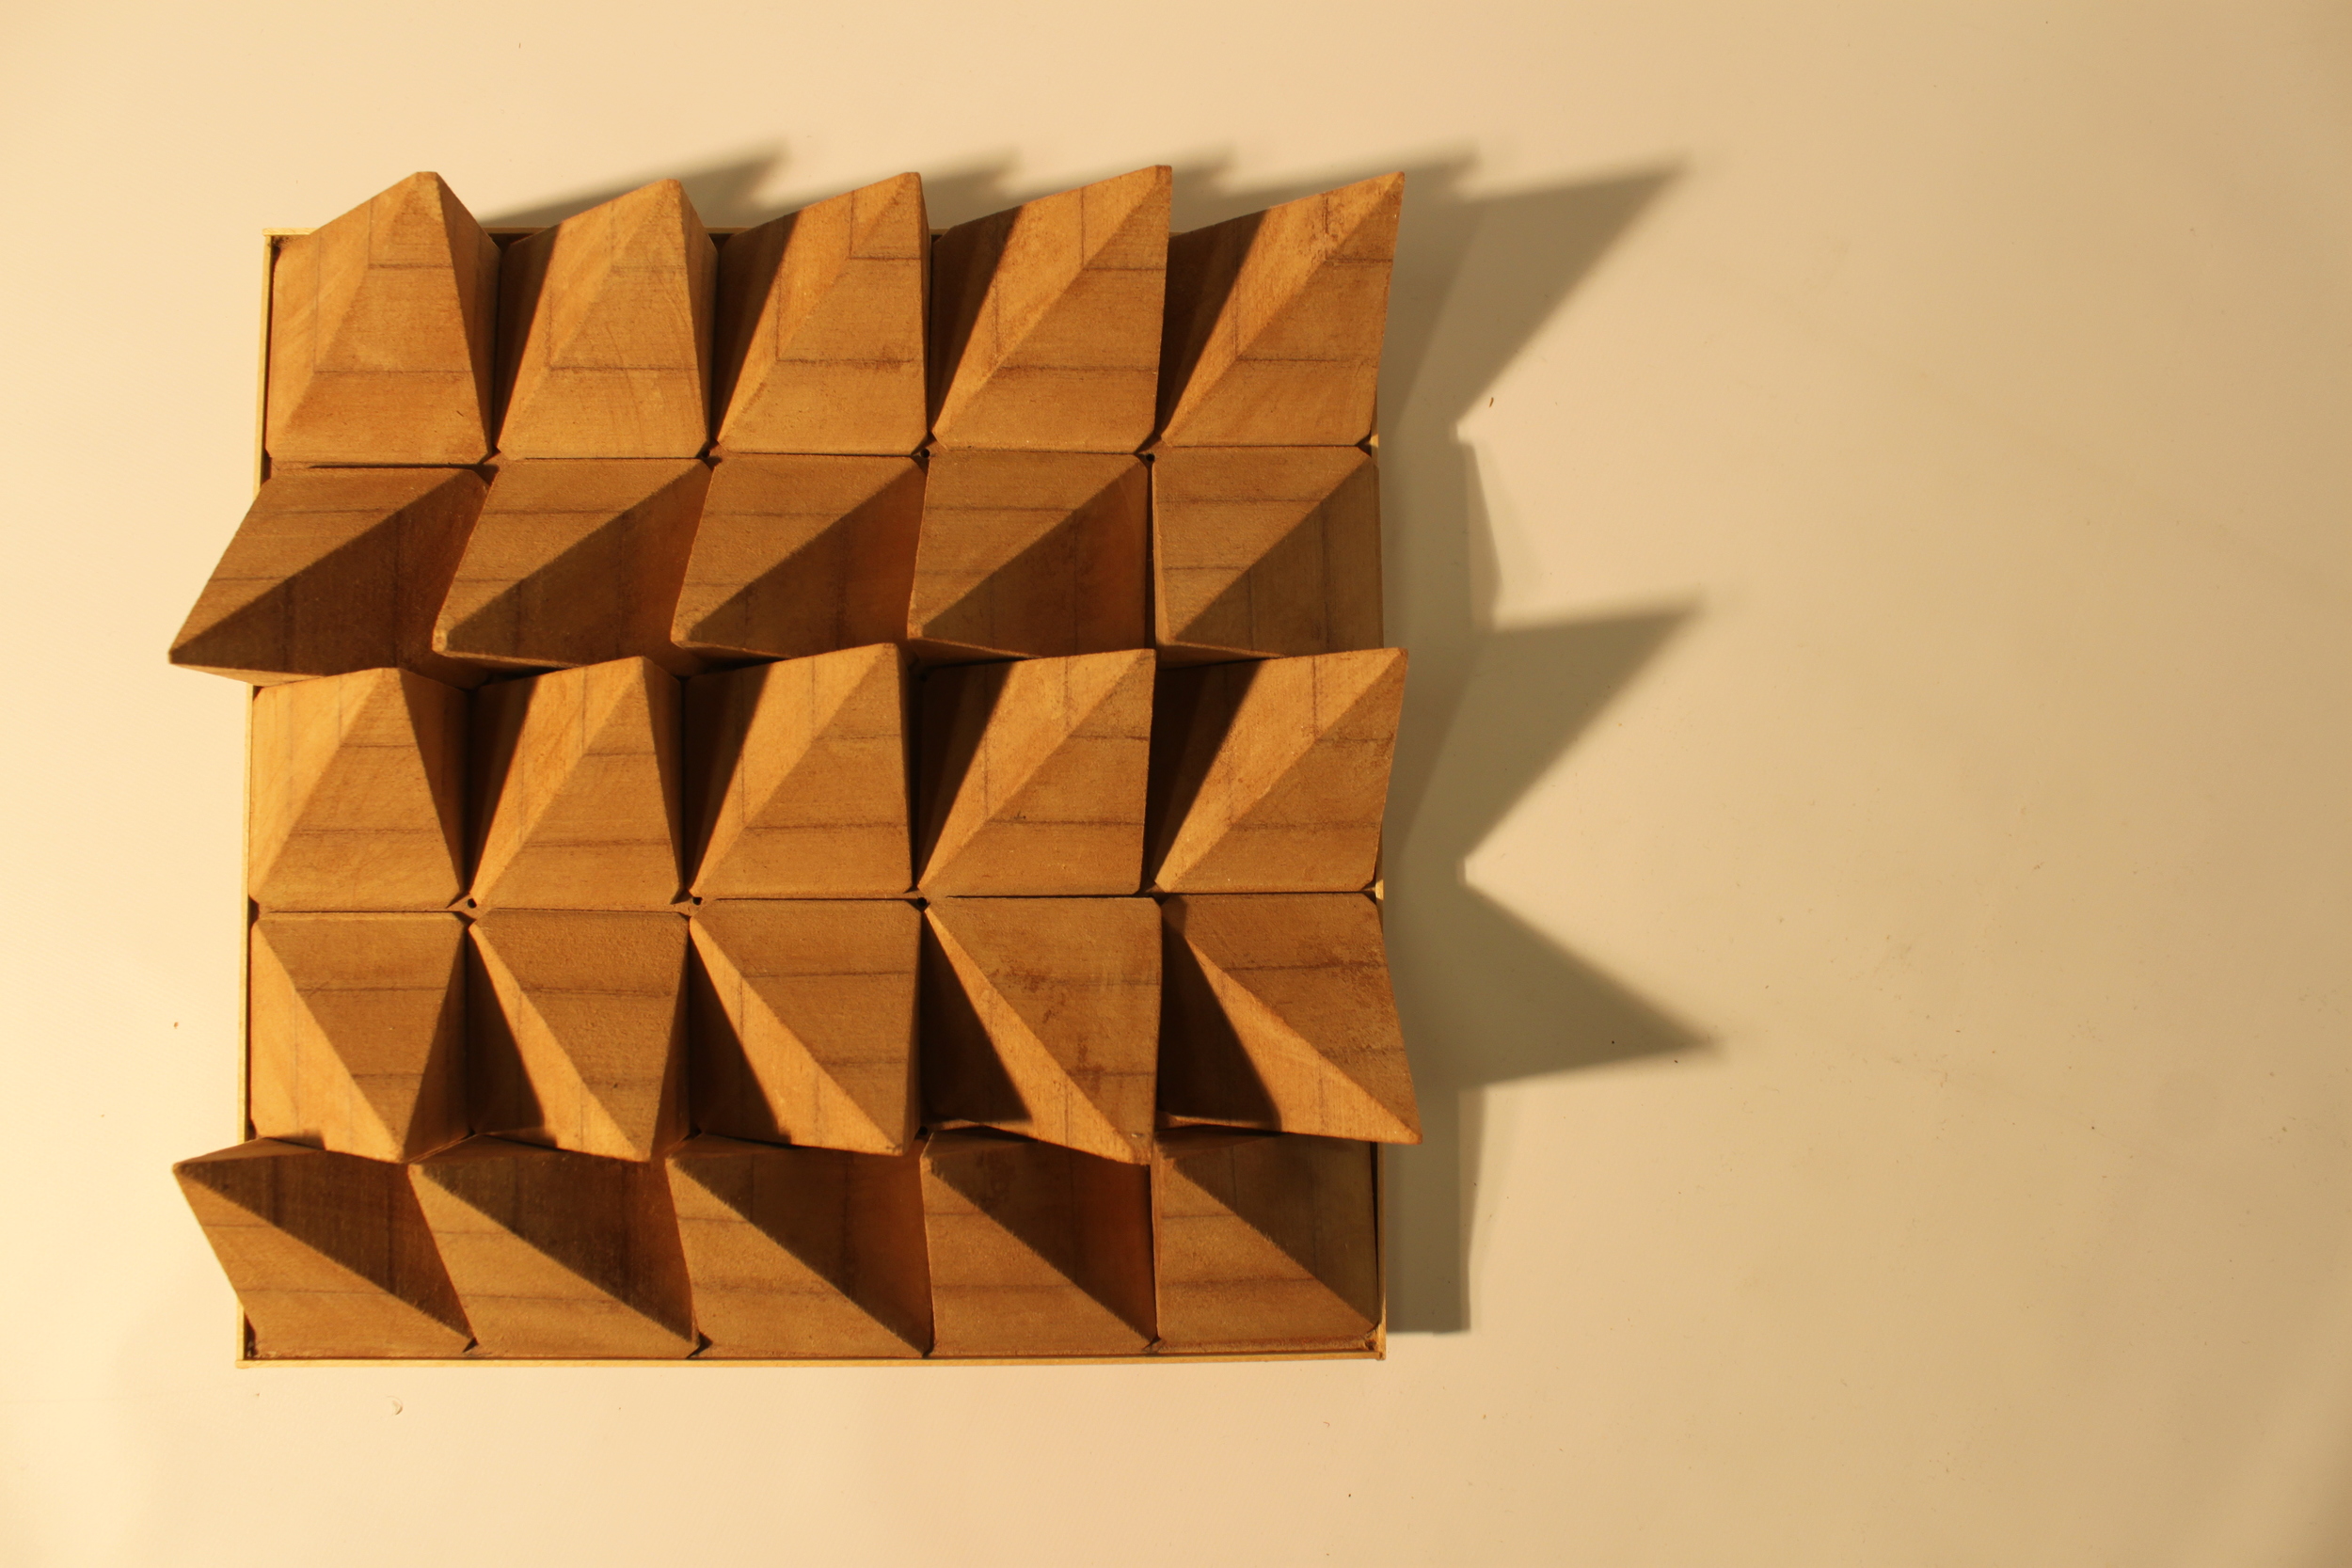
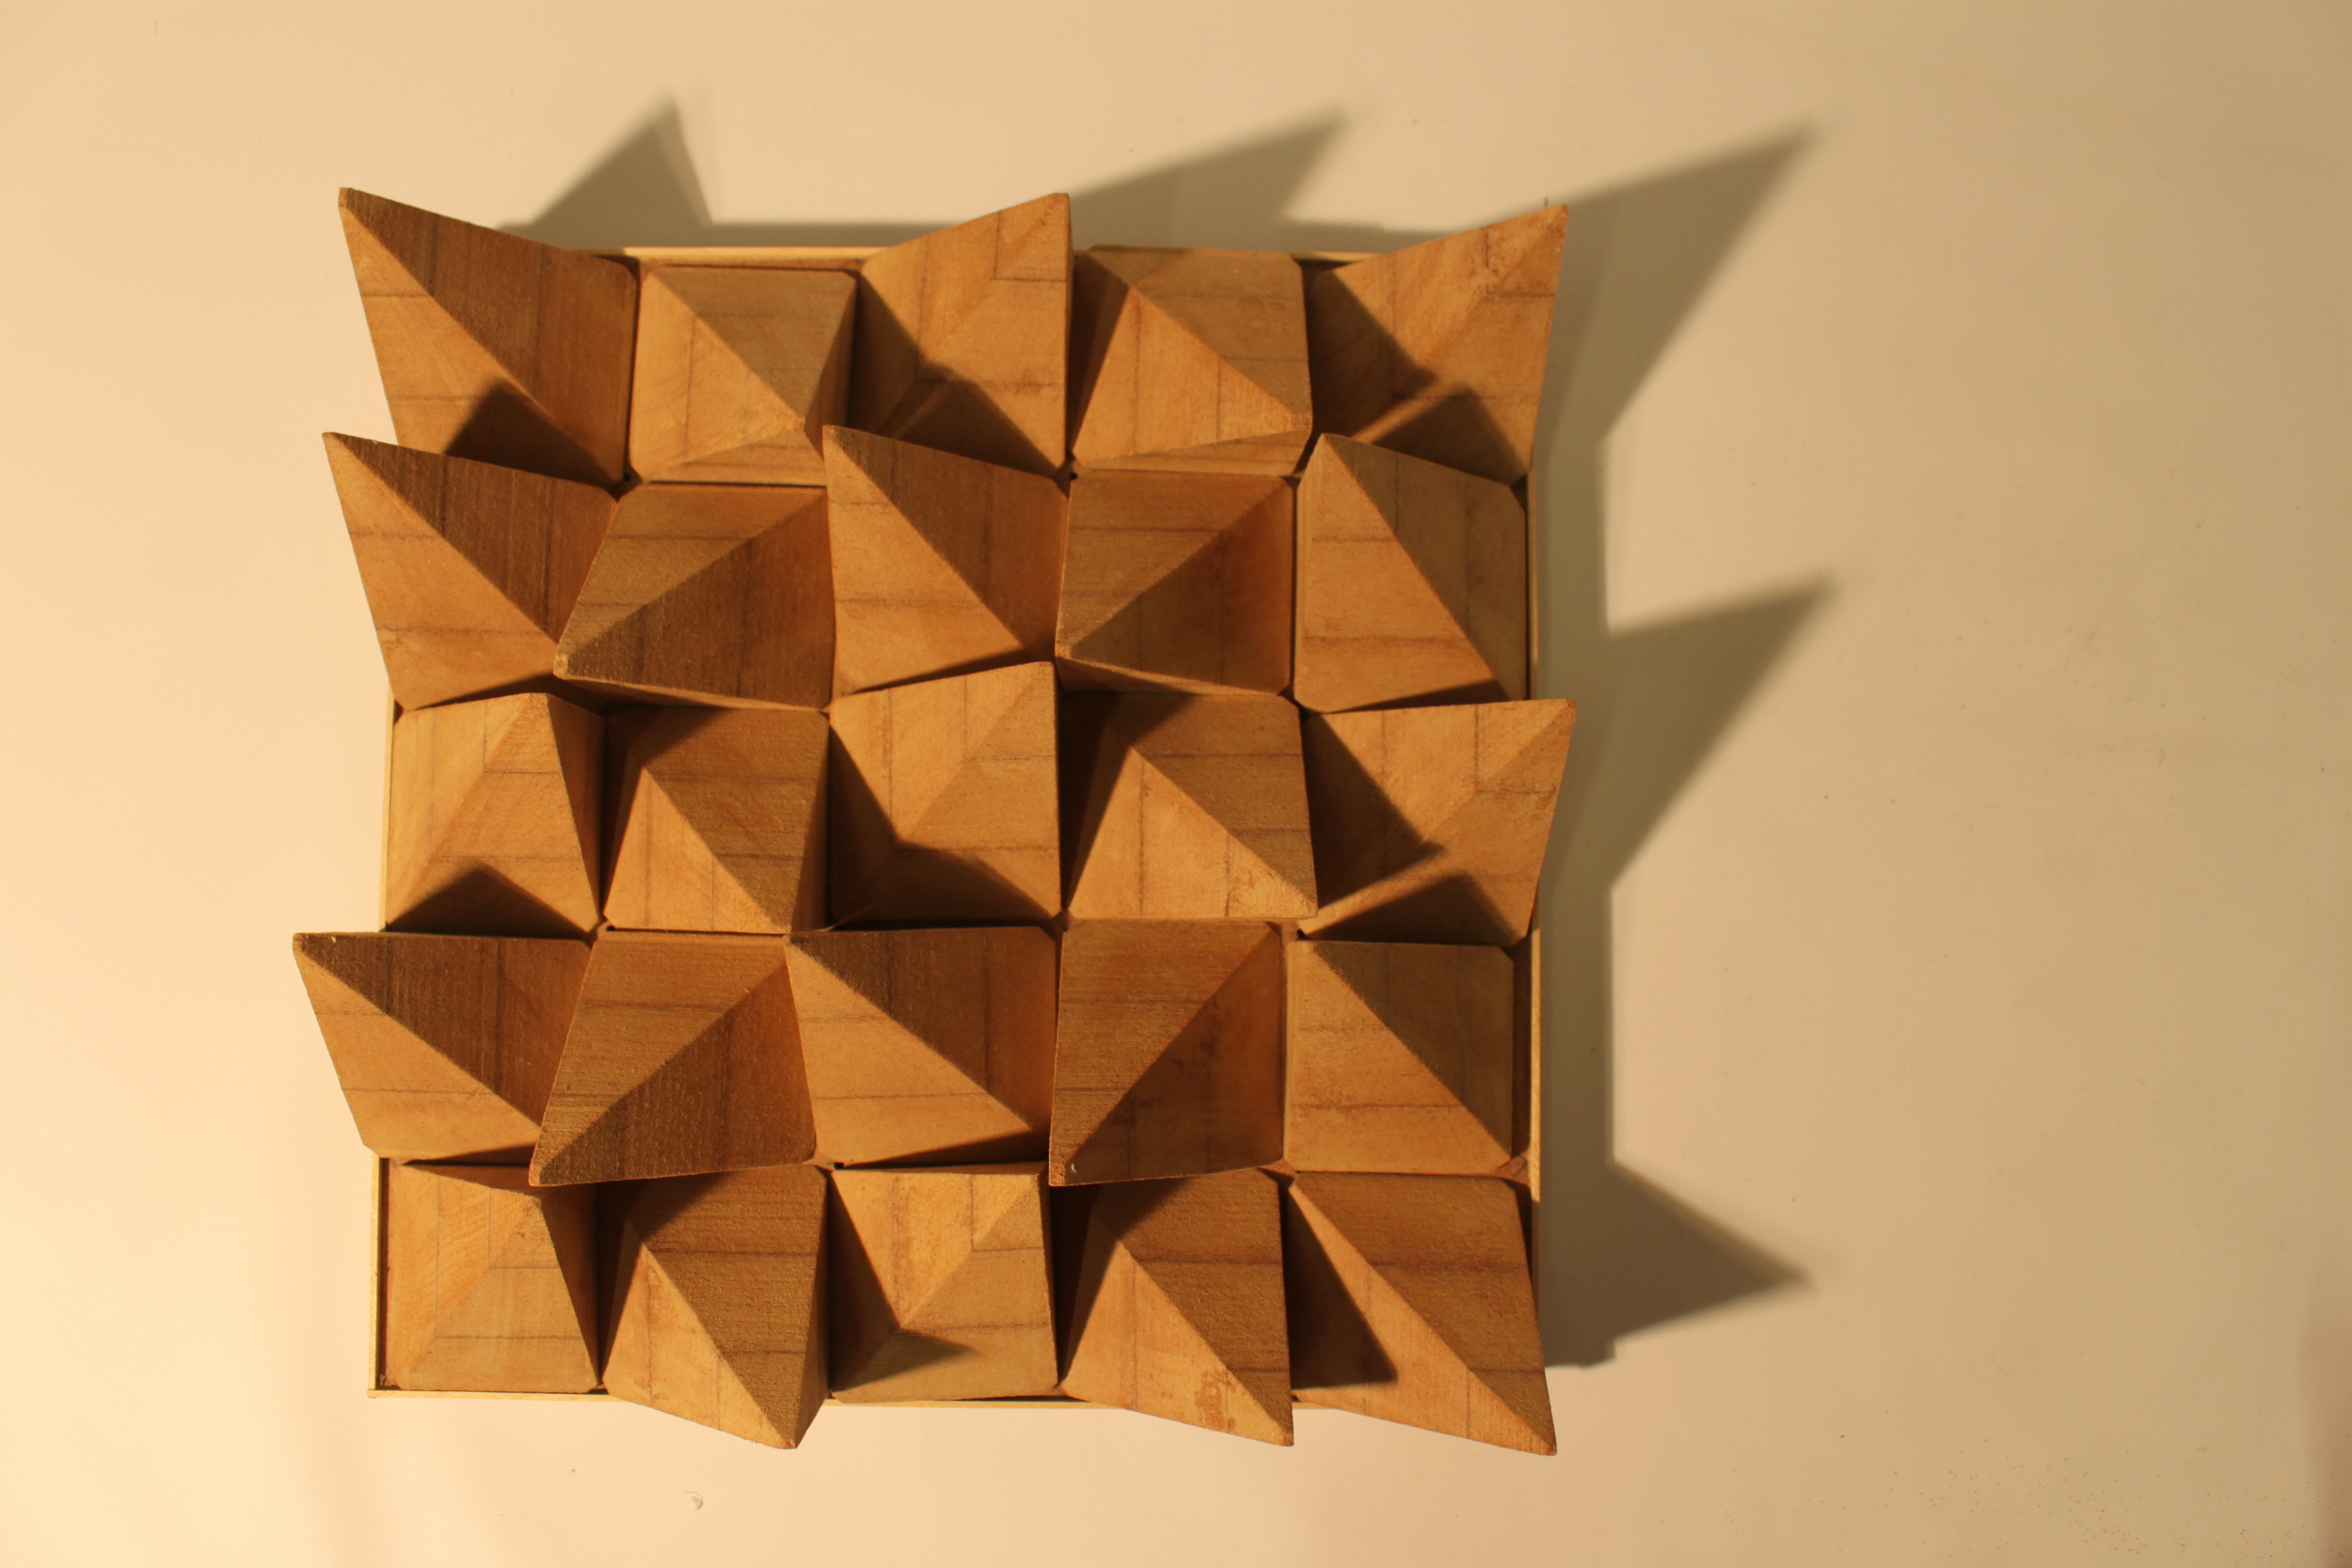
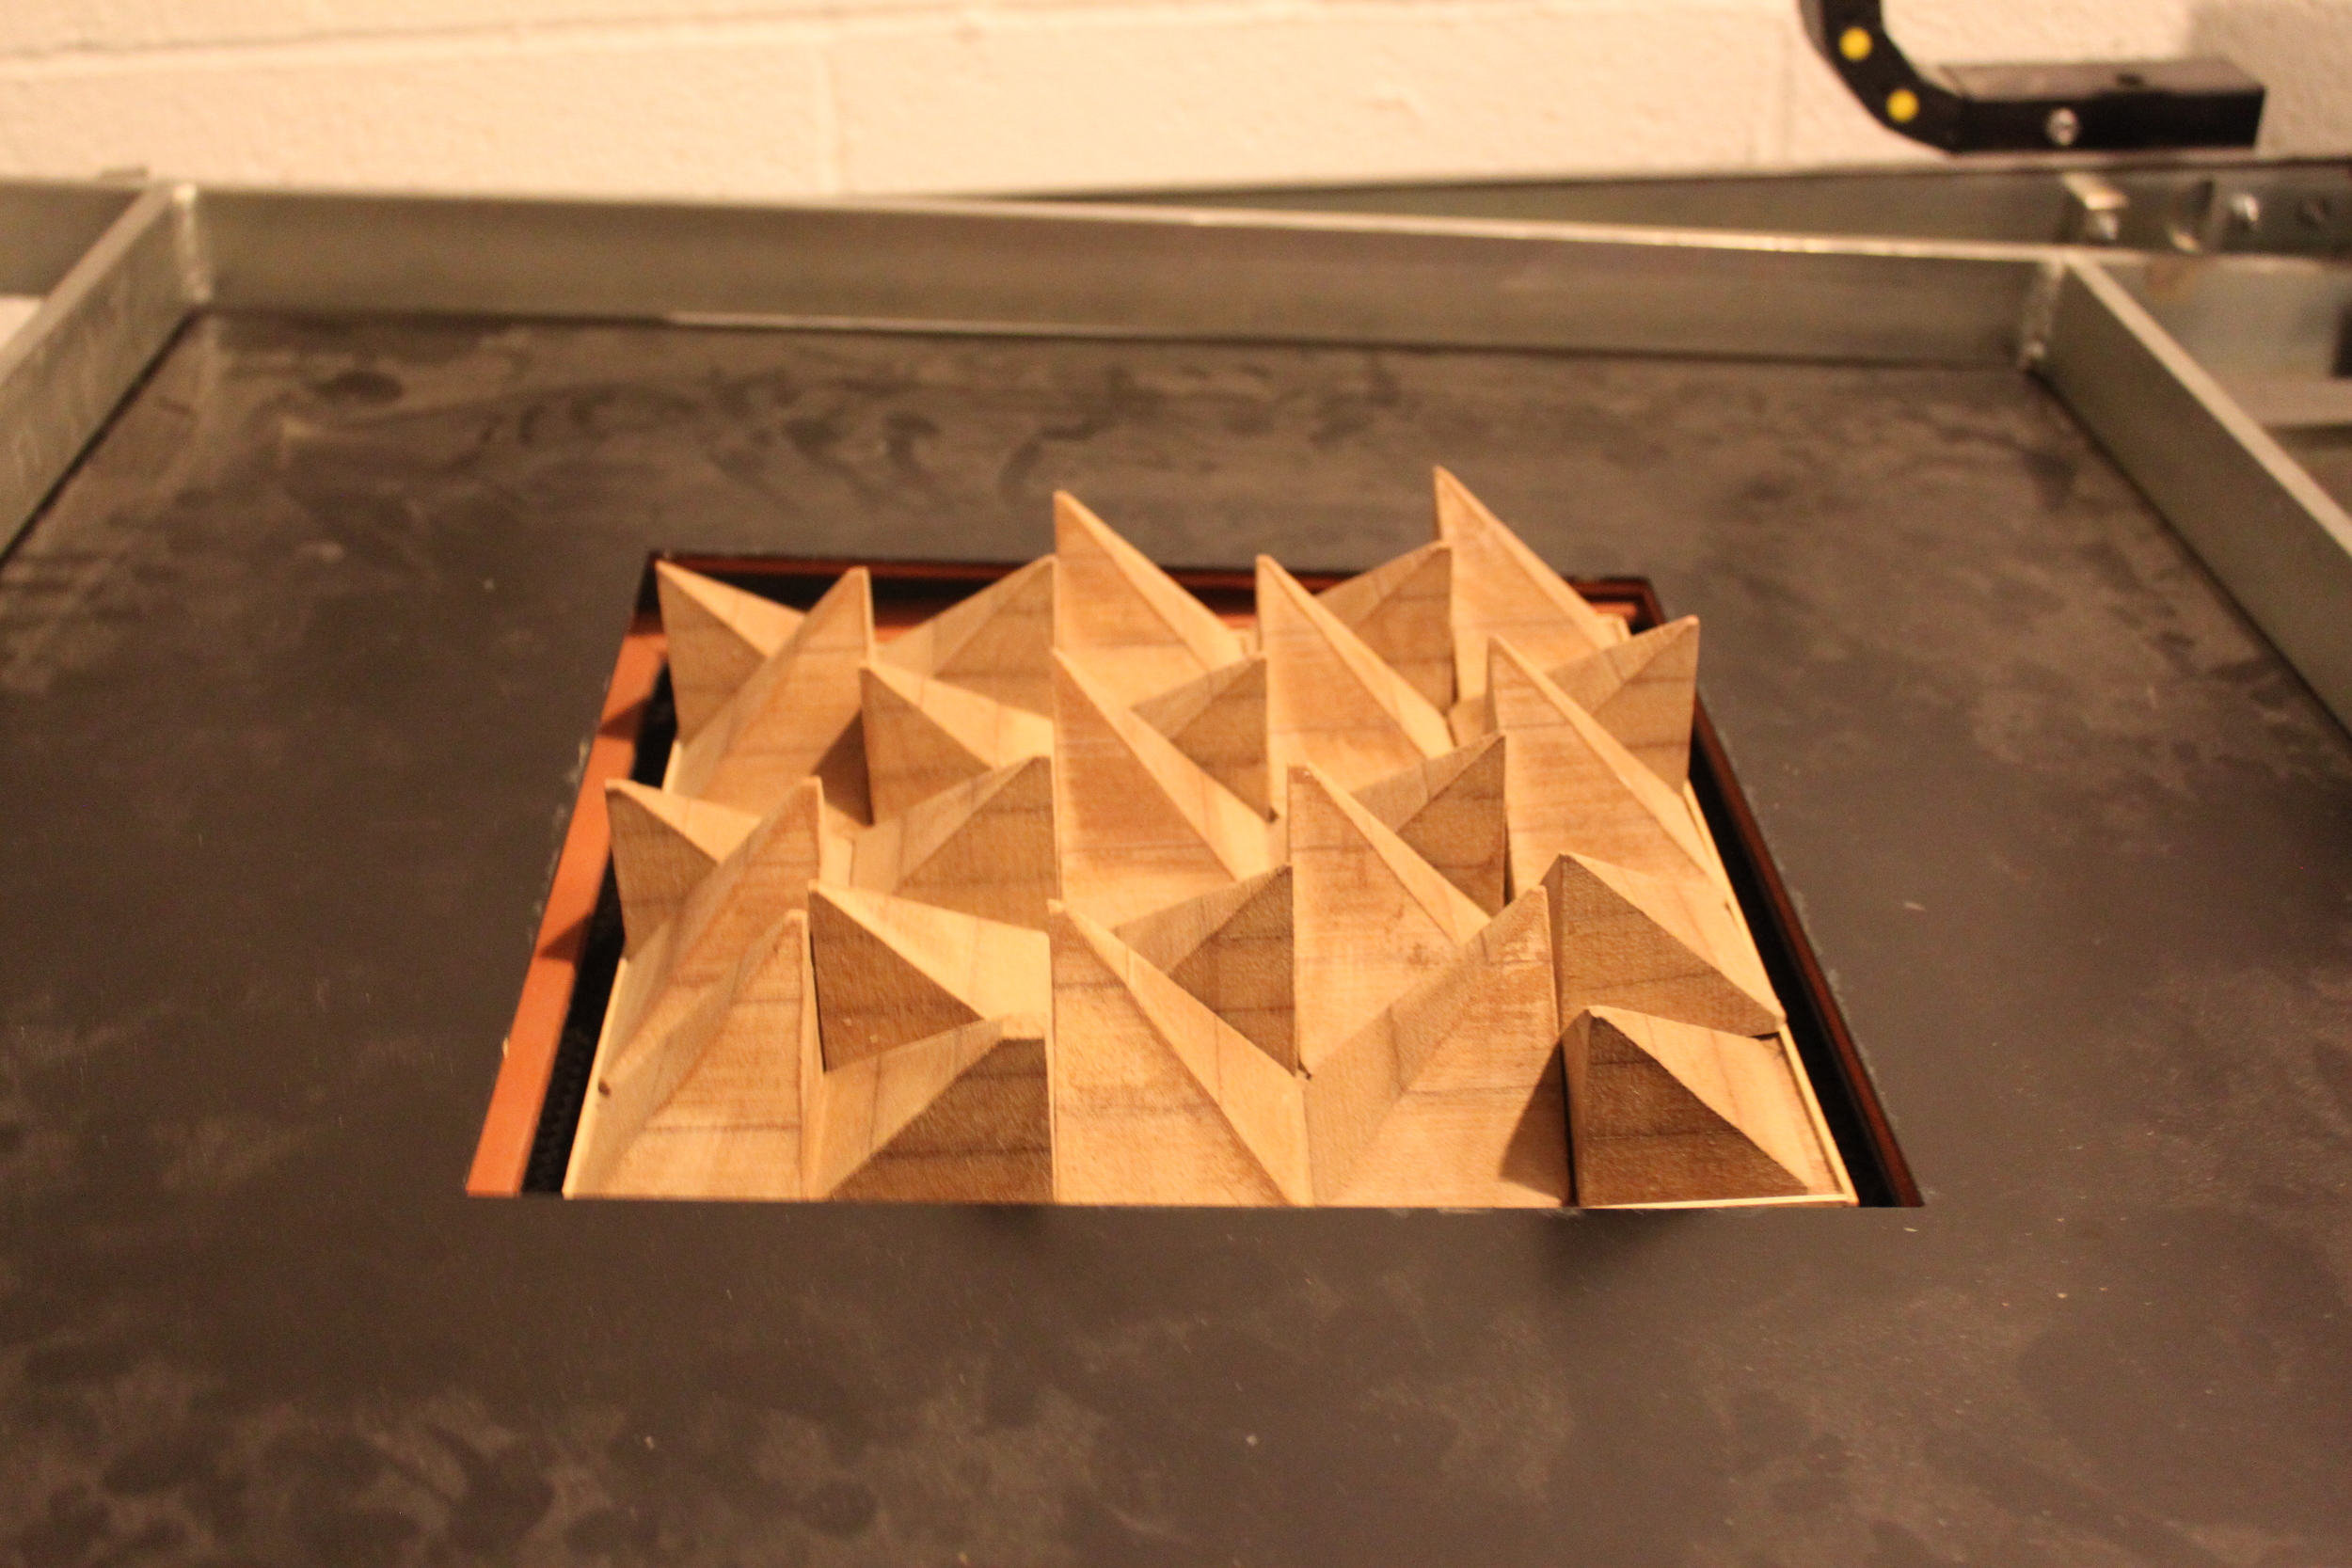
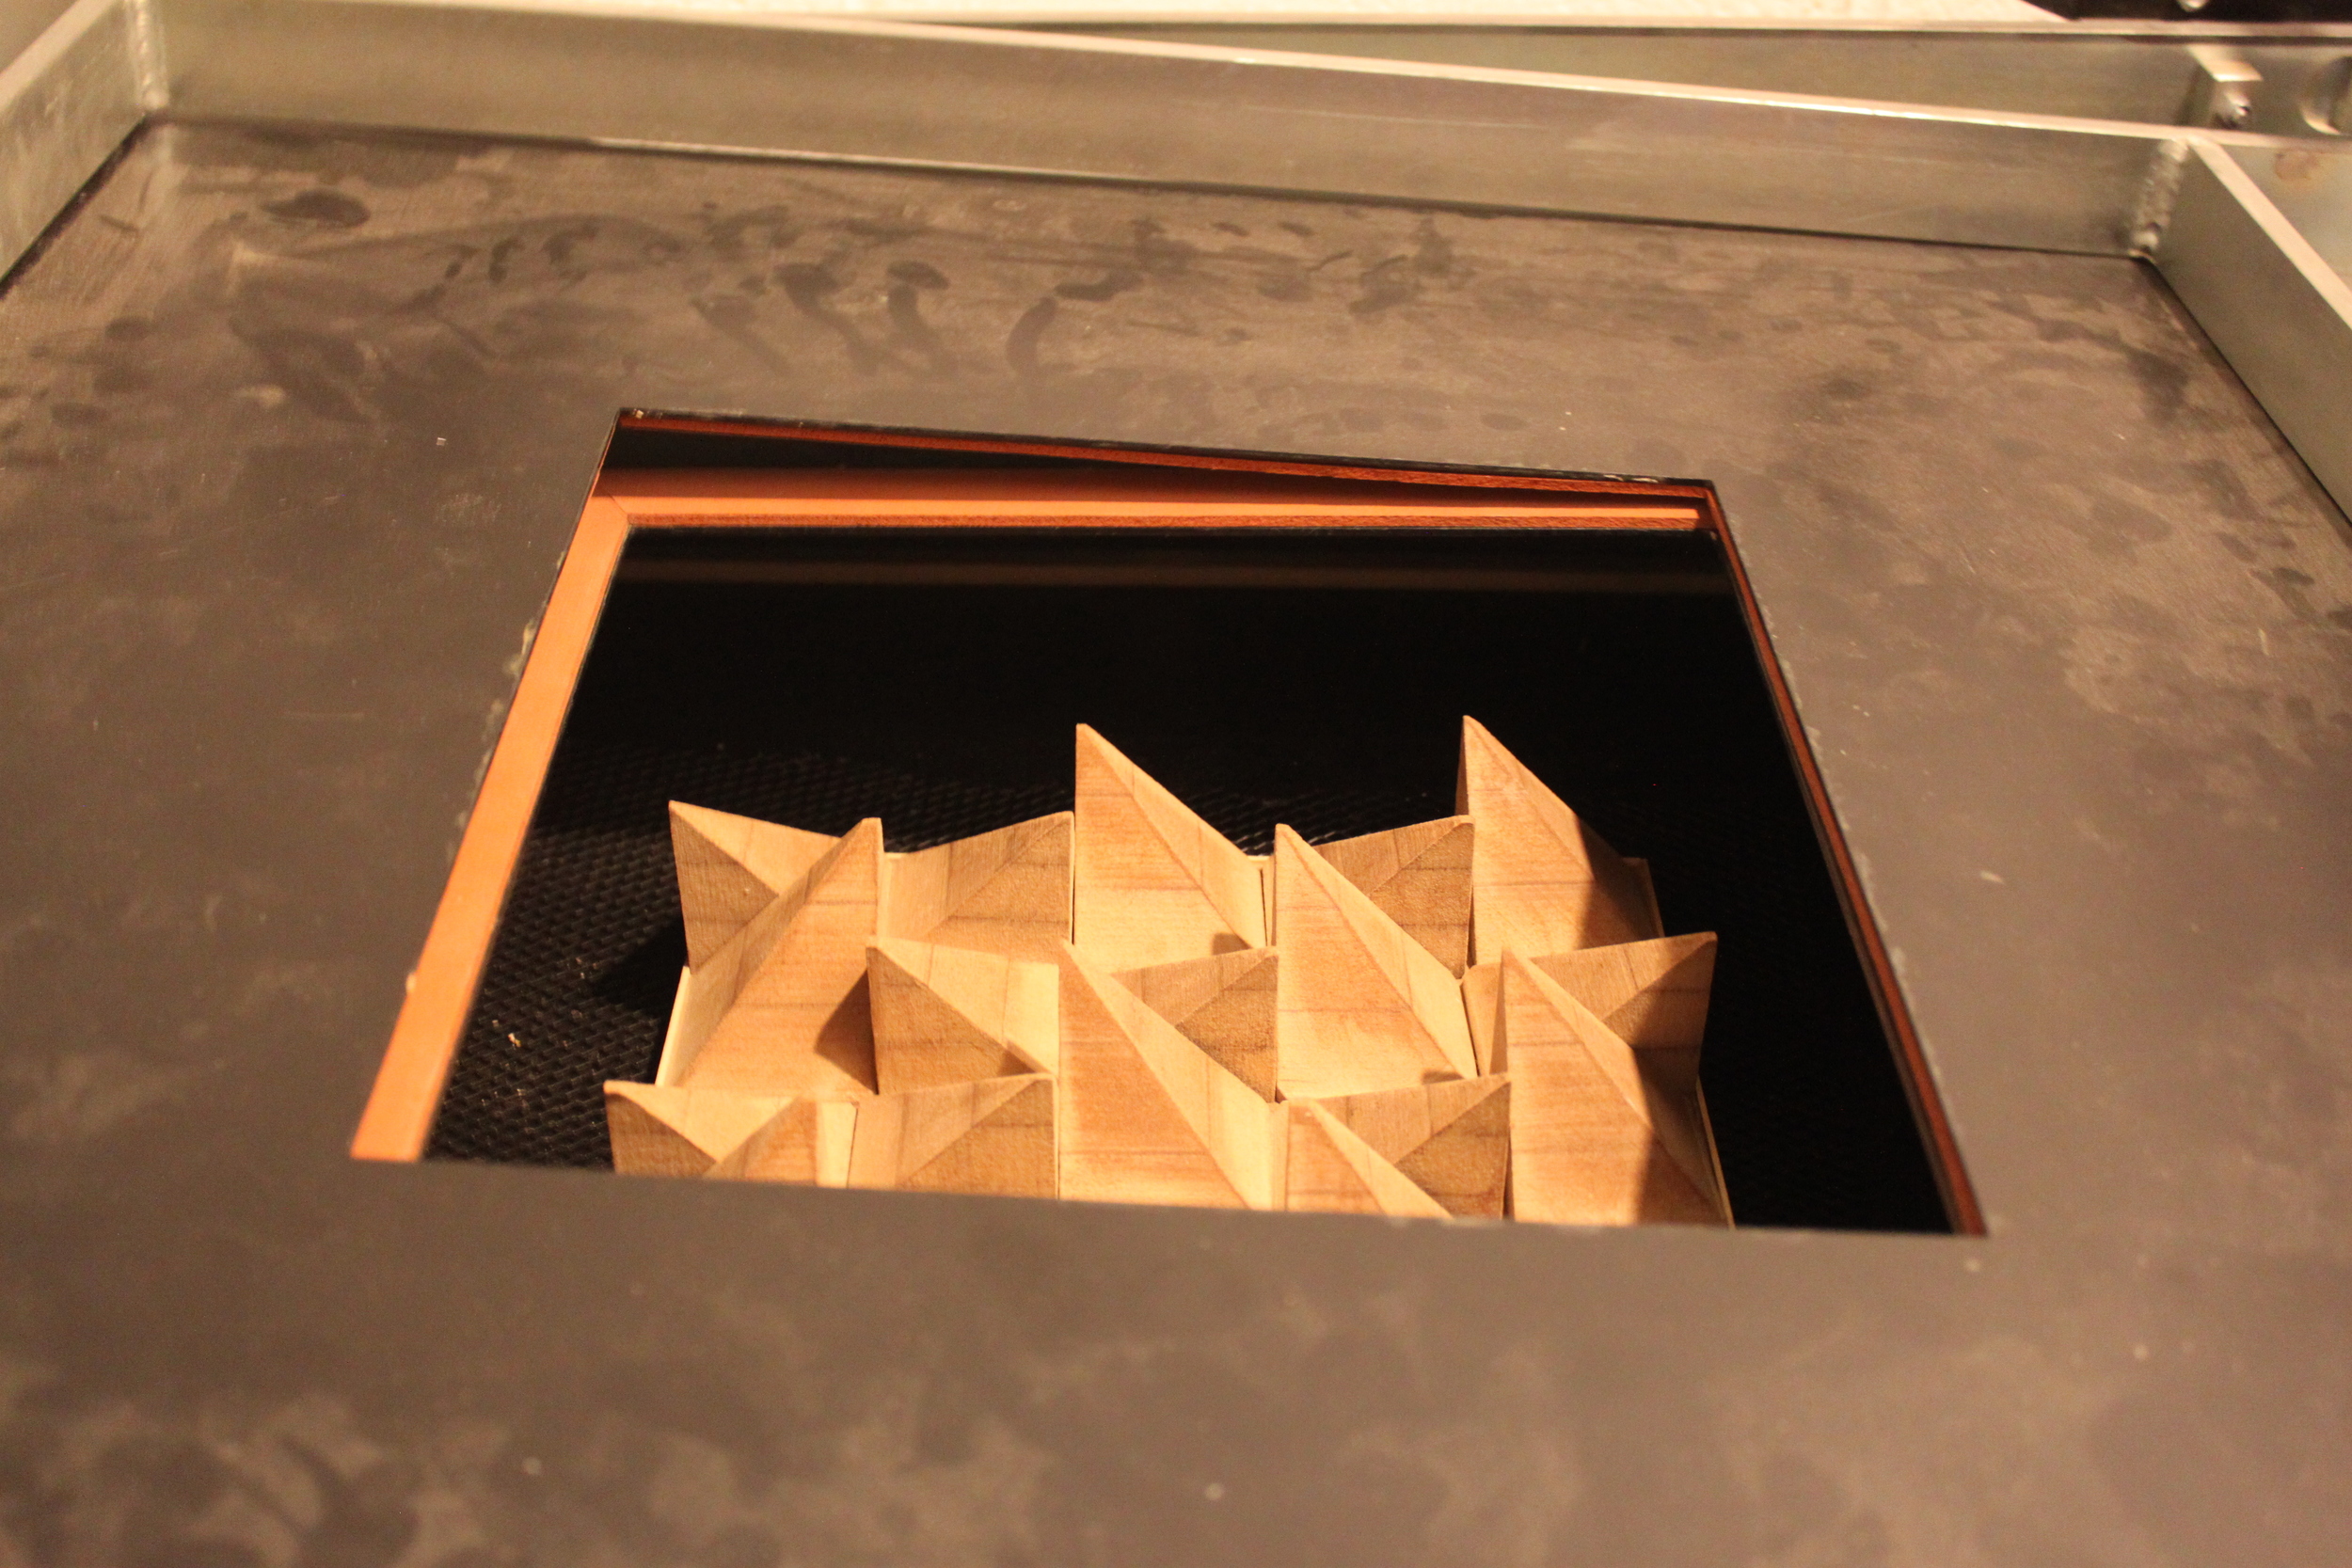
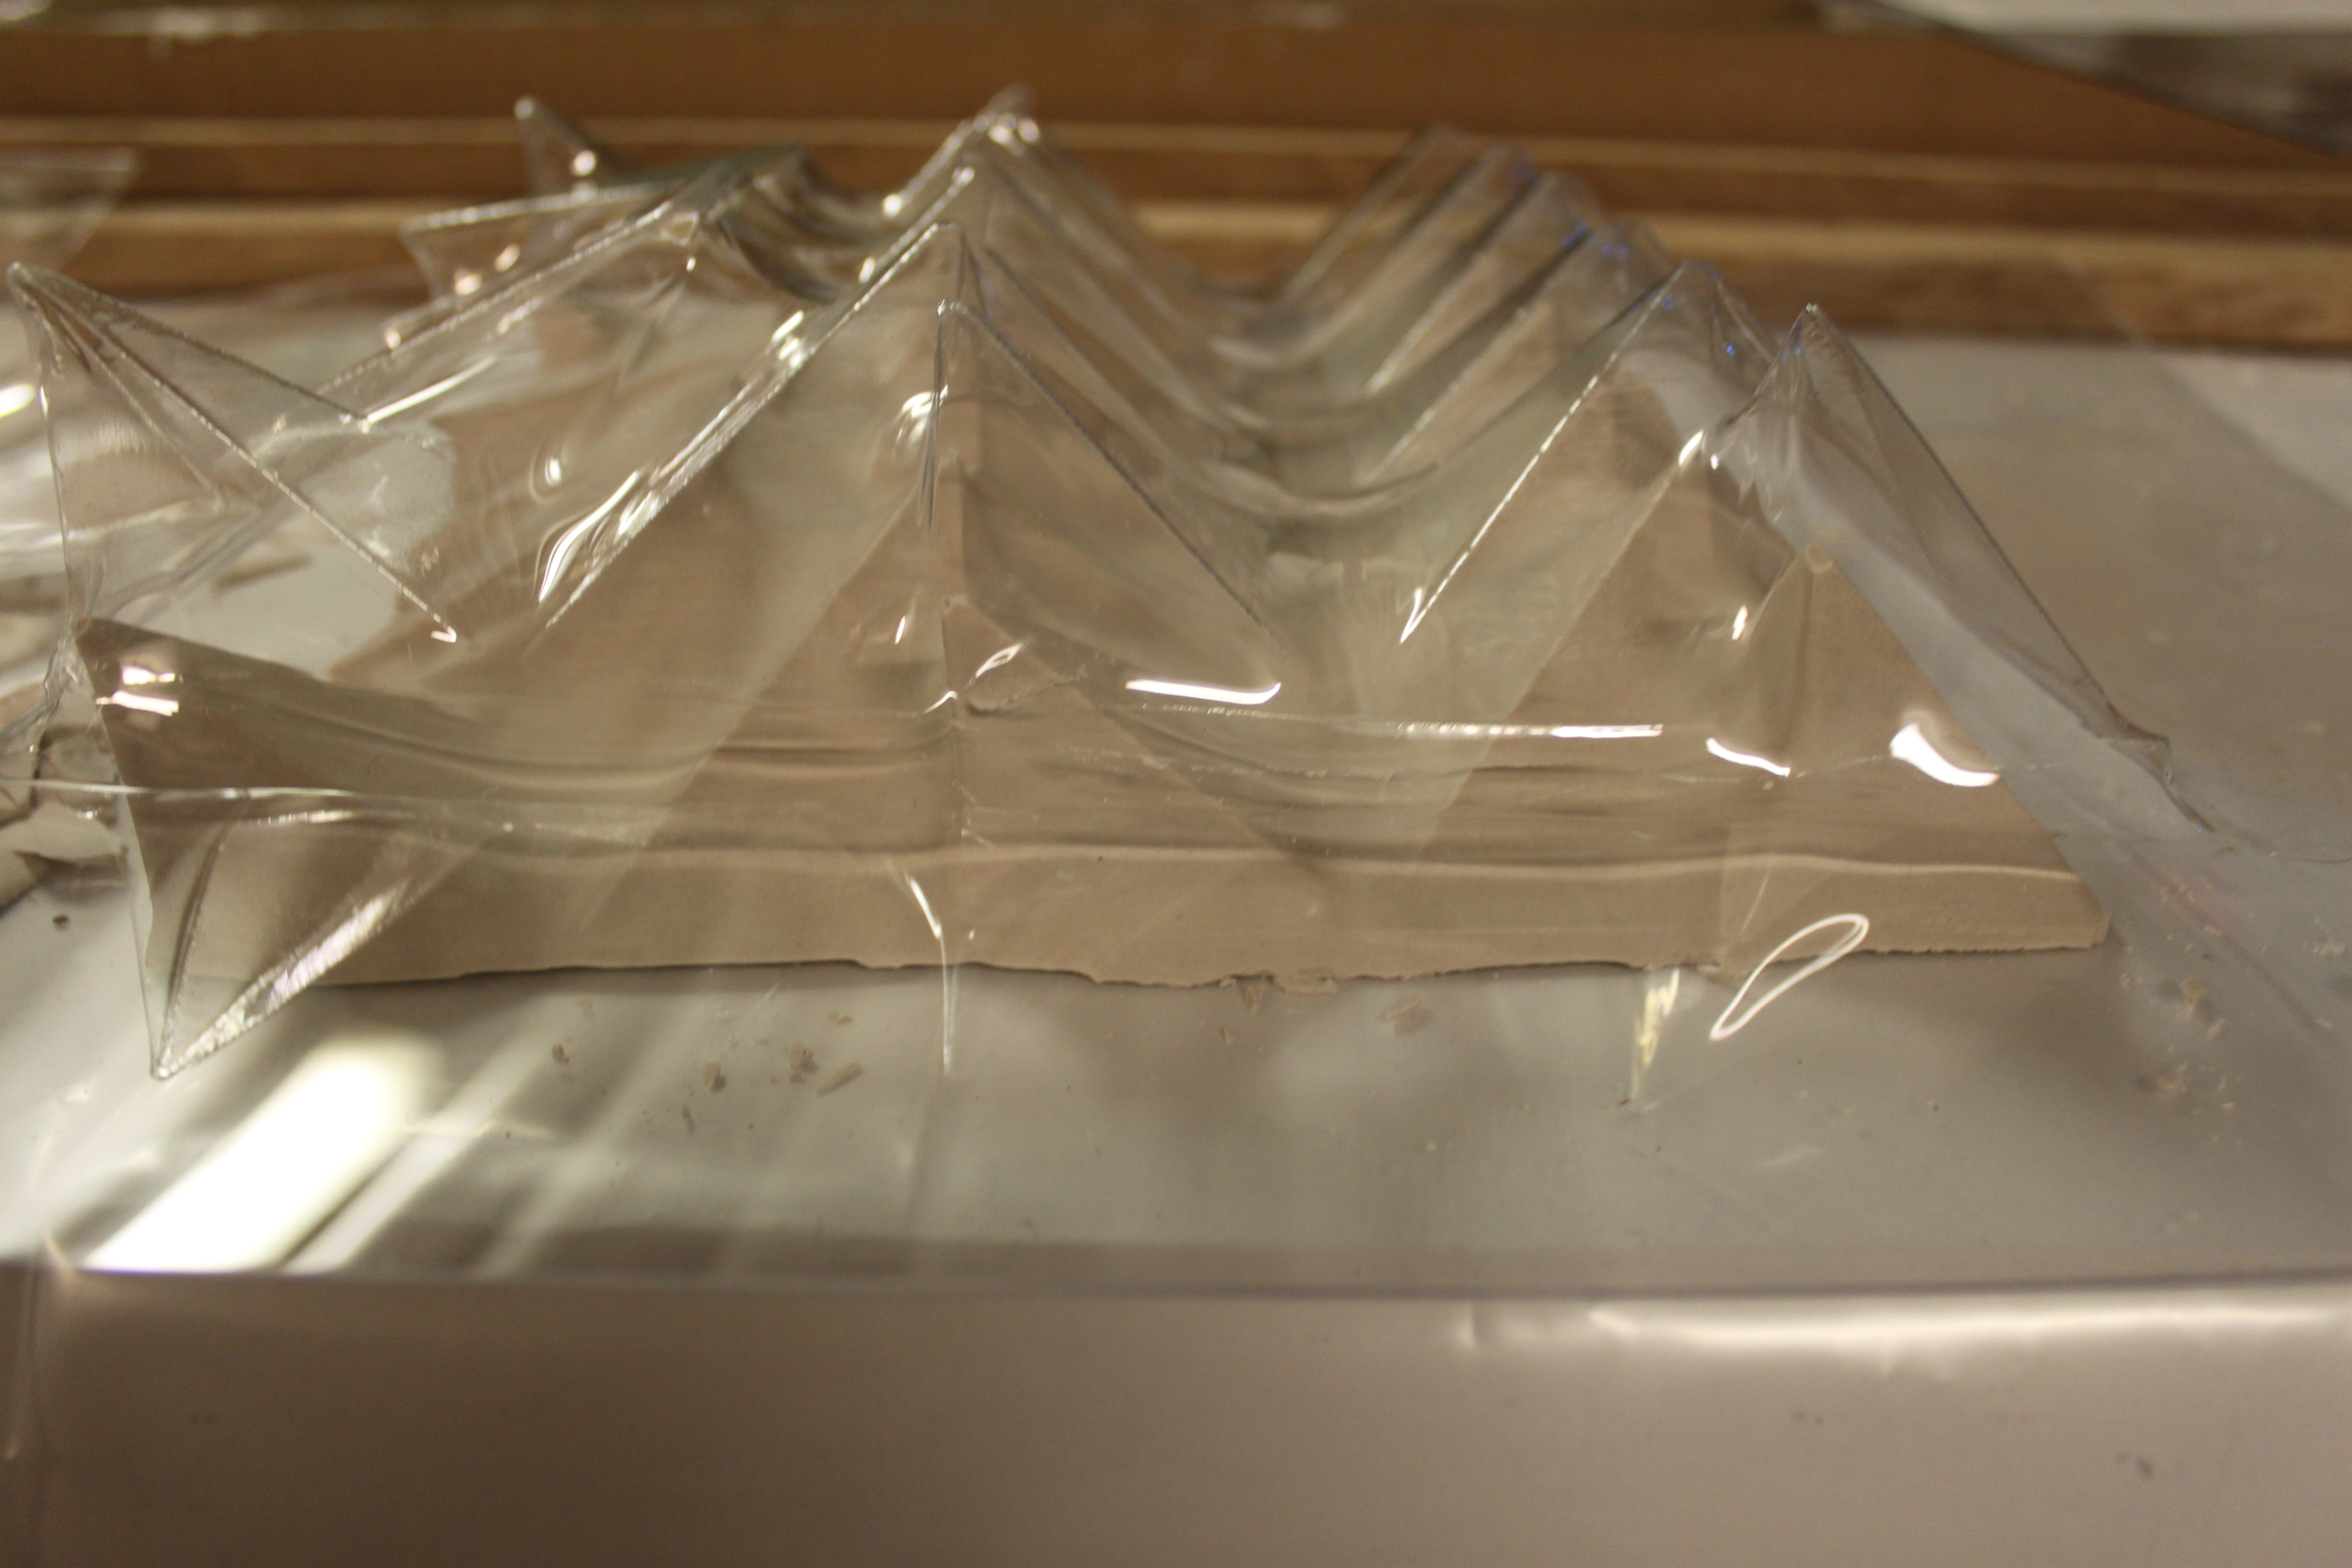
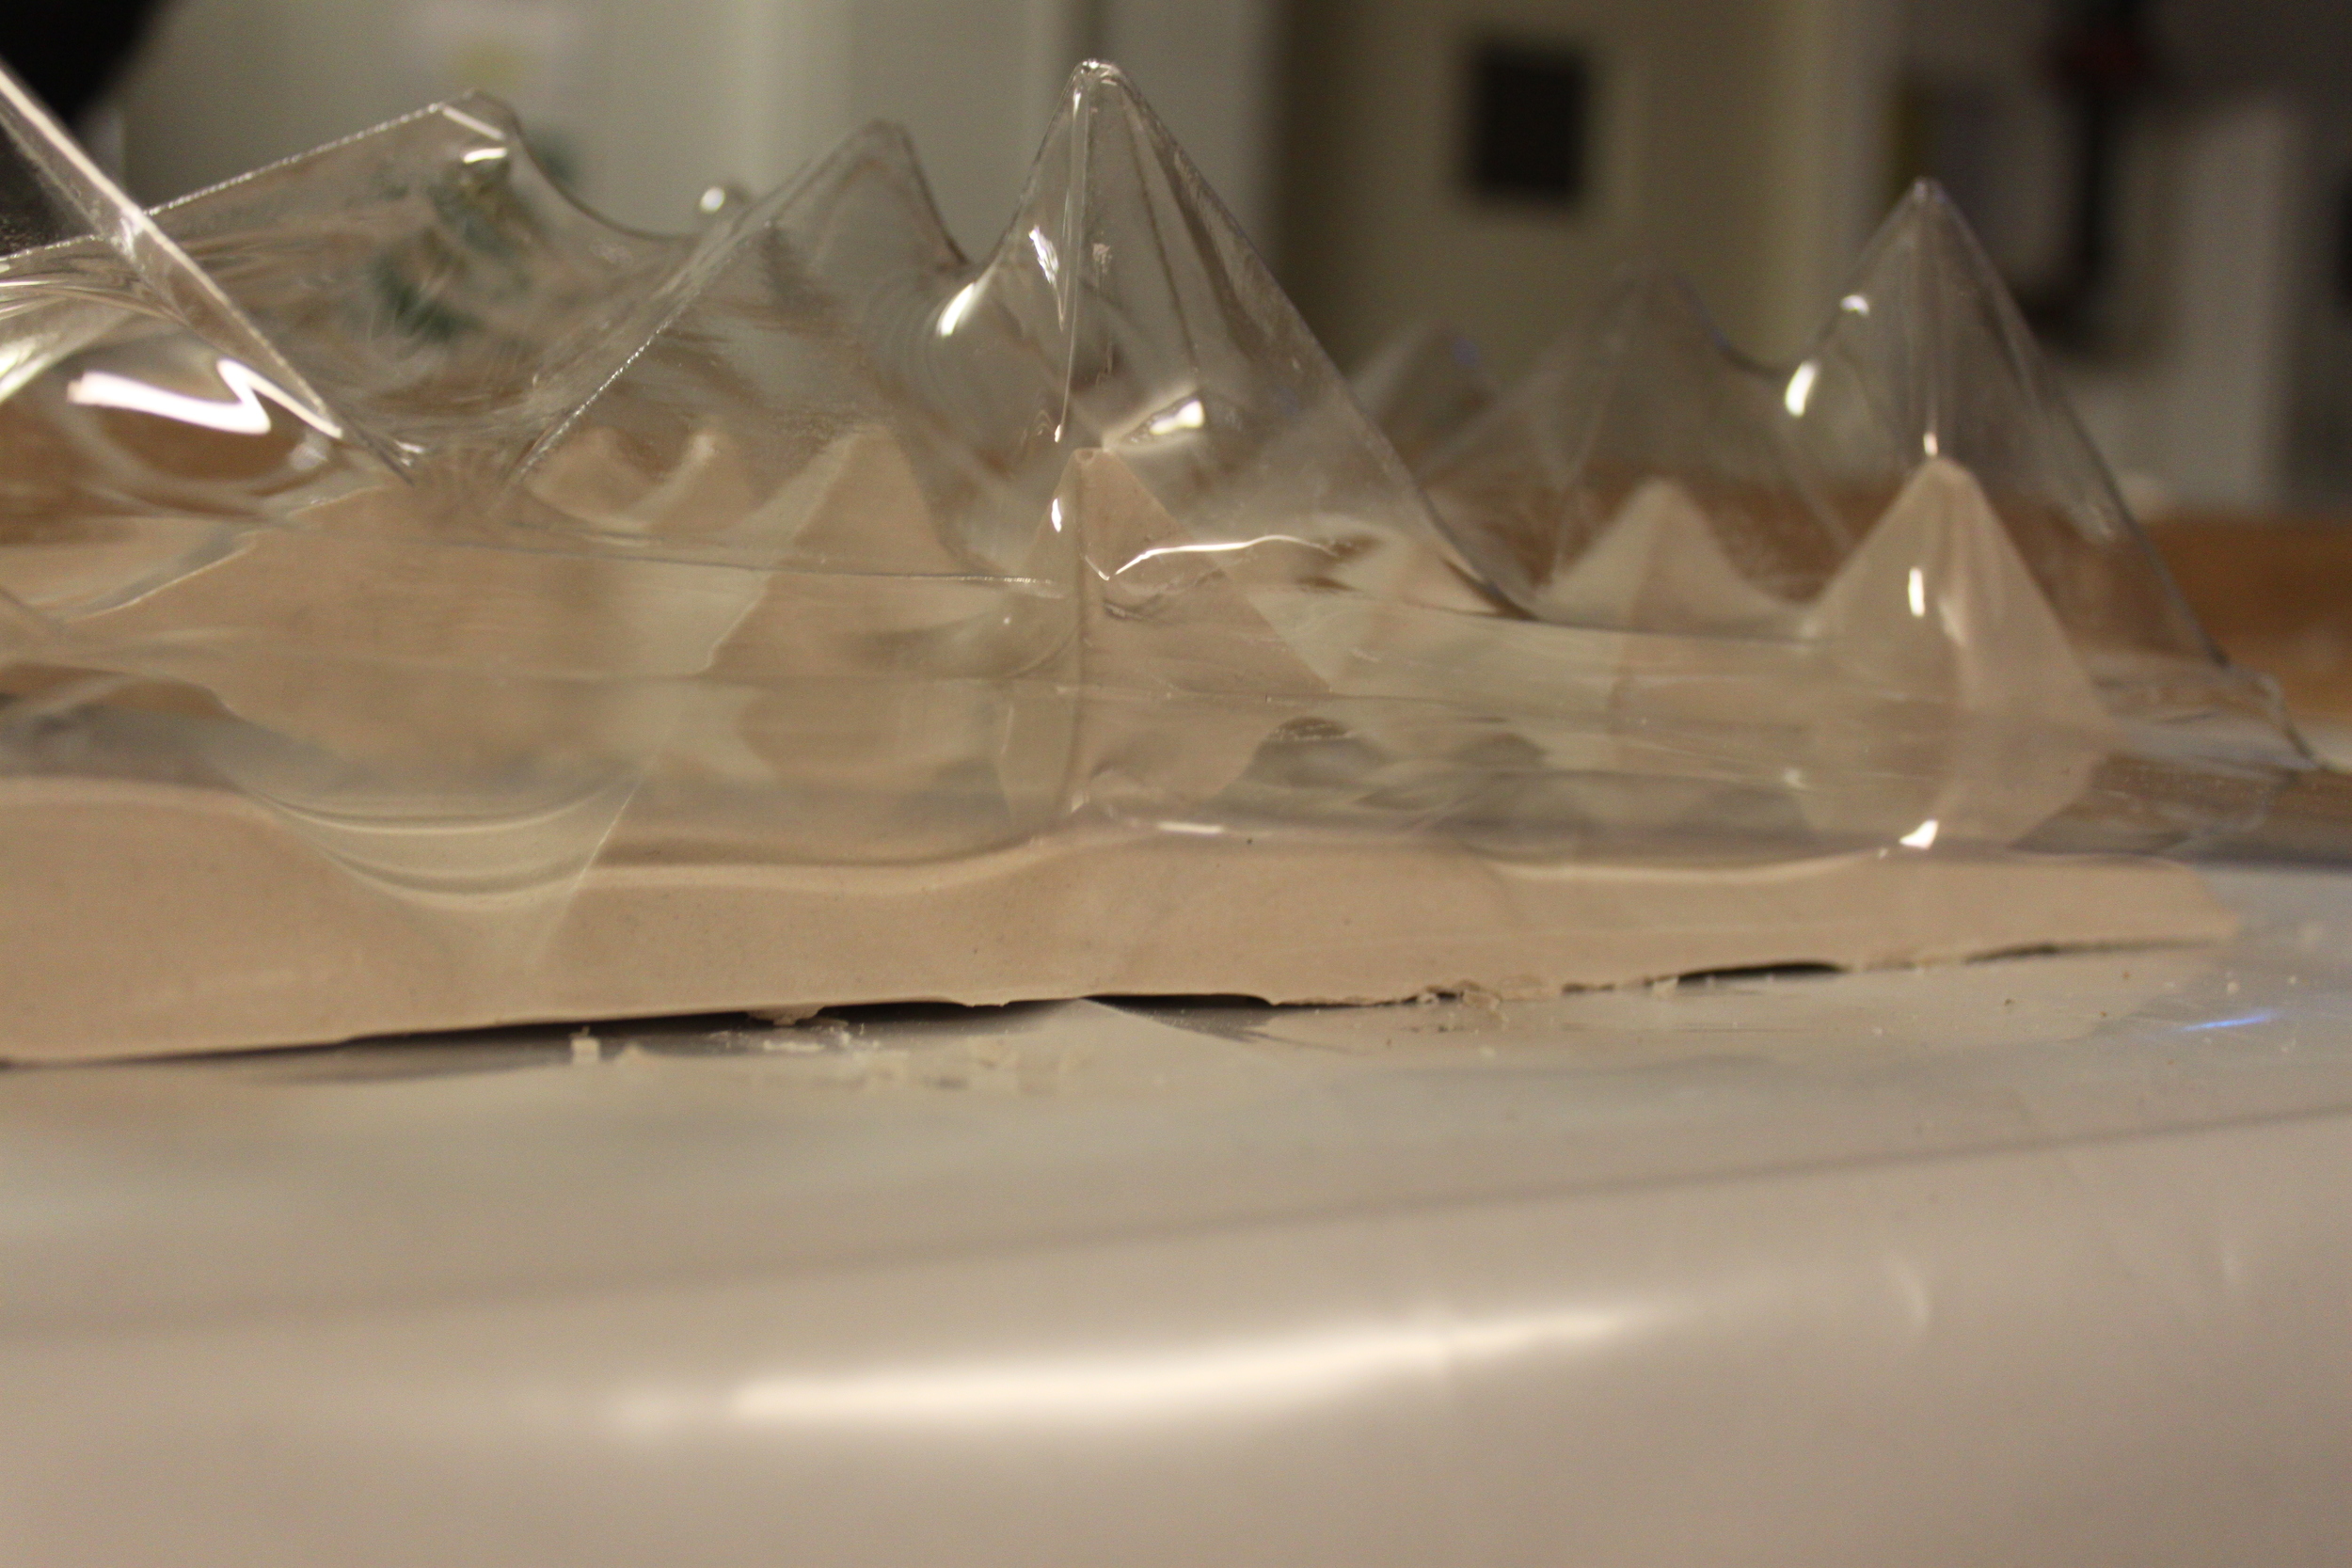
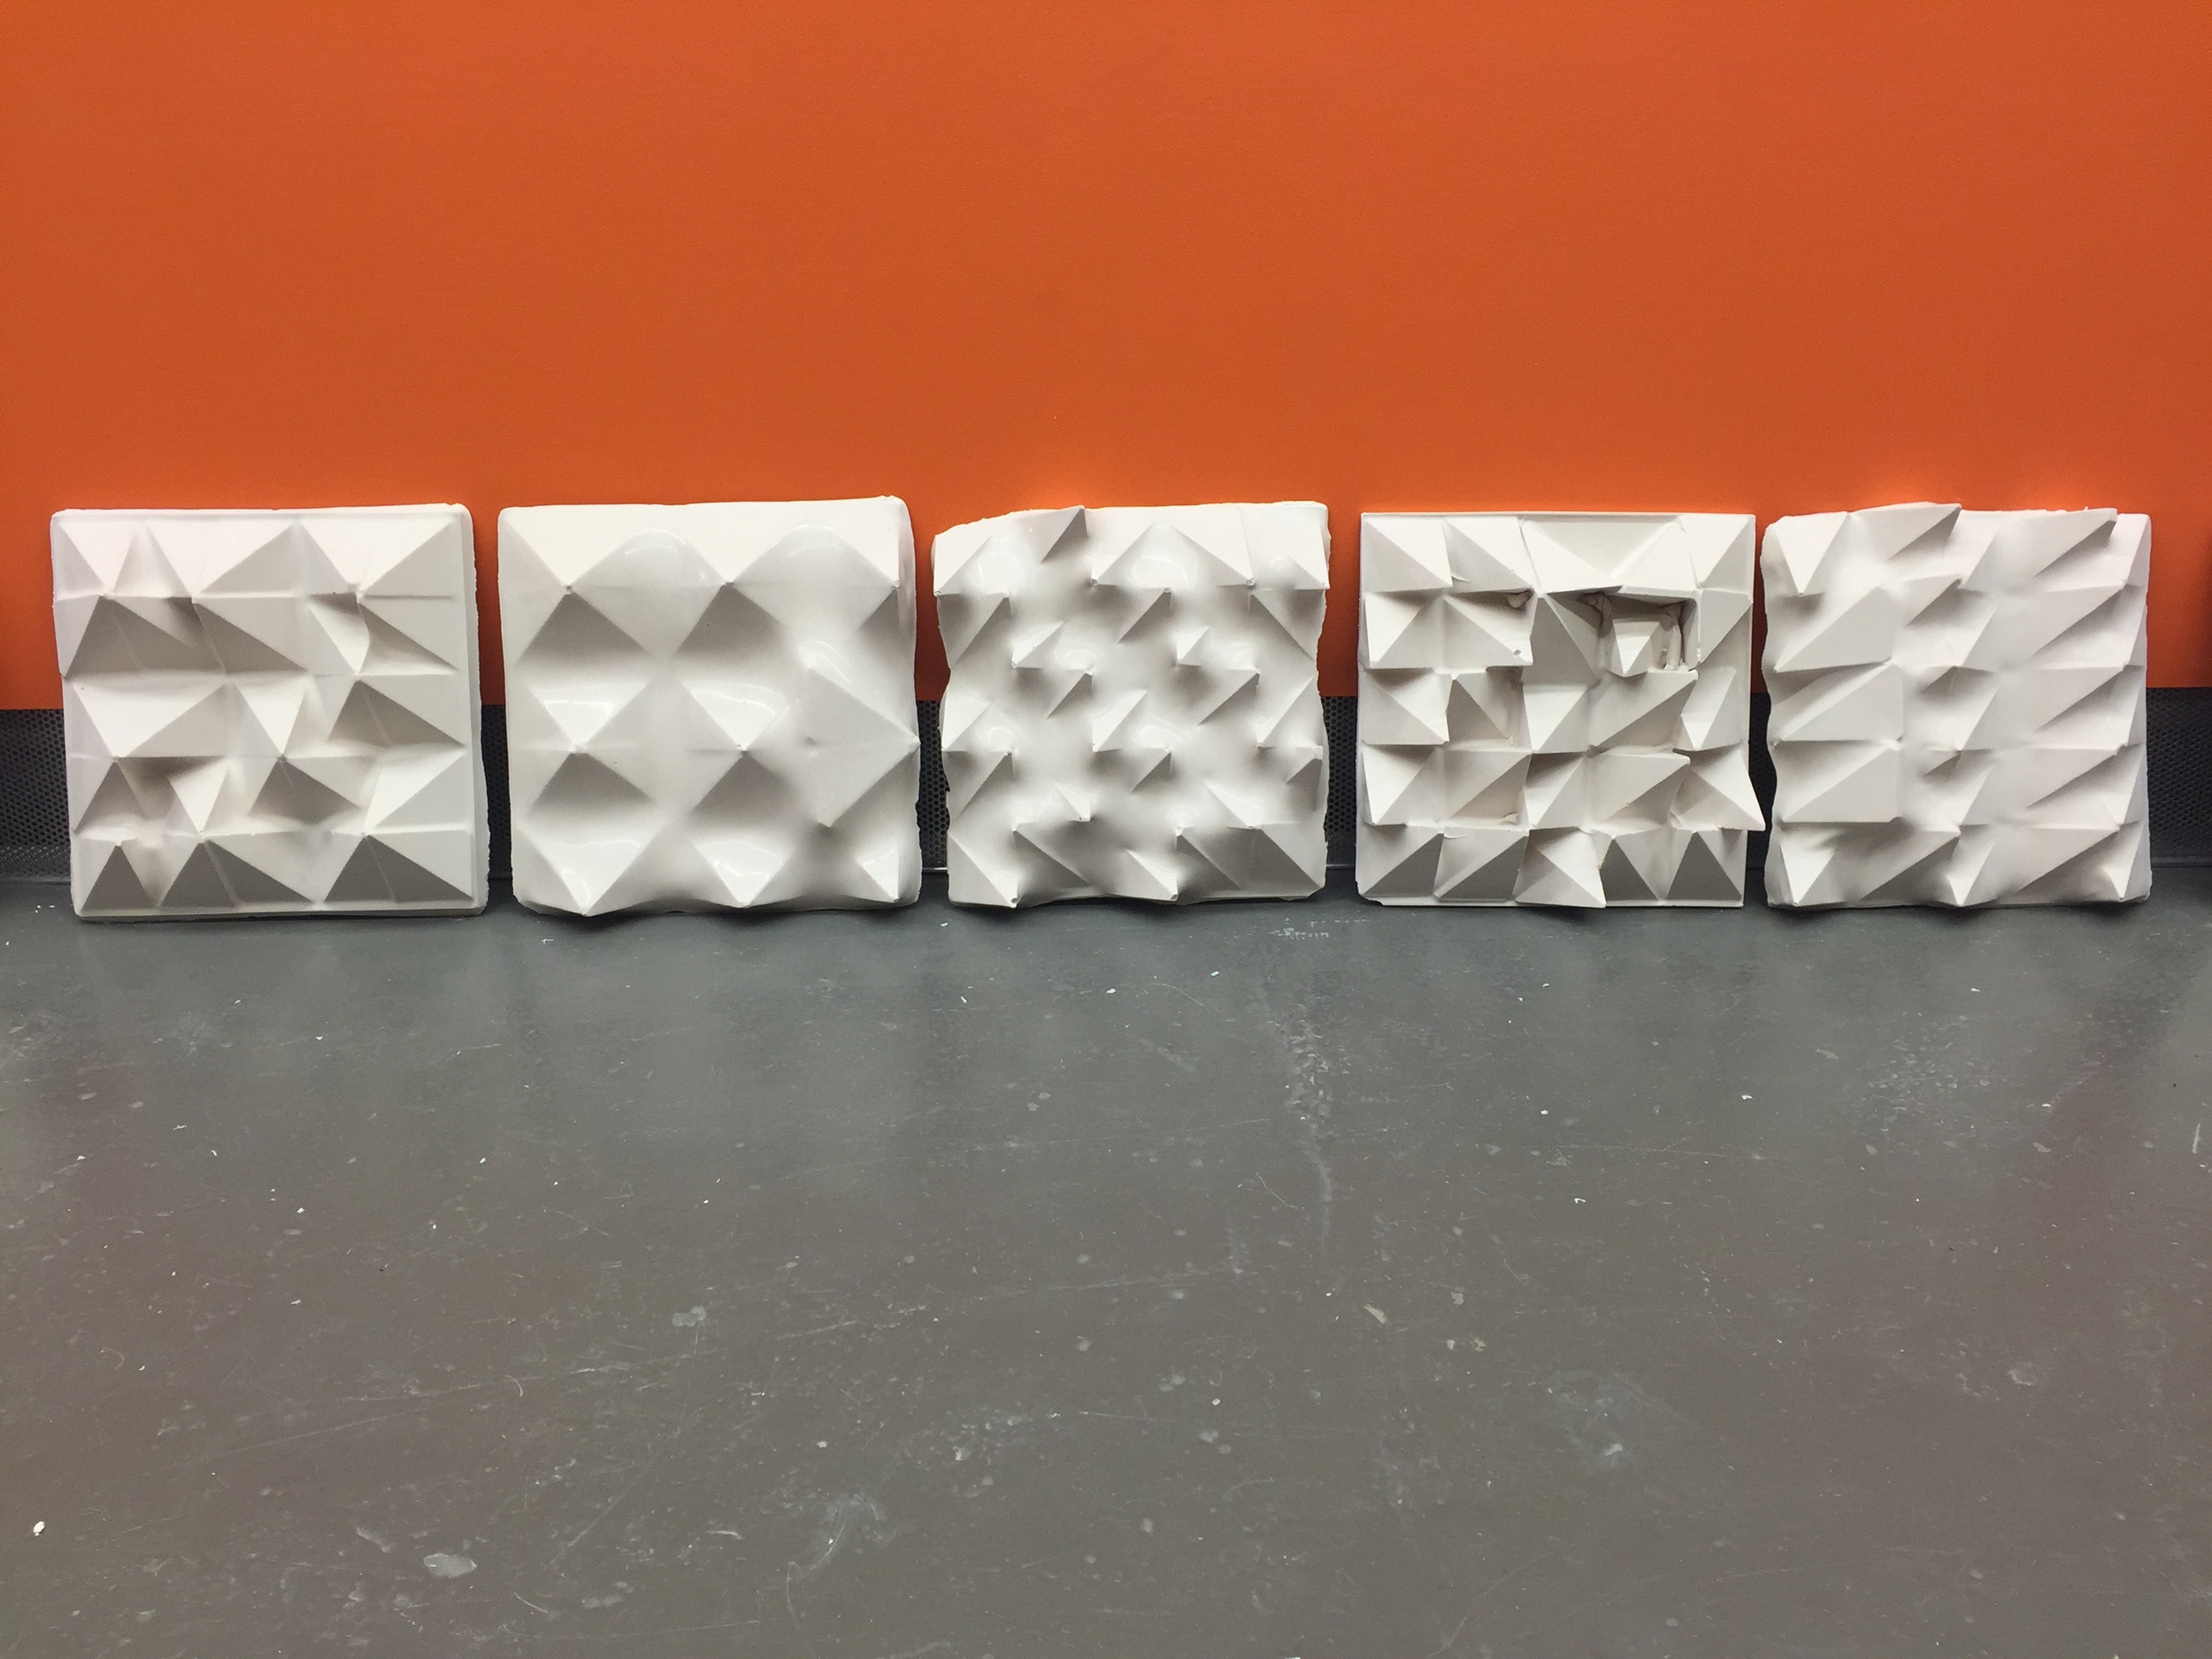
obstacle 8: wabi sabi soft formwork casting
[ design and build a reconfigurable formwork that can be programmed flexibly to produce a variety of 10" x10" possible configurations ]

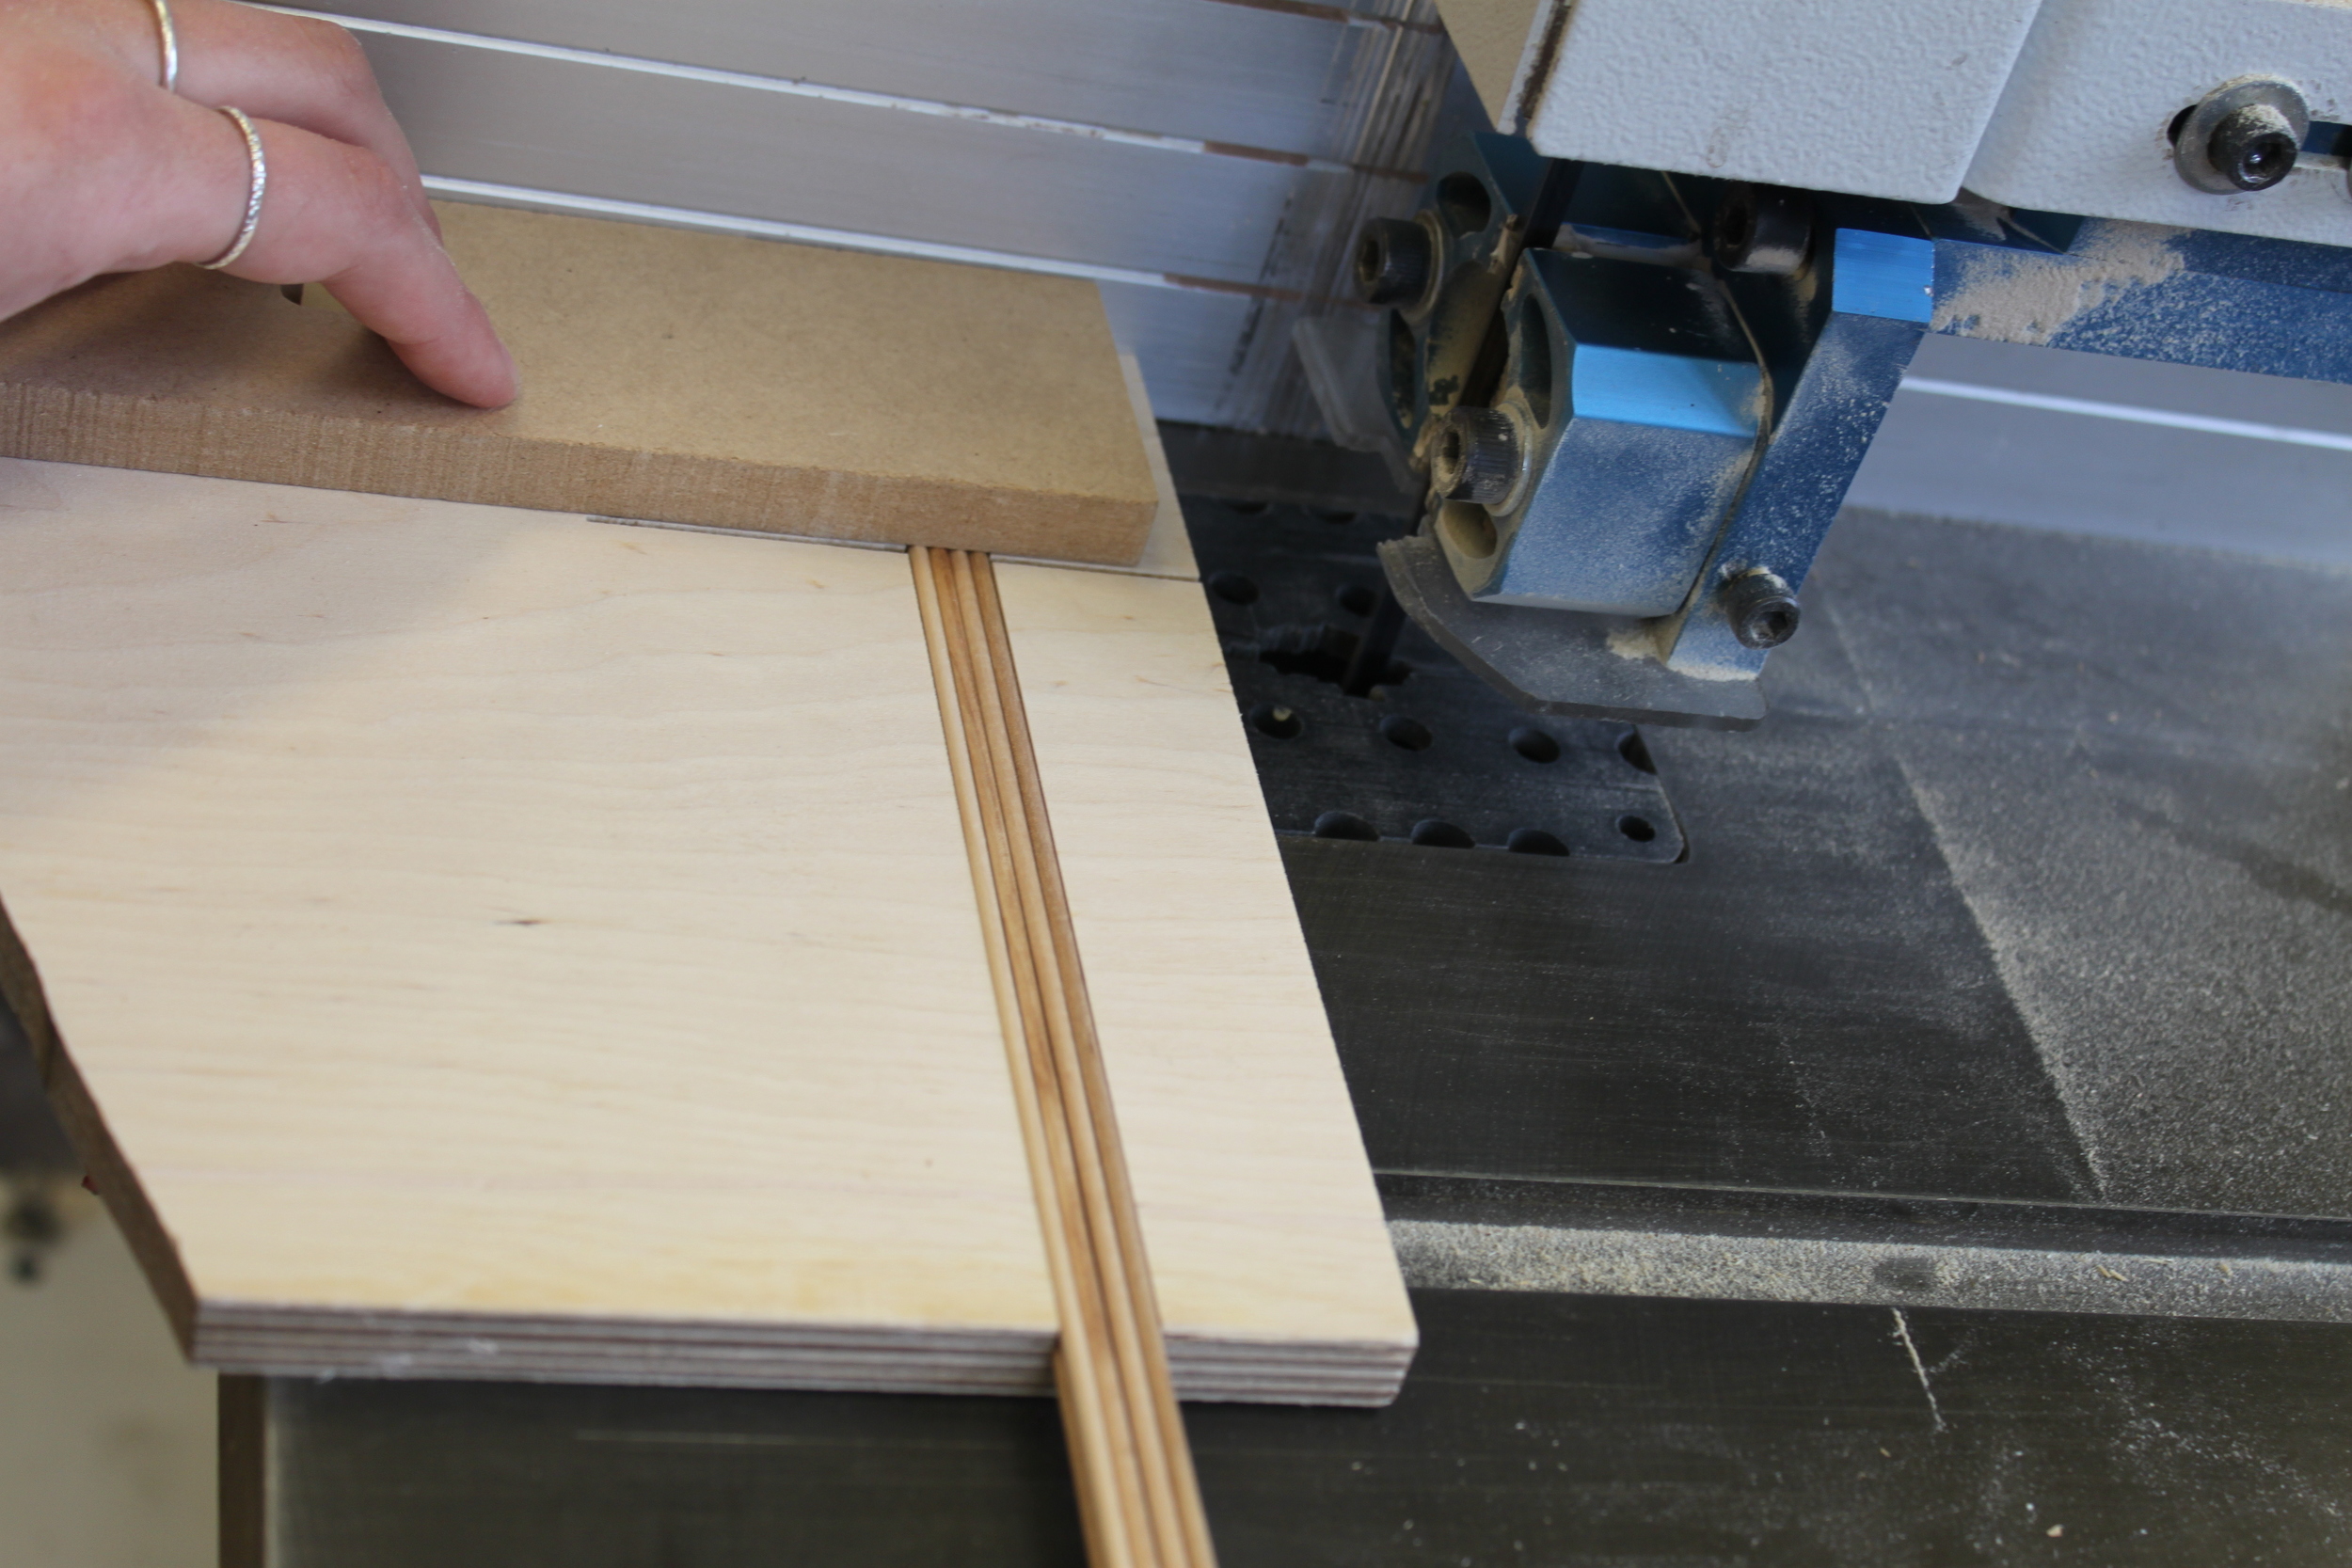
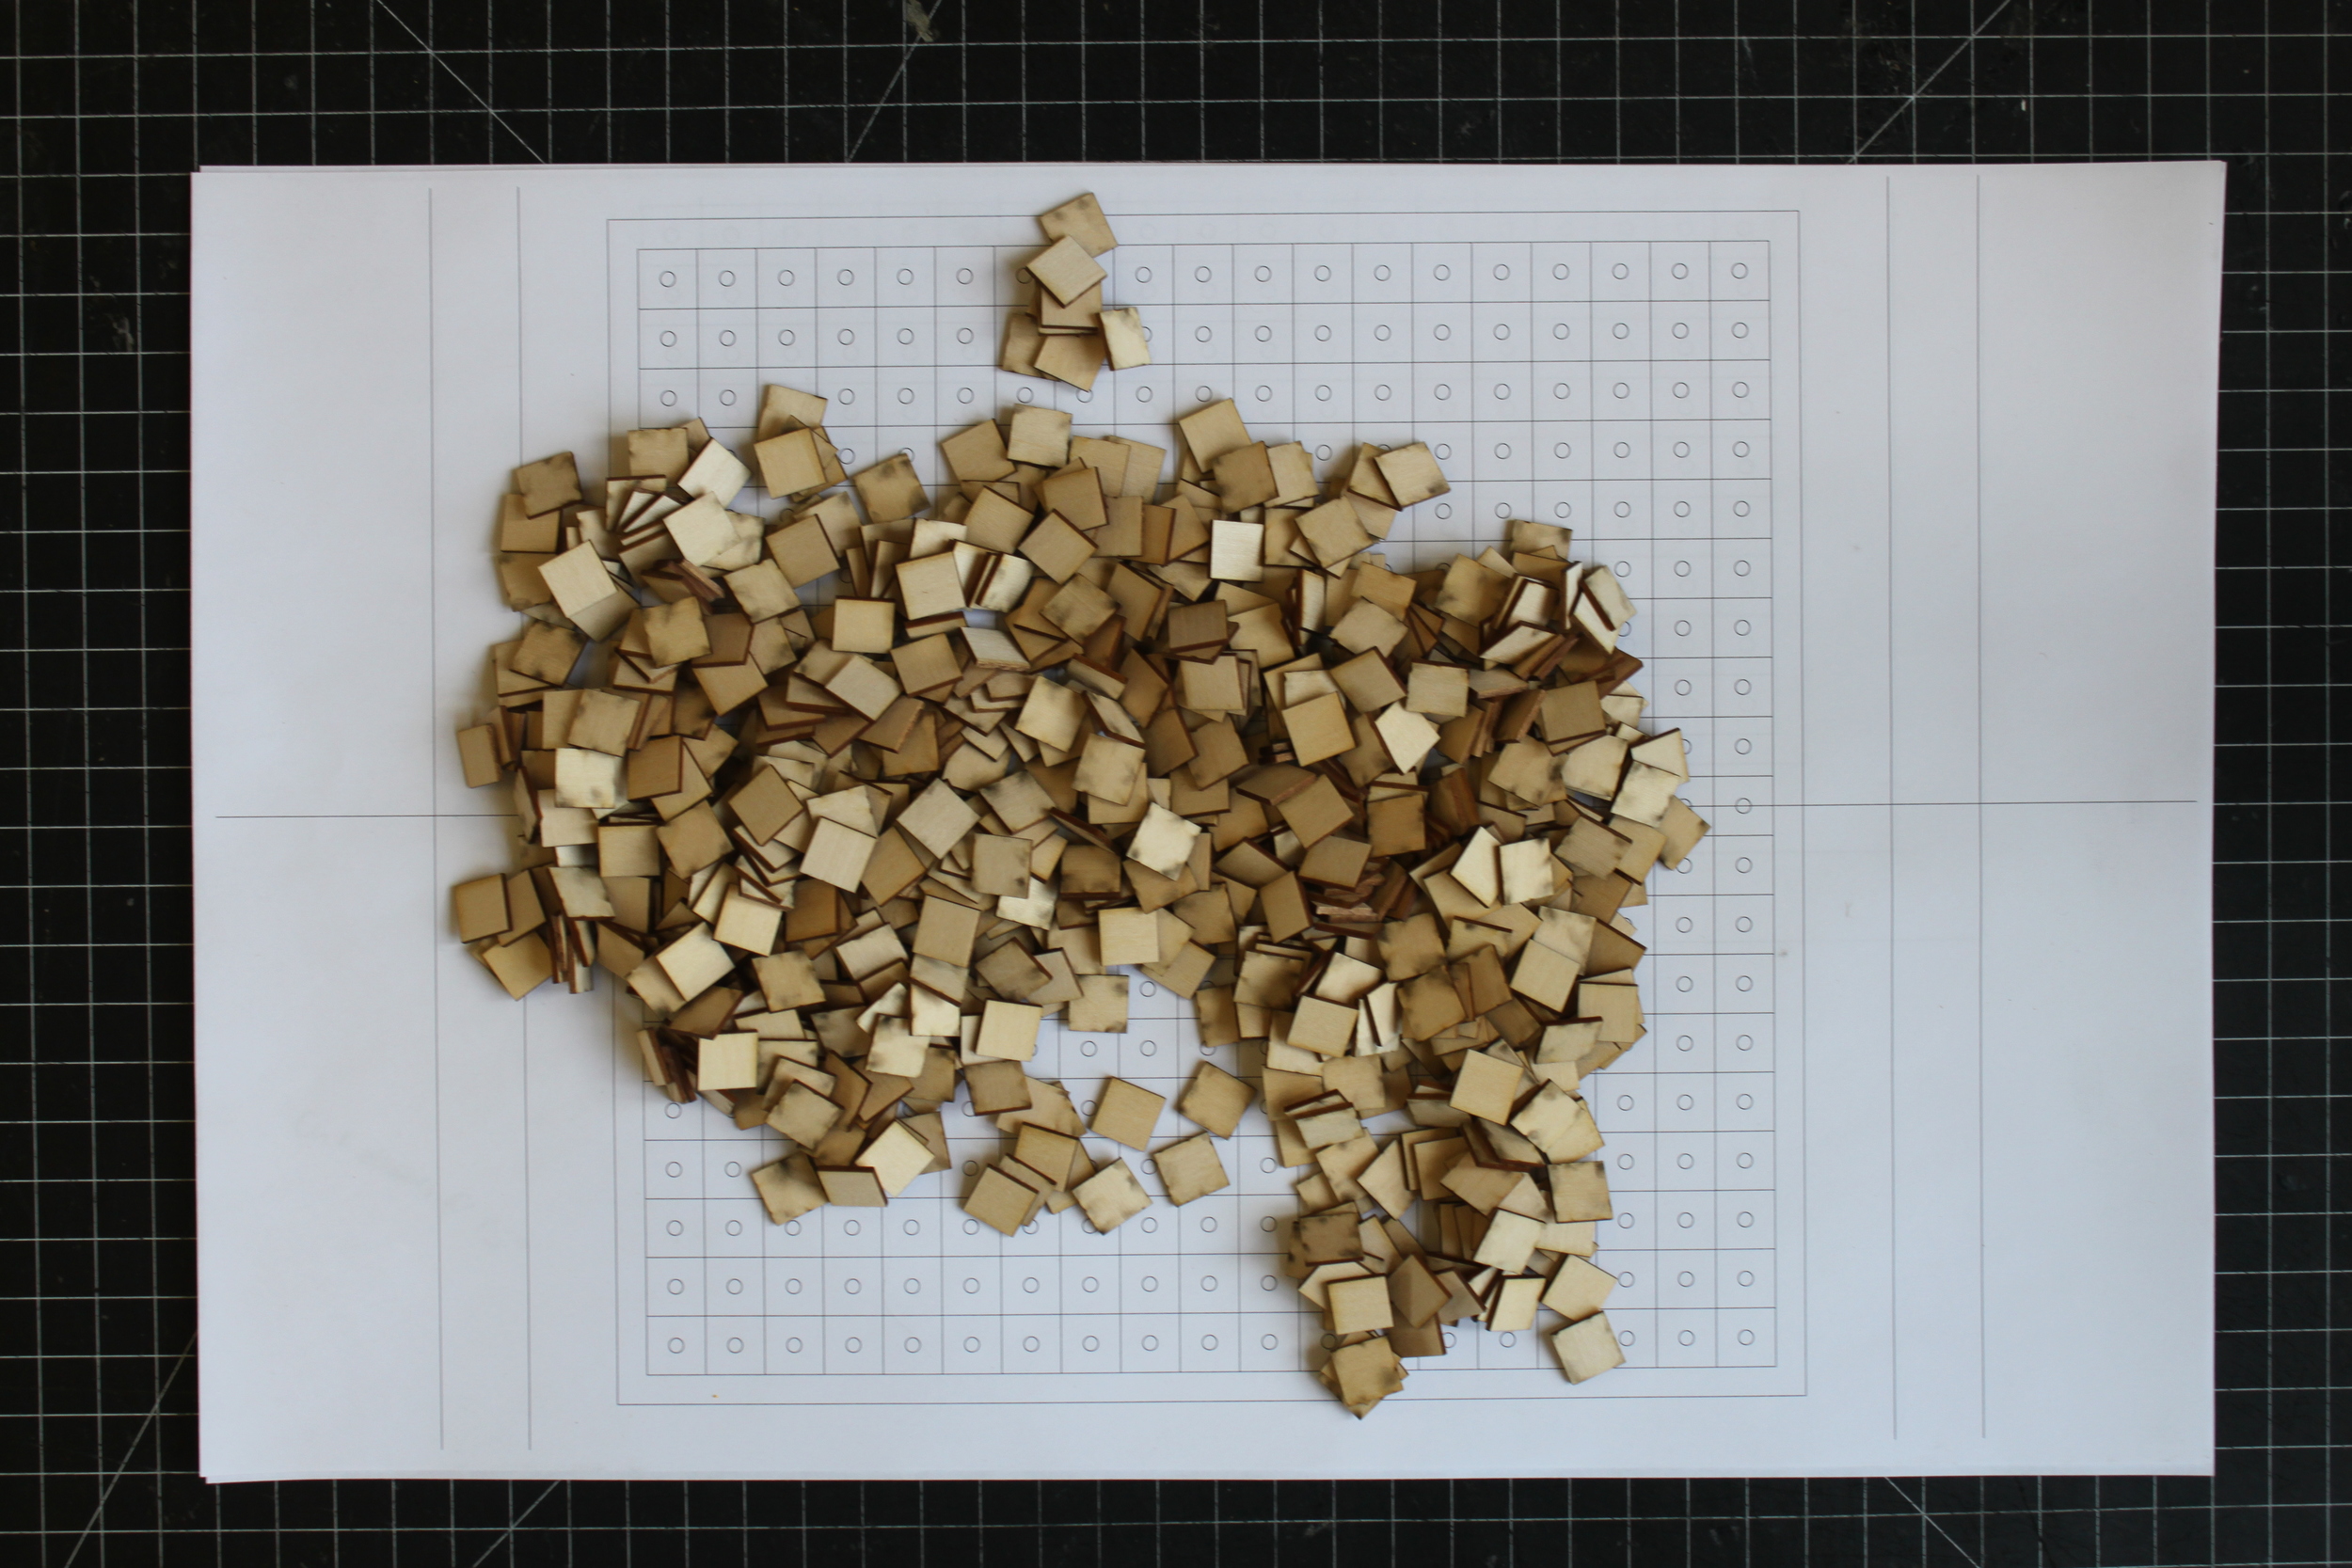

Tile Assembly Process : laser cut + band saw with hand assembly
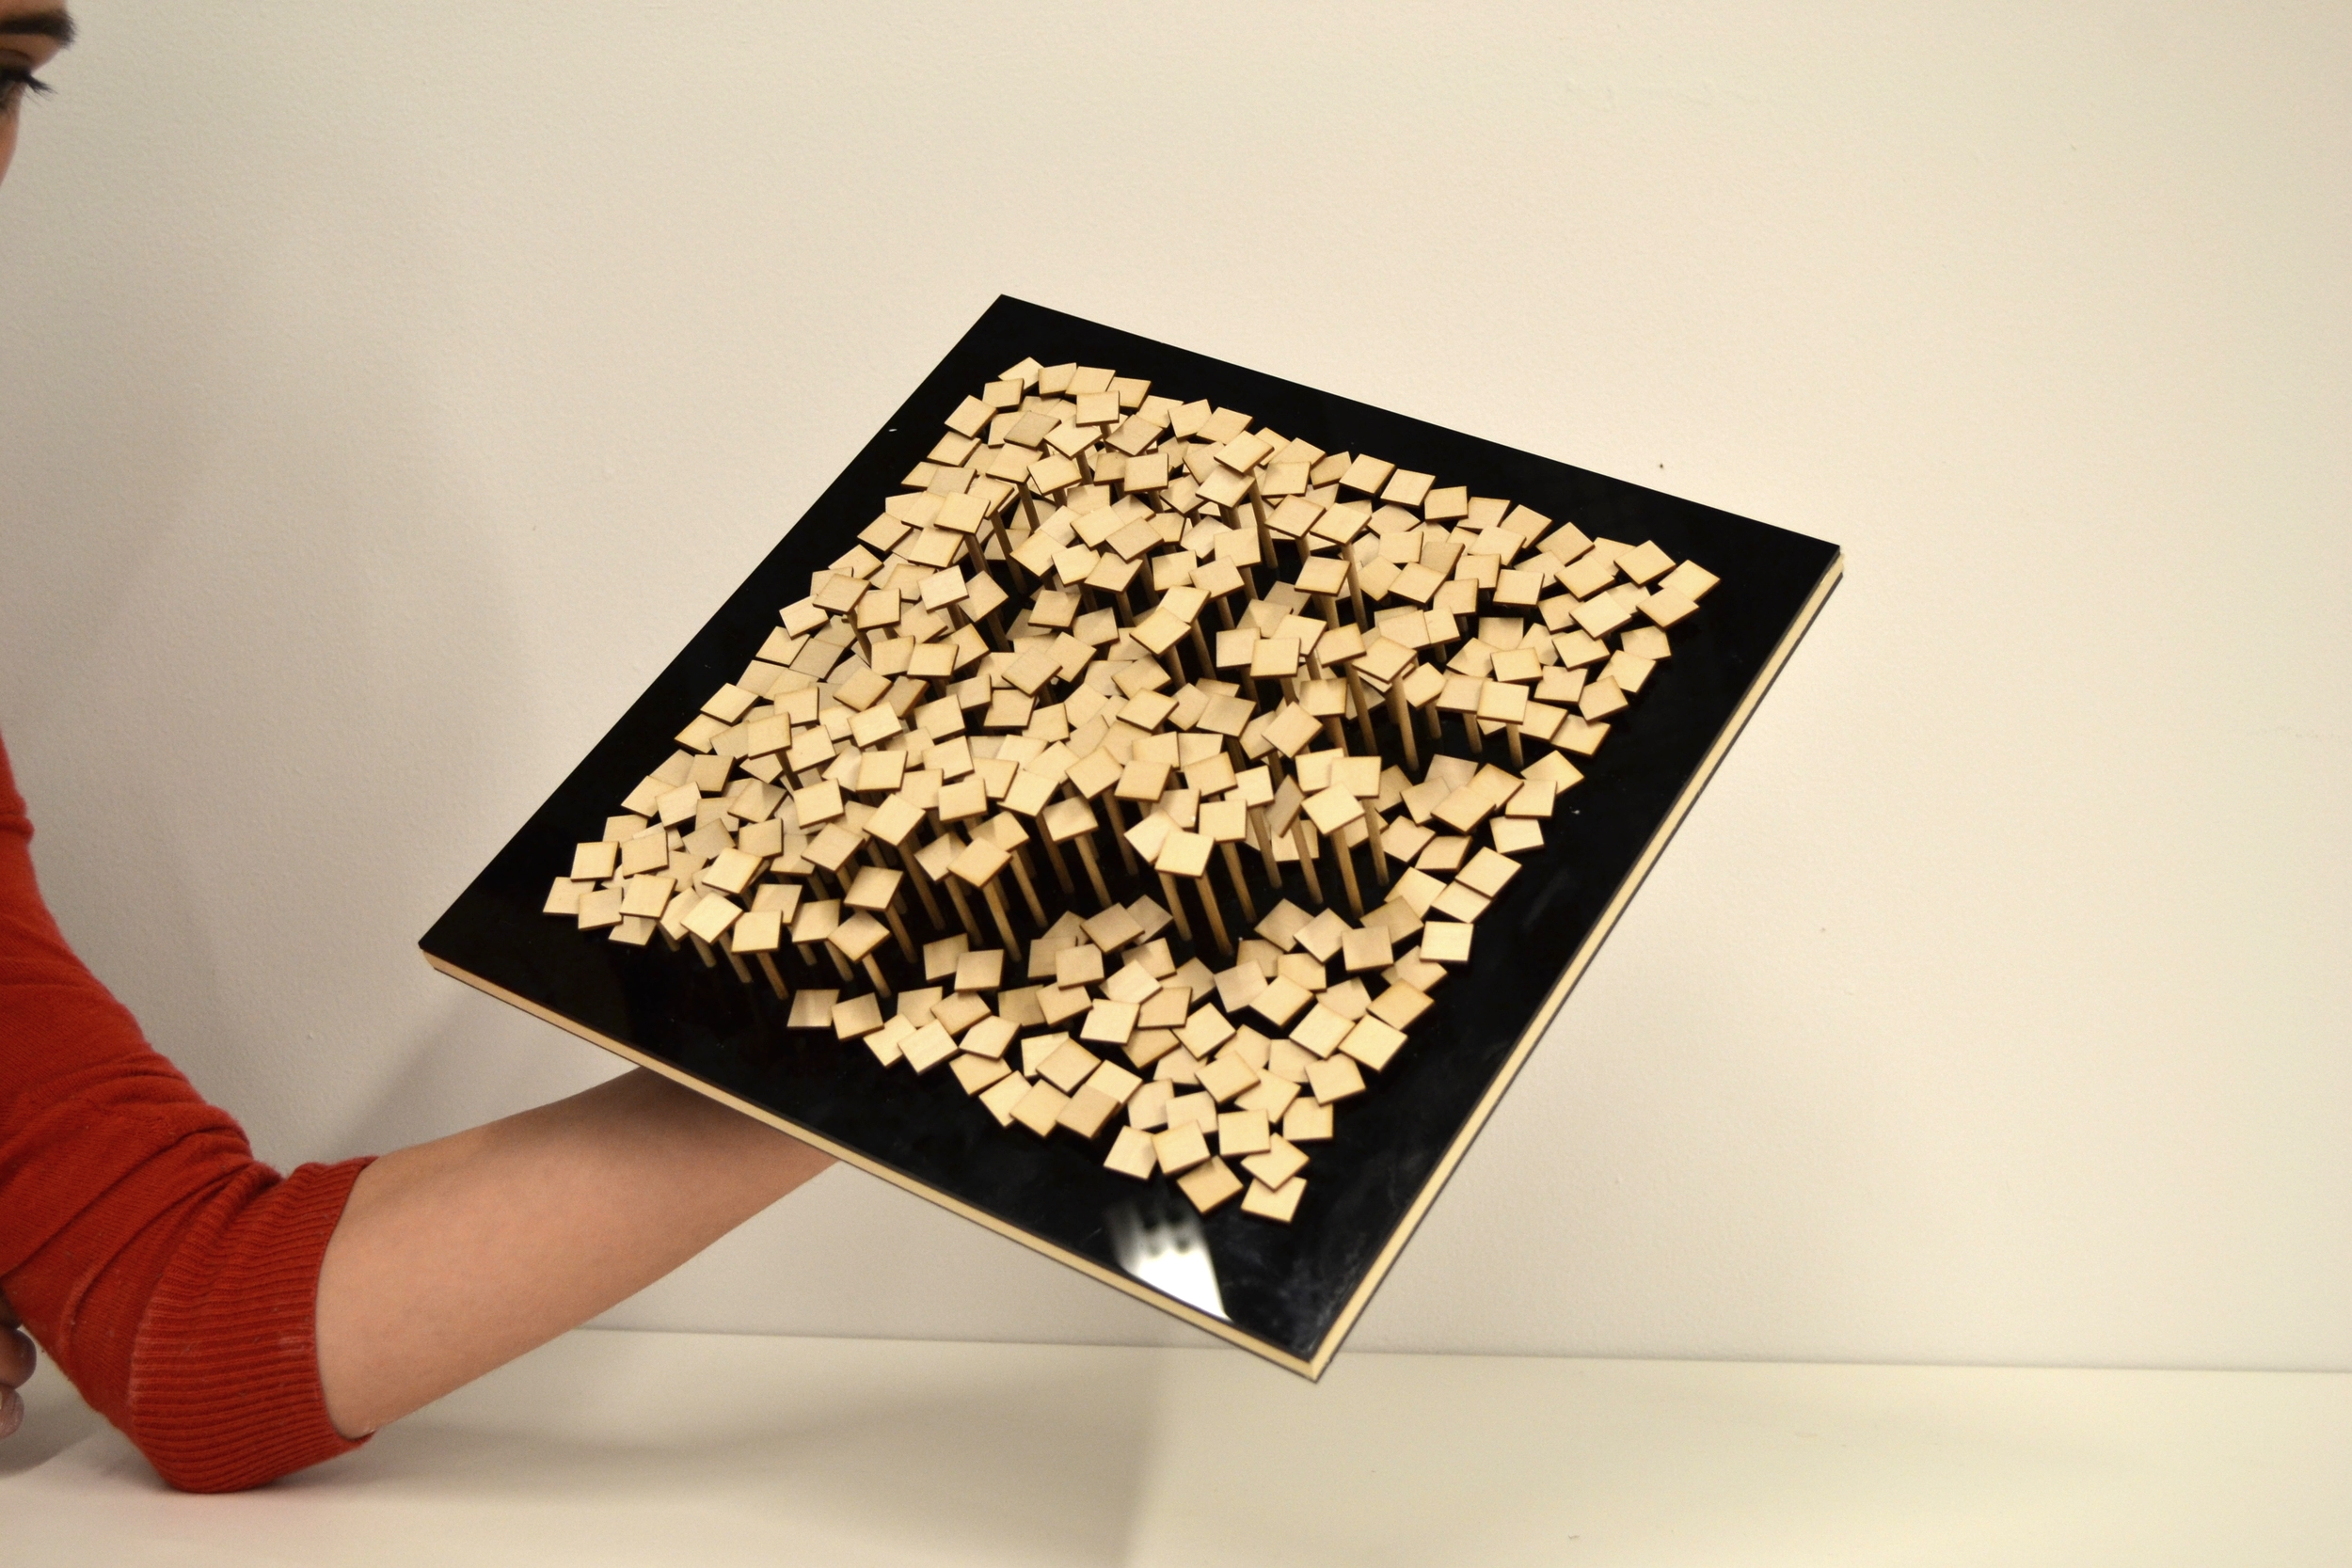

Final Tile | Pixel


Plaster Cast Process
materials : black acrylic, basswood sheet, basswood dowels
process : 1. design a formwork tile that will read changing shapes underneath it on its surface 2. build the tile using digital and analog fabrication 3. create a plaster hand to take the place of the human hand as a possible pixel subject when plaster is setting 4. plaster of plastic barrier
challenges : the final plaster tile was too many steps removed from the original imprint subject.
result : the tile itself was a successful project pixelating in 3D a tile image of a subject. it was not suited for the plaster step but was a flexible wabi sabi tile on its own.
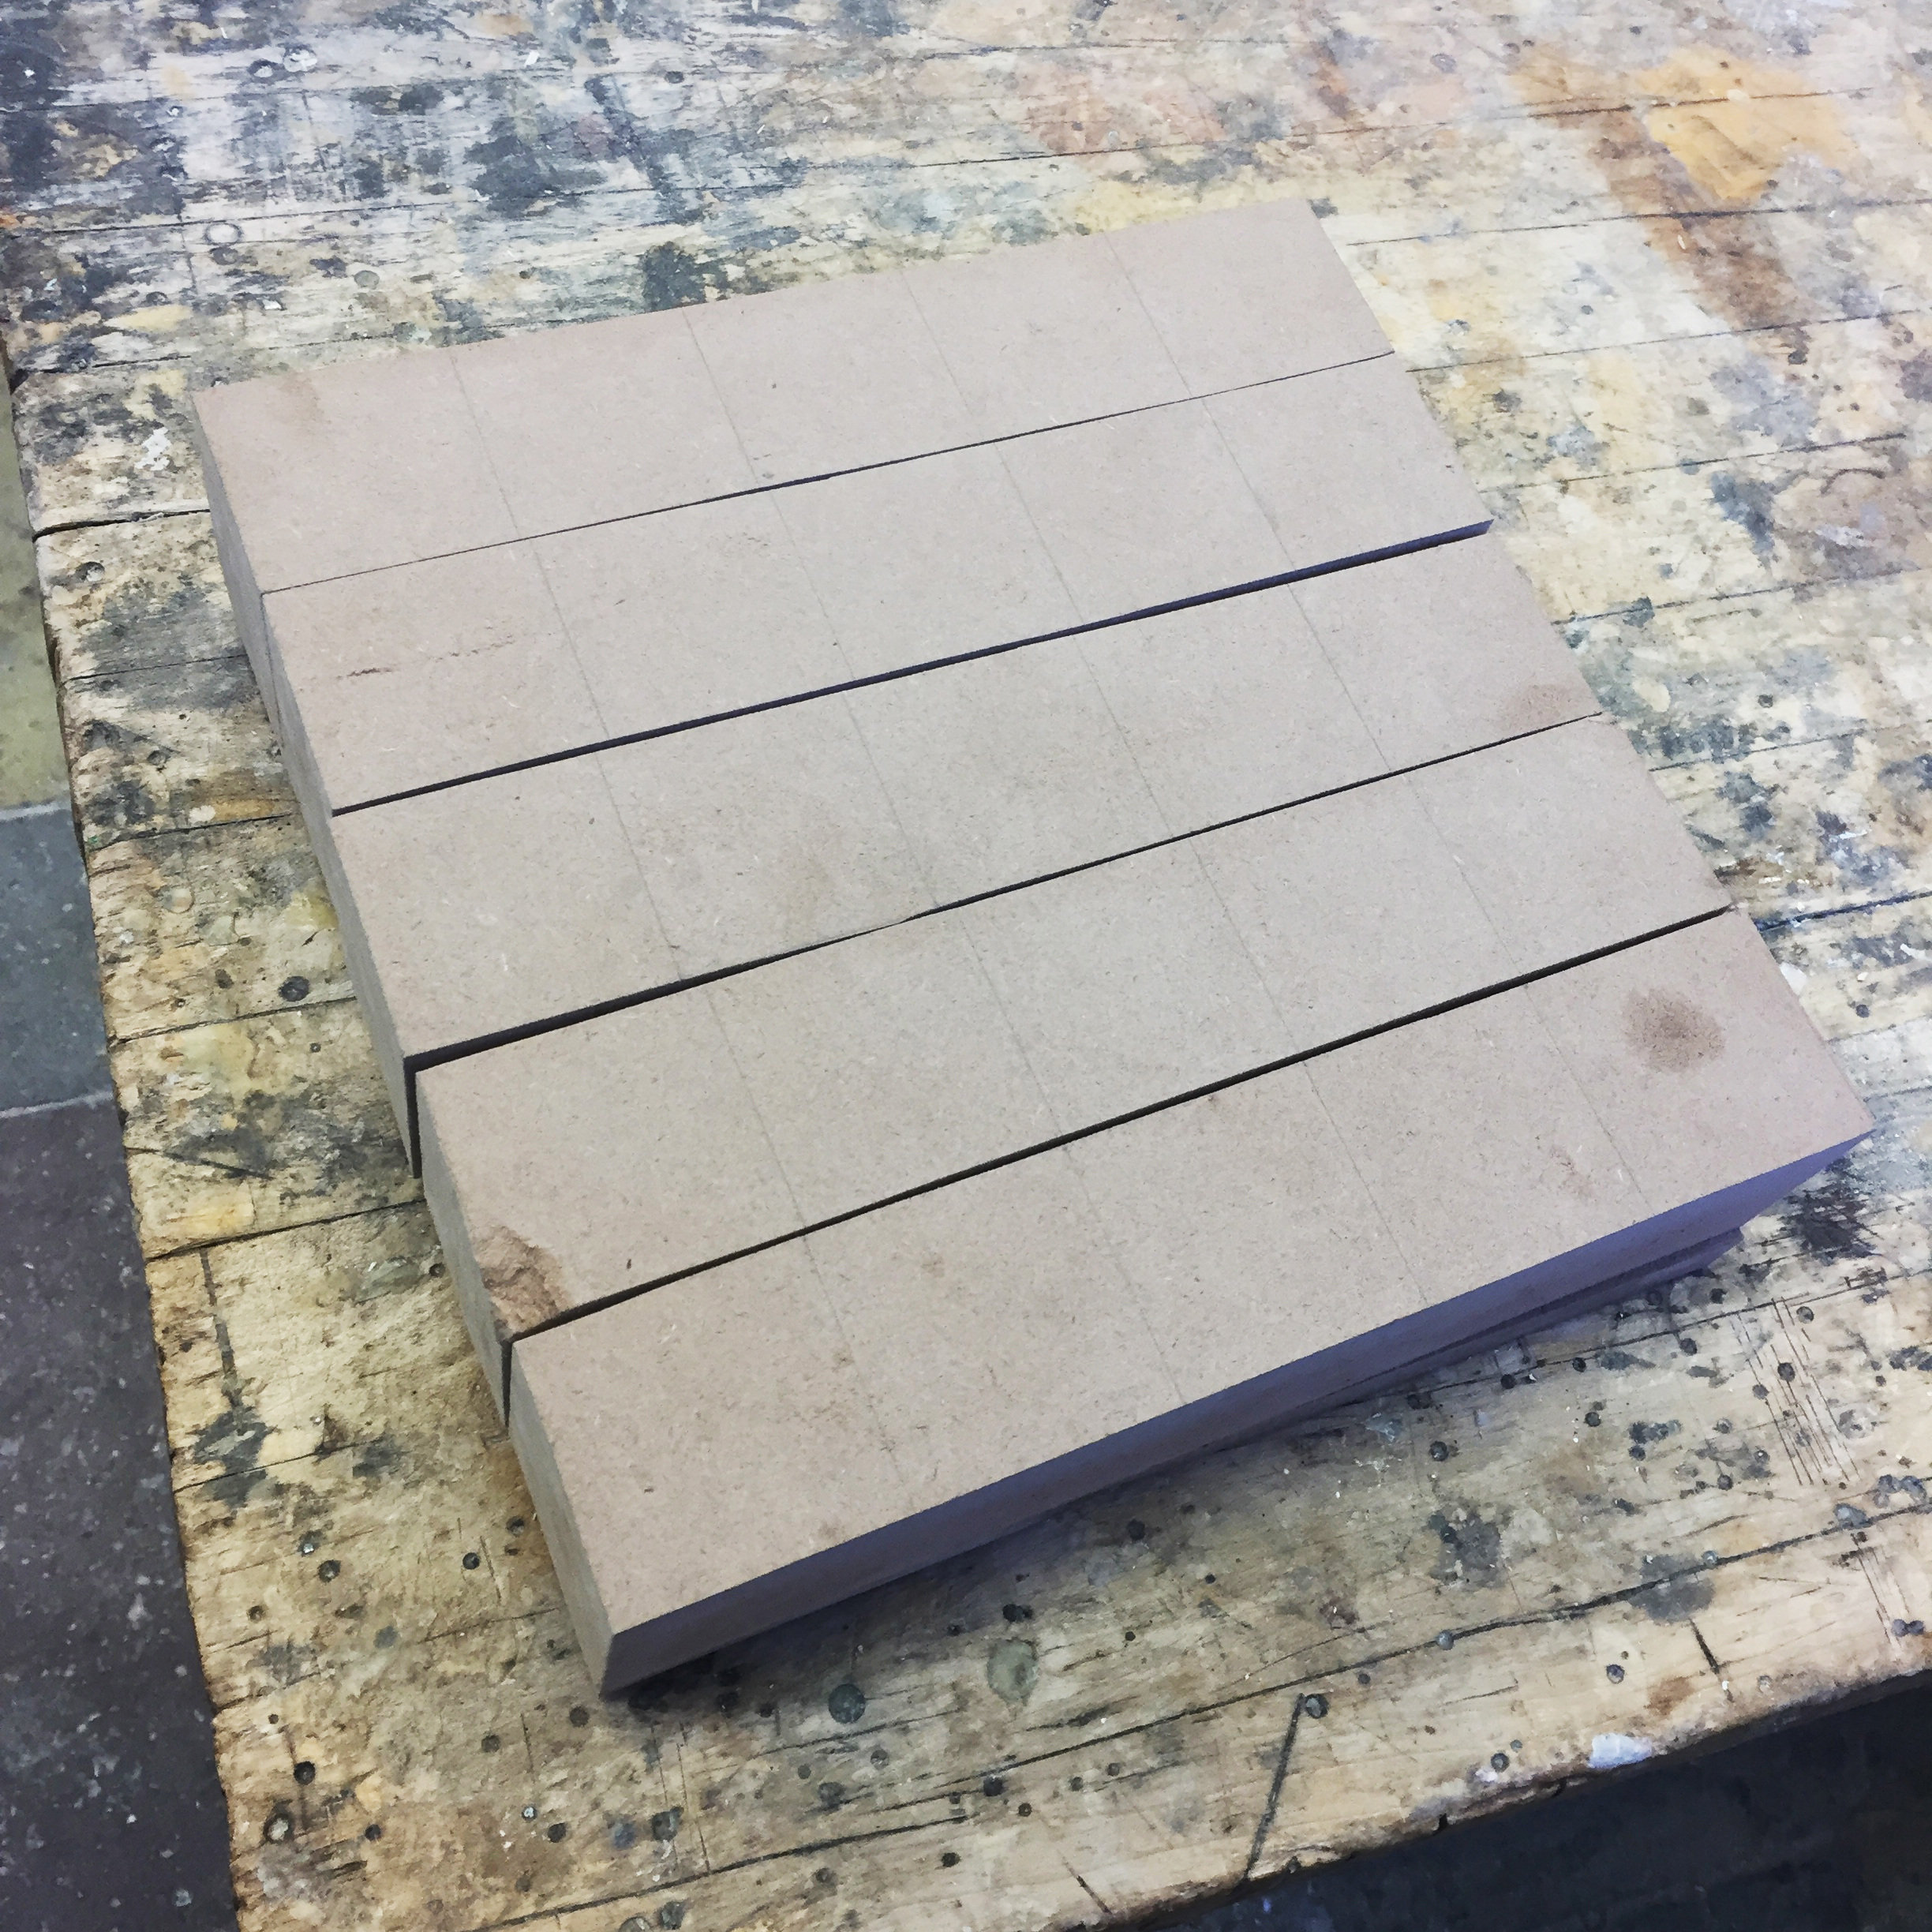
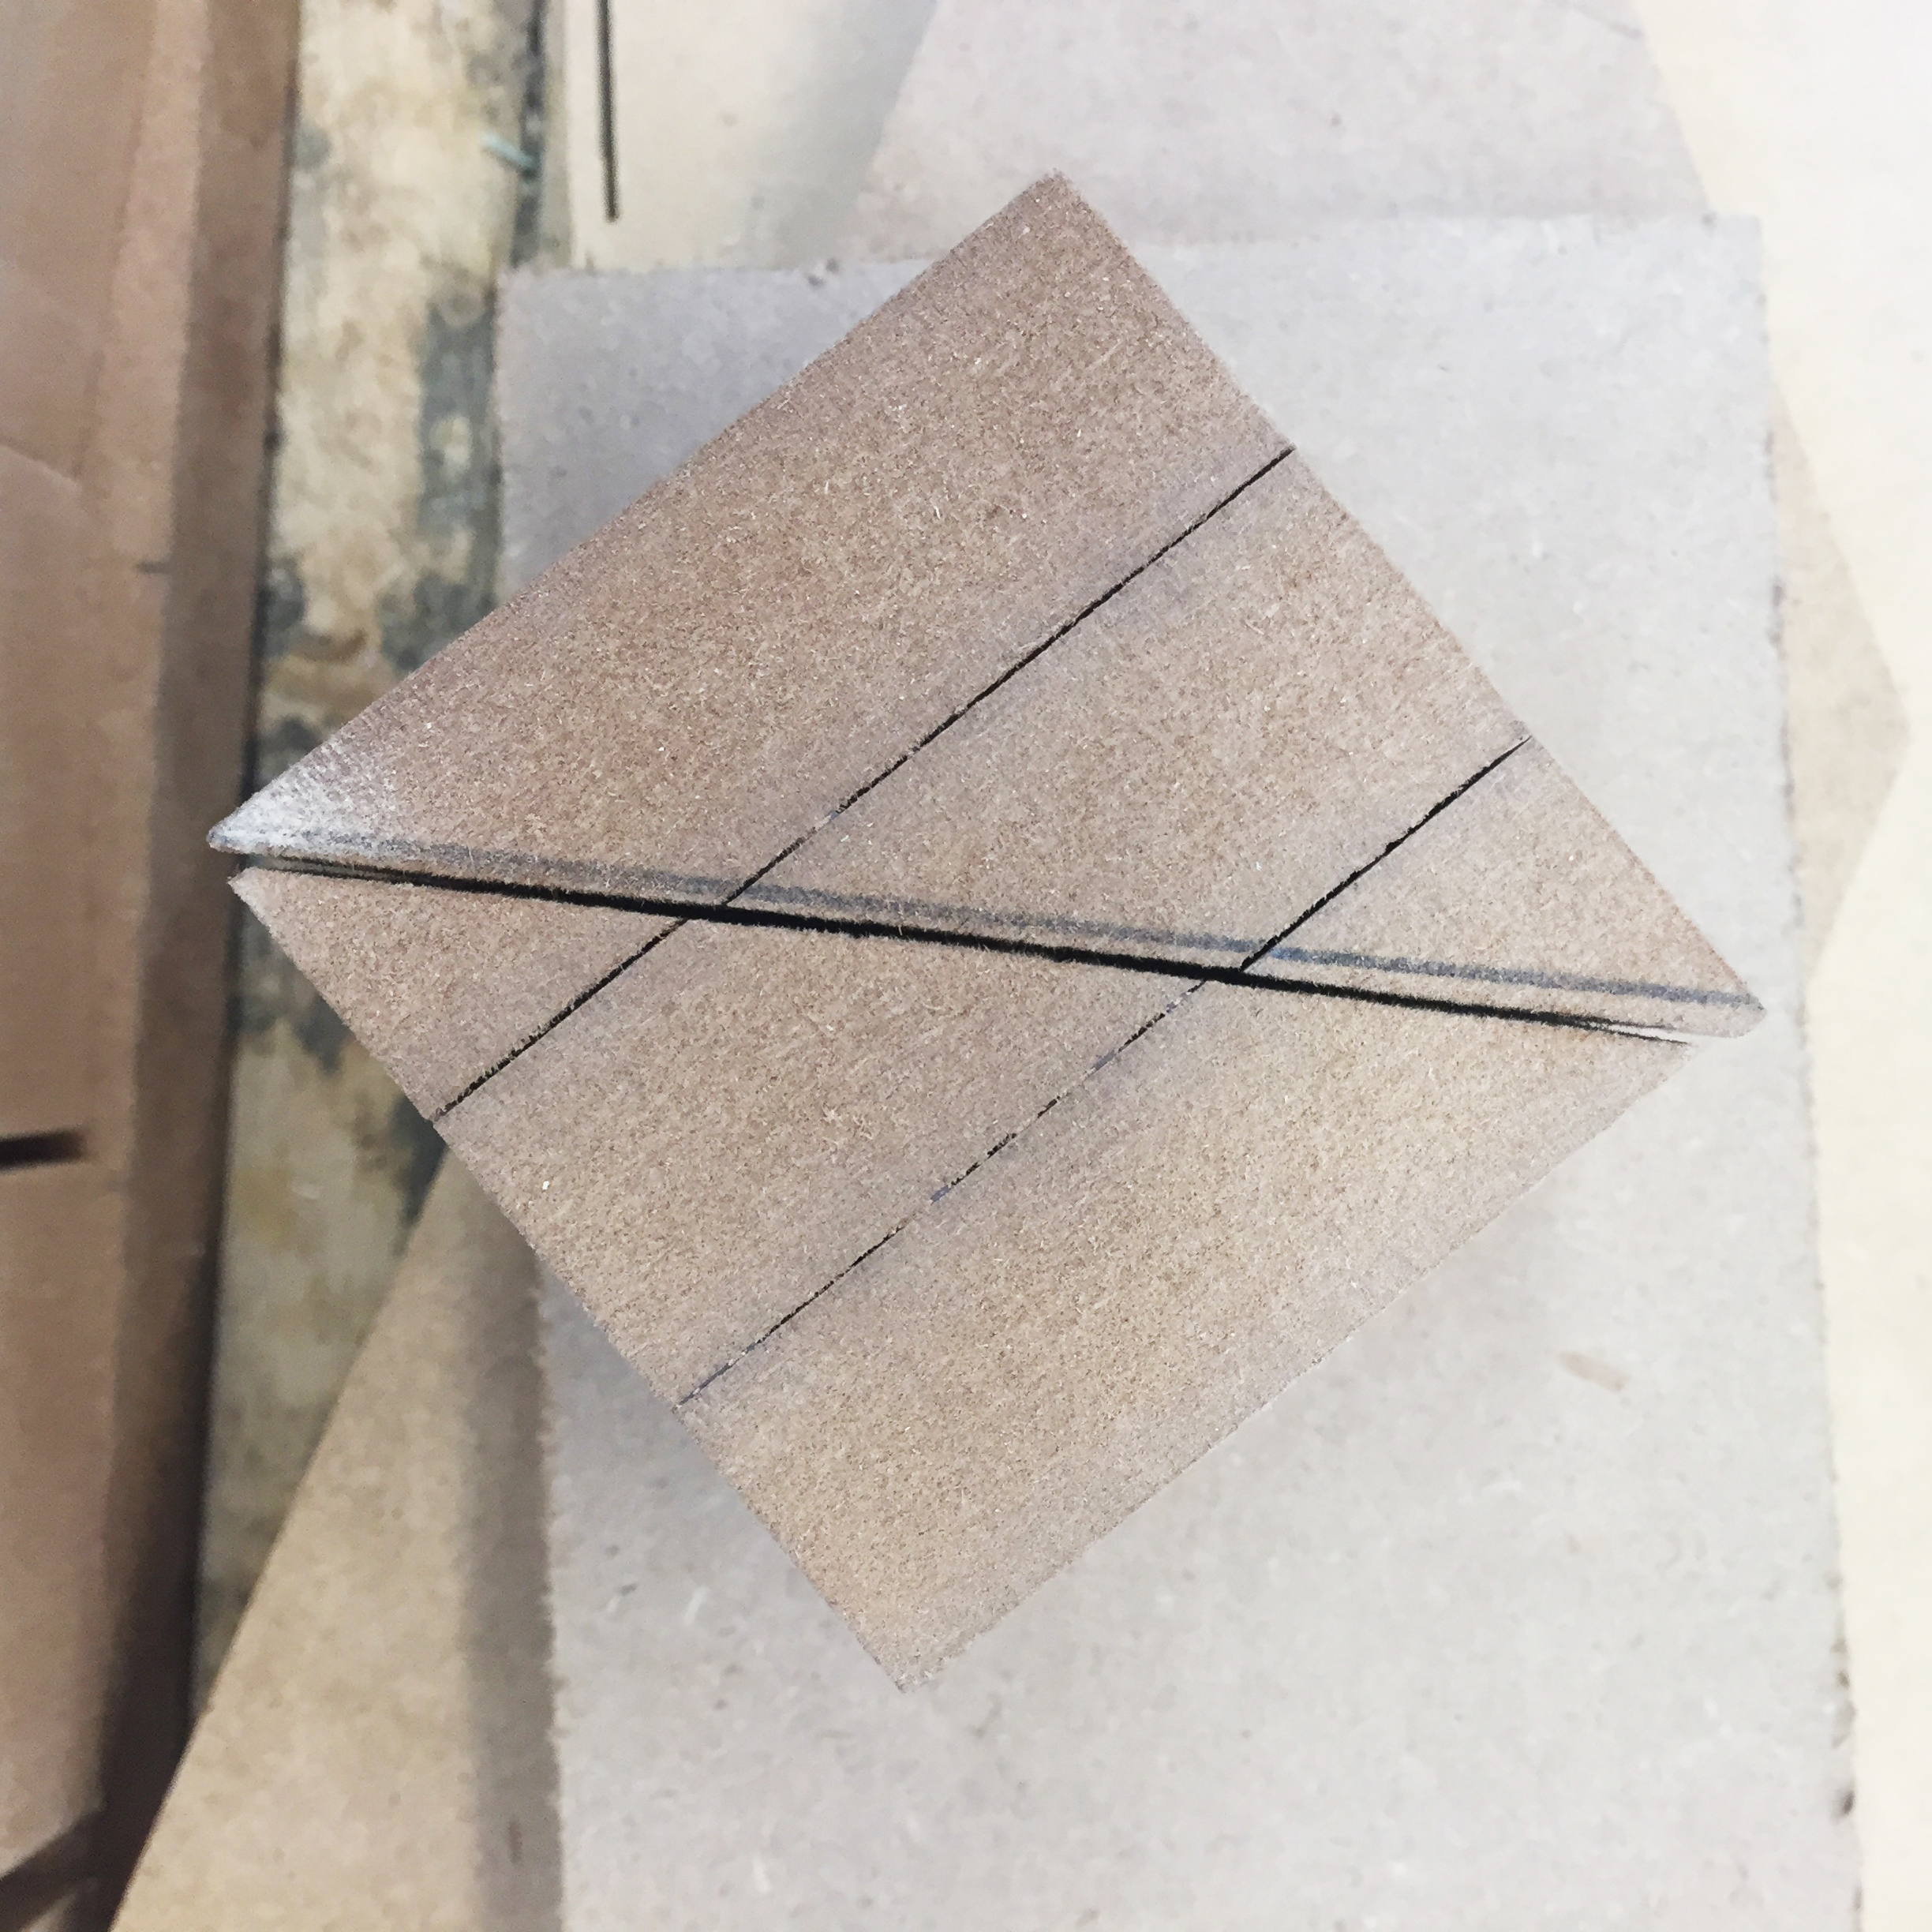
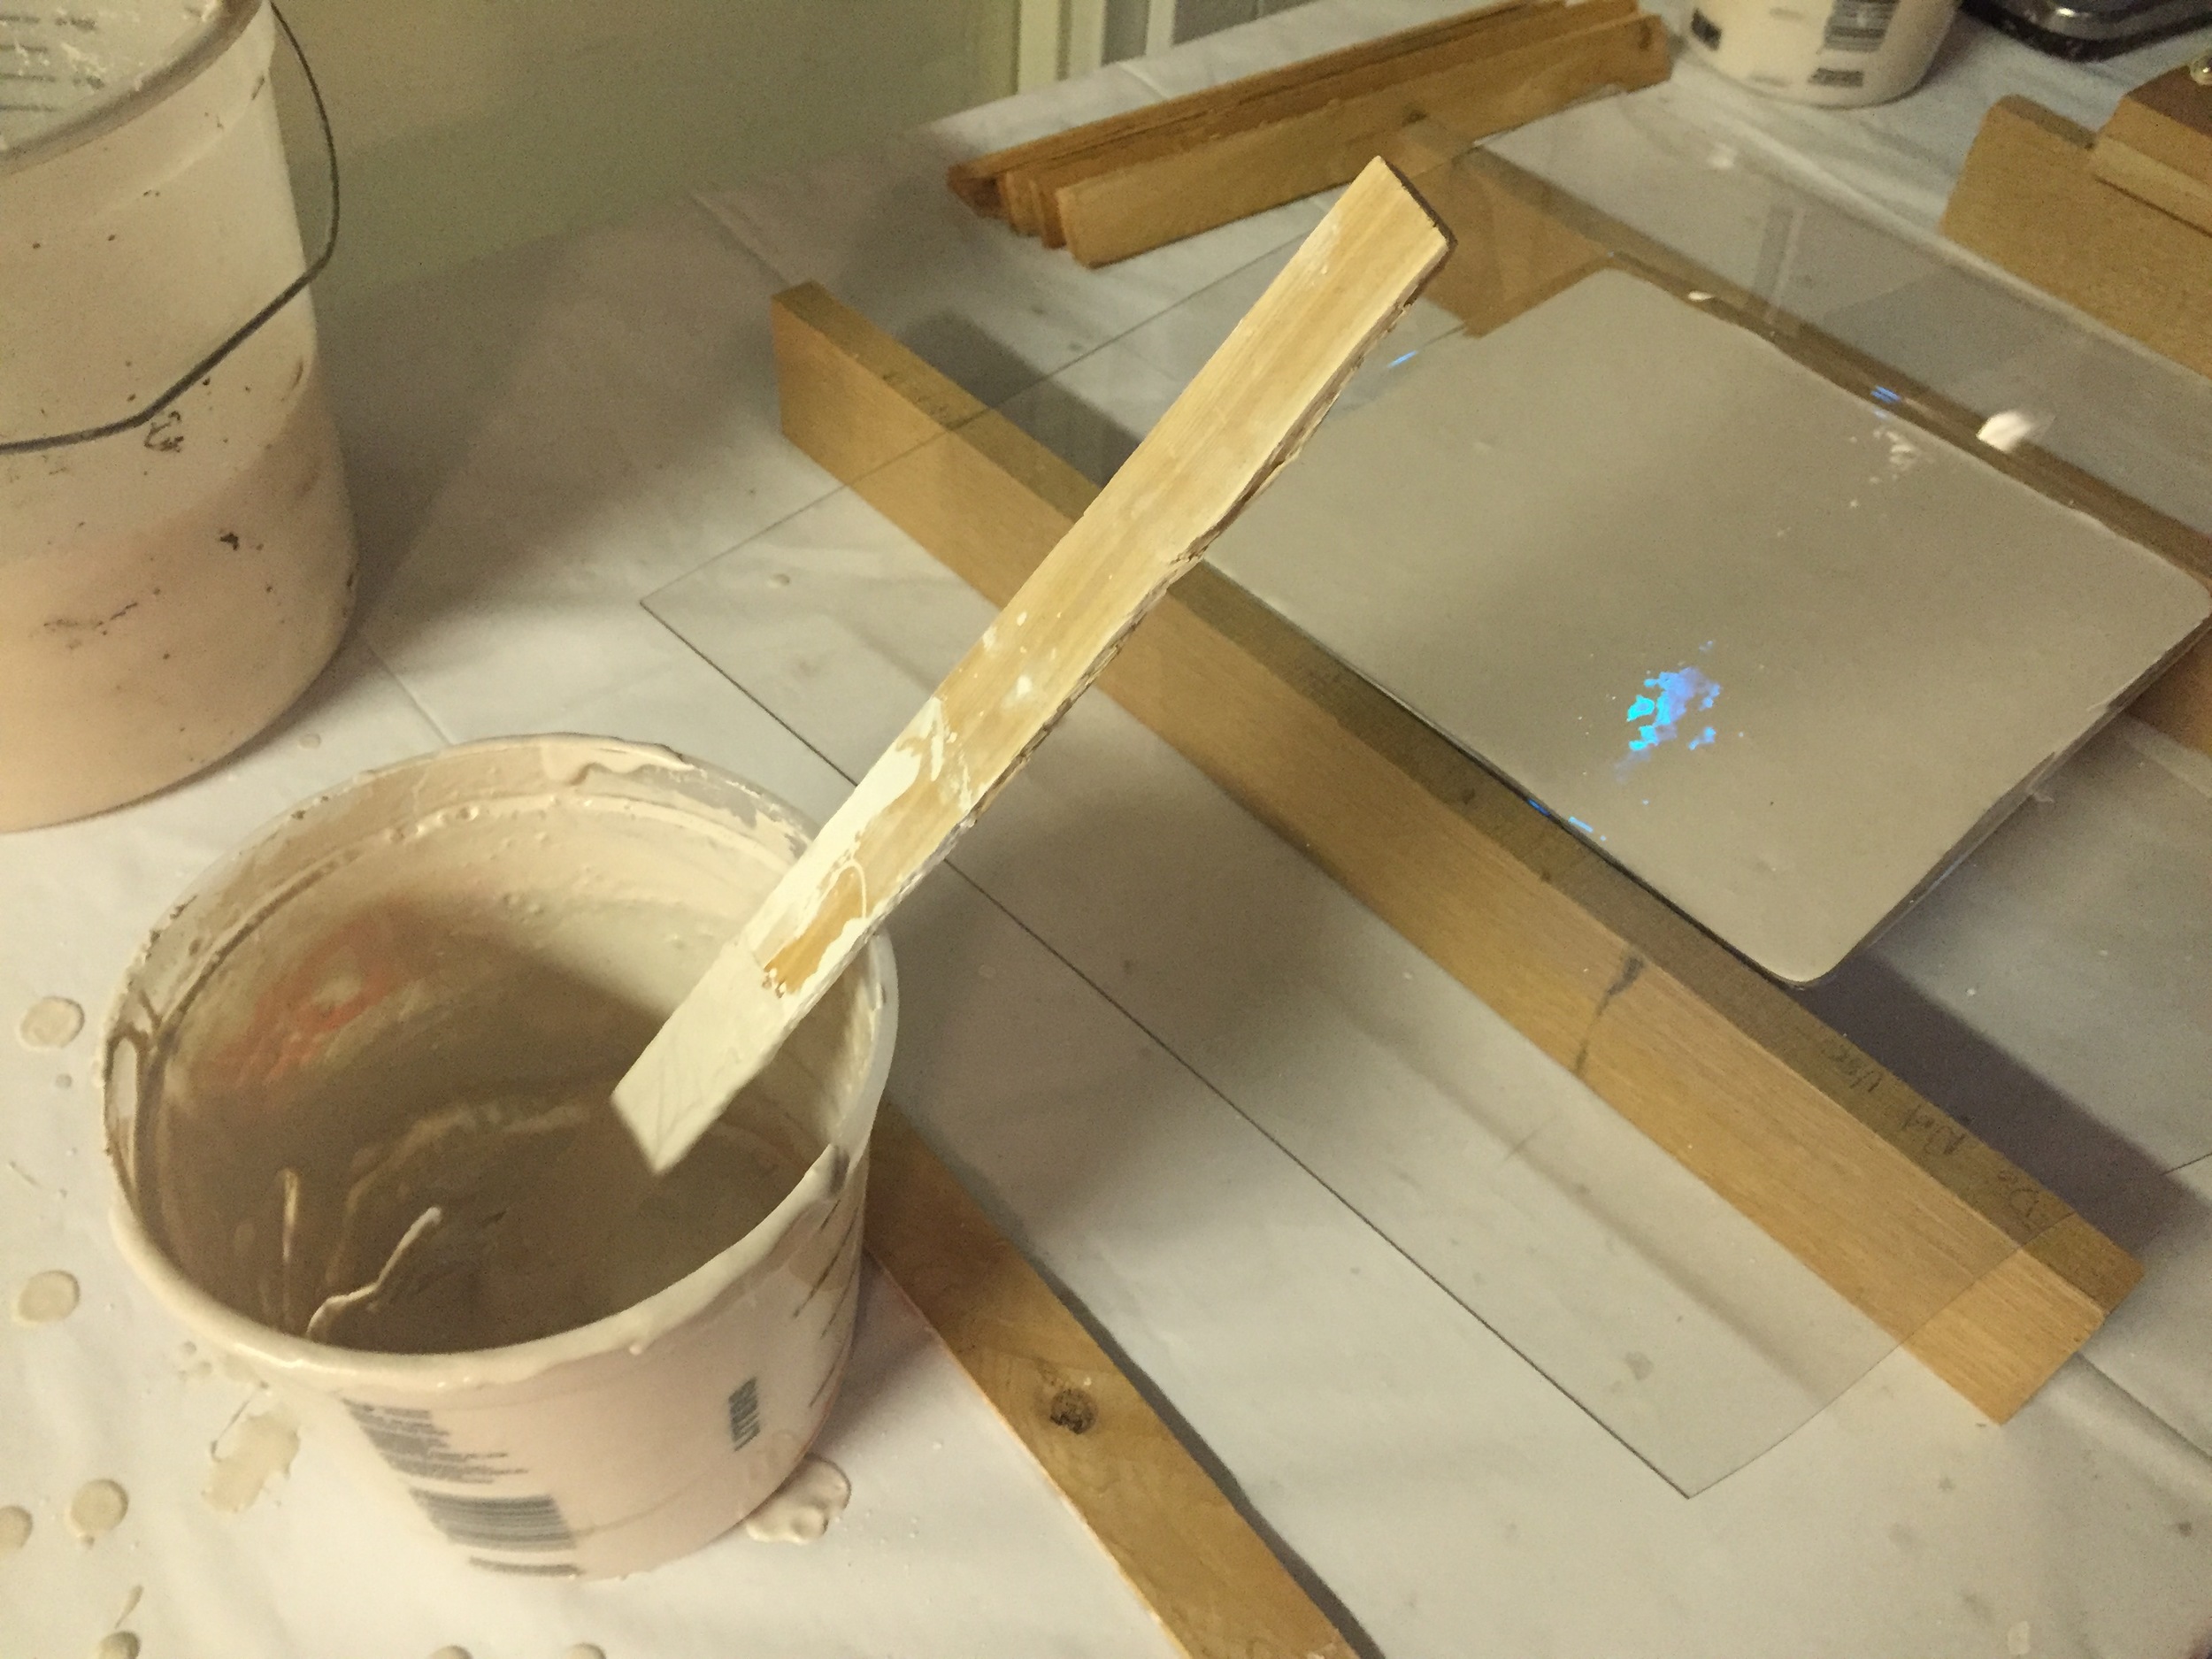
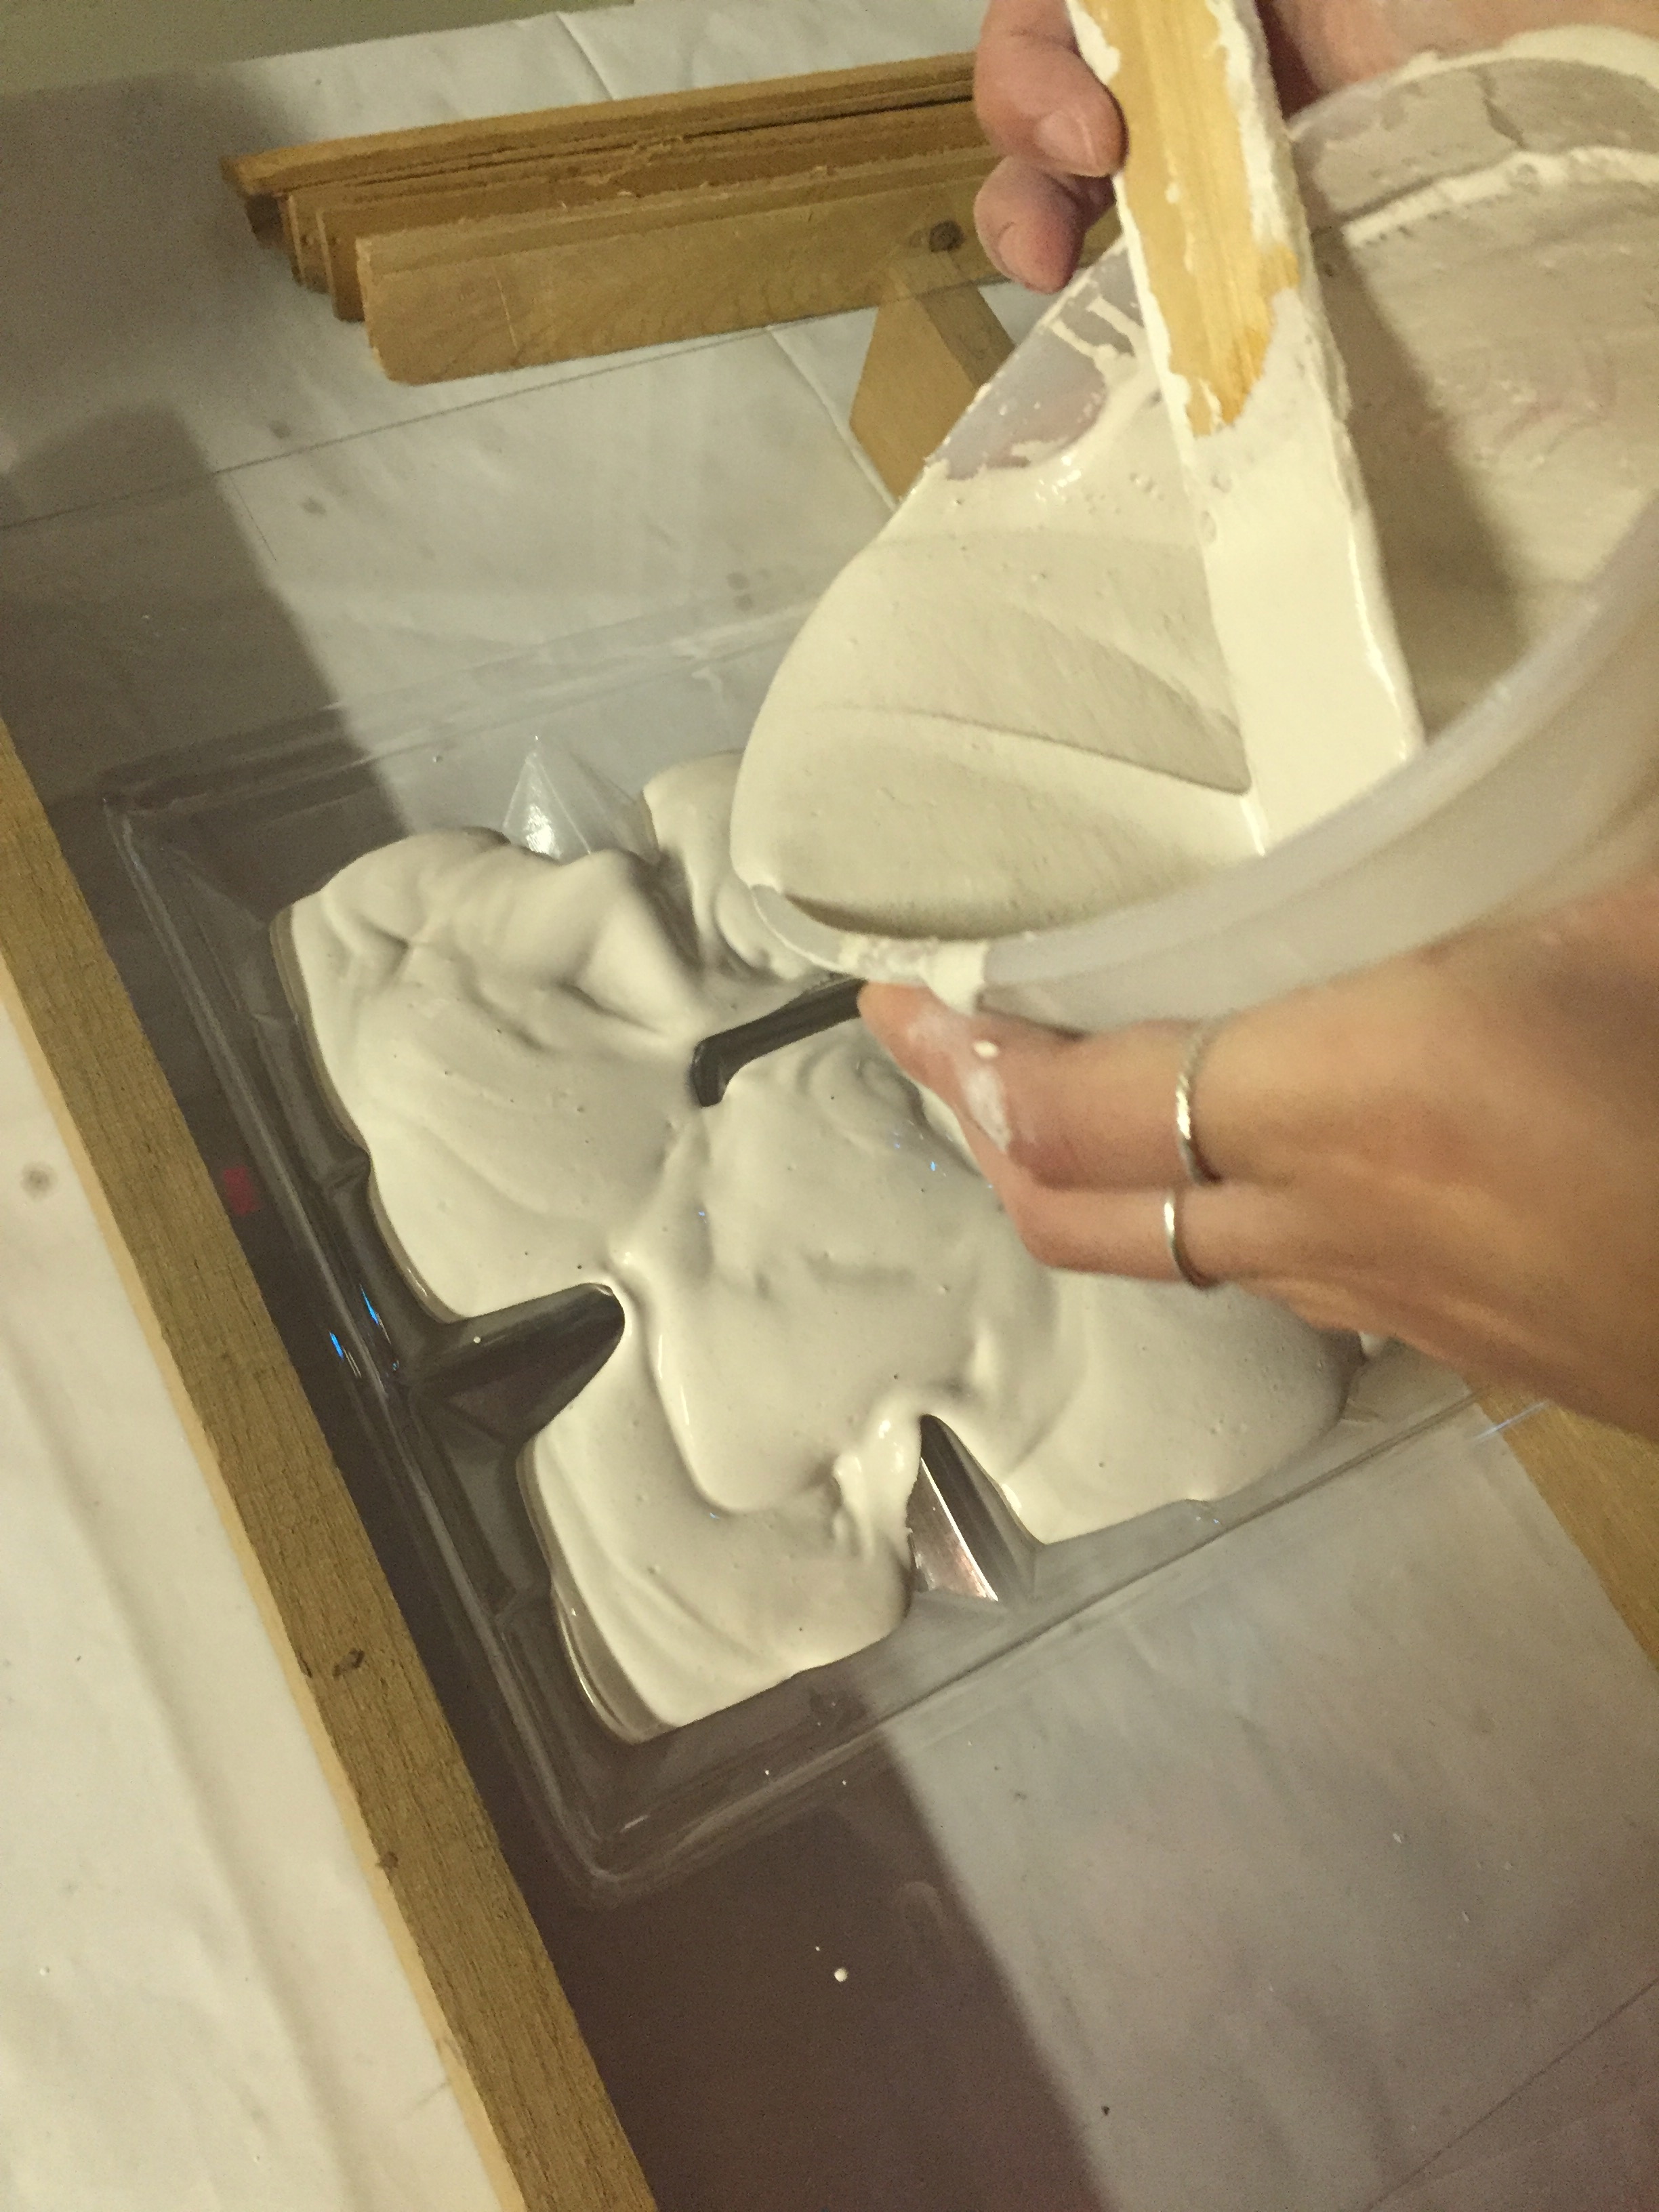
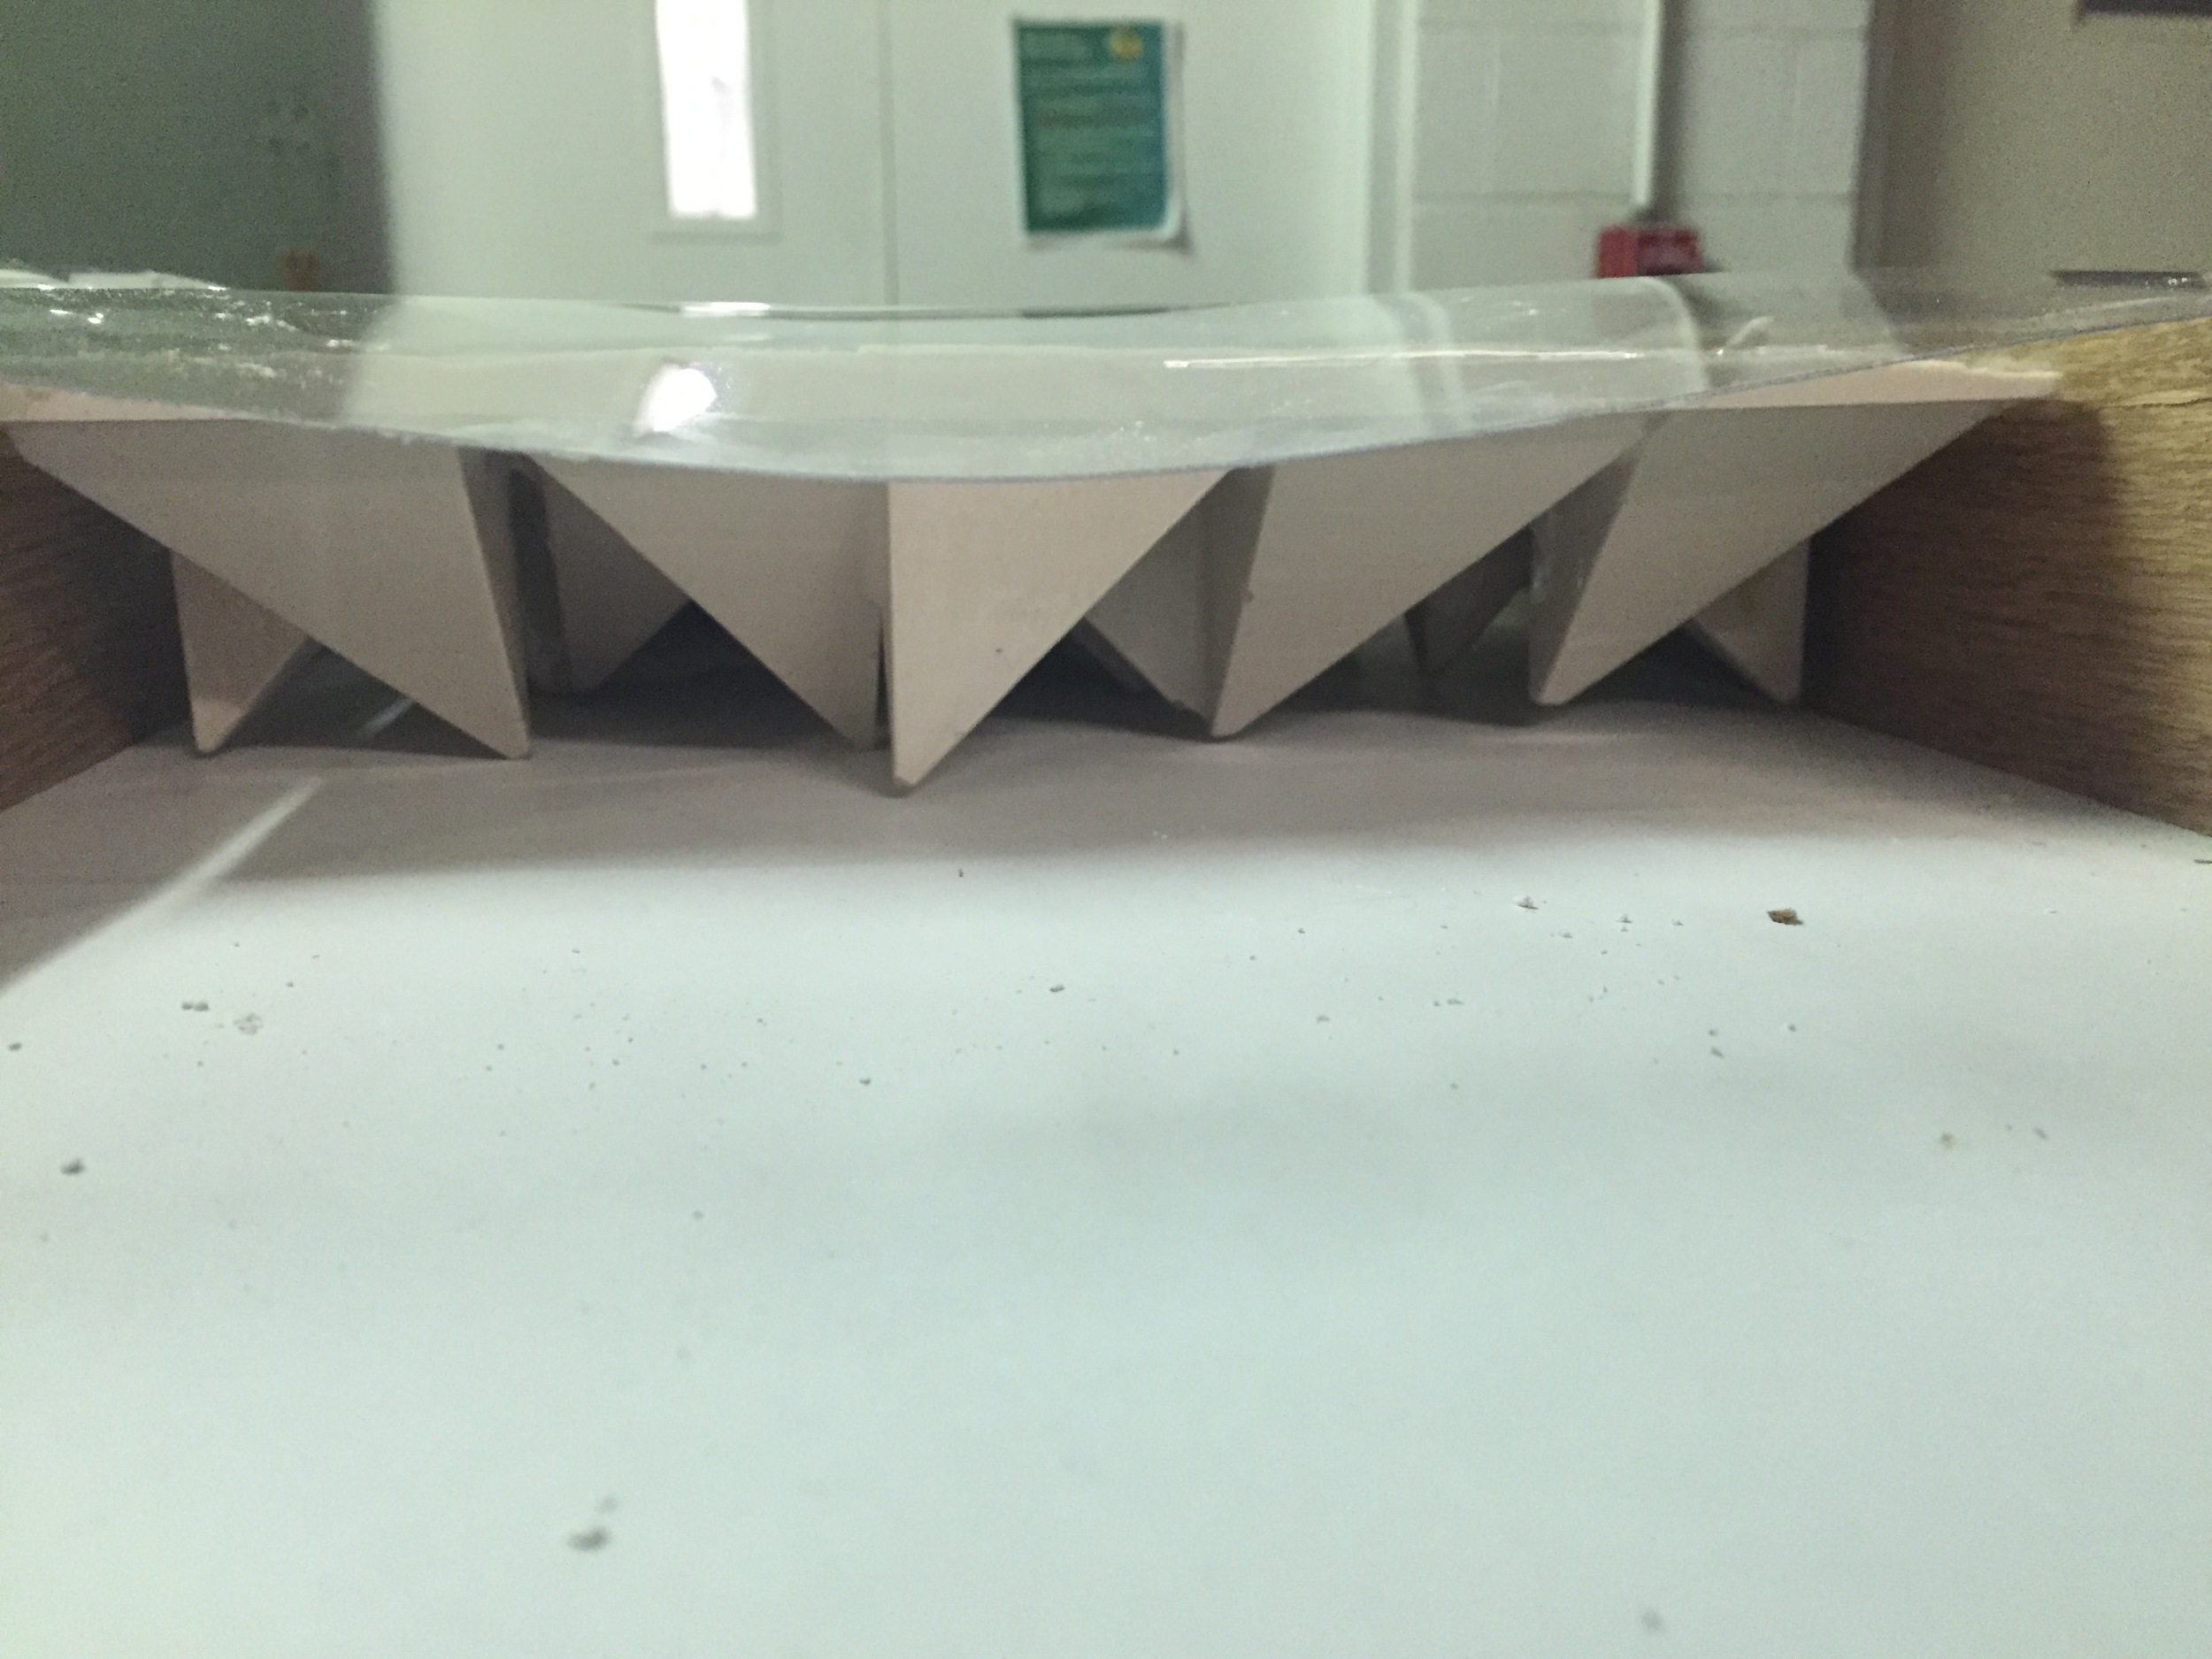
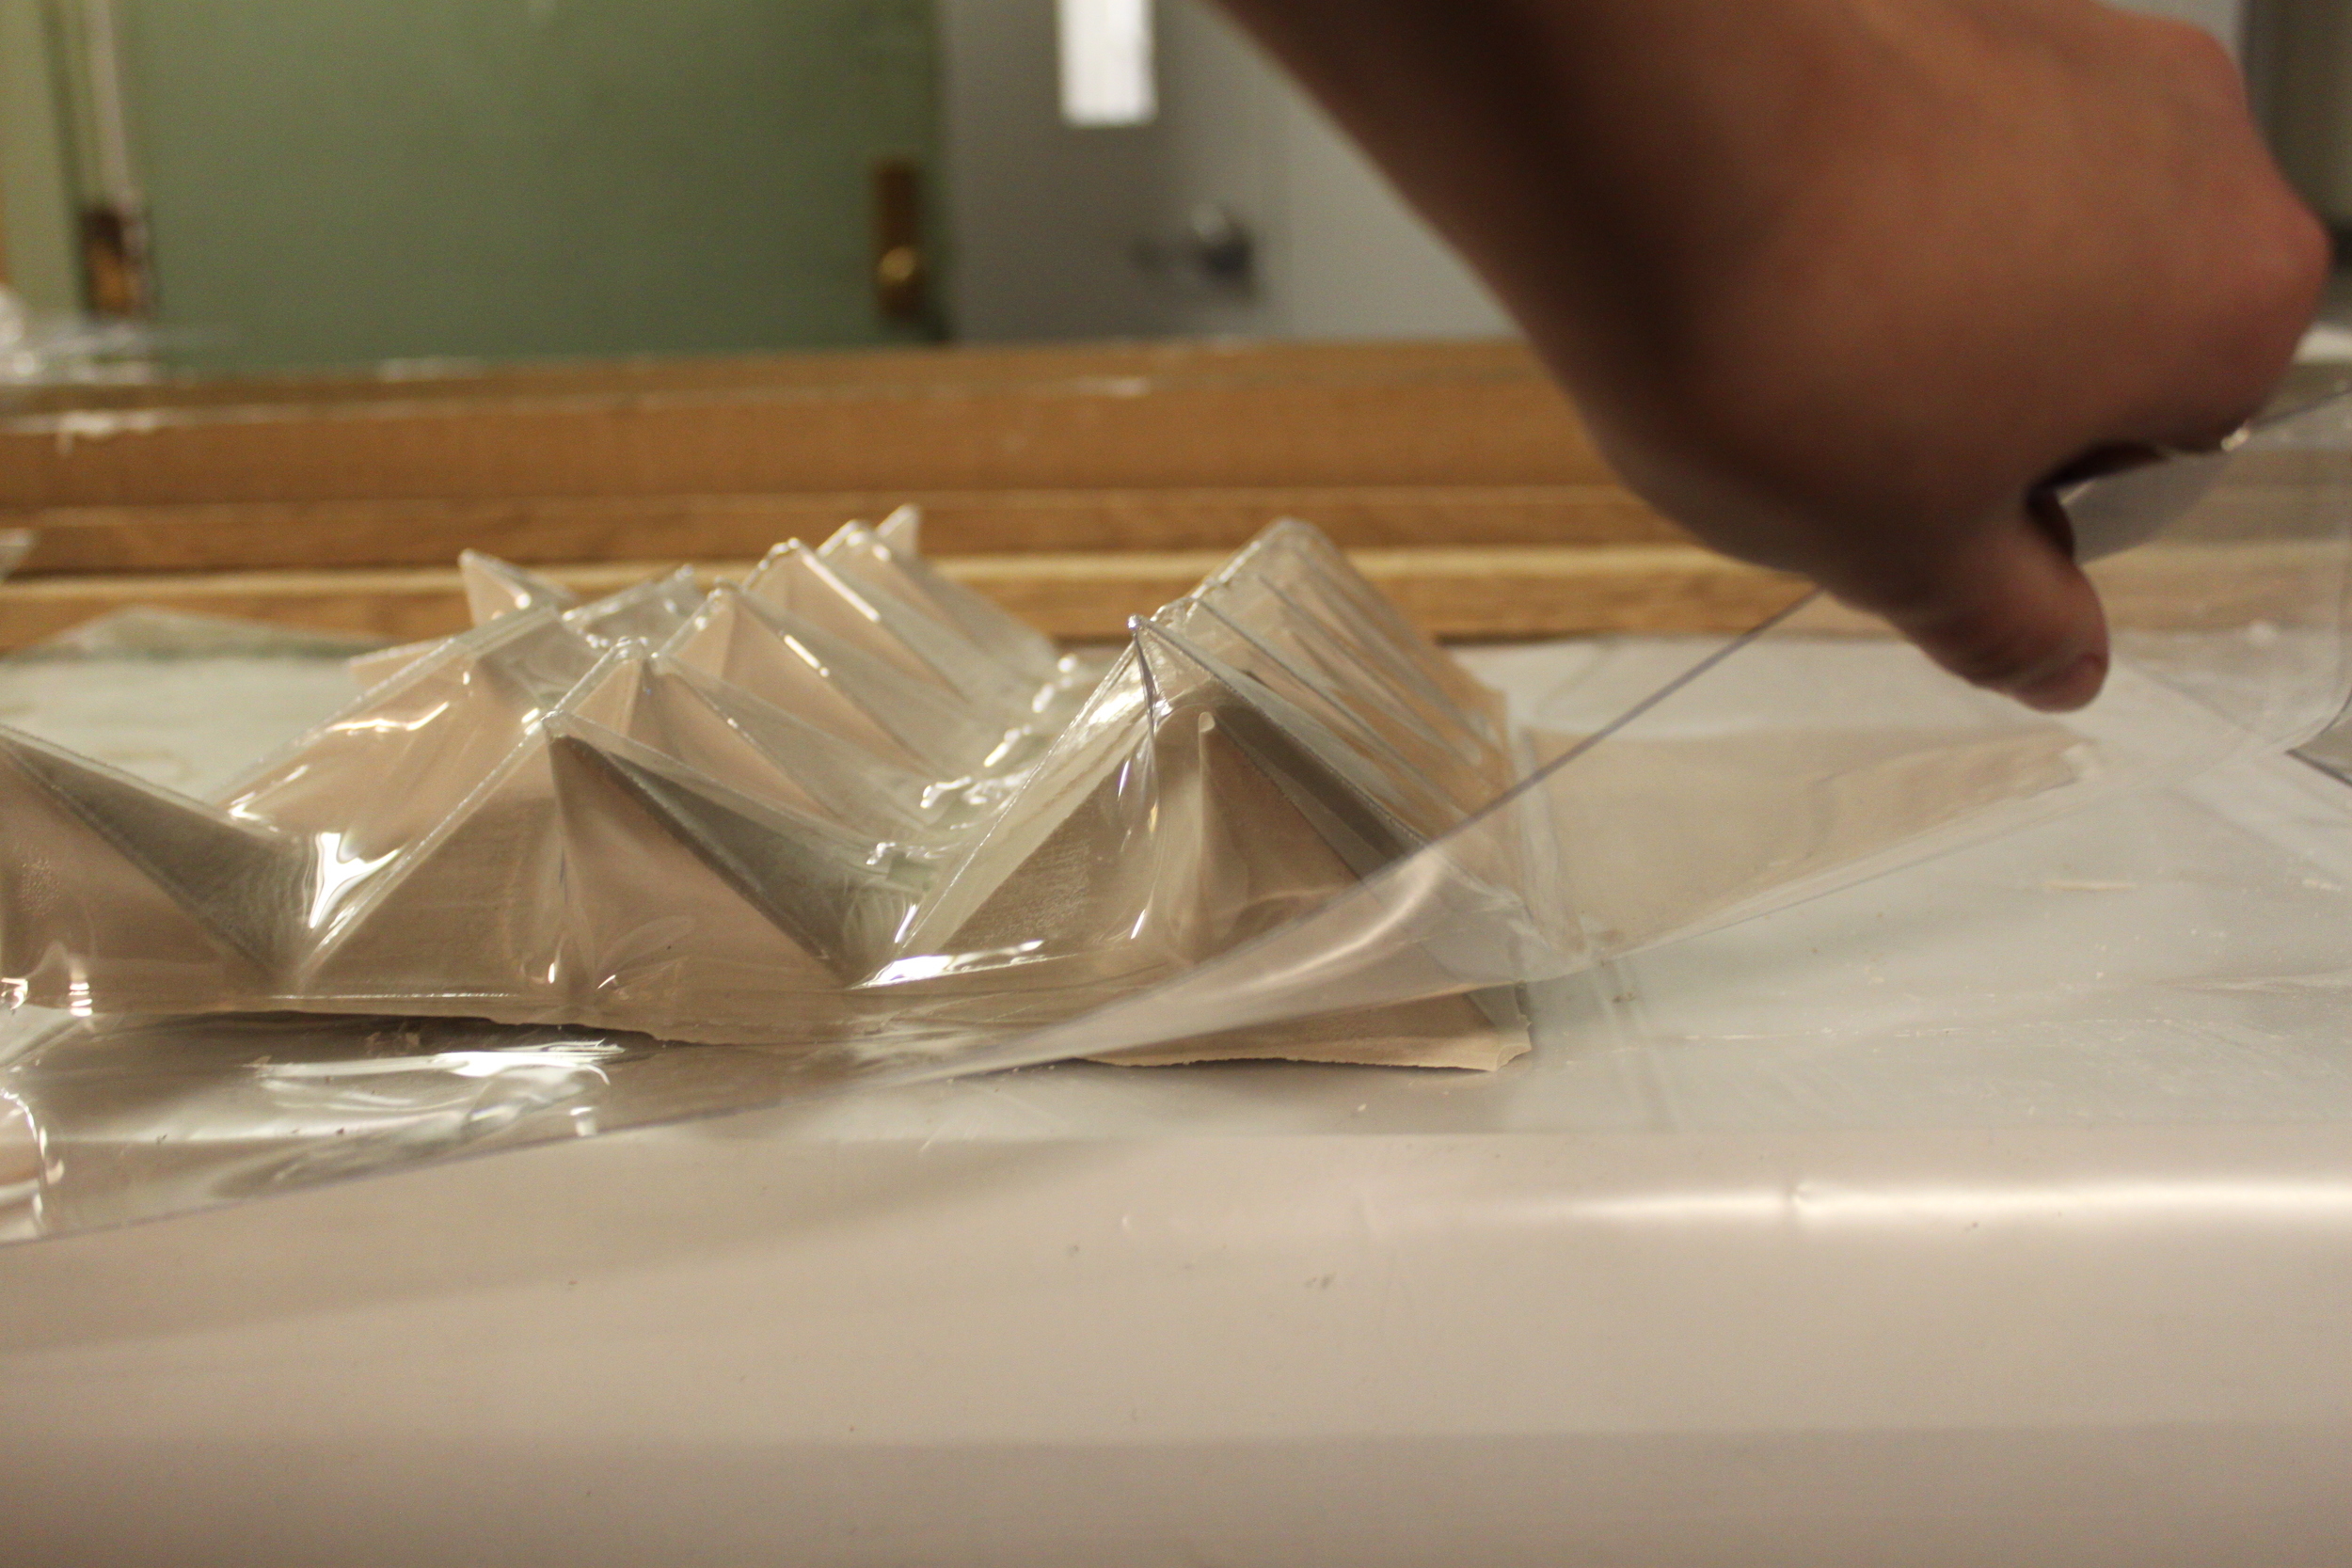
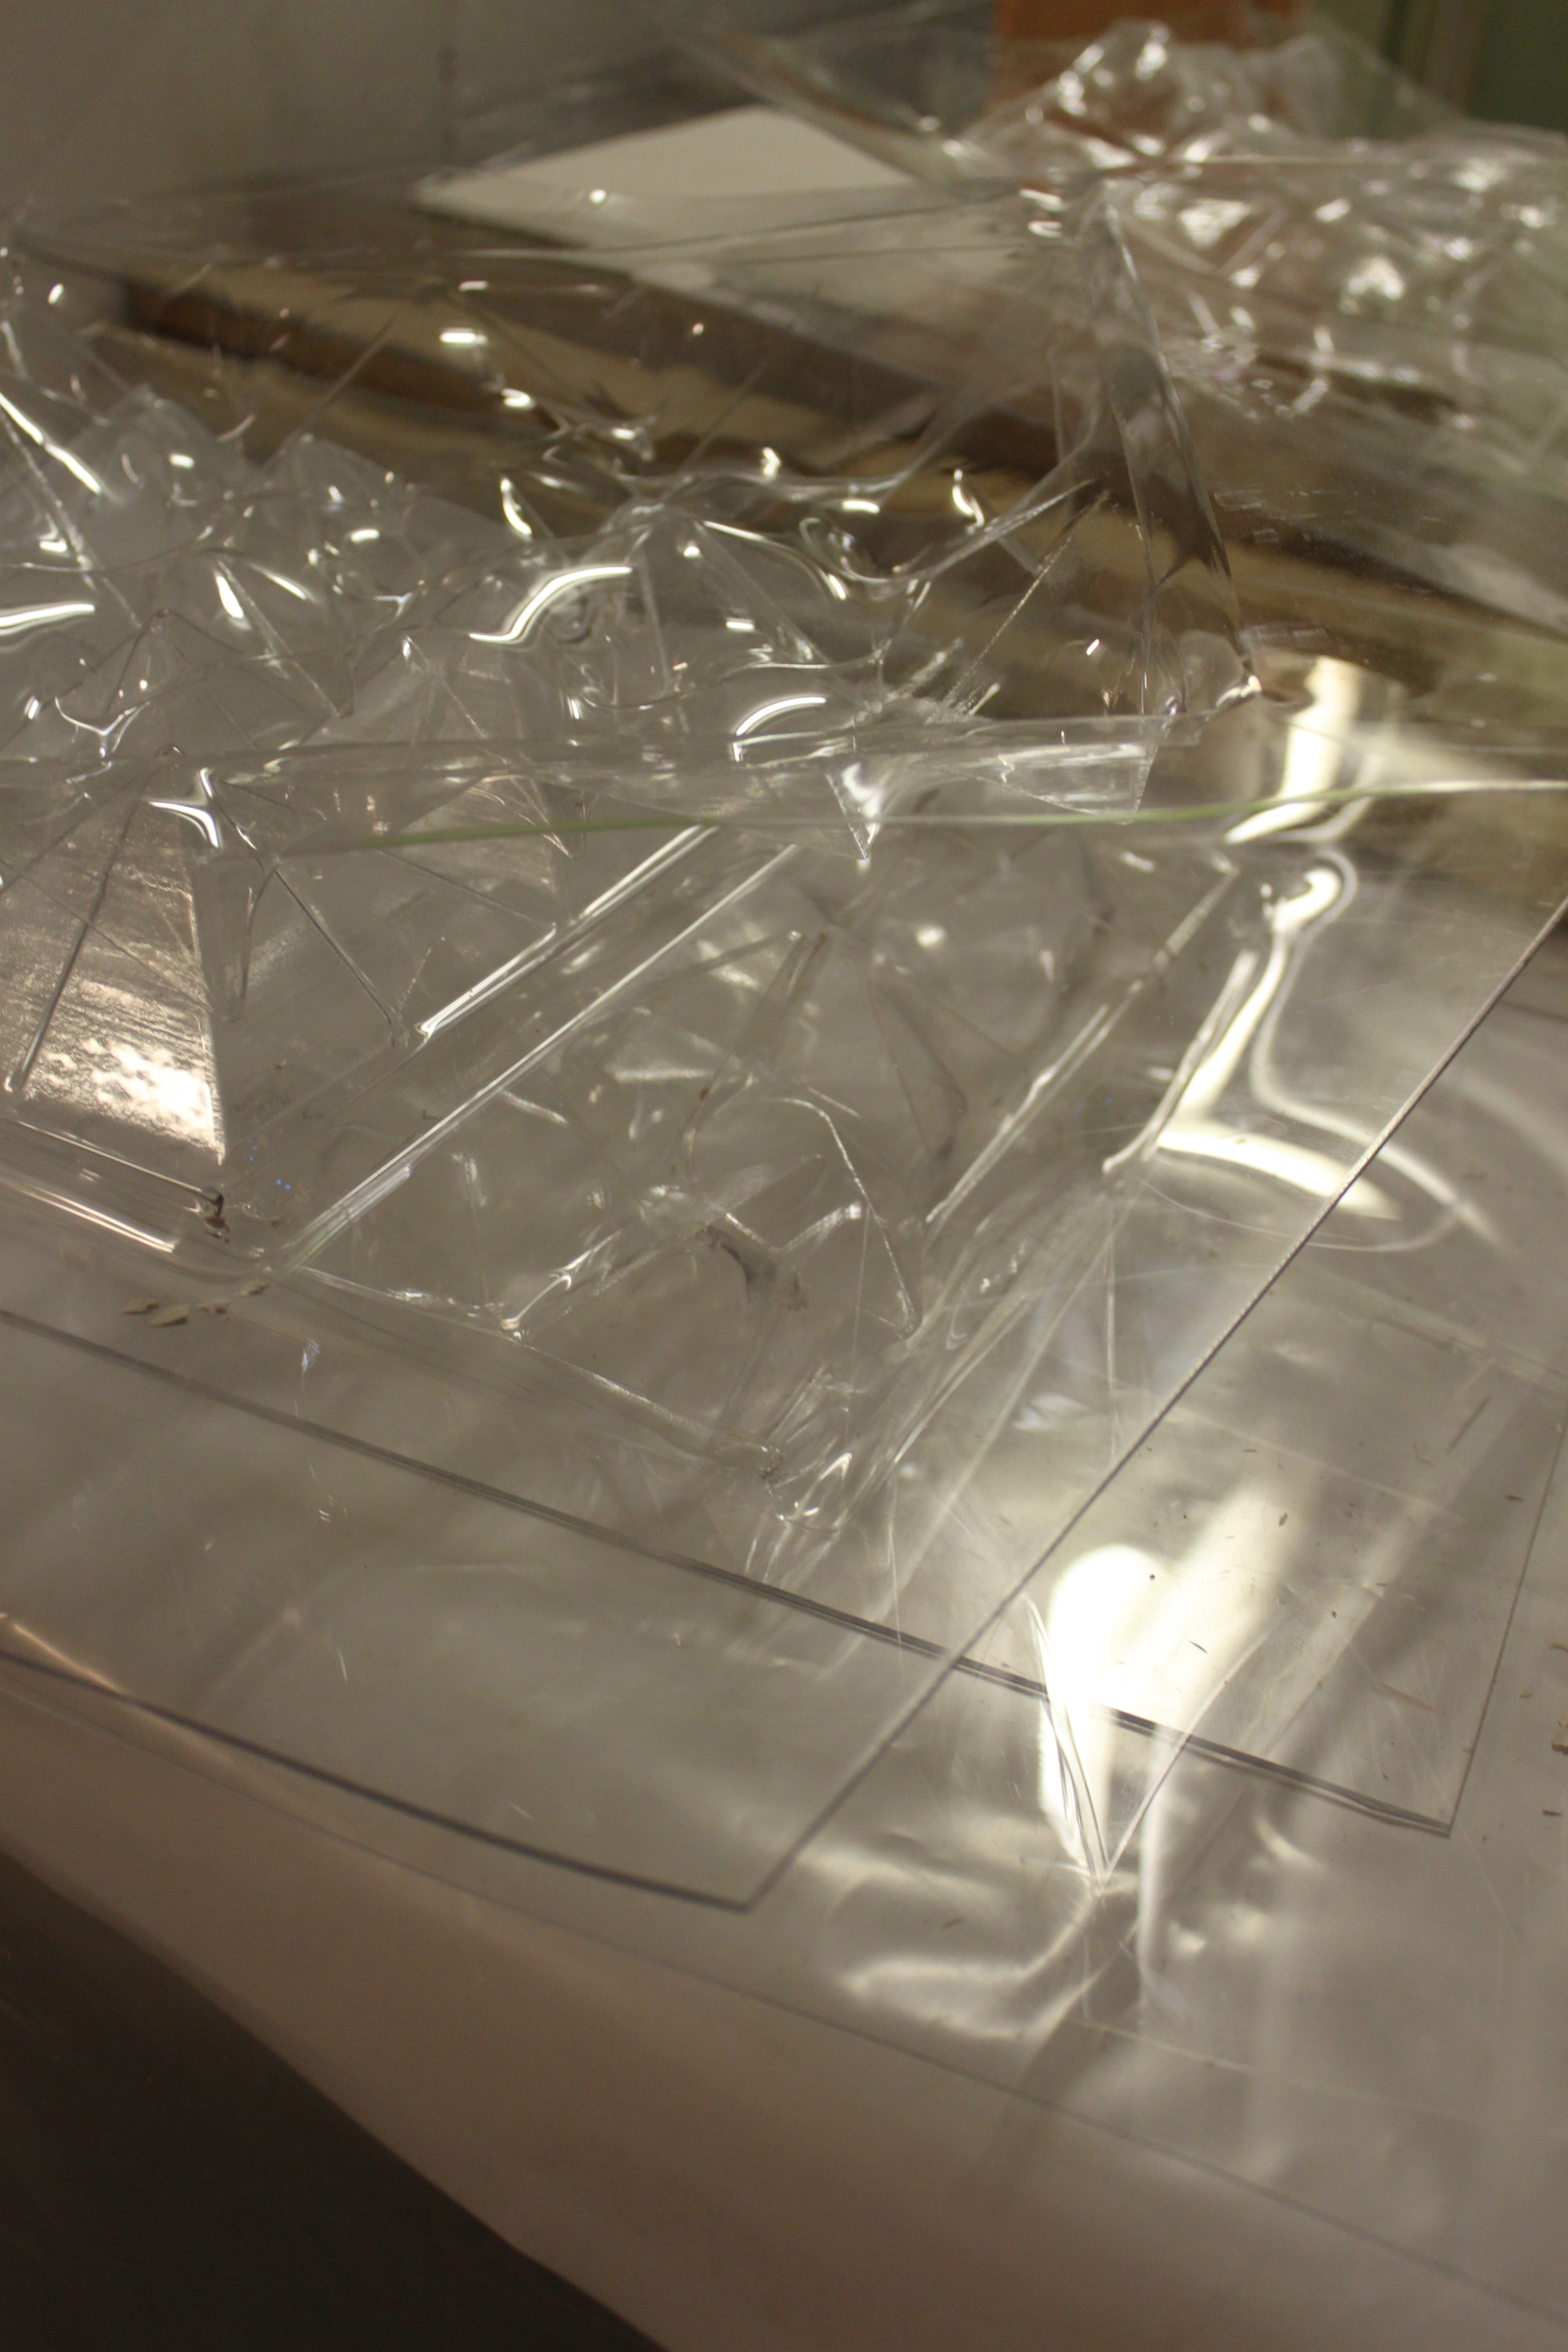
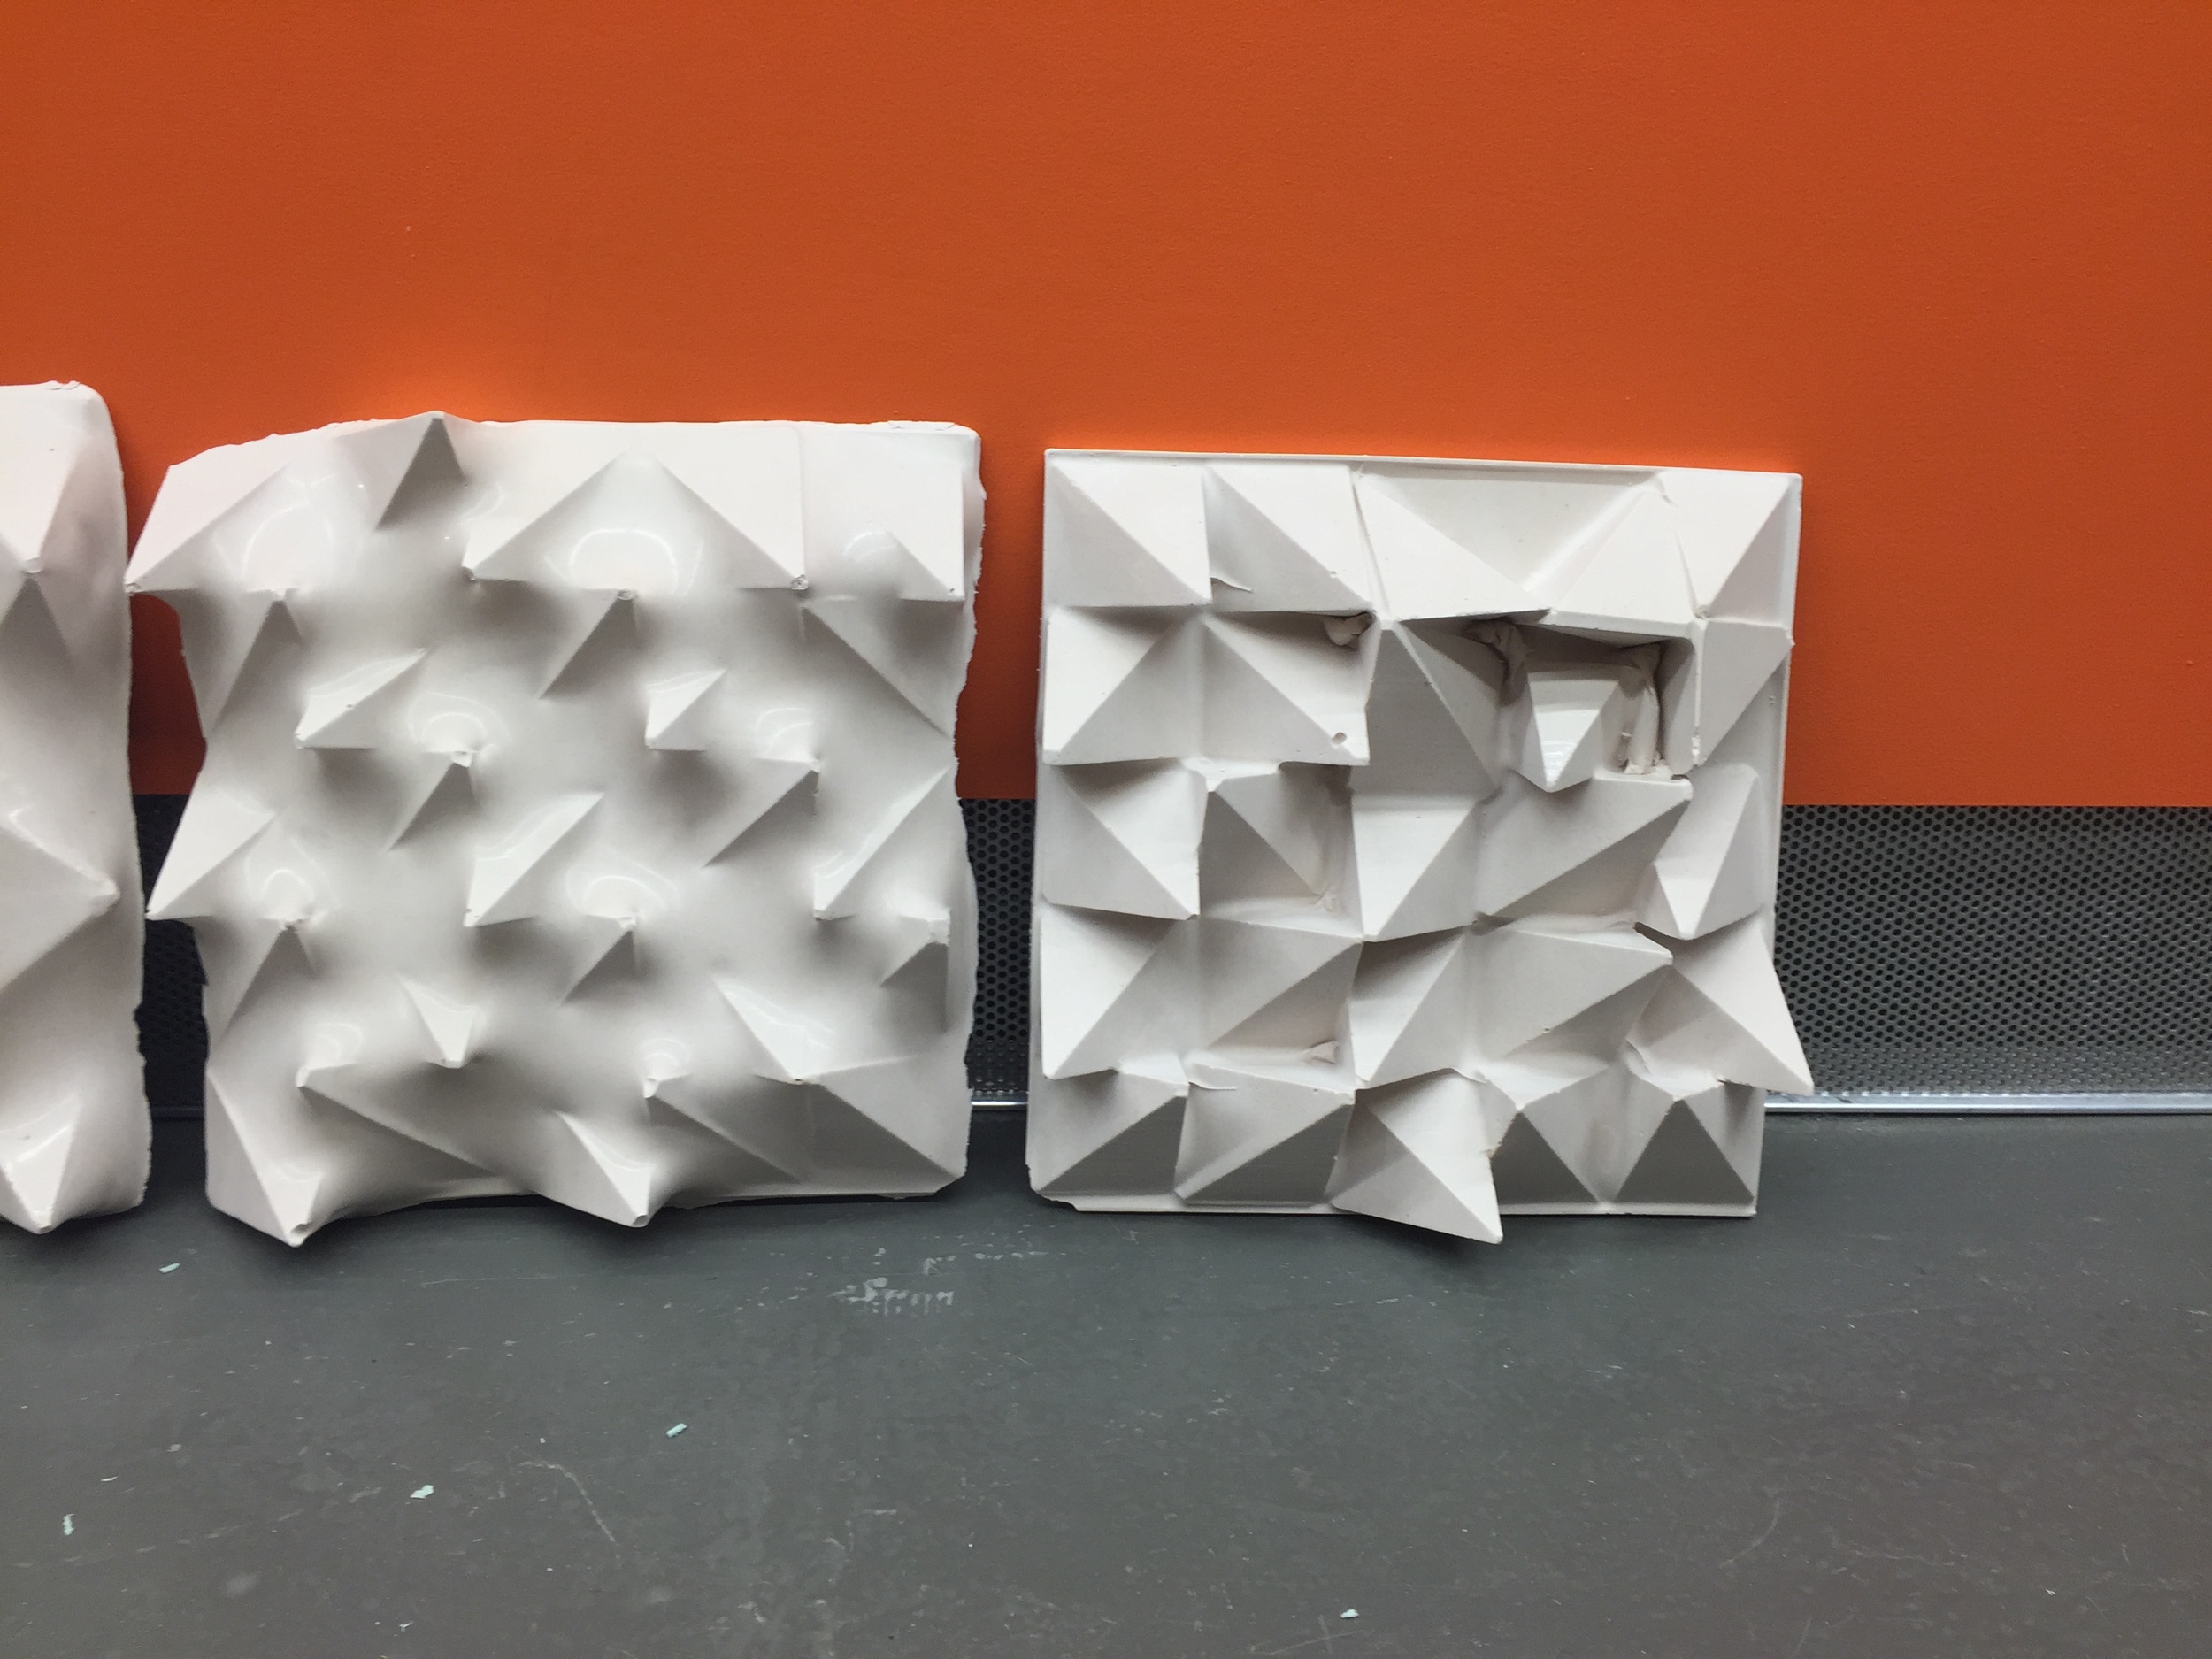
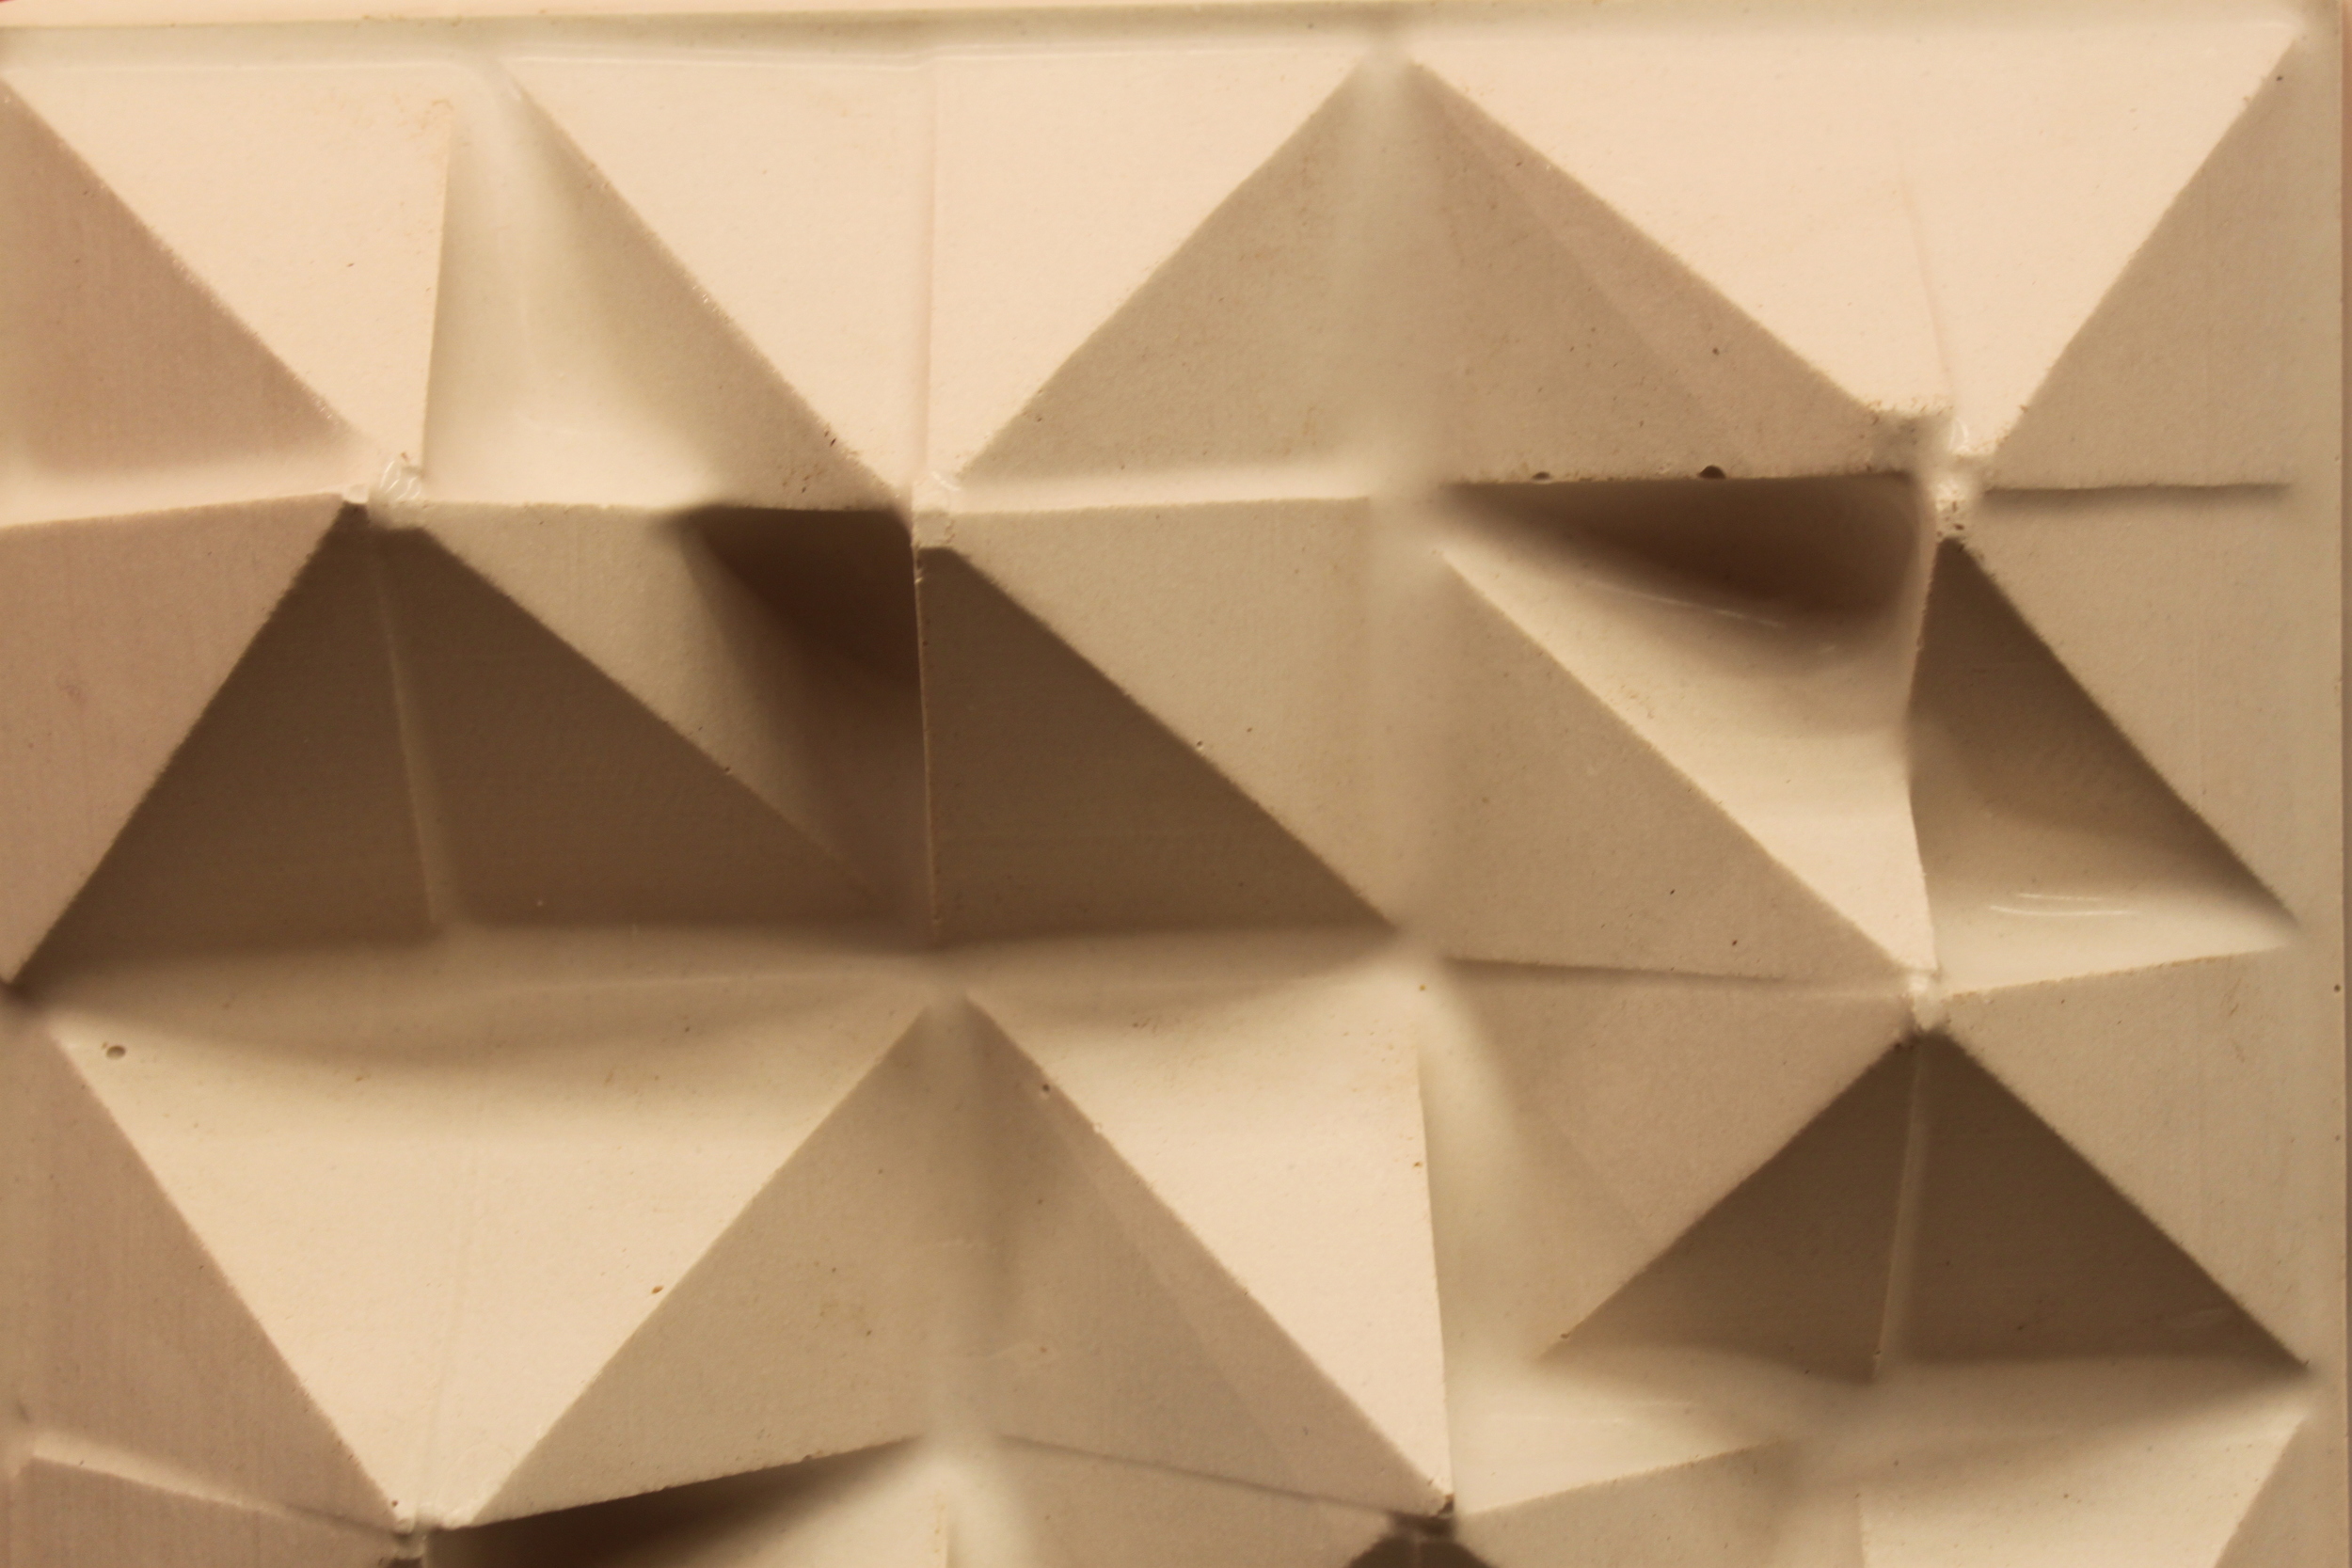
obstacle 9: casting modular formwork
[ design and build modular patterns that can be reconfigured within a 10" x 10" bounding square. vacuum form the patterns to create a variety of plaster tiles ]


Woodshop Tile Module Construction

Modular Tile Configurations

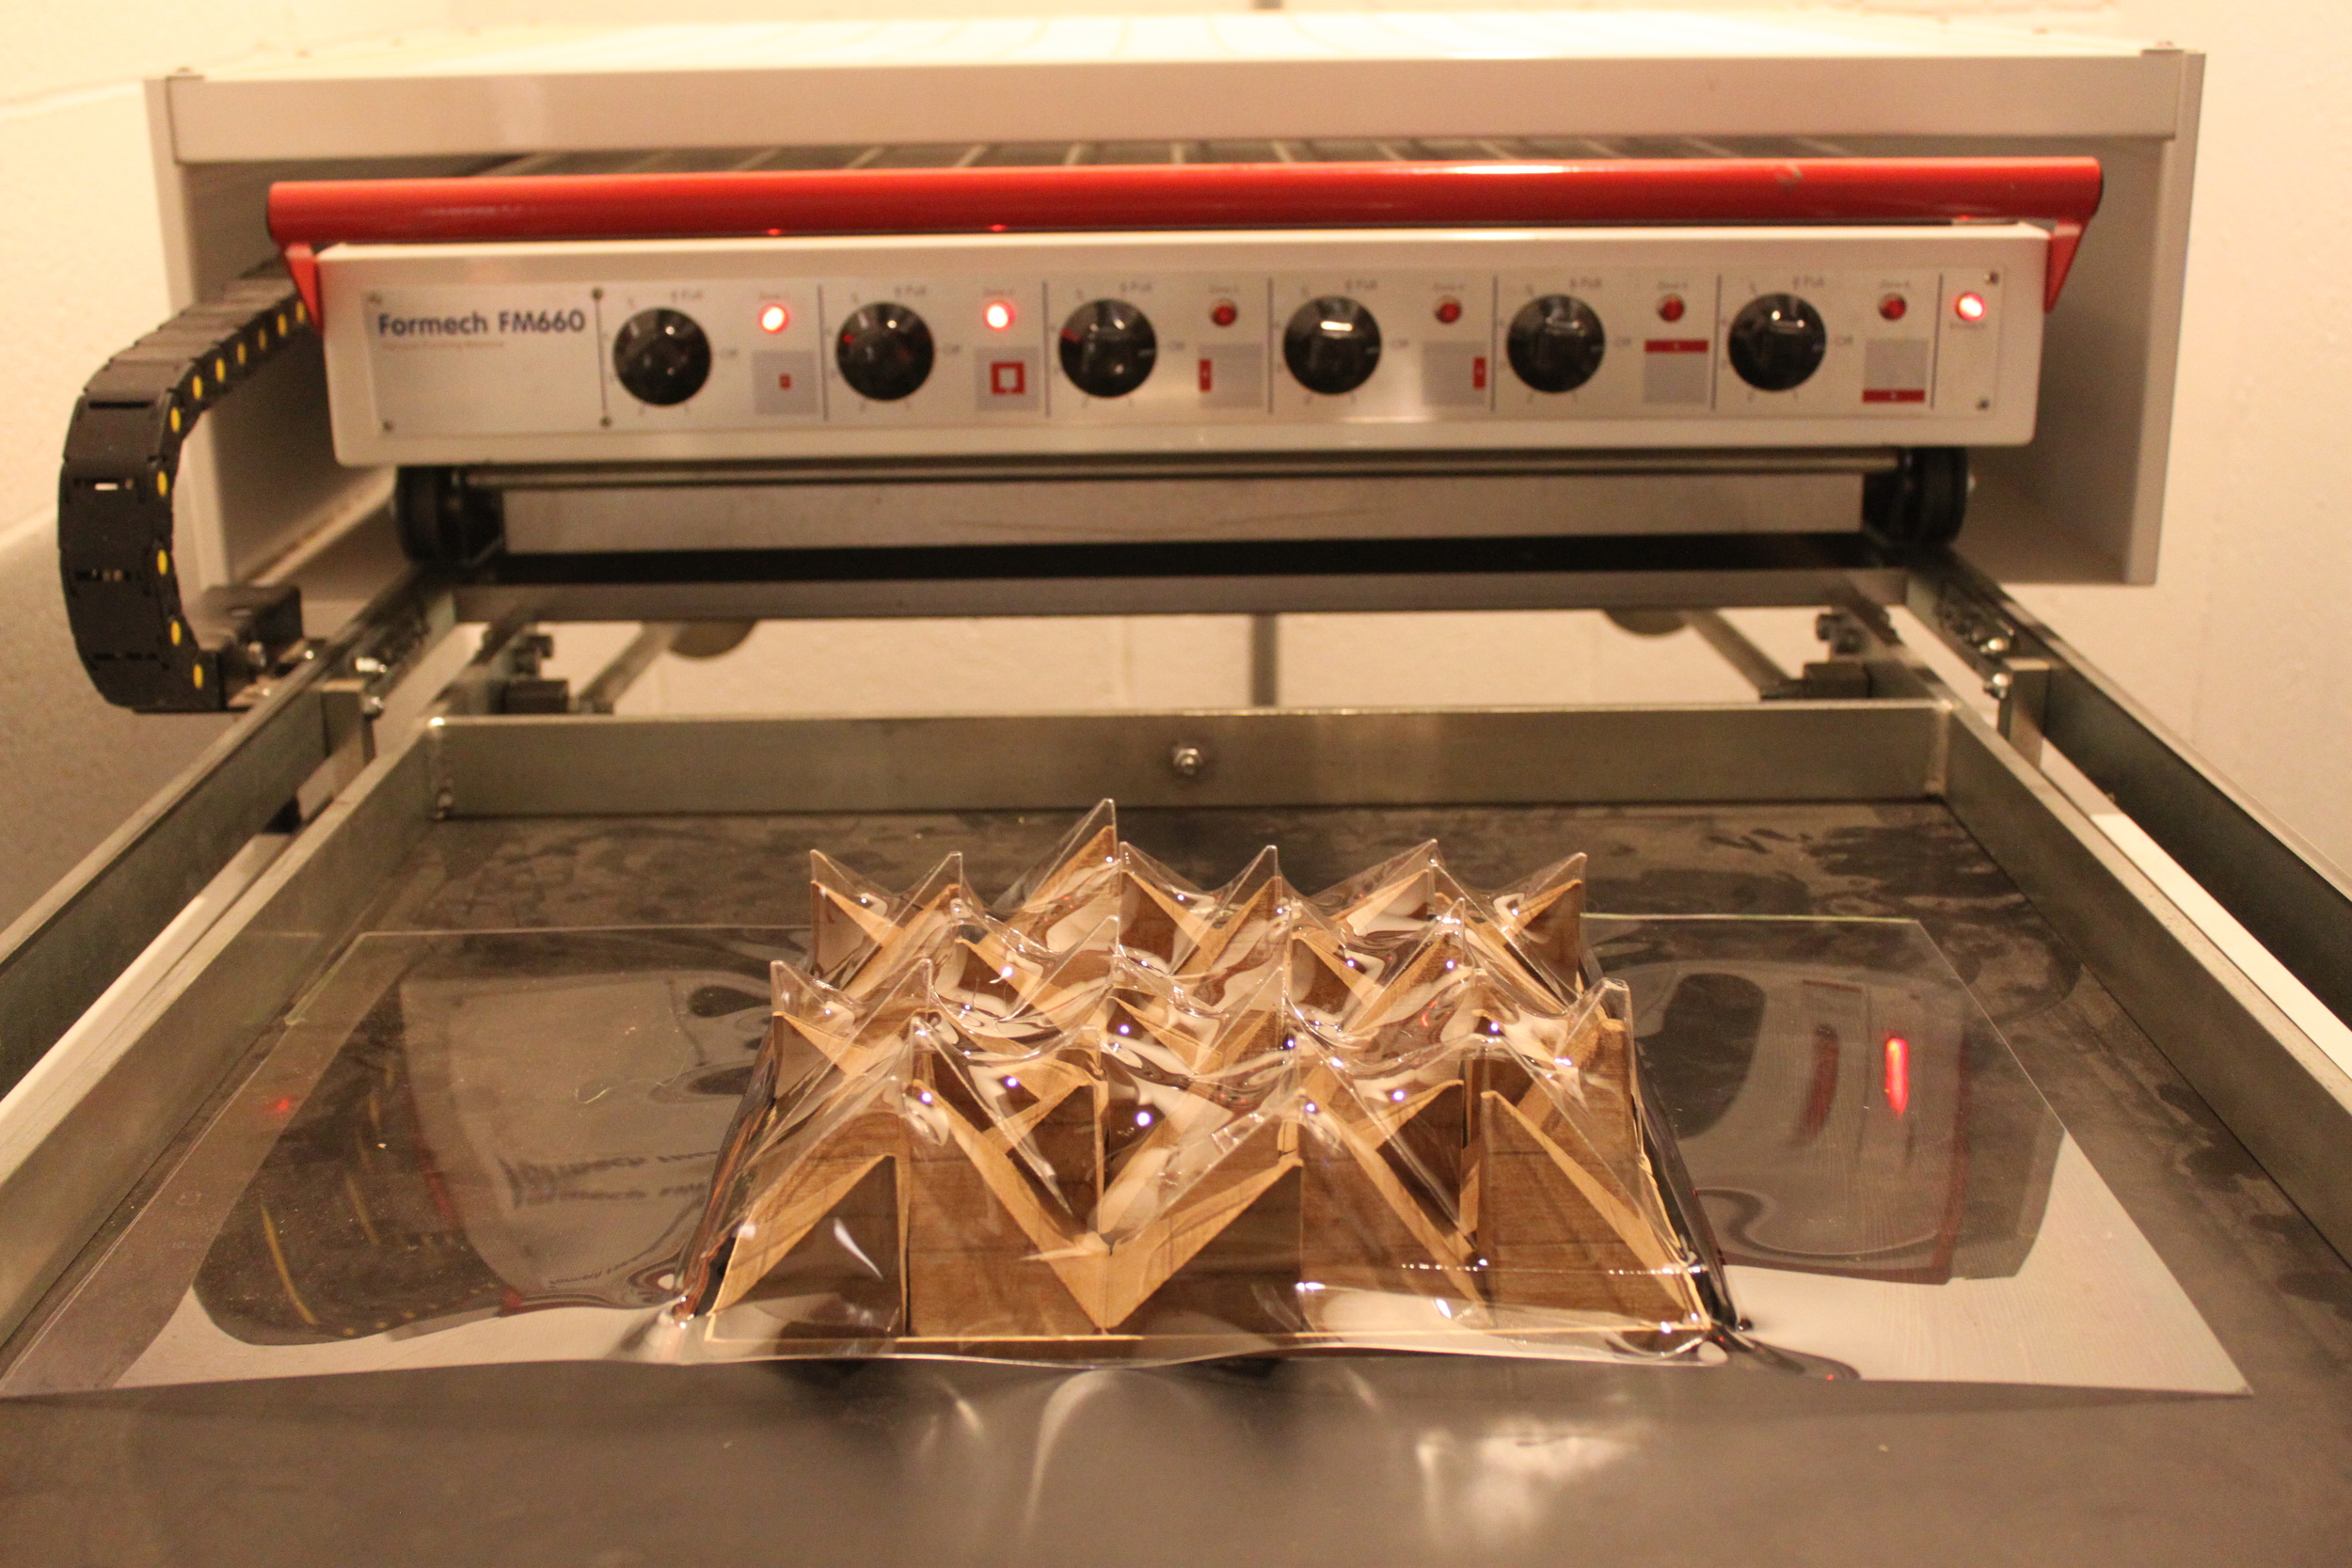
Vacuum Form Process
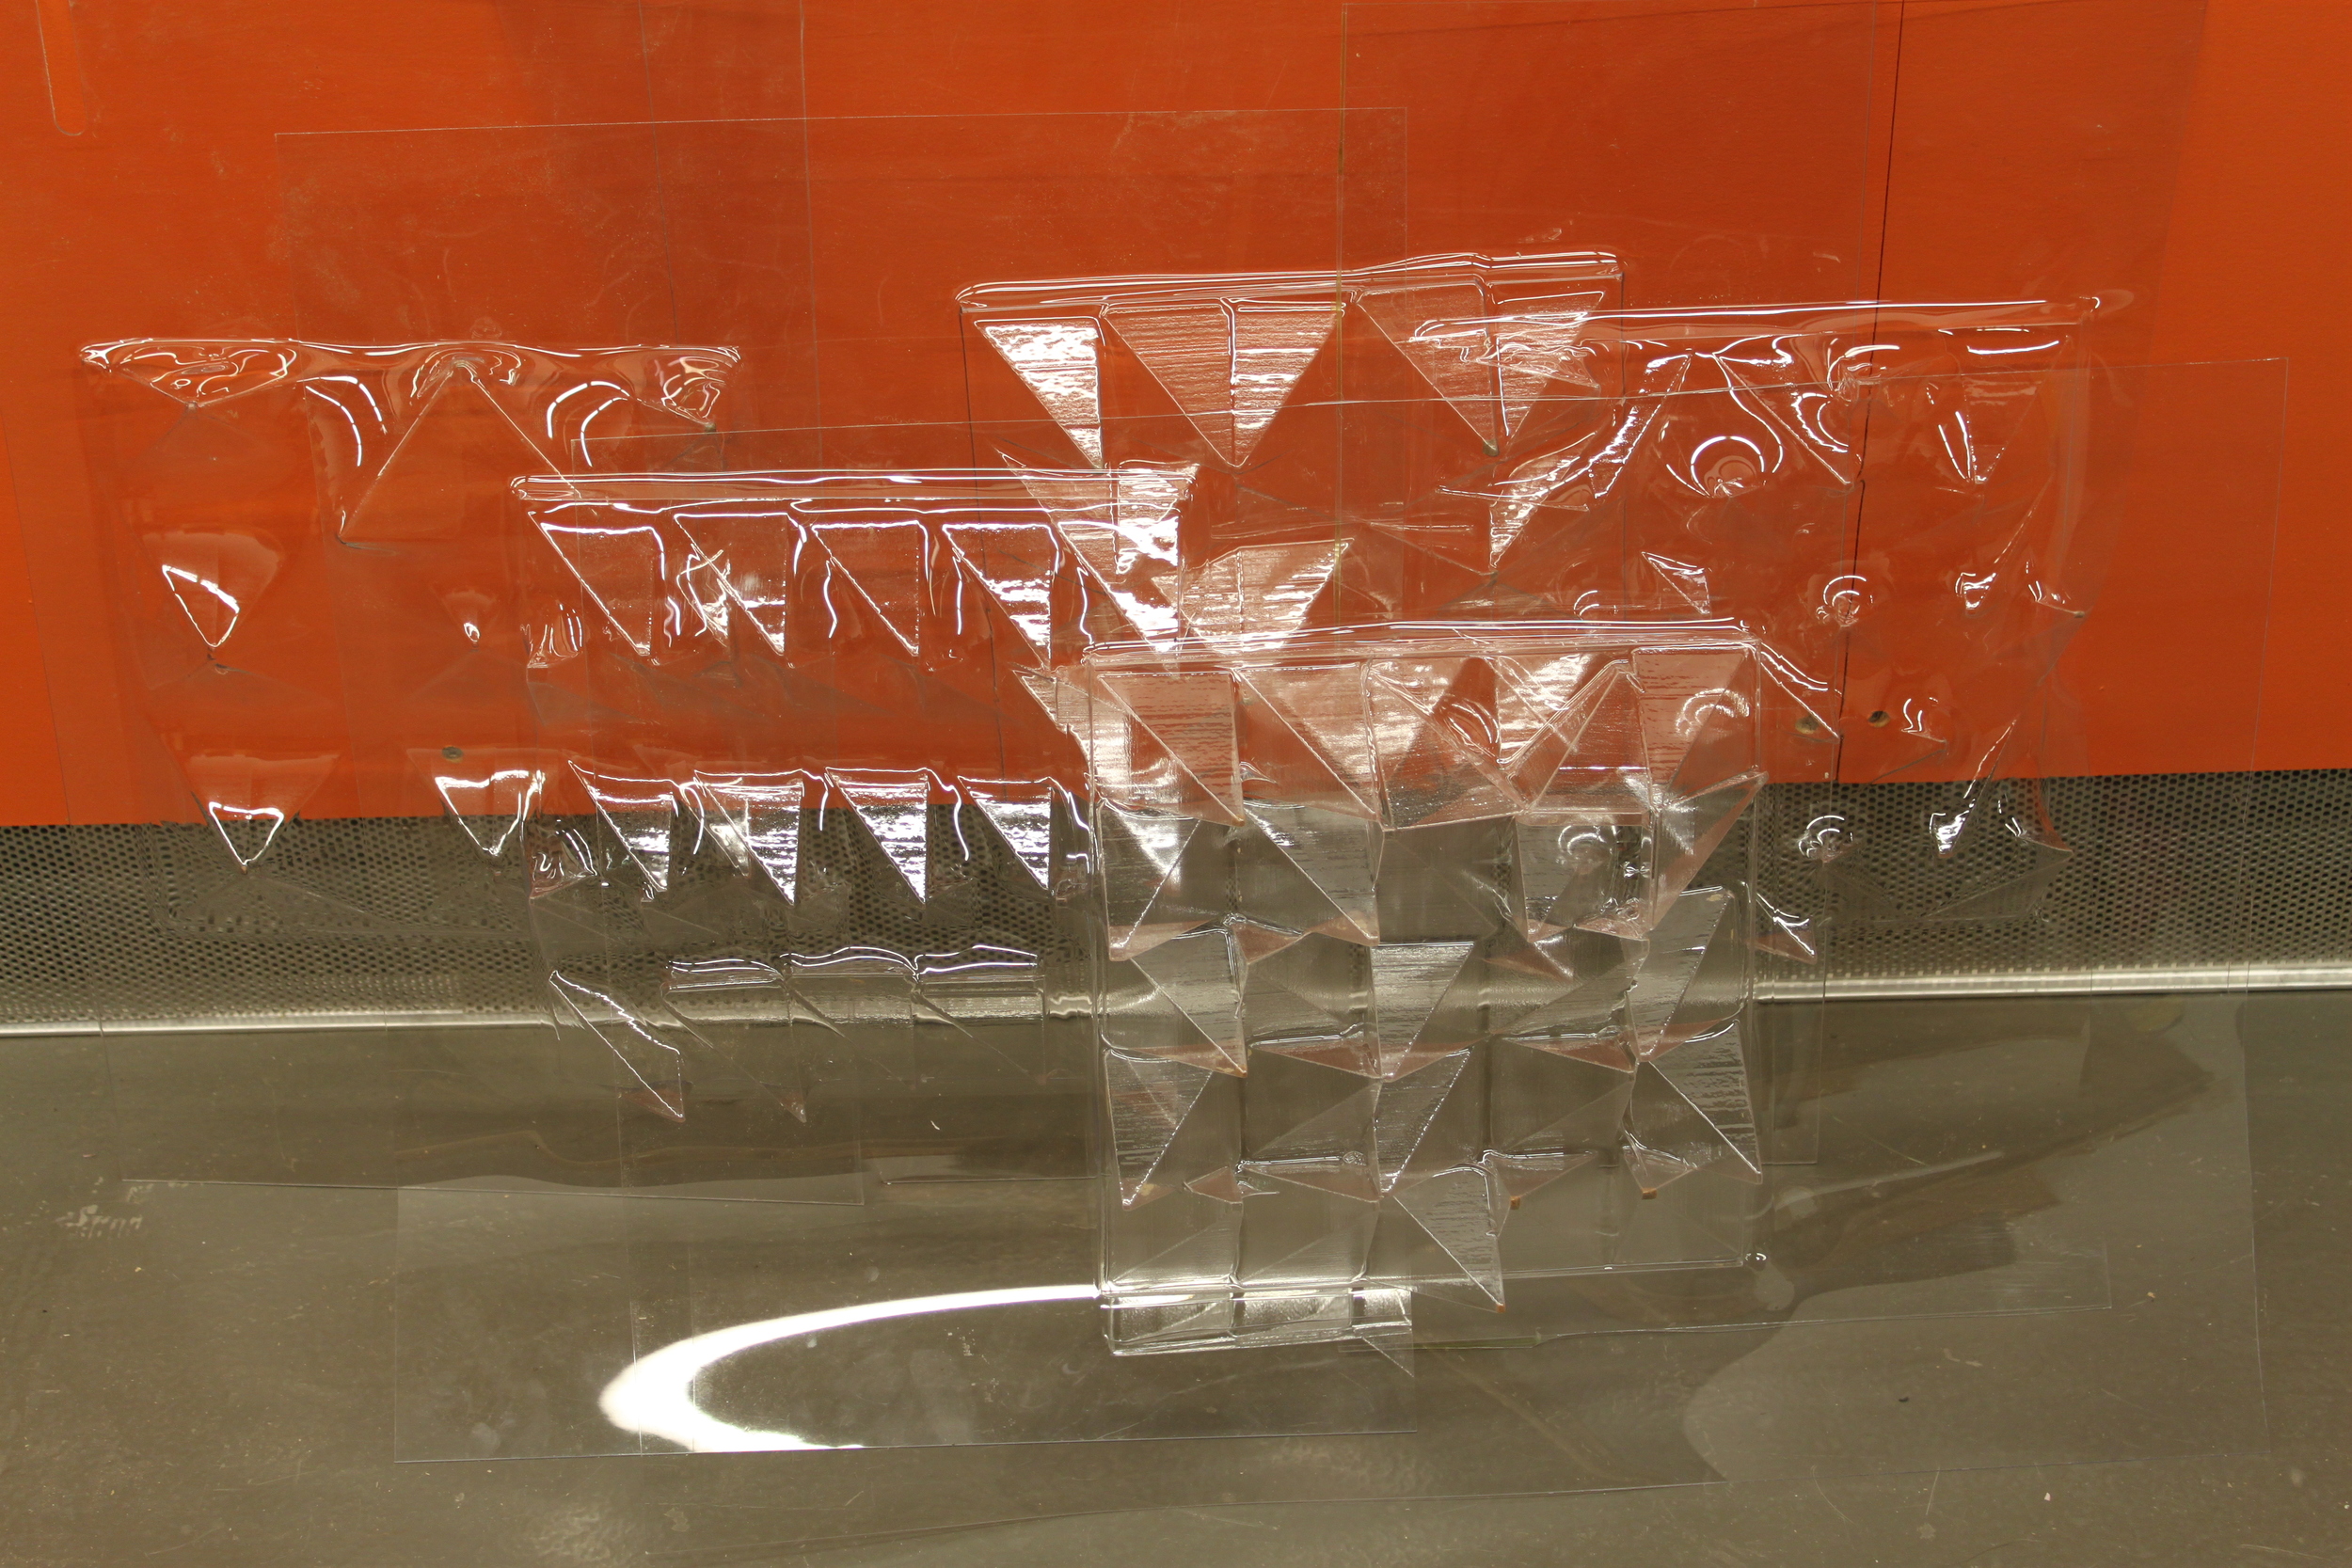
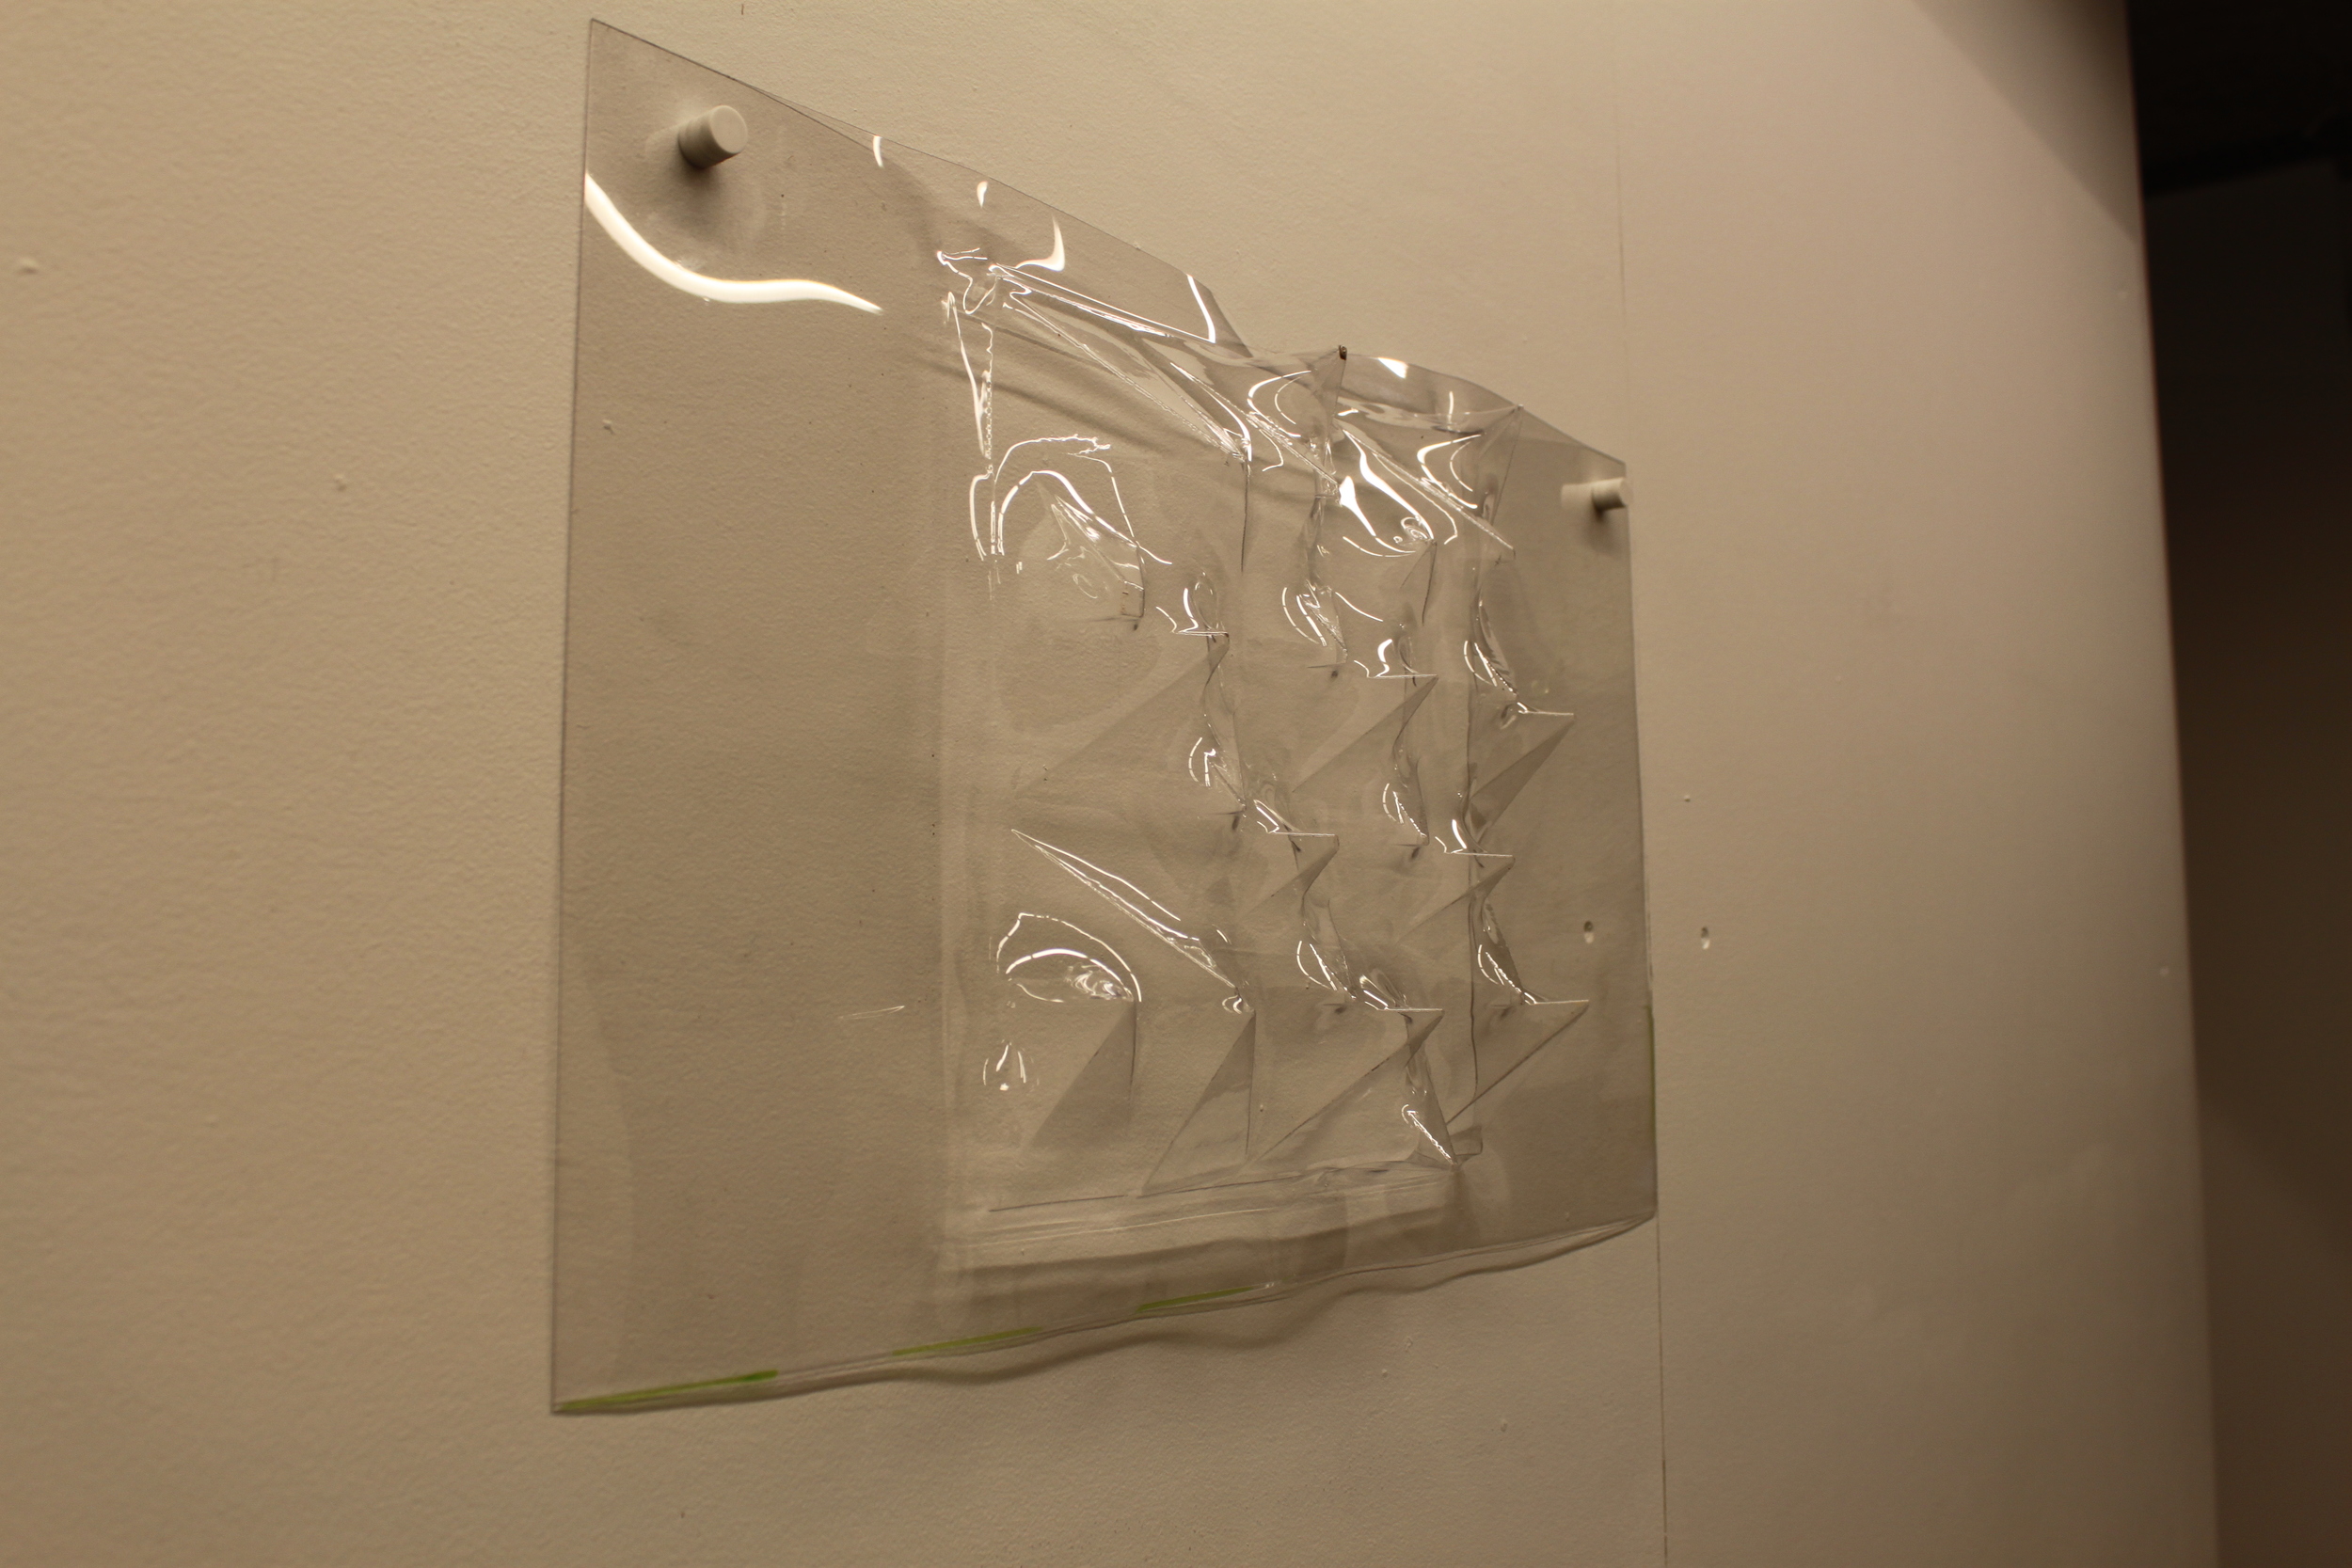

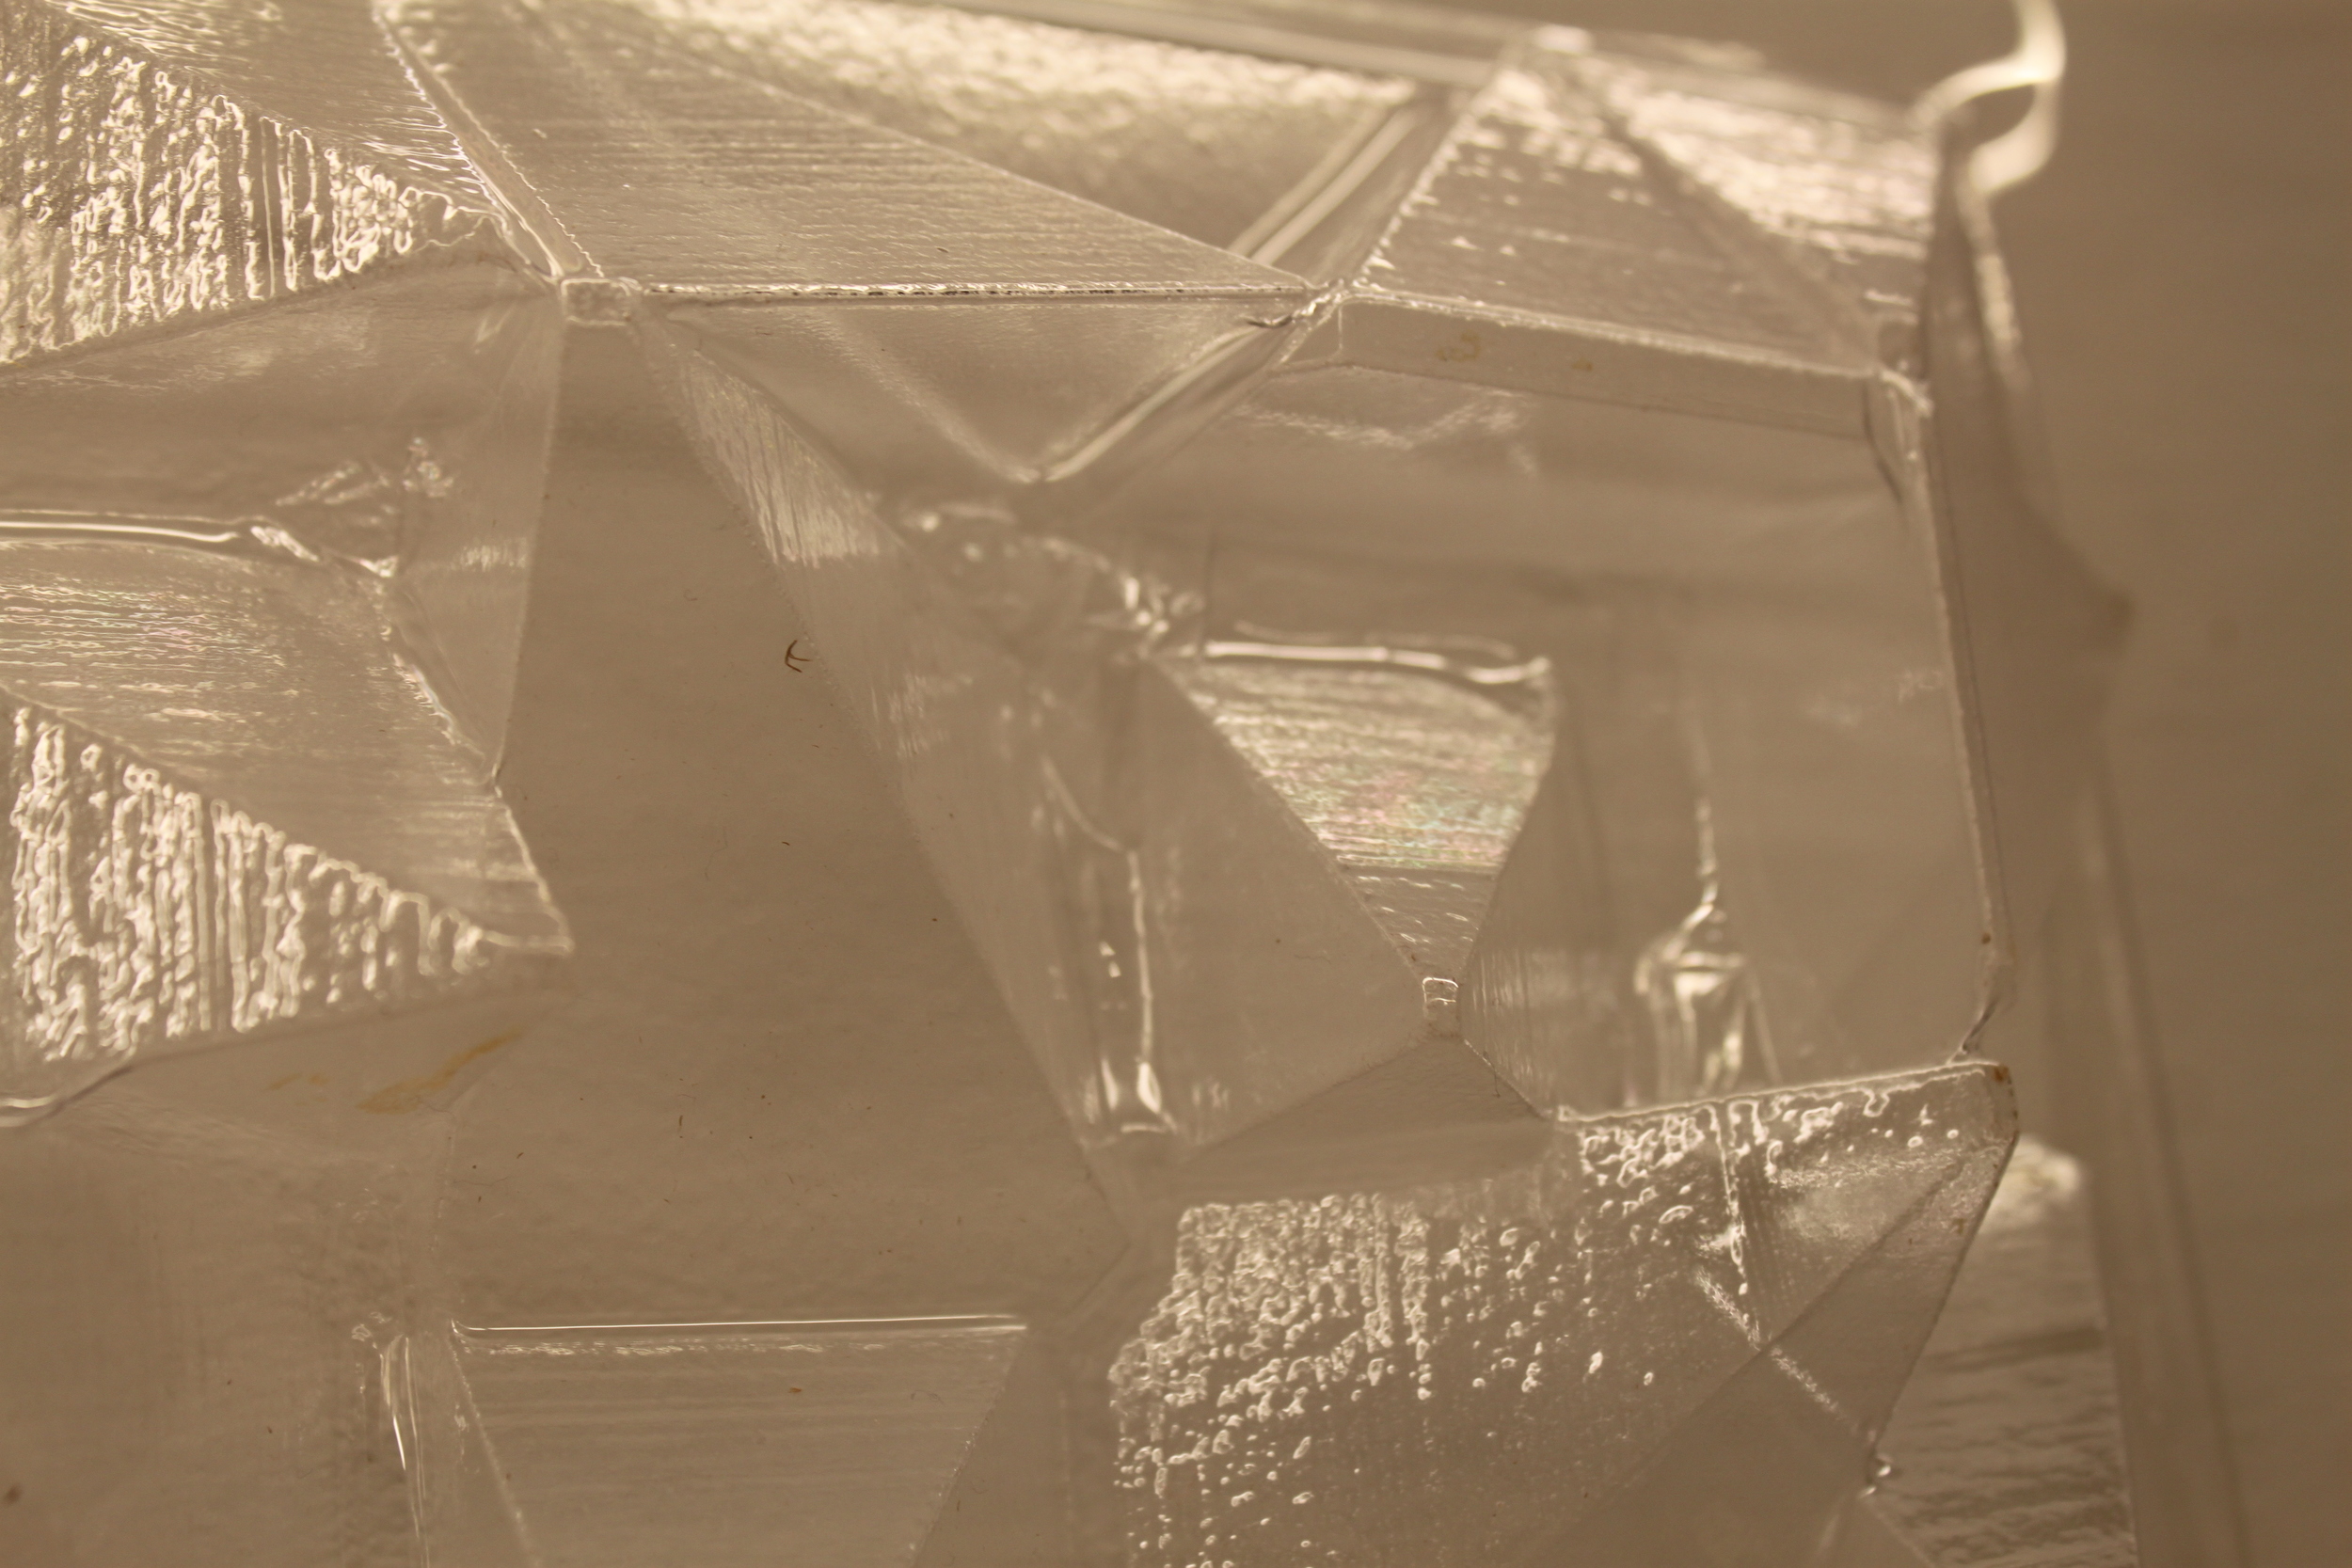
Vacuum Form Molds (w/ imperfections and irregularities)


Plaster Casting in Molds


Final Plaster Molds
materials : MDF, Plastic, plaster
process : 1. create the mold modules out of MDF 2. wax the mold so that the melted plastic does not stick to it and it can be reused 3. vacuum form the mold 4. rearrange and repeat 5. plaster the molds 6. remove the solid plaster tiles
challenges : the vacuum form has a high level of unpredictability with each round. modules would flip under stronger pressure or the seal would break and more webbing would result. this was less of a challenge than an opportunity for discovery and irregularities.
obstacle 10: minute problem
[ solve a problem of everyday life through design ]
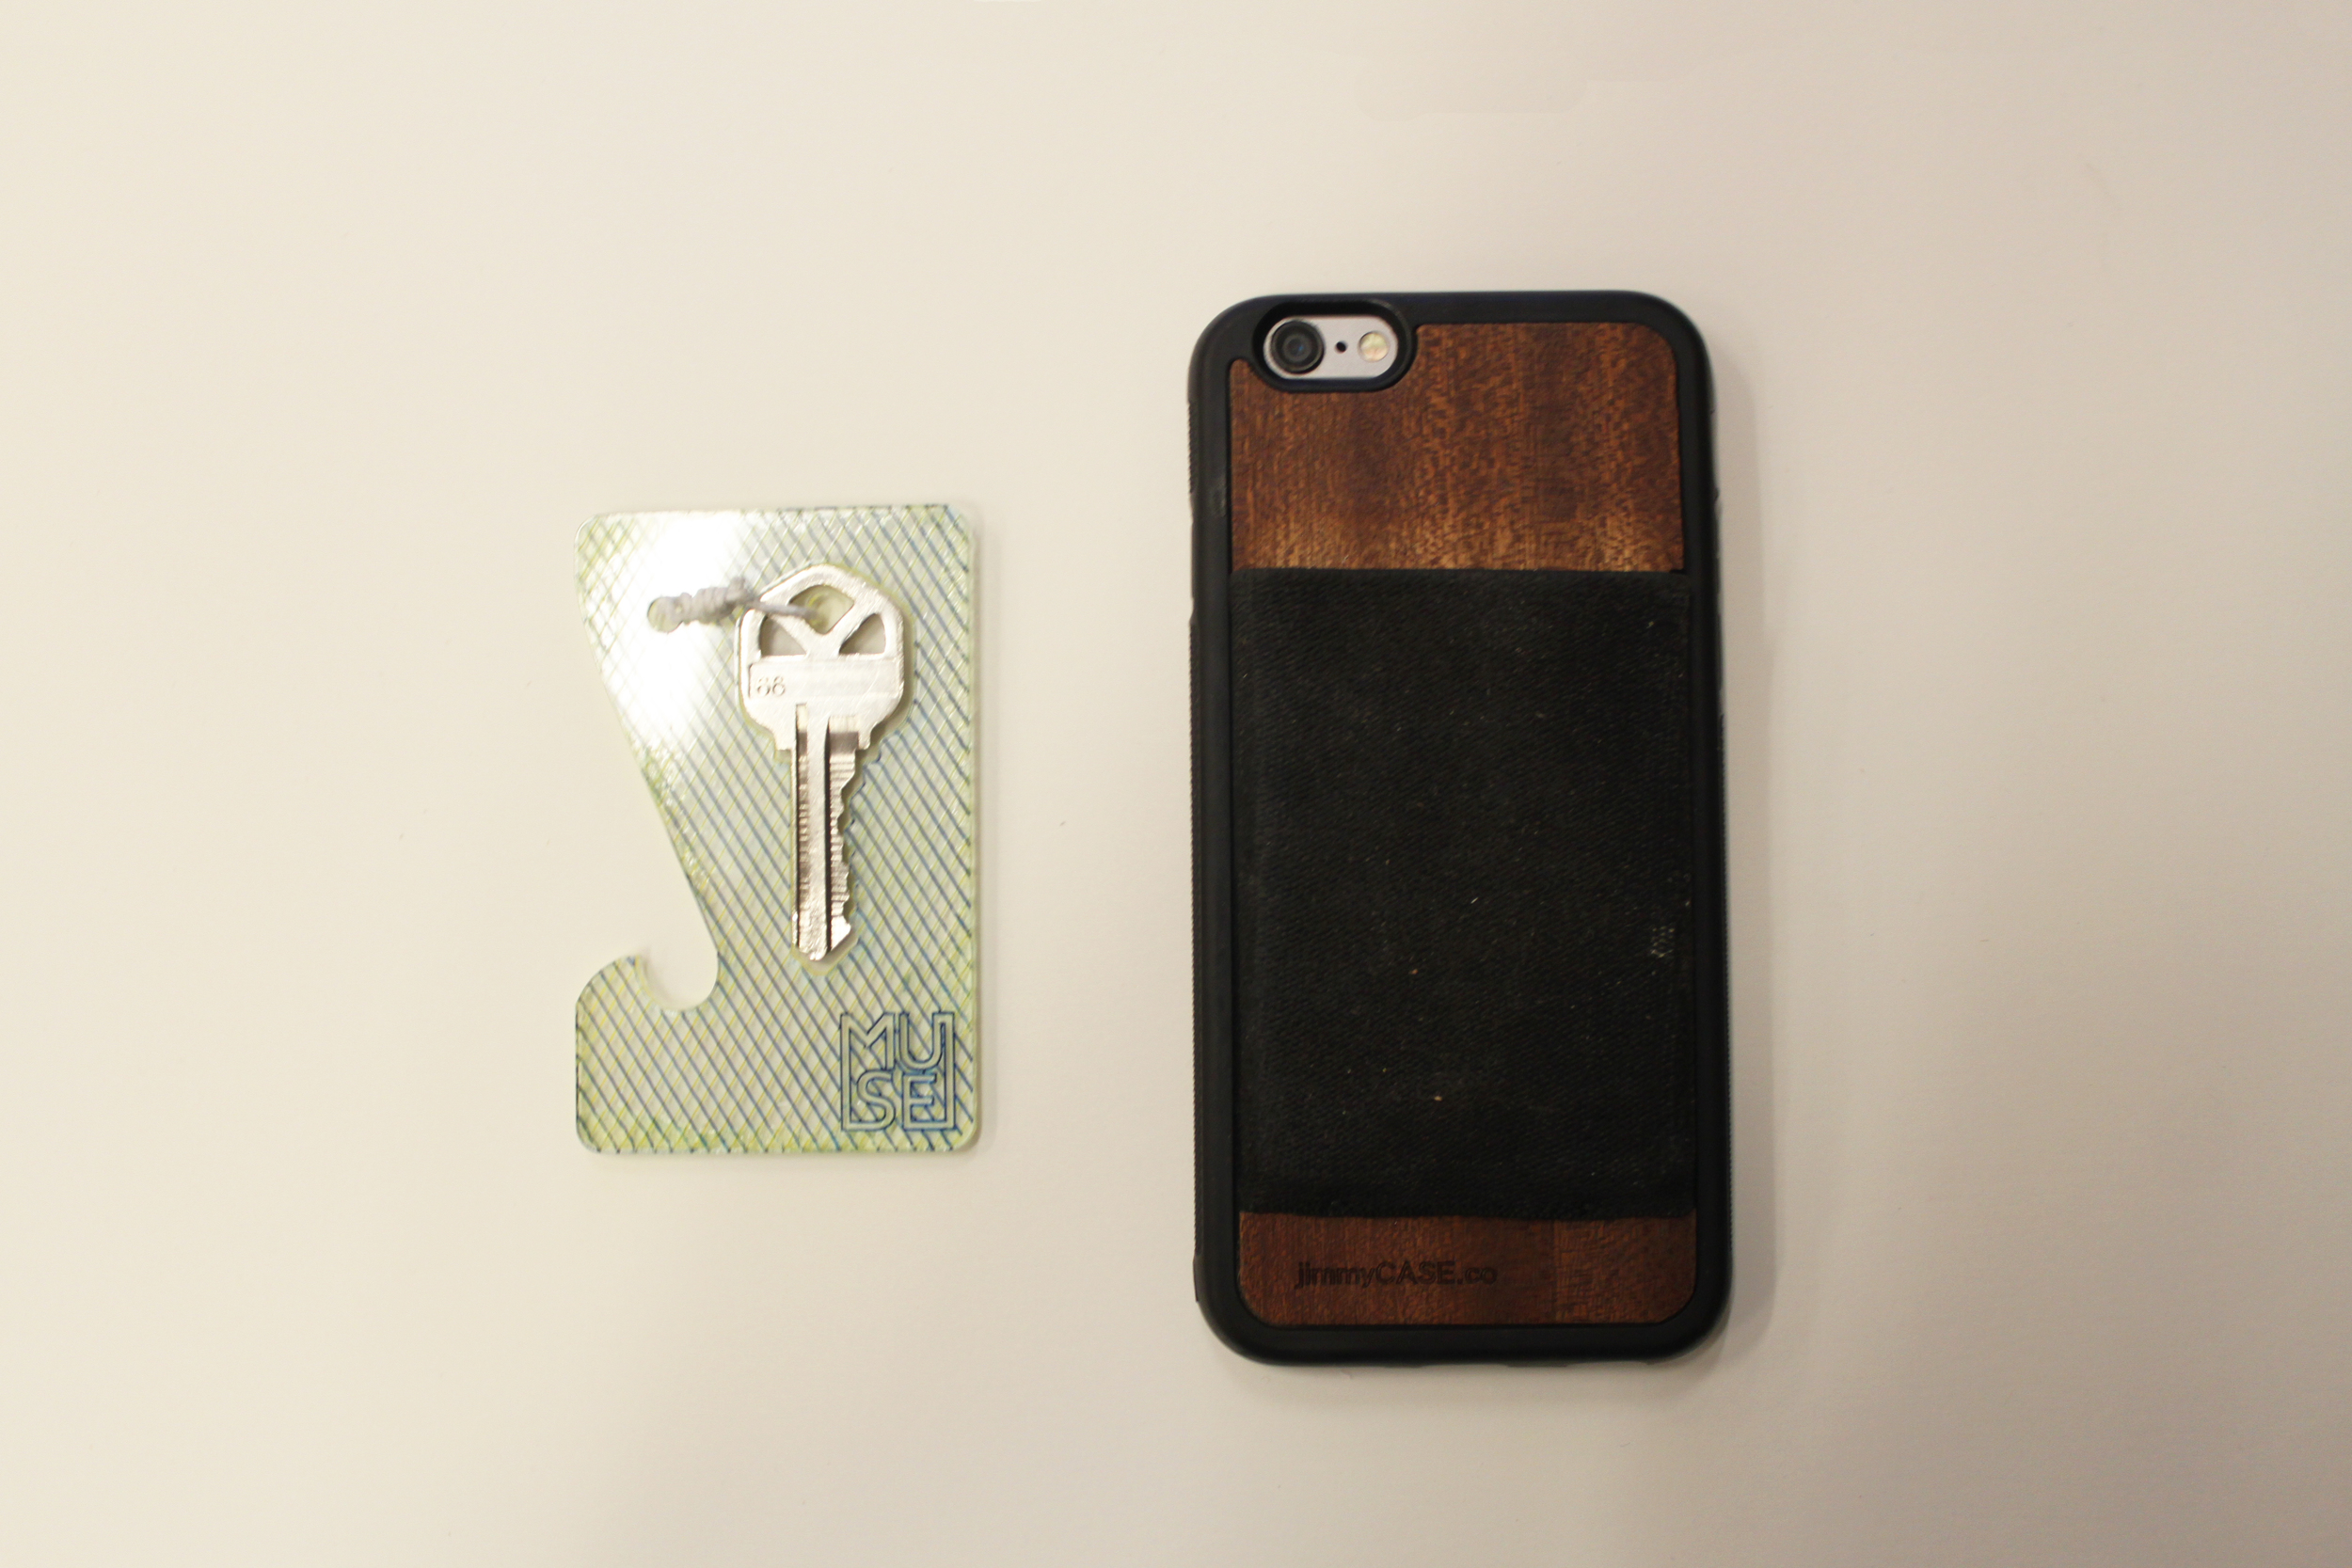
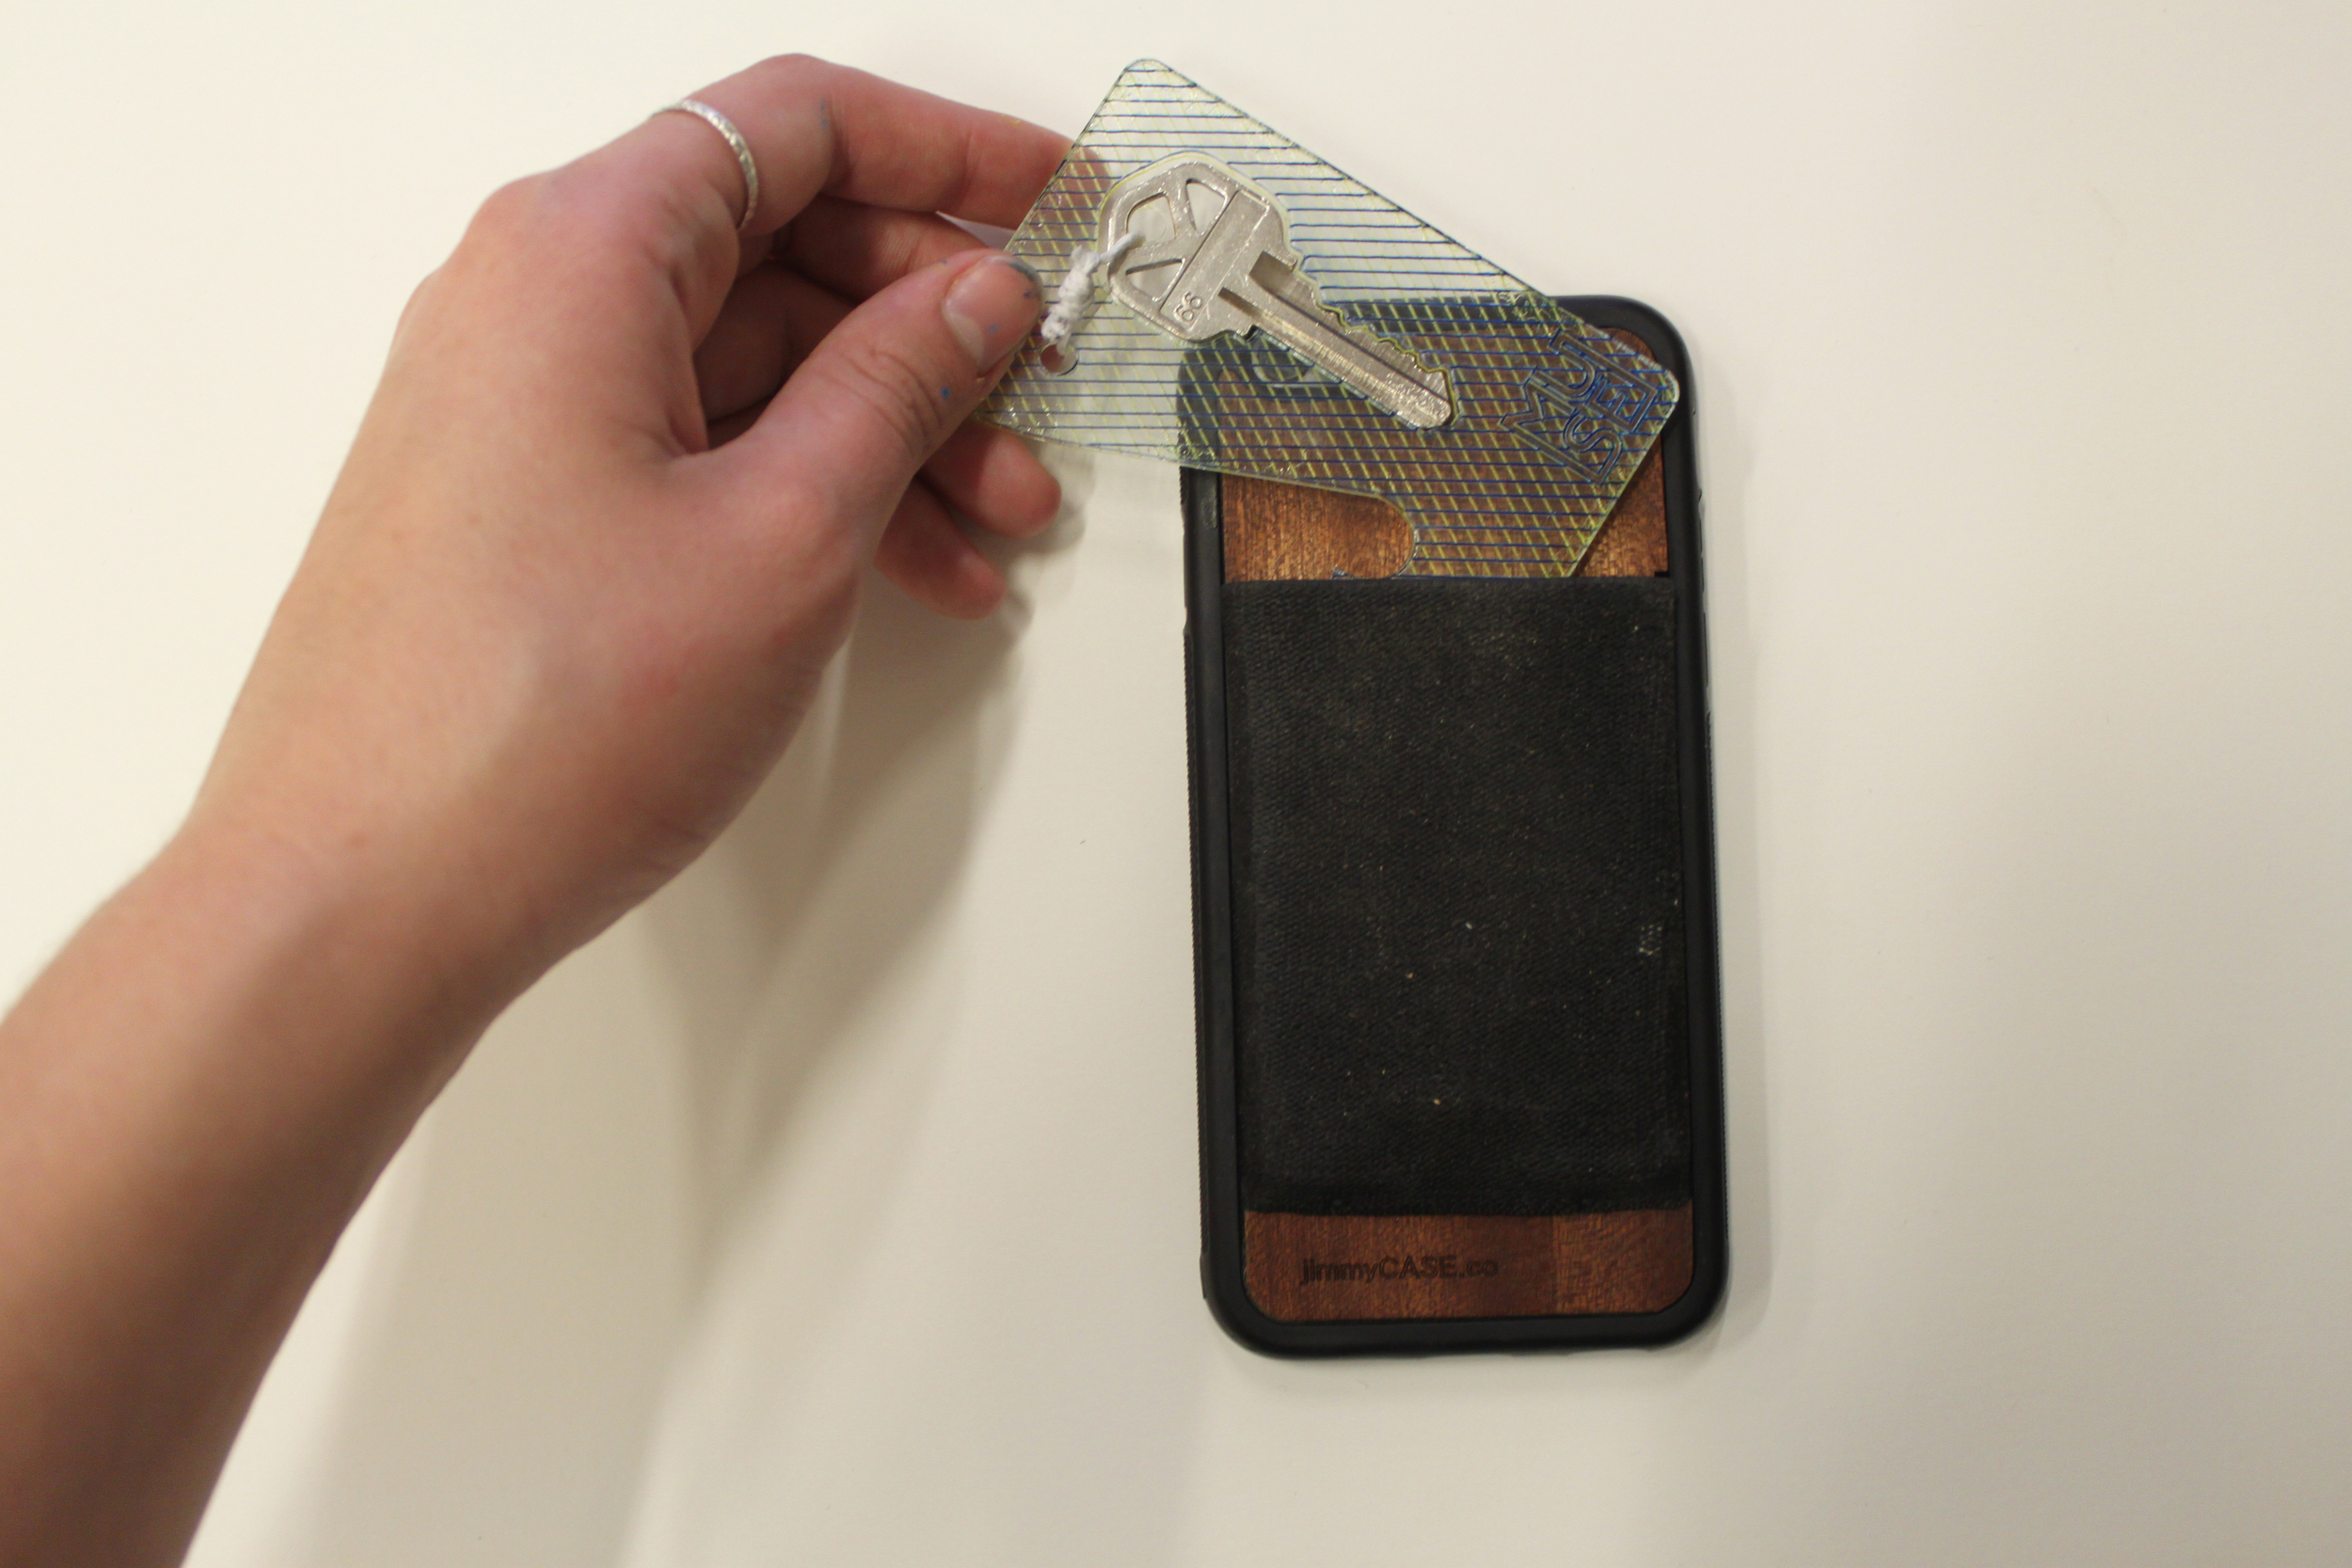
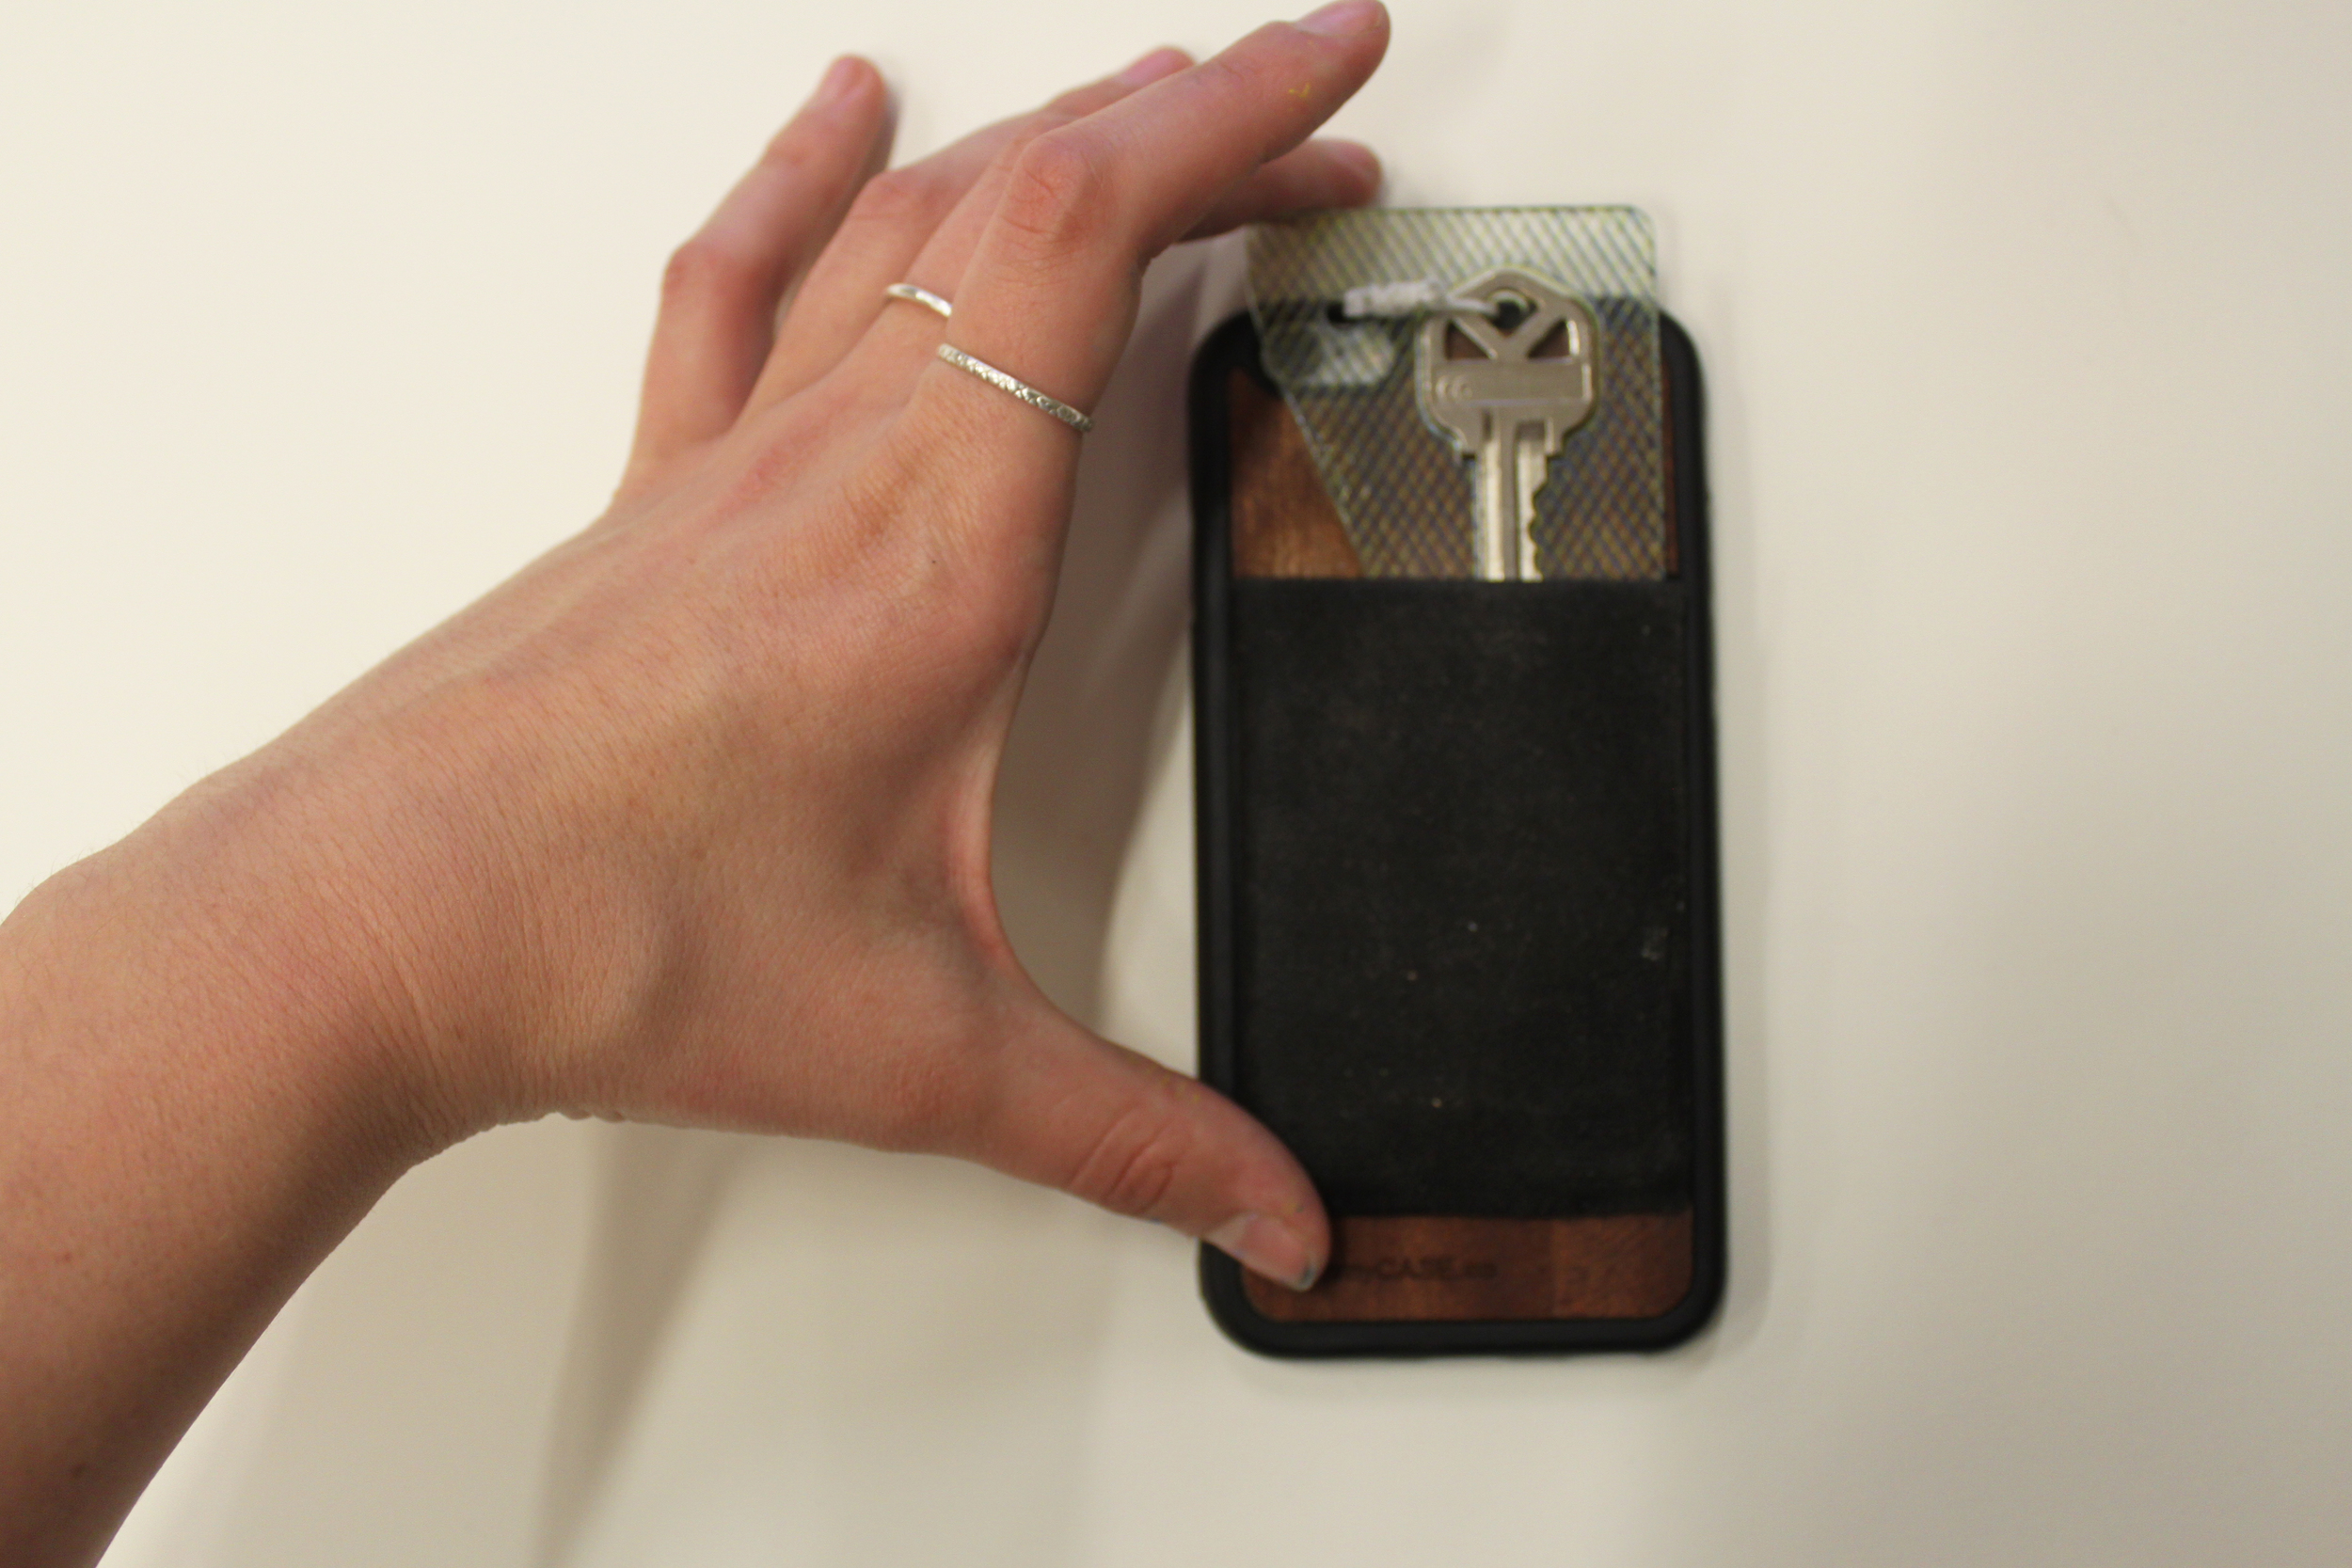
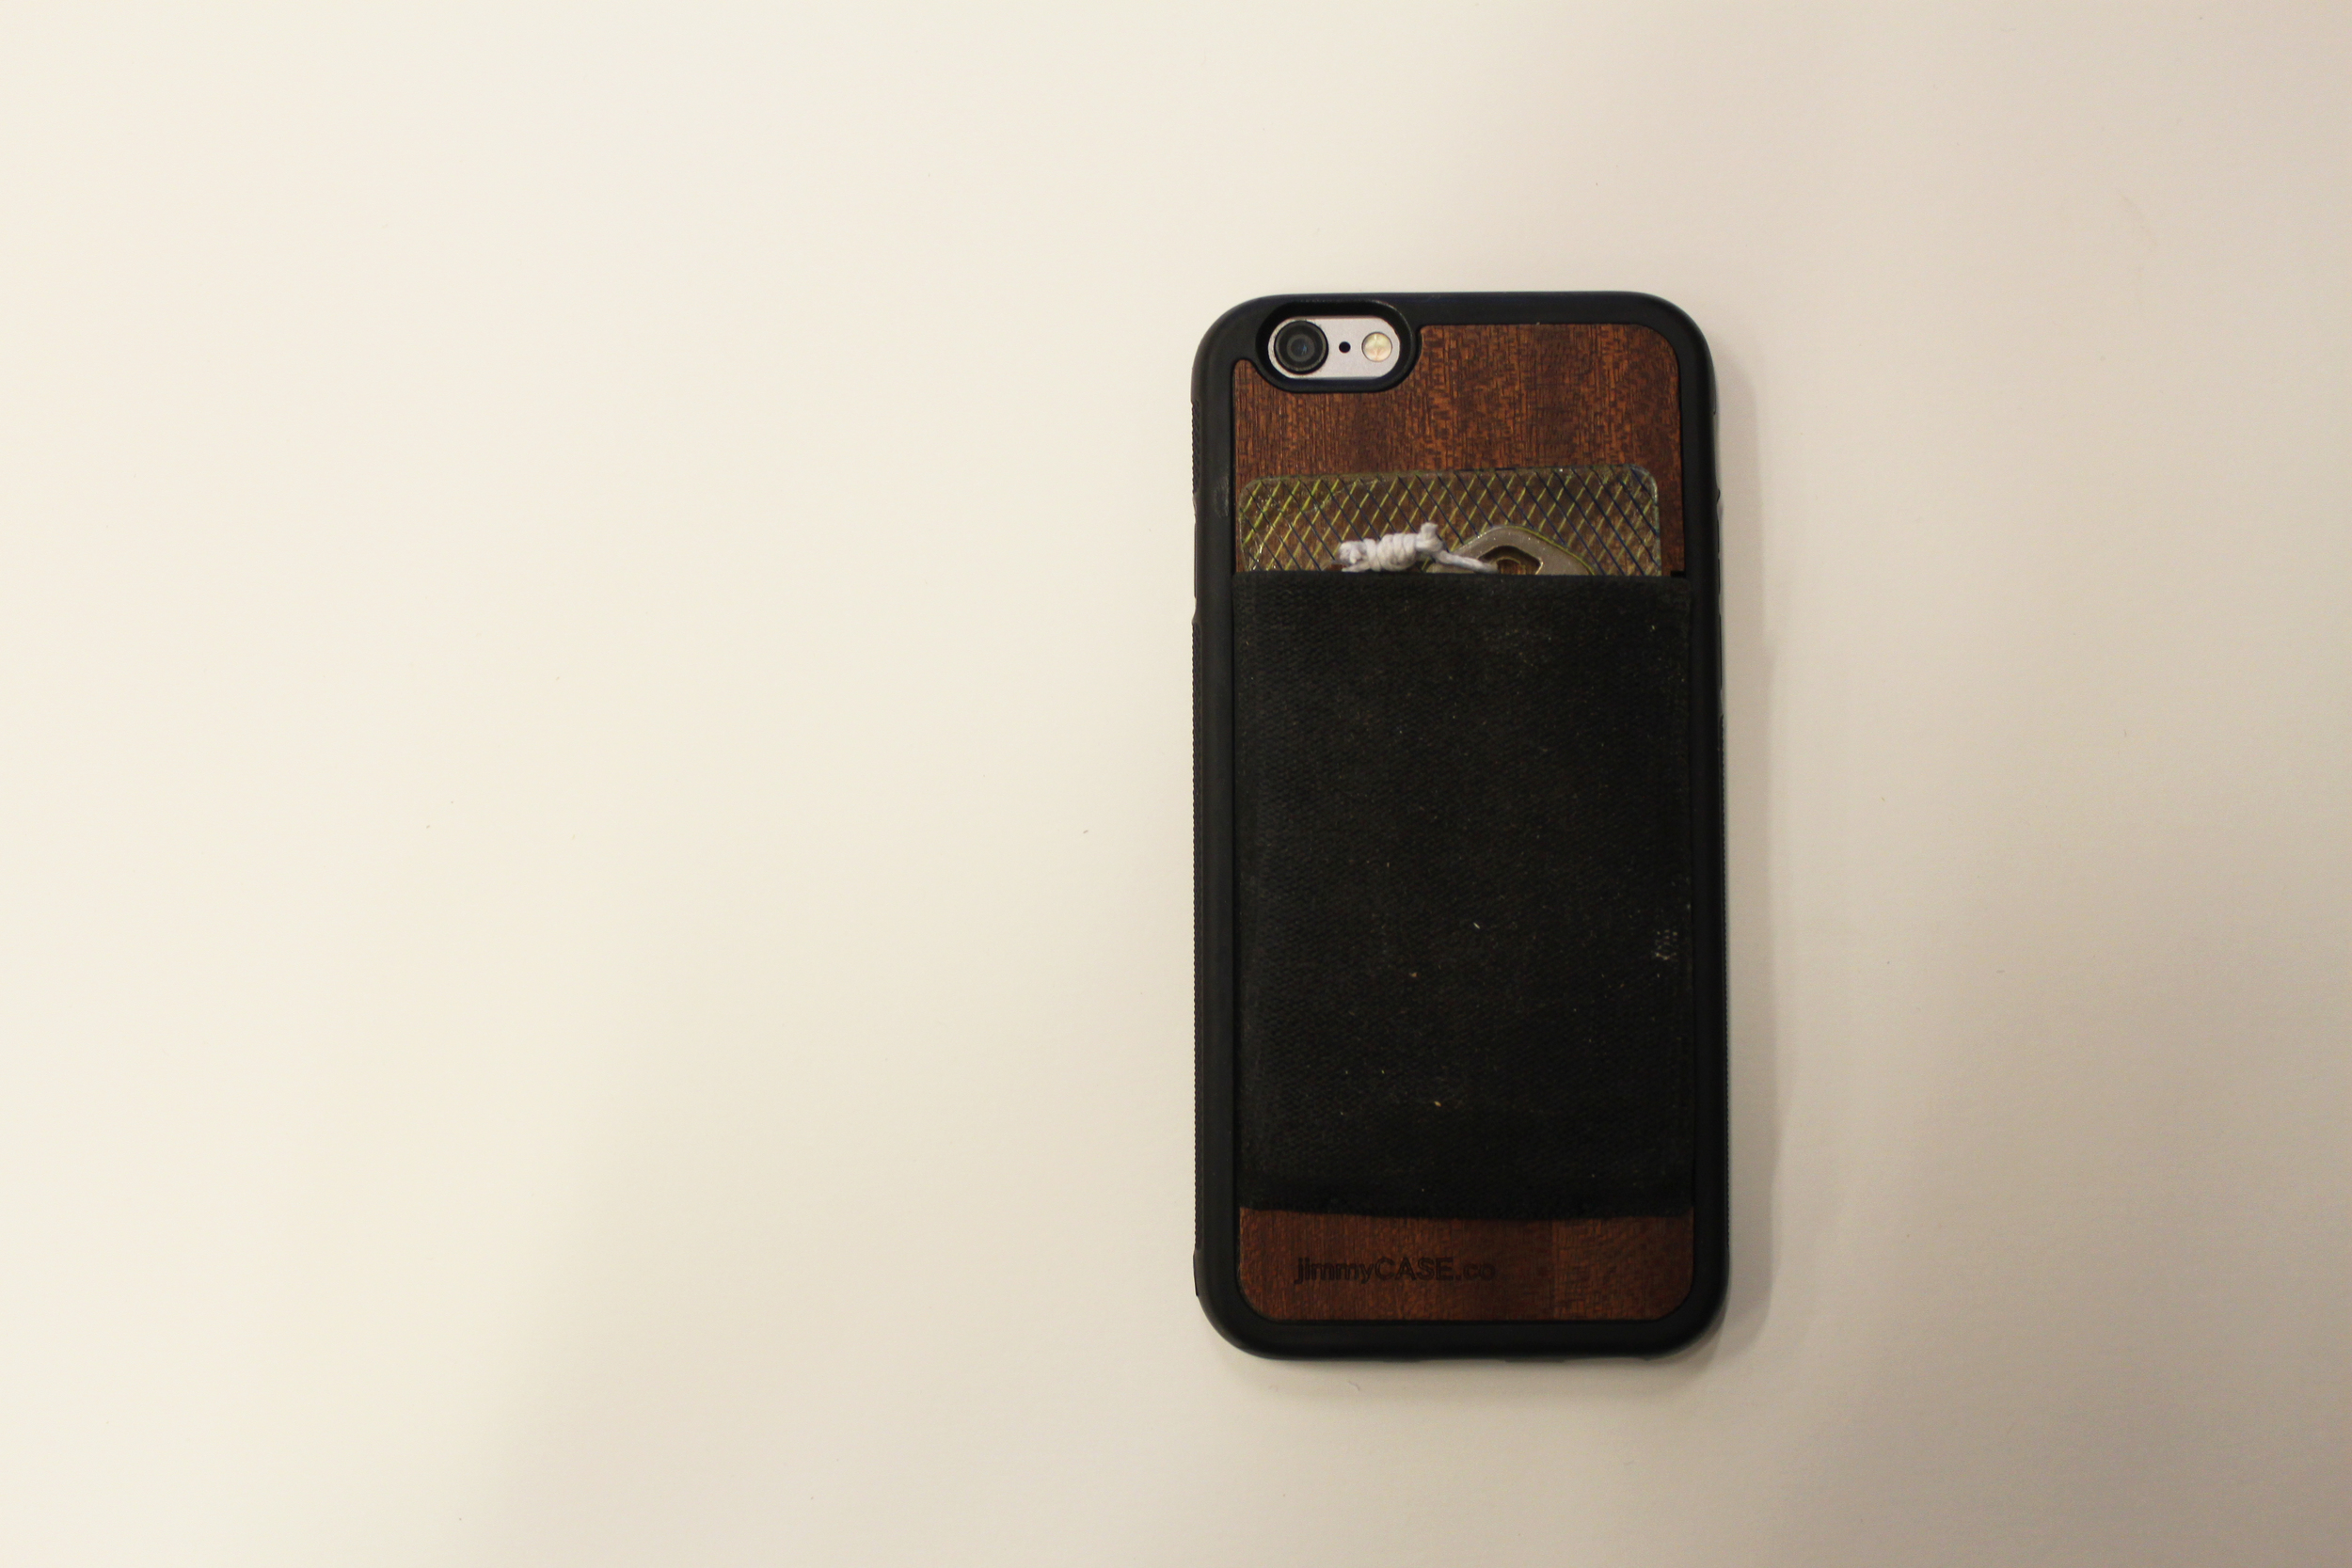
The problem: loosing house keys. Often college students don't have cars or key chains but they carry around wallets, in this case a cell phone case wallet. A house key would slide out of this on it's own and required a specialized designed case to fit snugly. It is enhanced with a bottle opener cutout and personalized logo. This prototype is made out of etched acrylic but the final product would be plasma cut out of metal for longer durability.
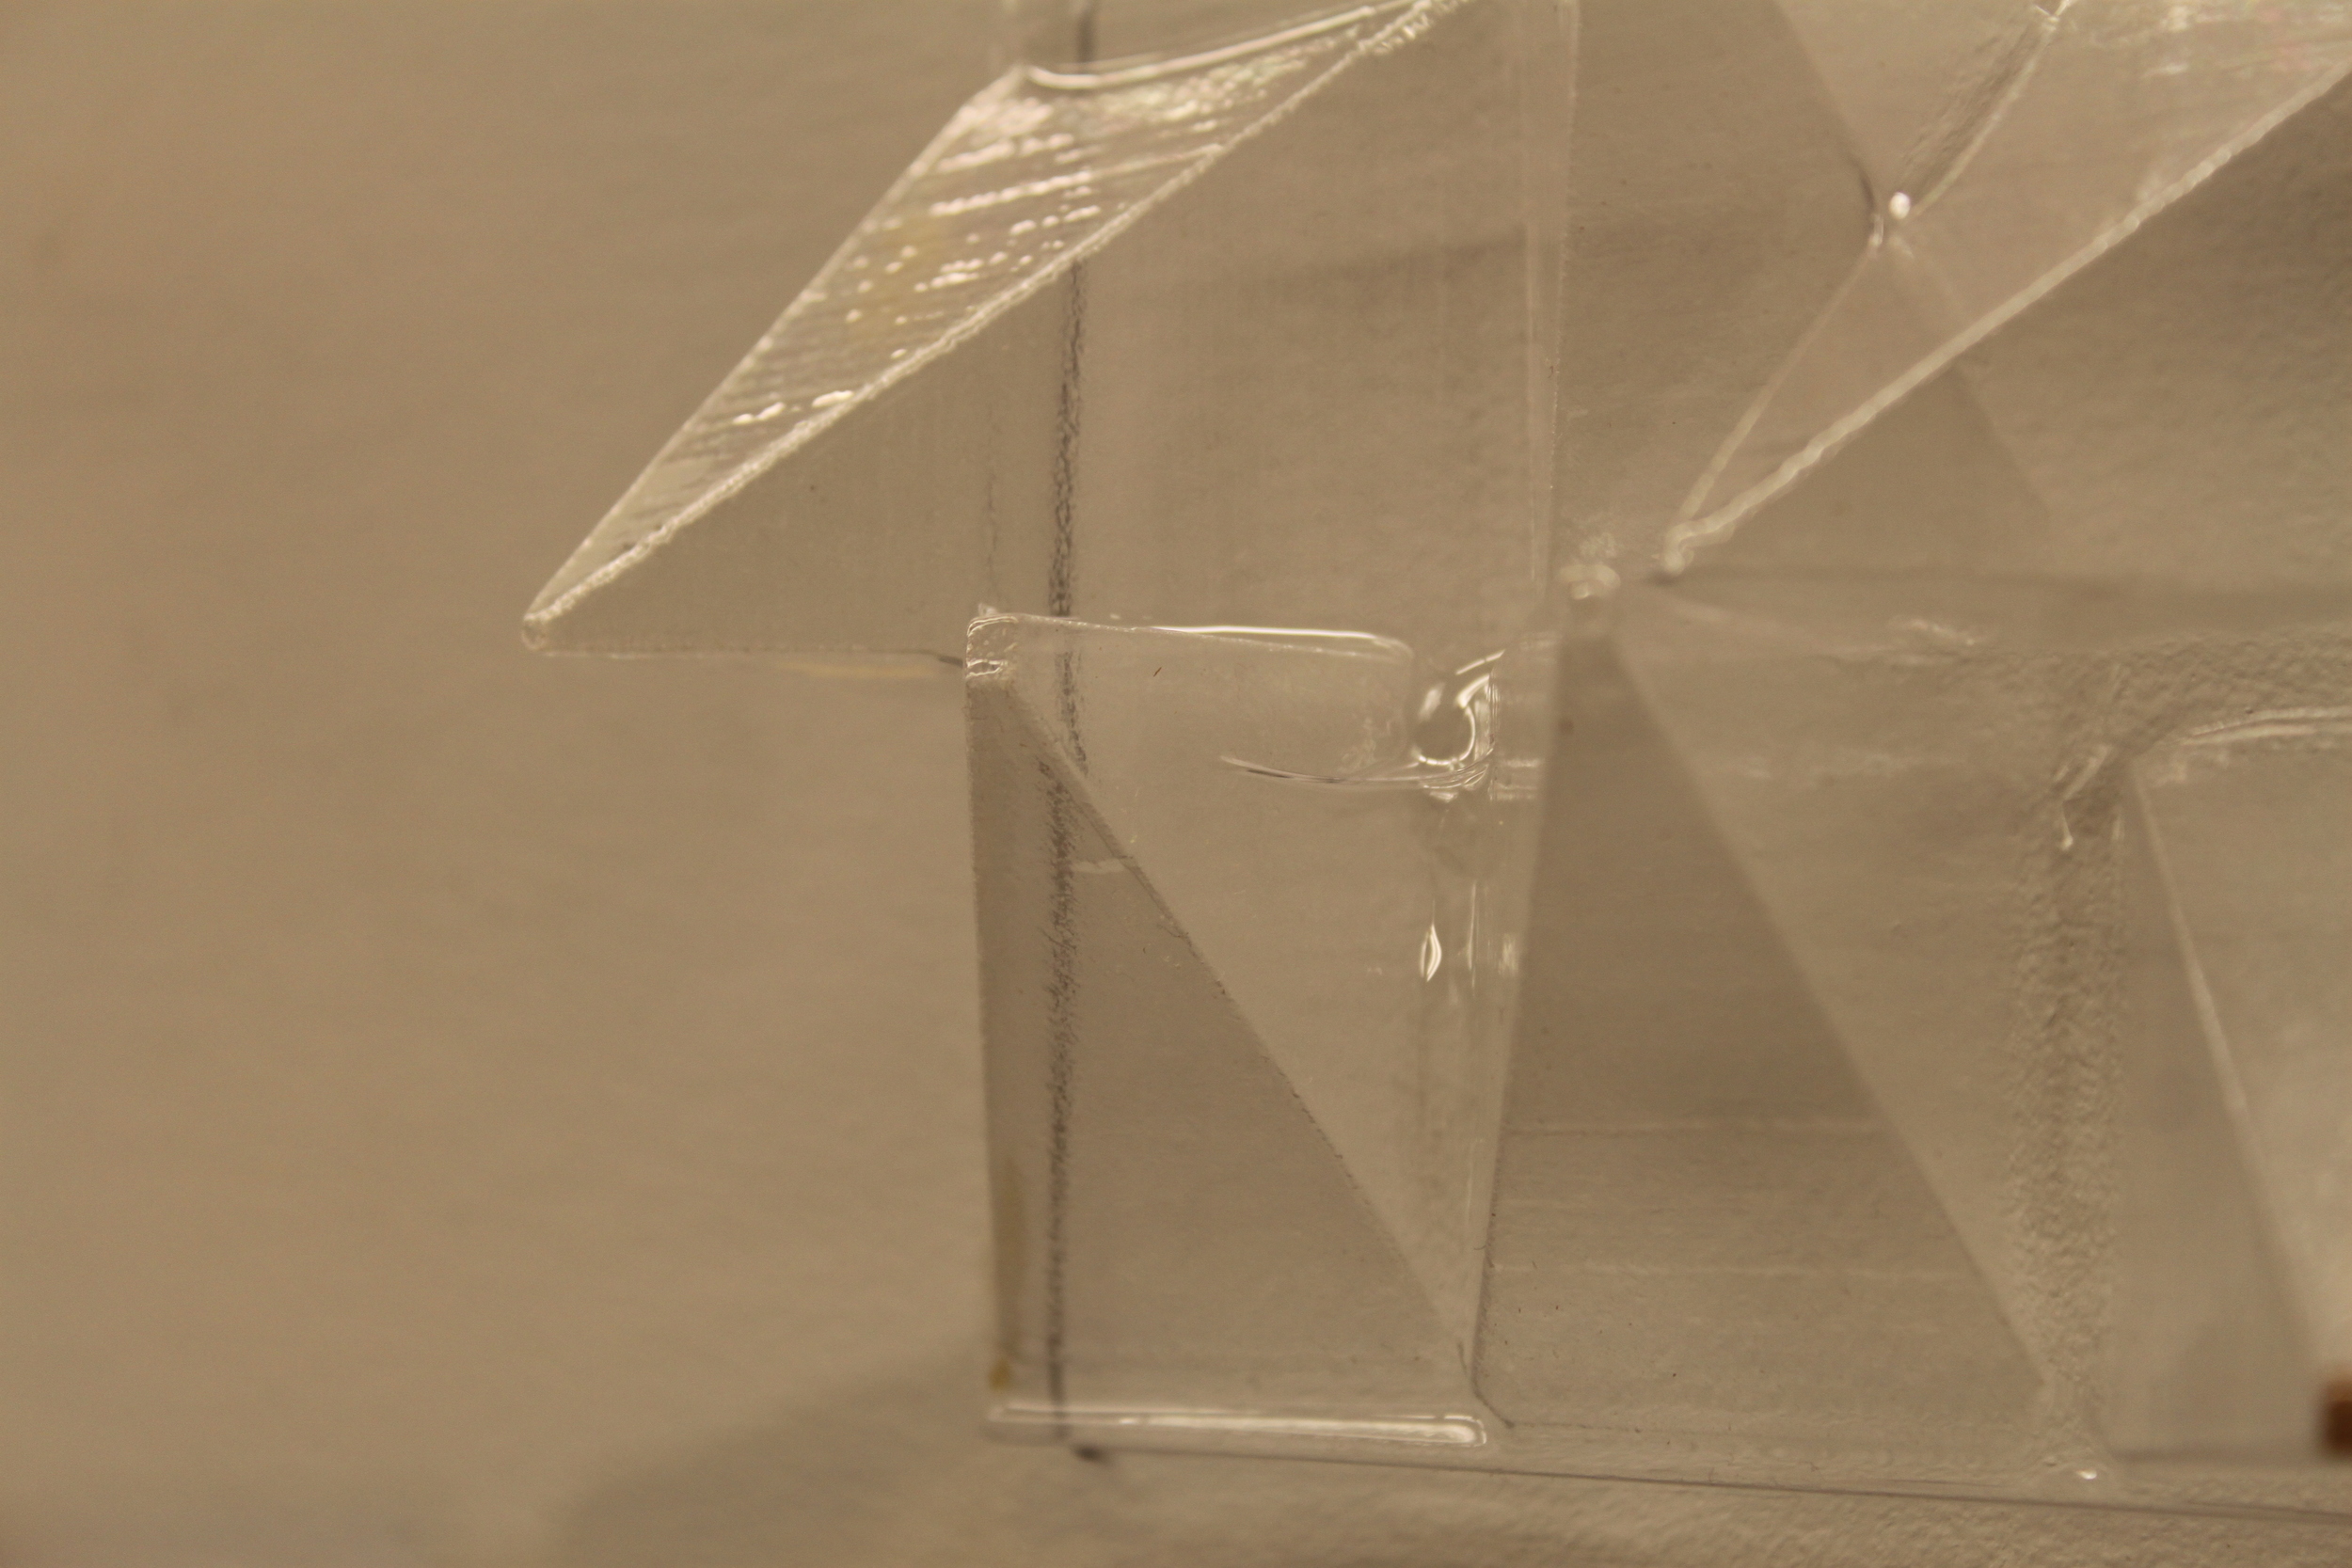
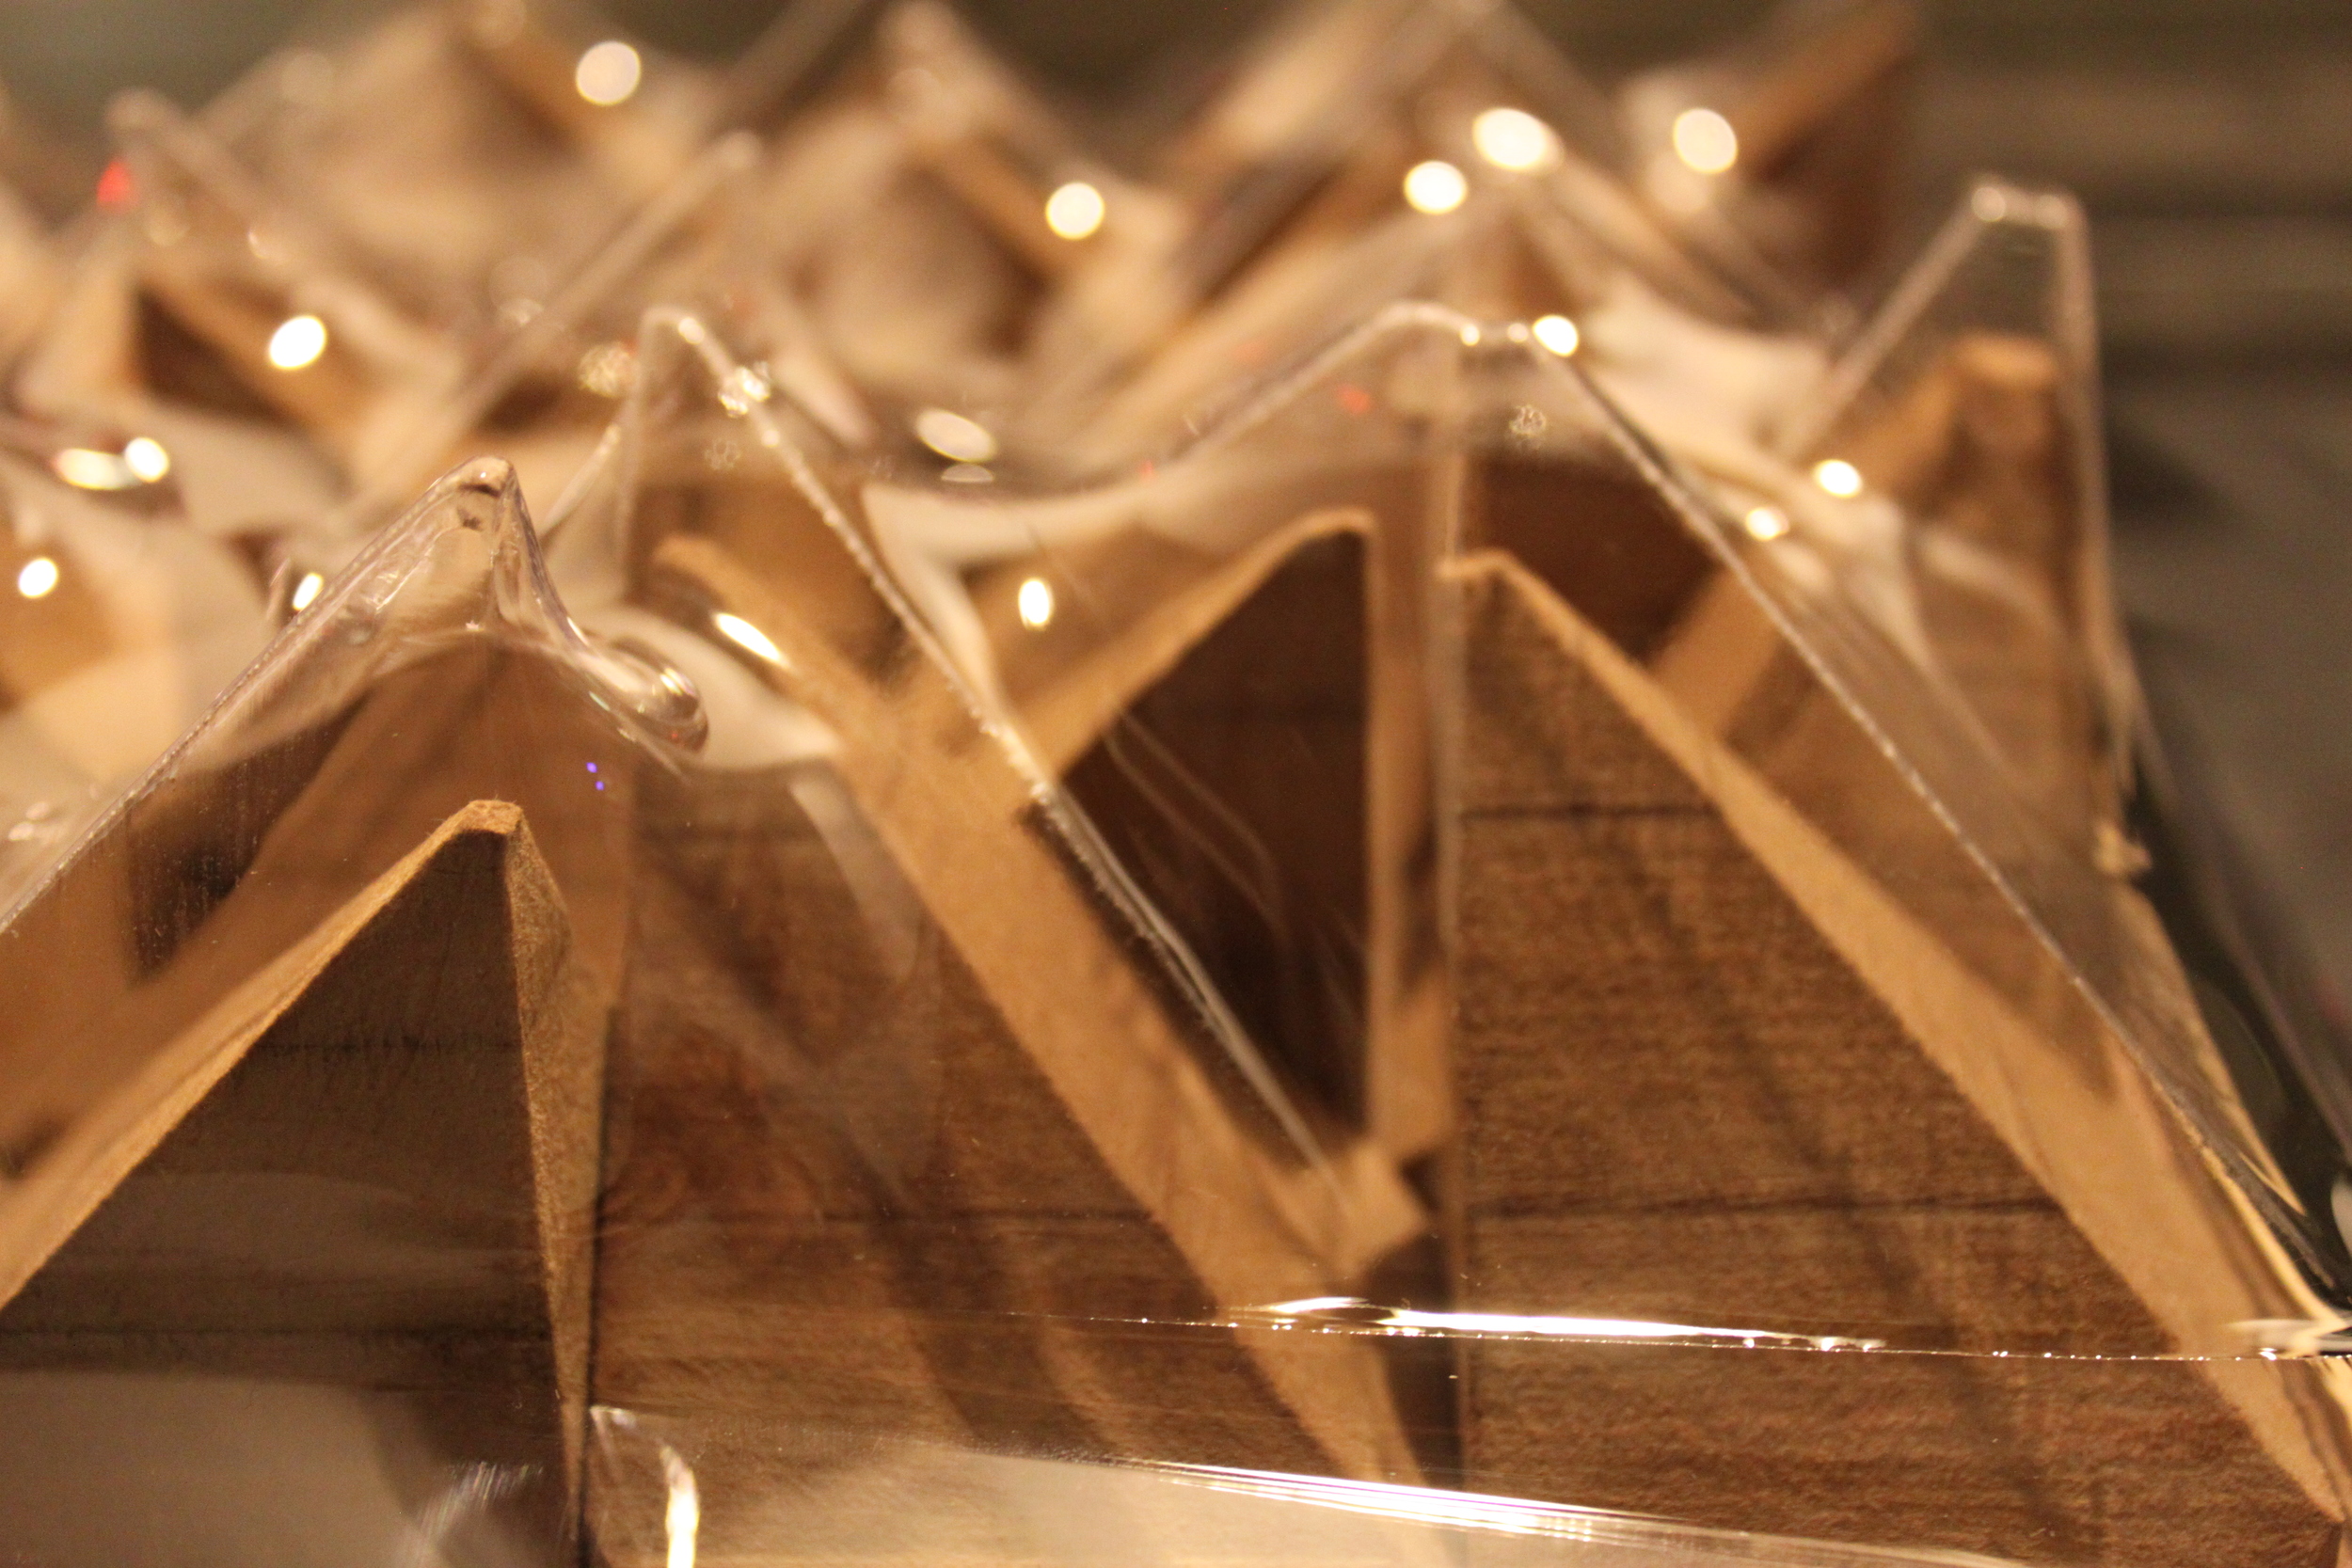
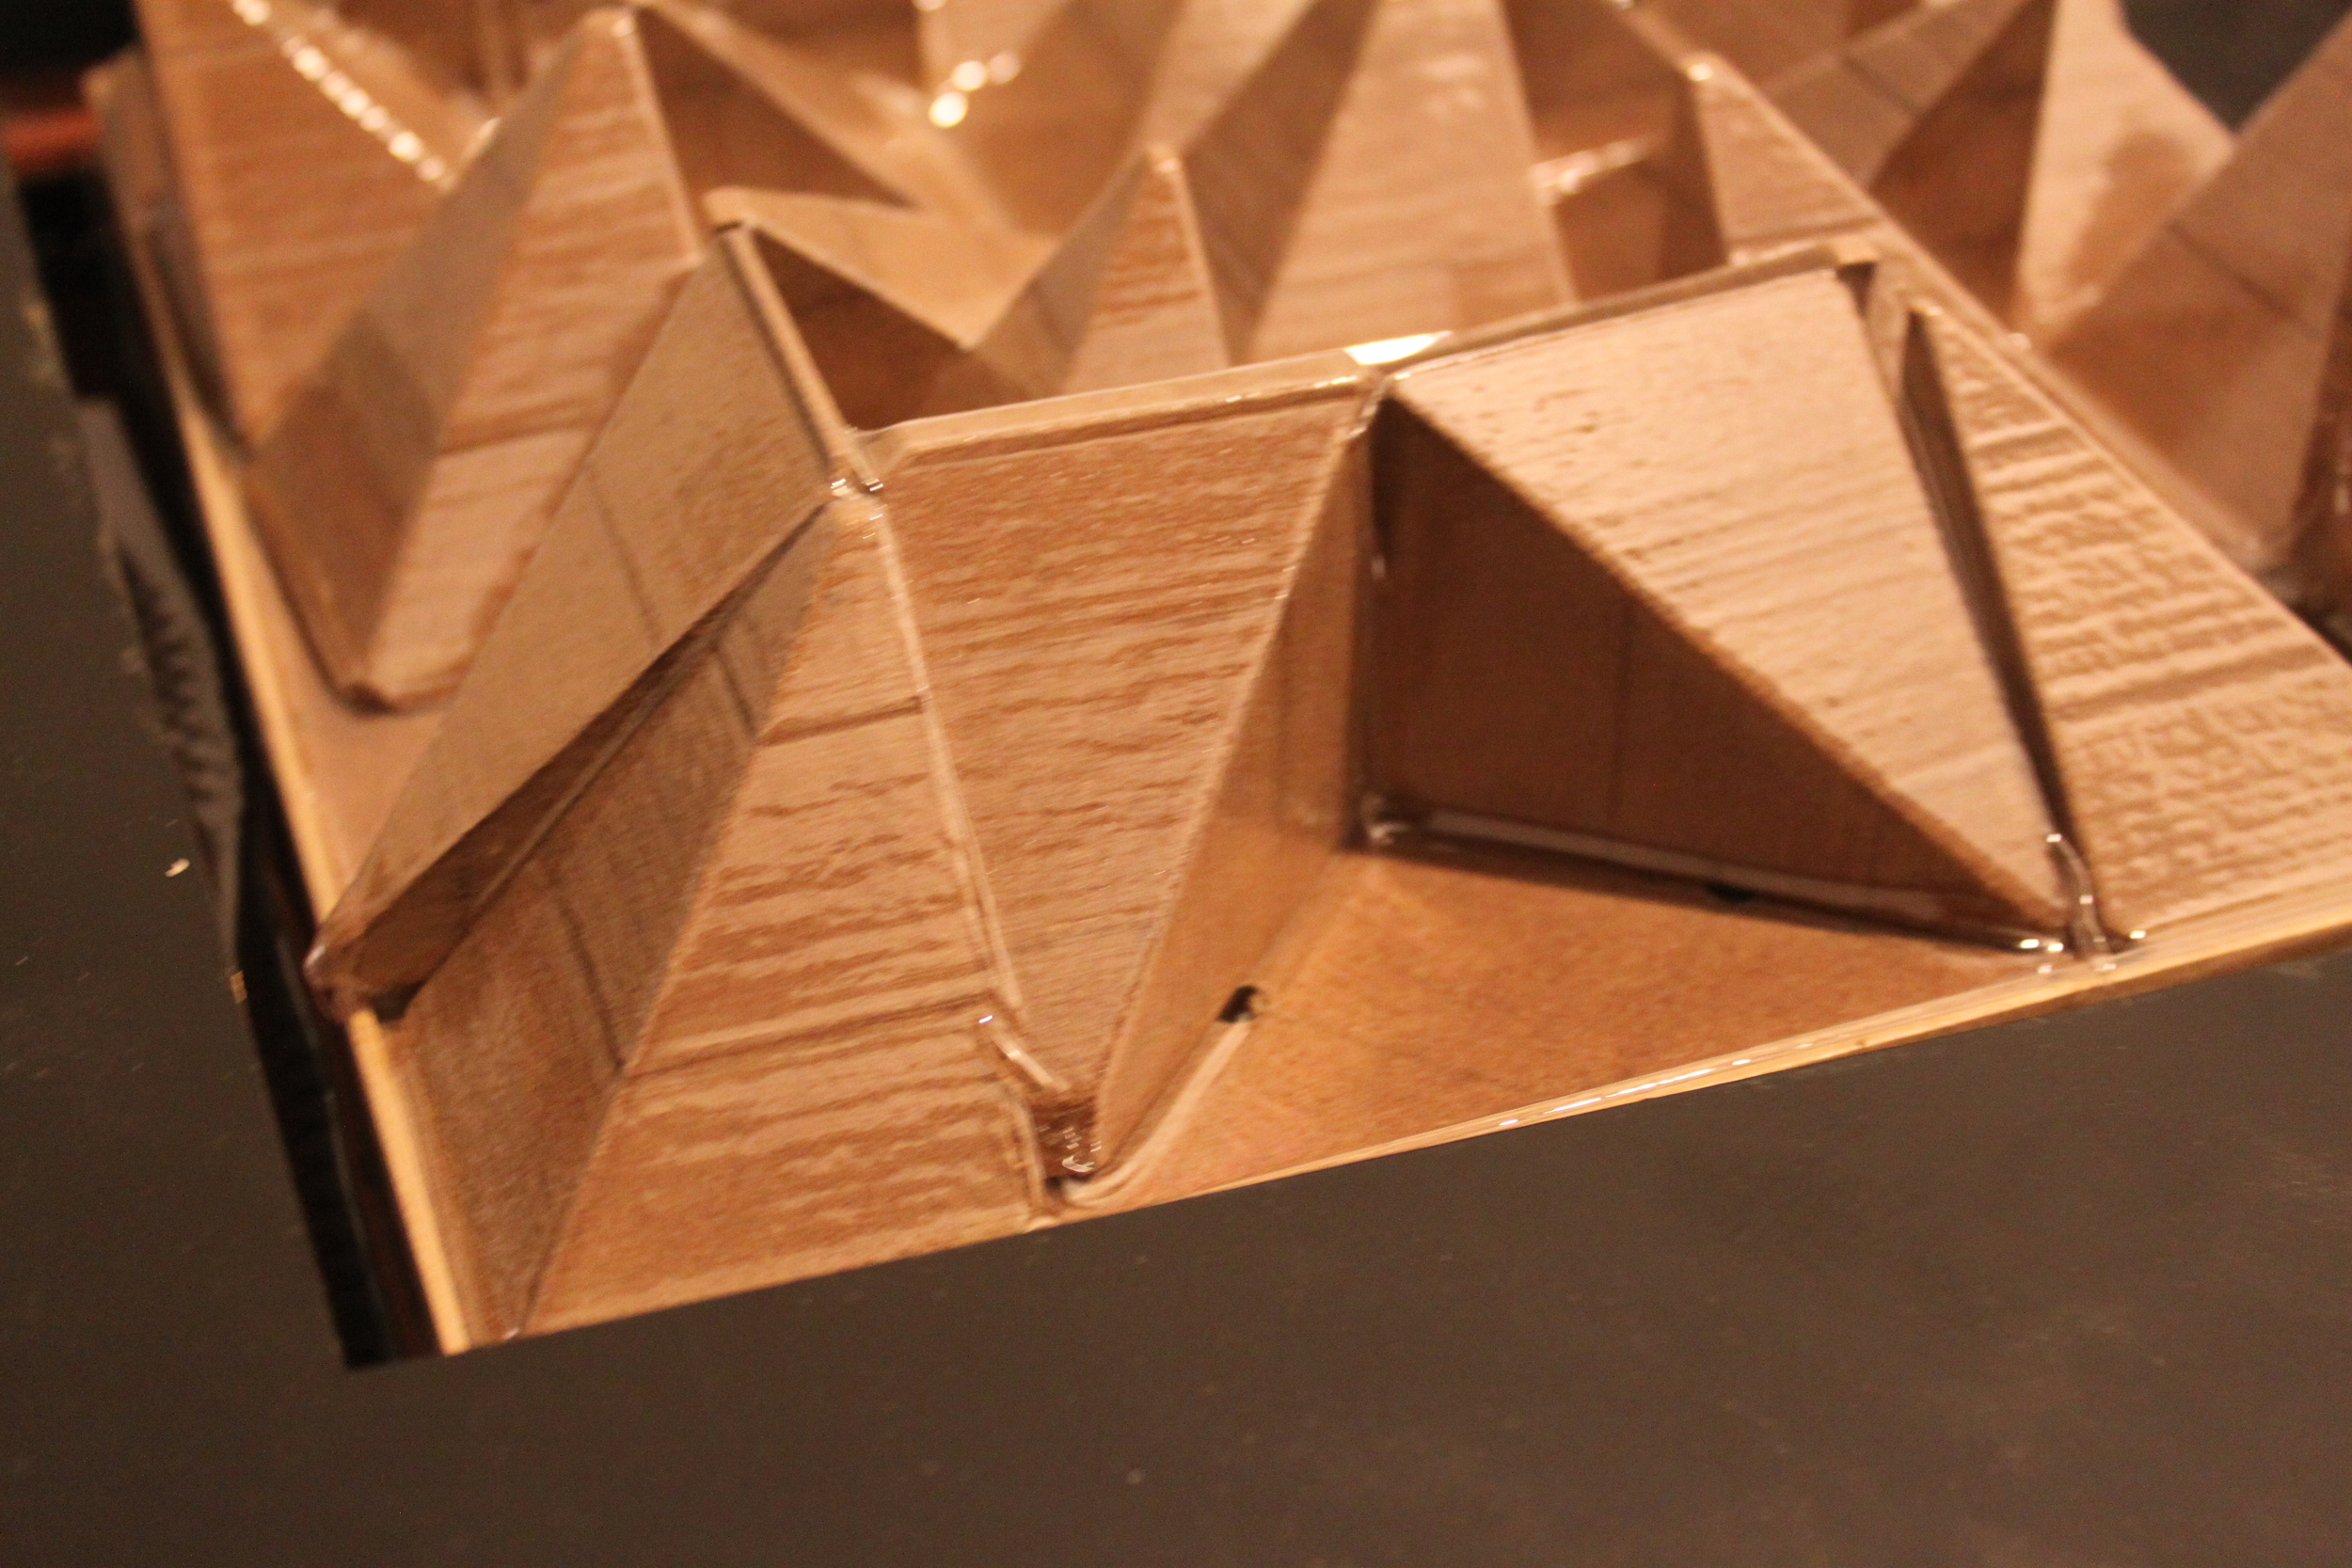
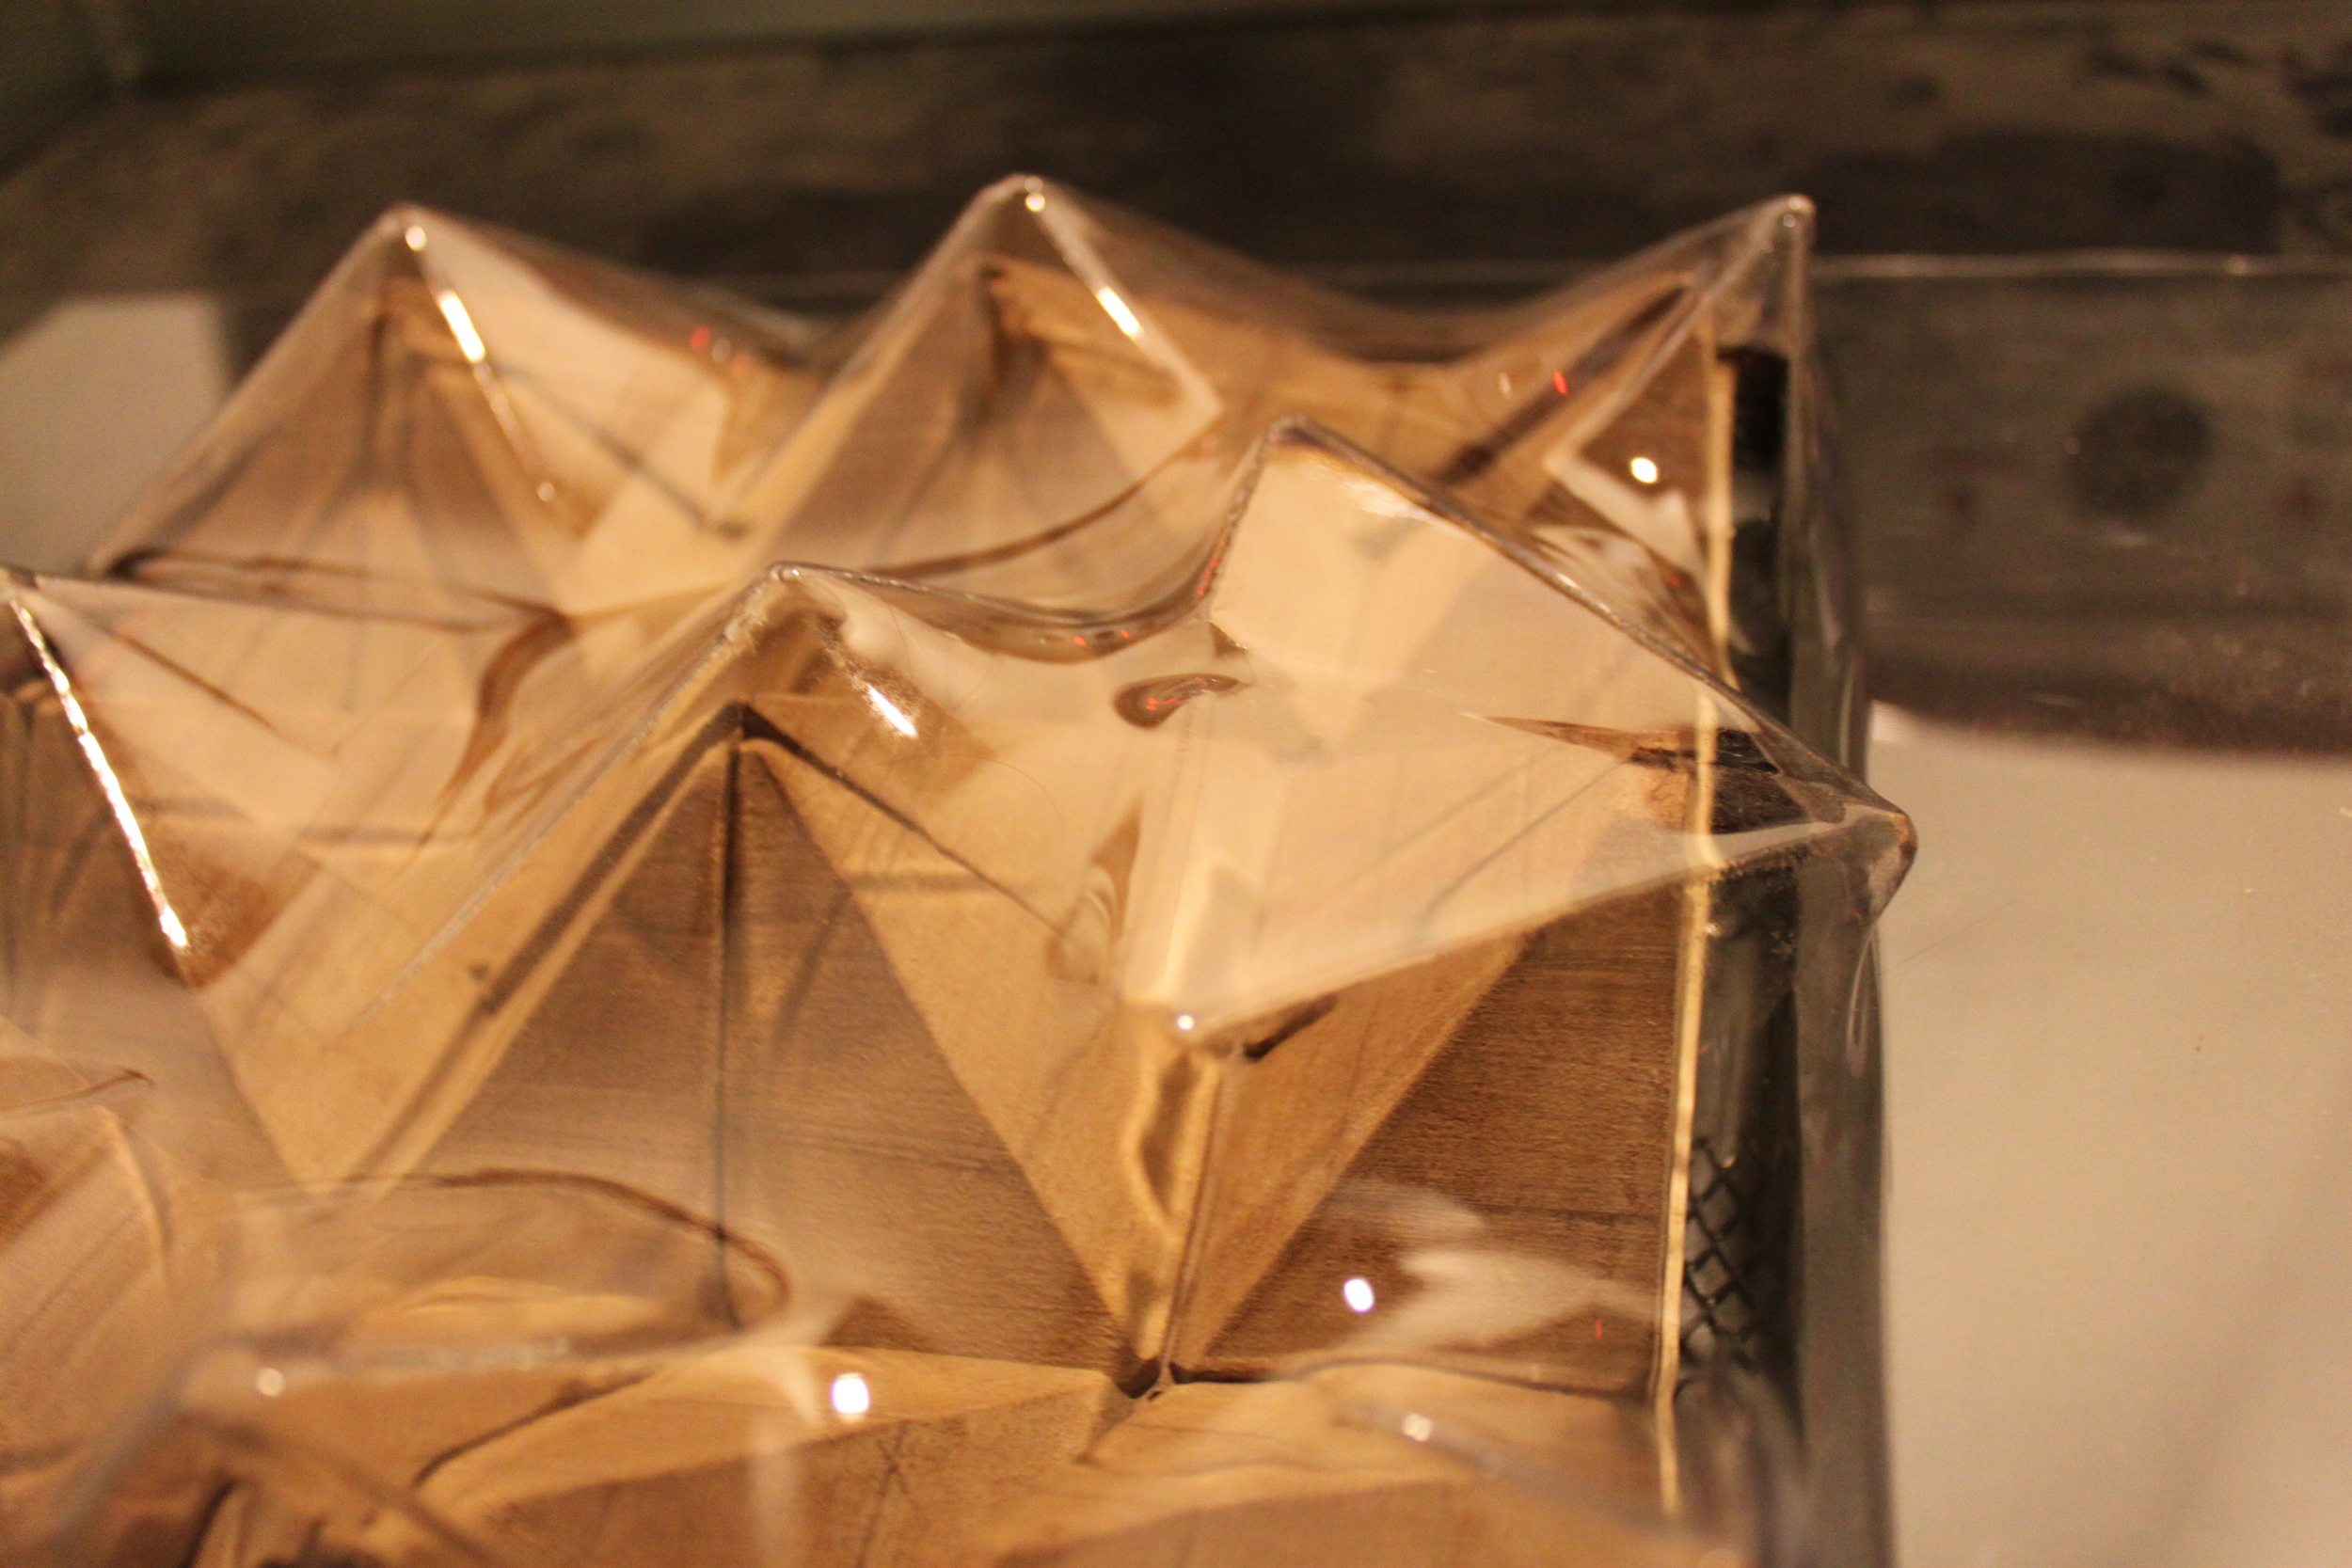
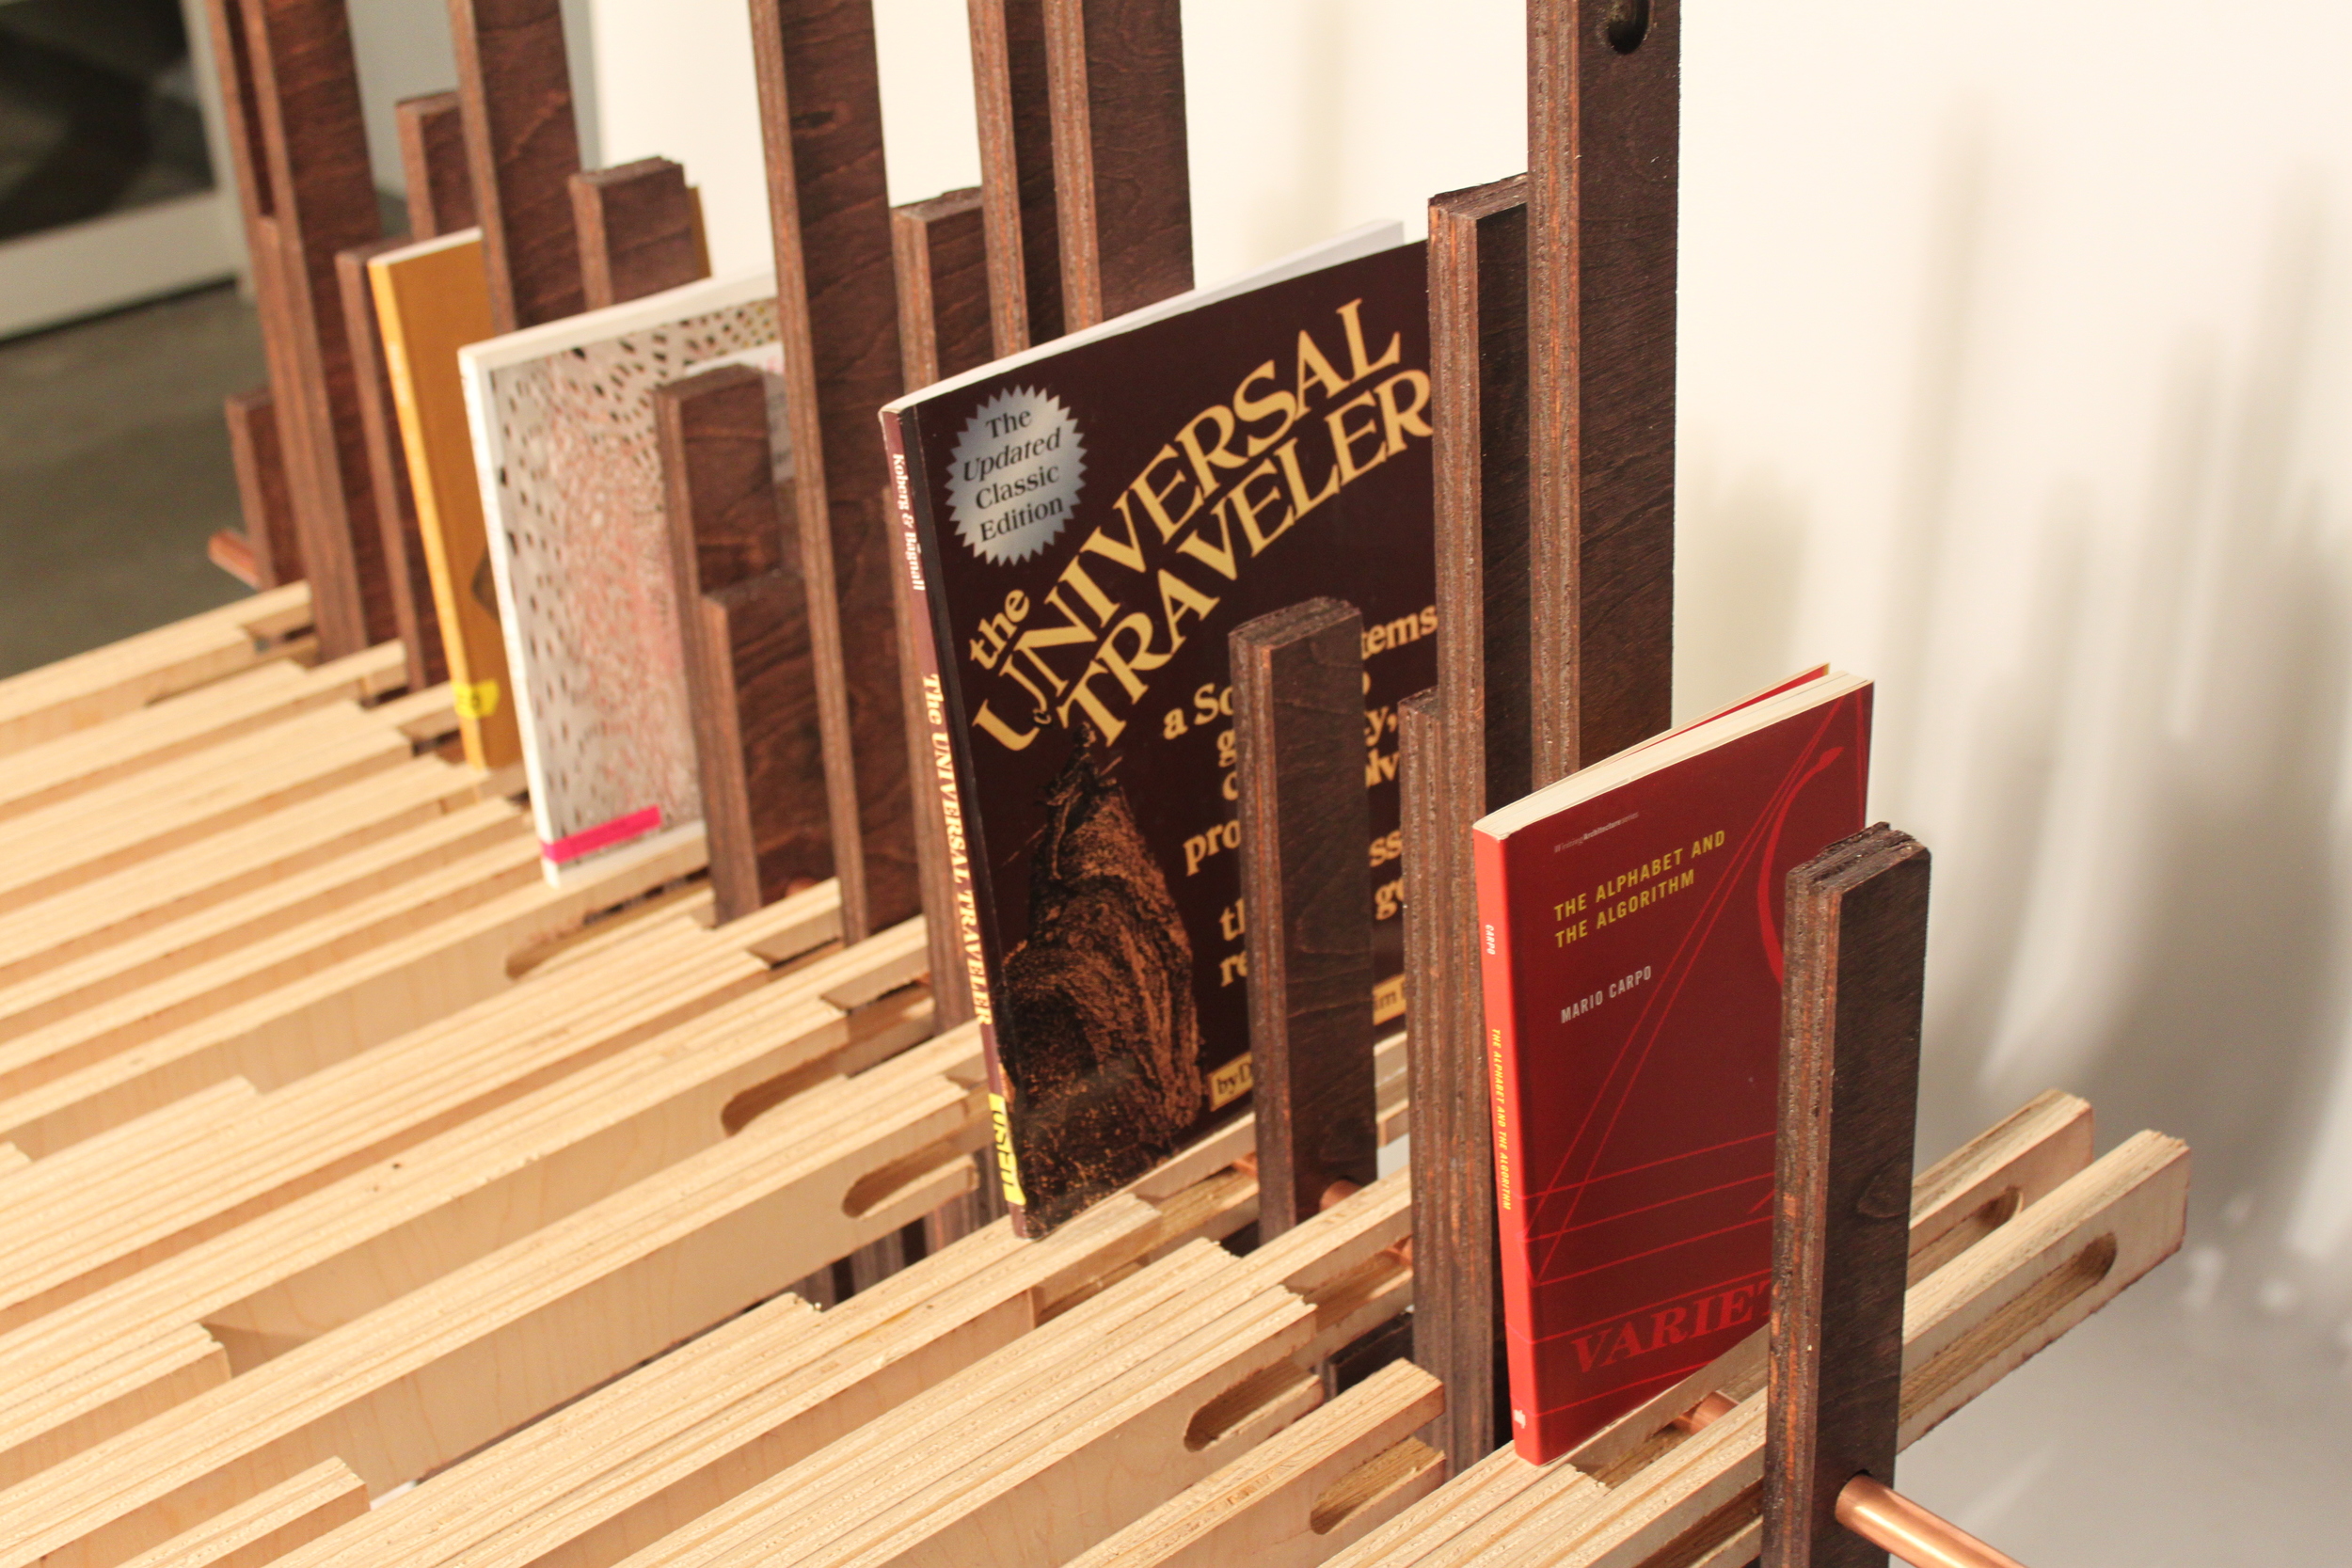
FINAL OBSTACLE : SCREEN
[ create a folding screen that is deployable, is half its height when collapsed, has a public and private side, is portable and can hold the course required books ]

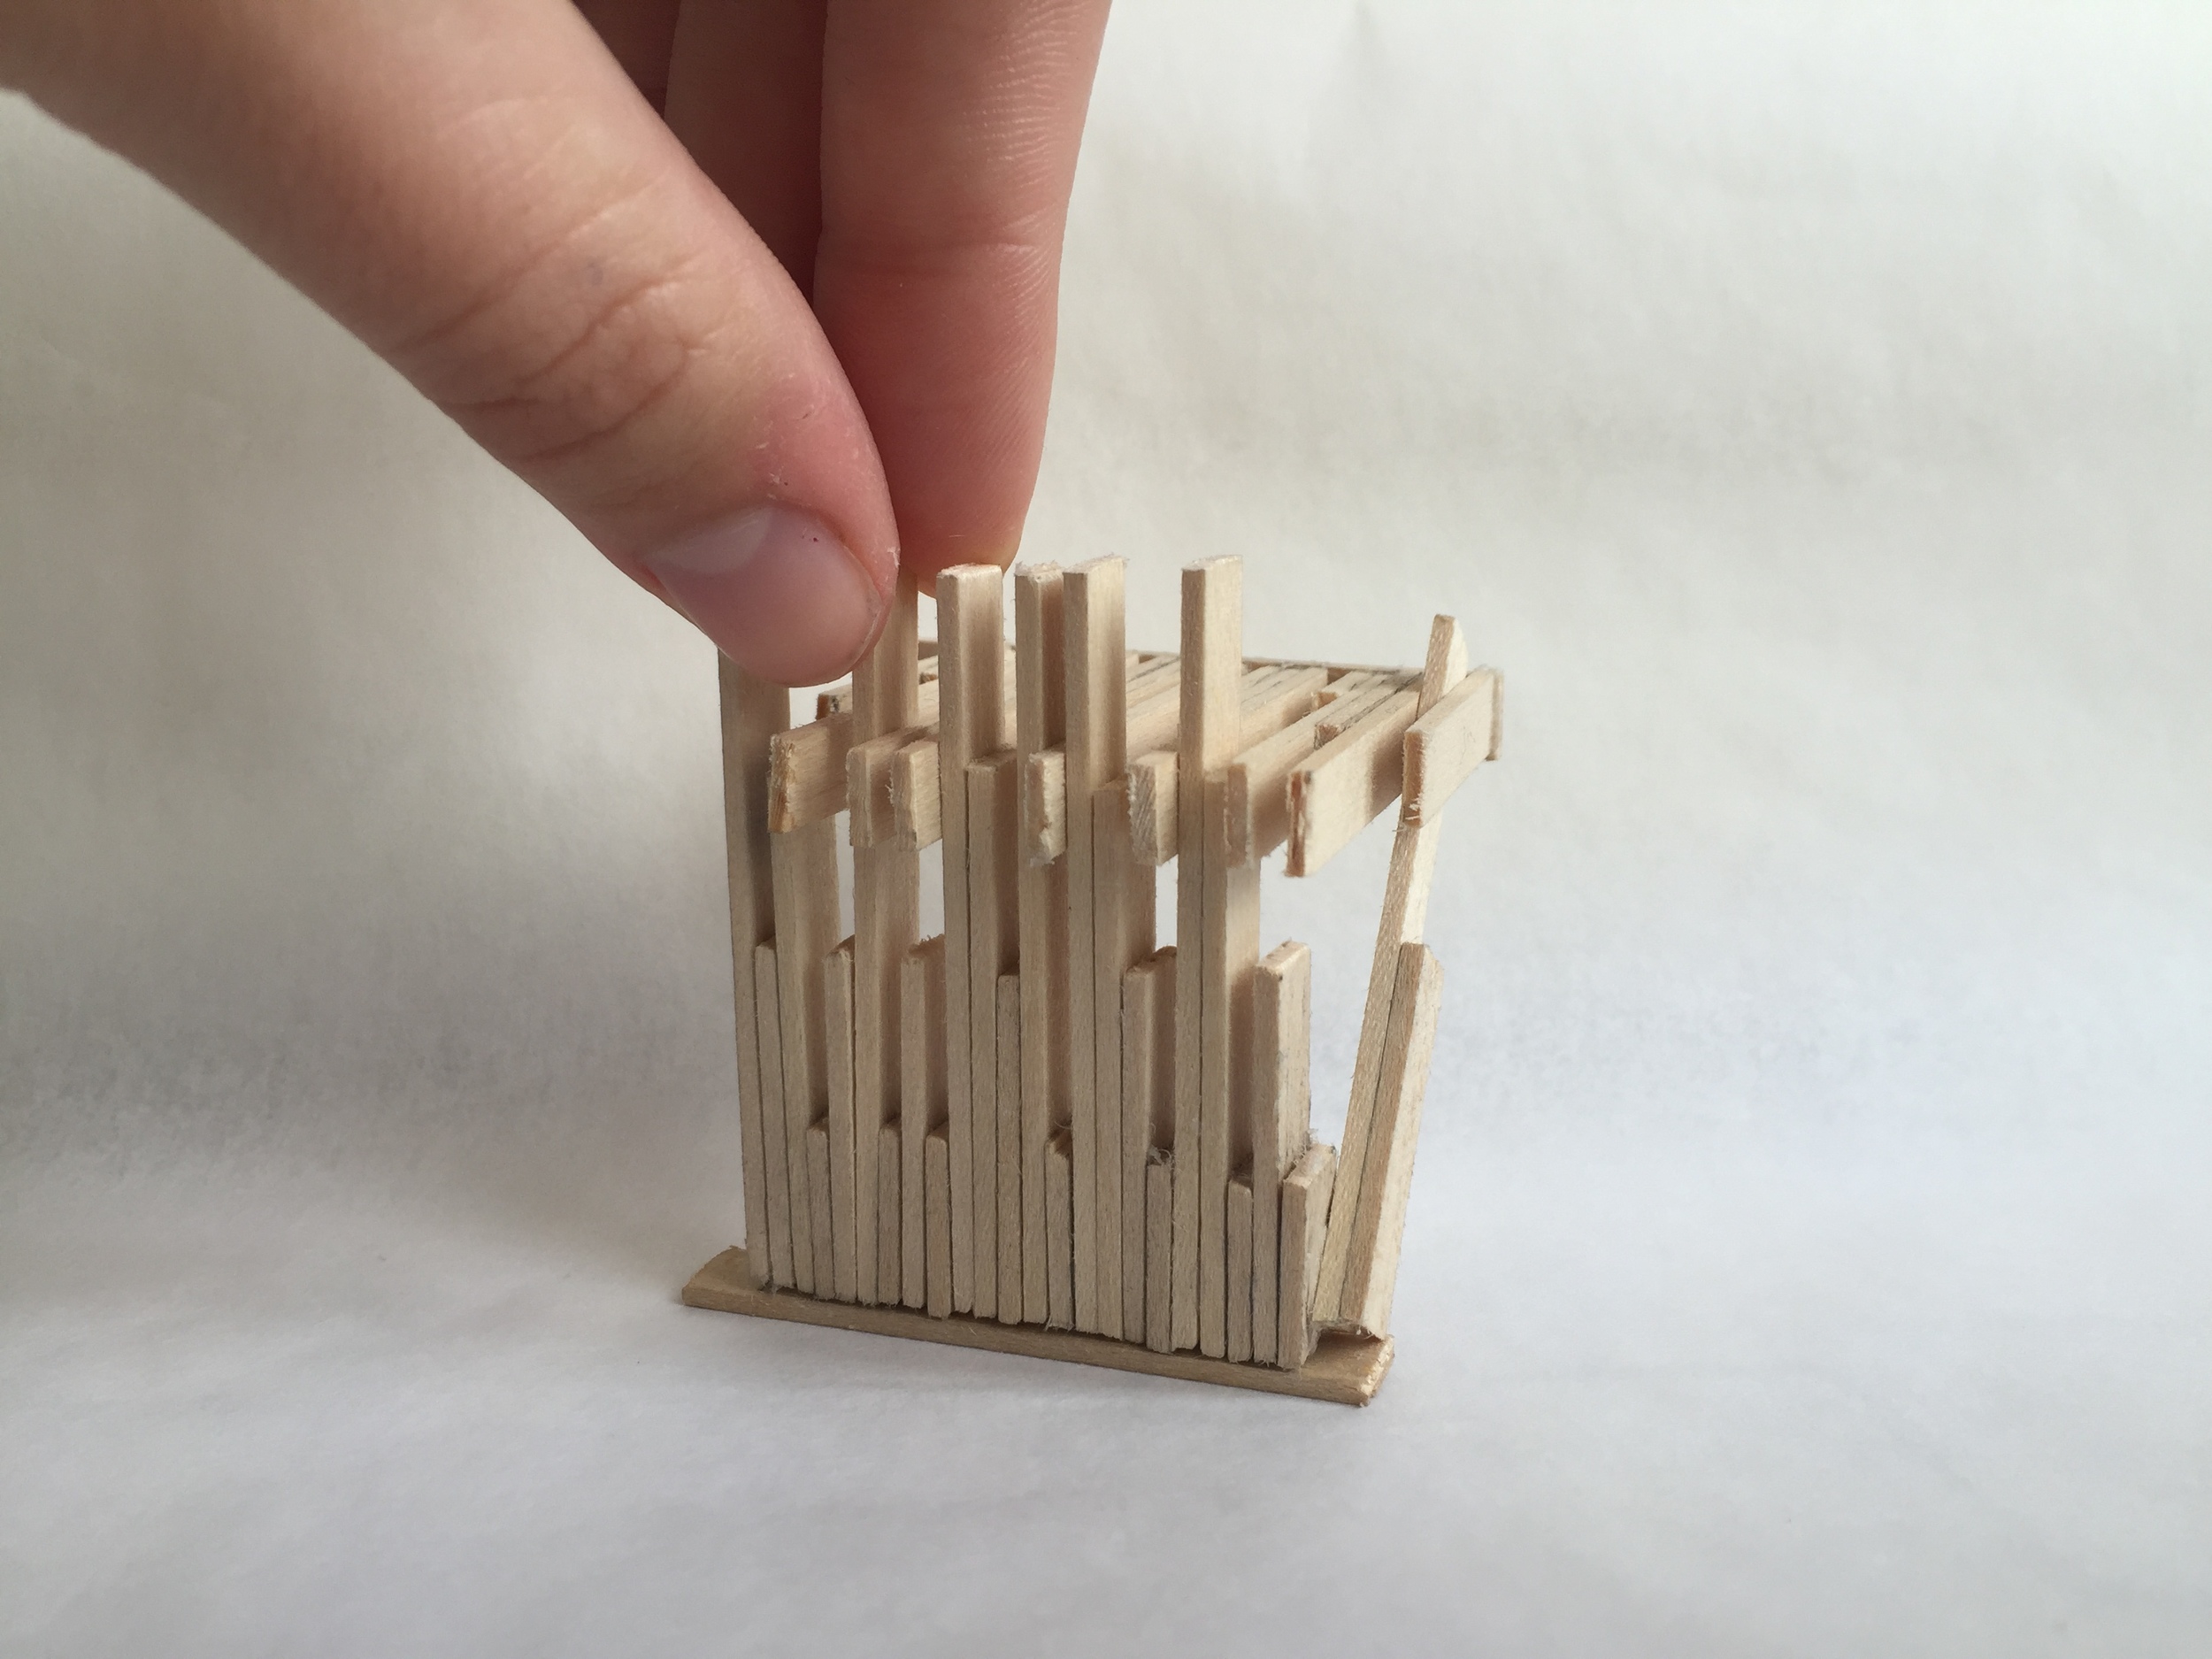

early idea development discovery through modeling
concept diagrams: horizontally sliding screen + vertically sliding table with rotating legs
CNC cut sheet with labels. design developed to maximize single 4' x 8' sheet of plywood.
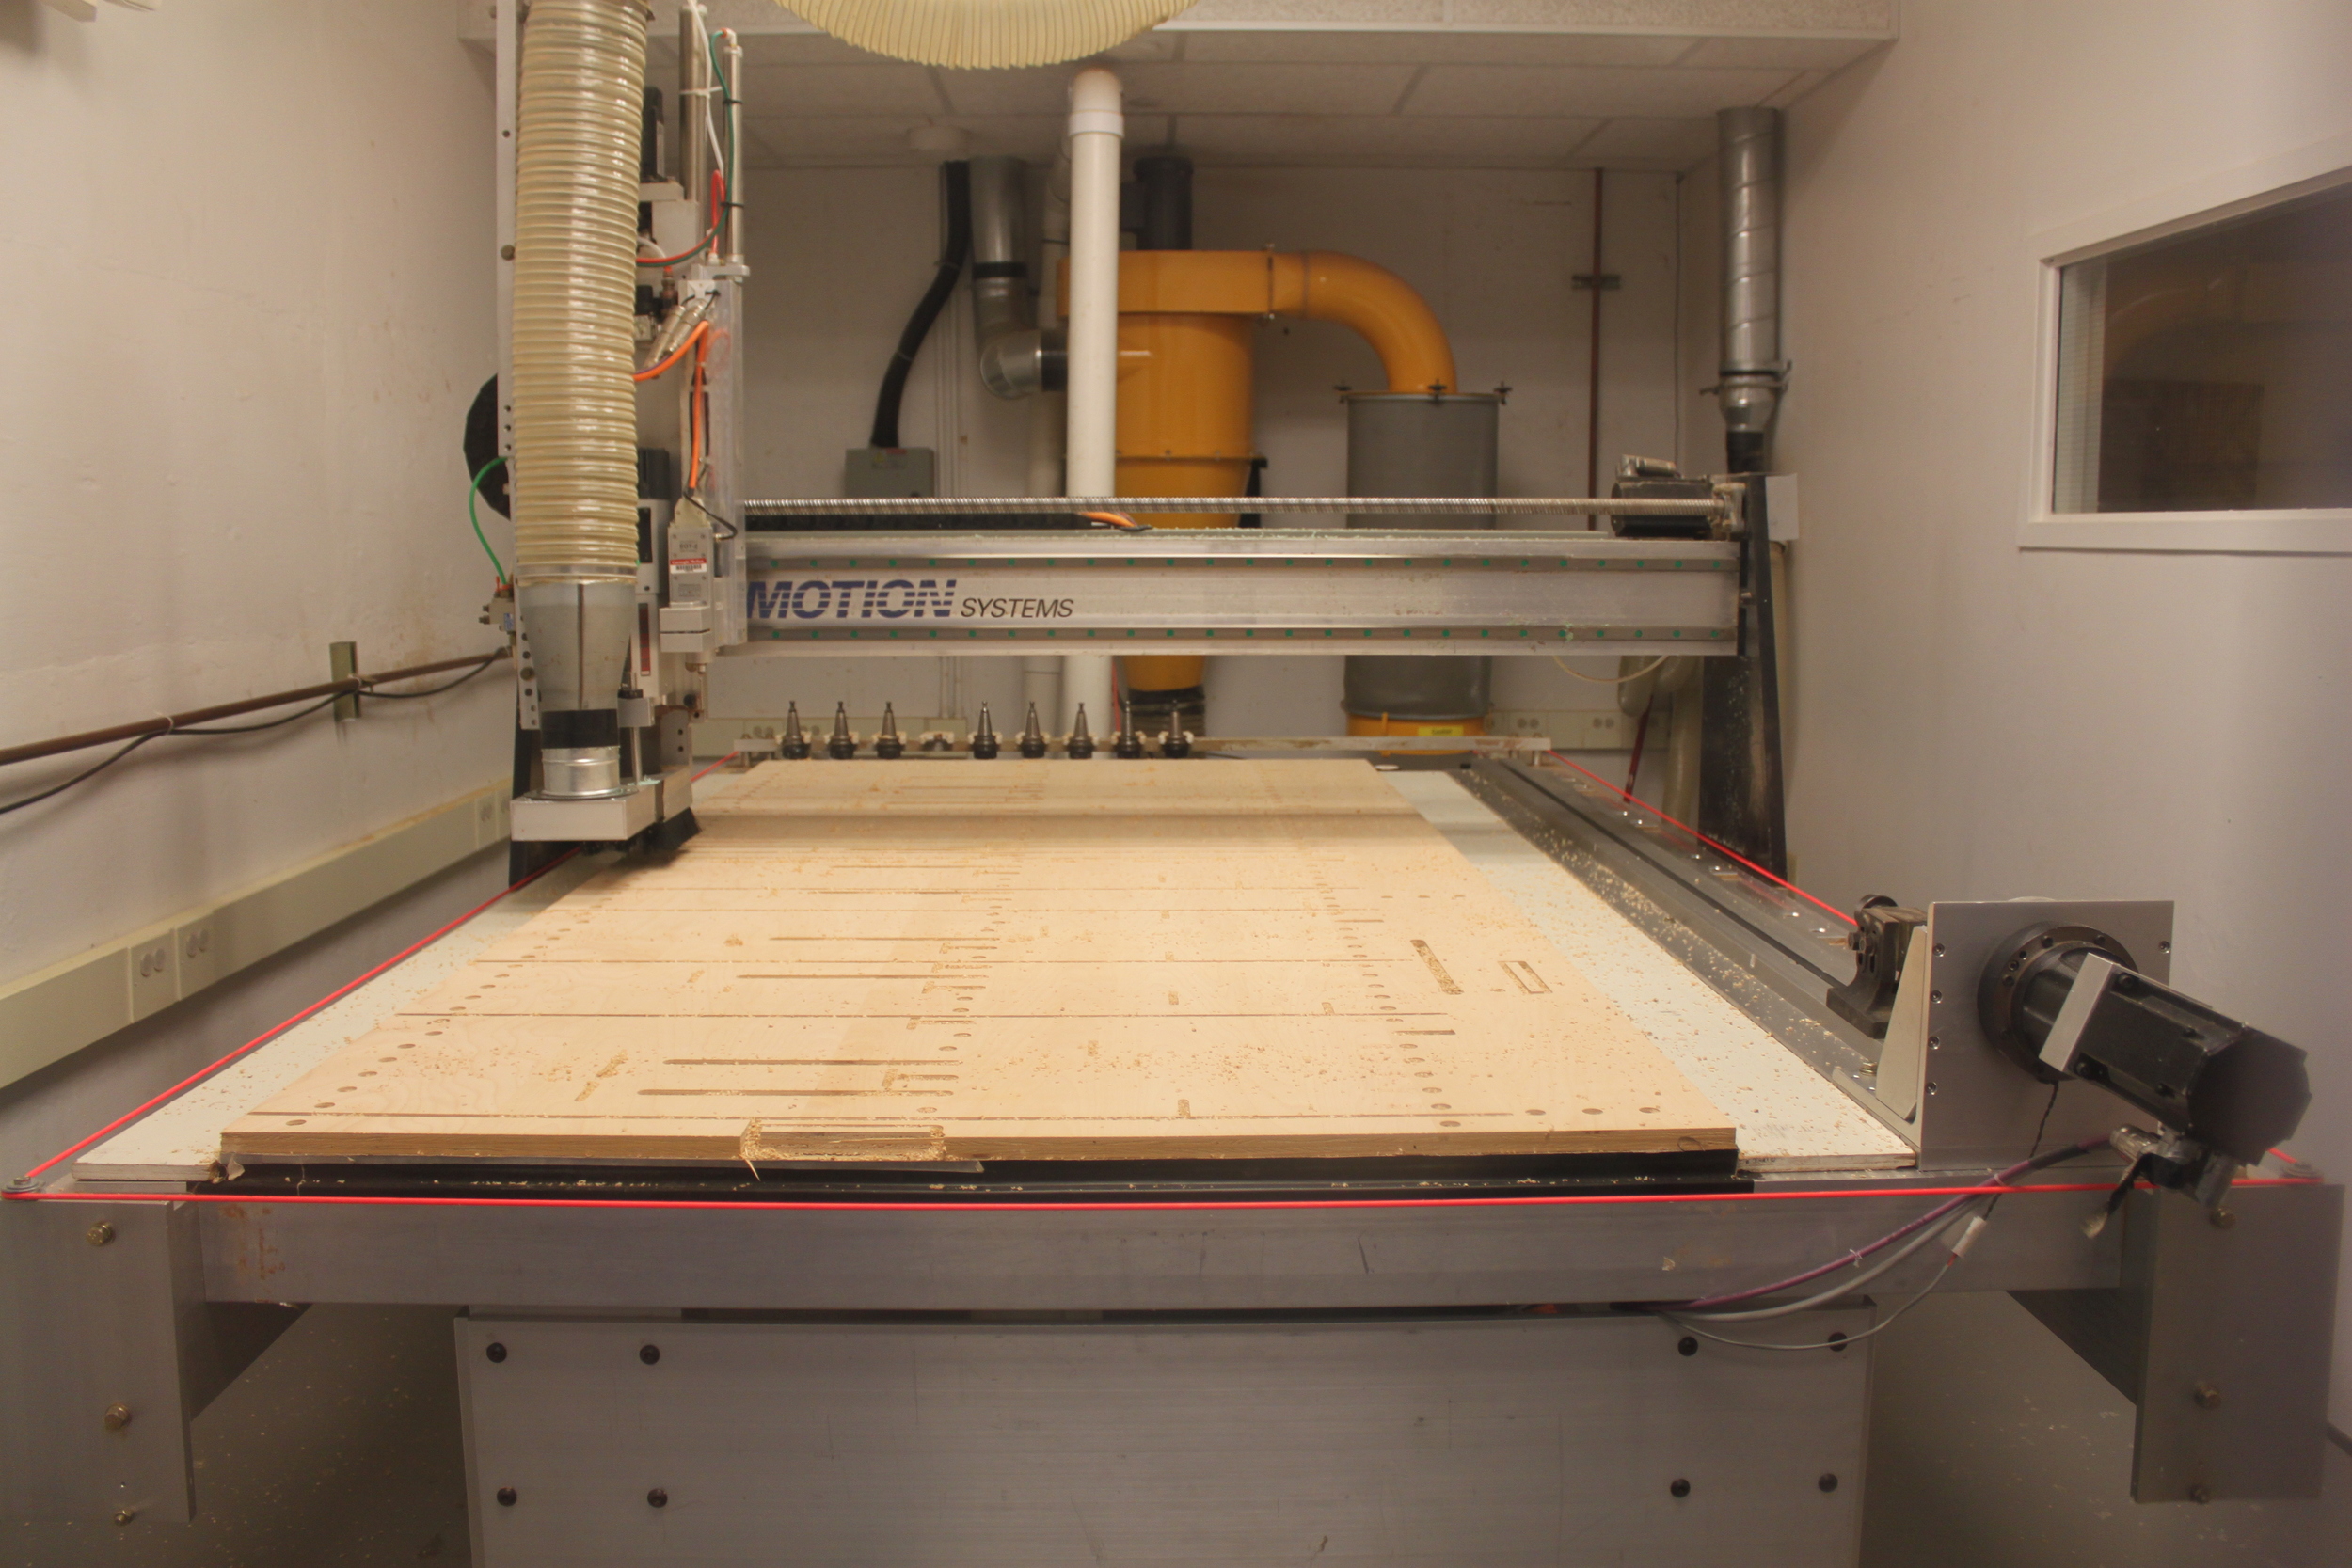
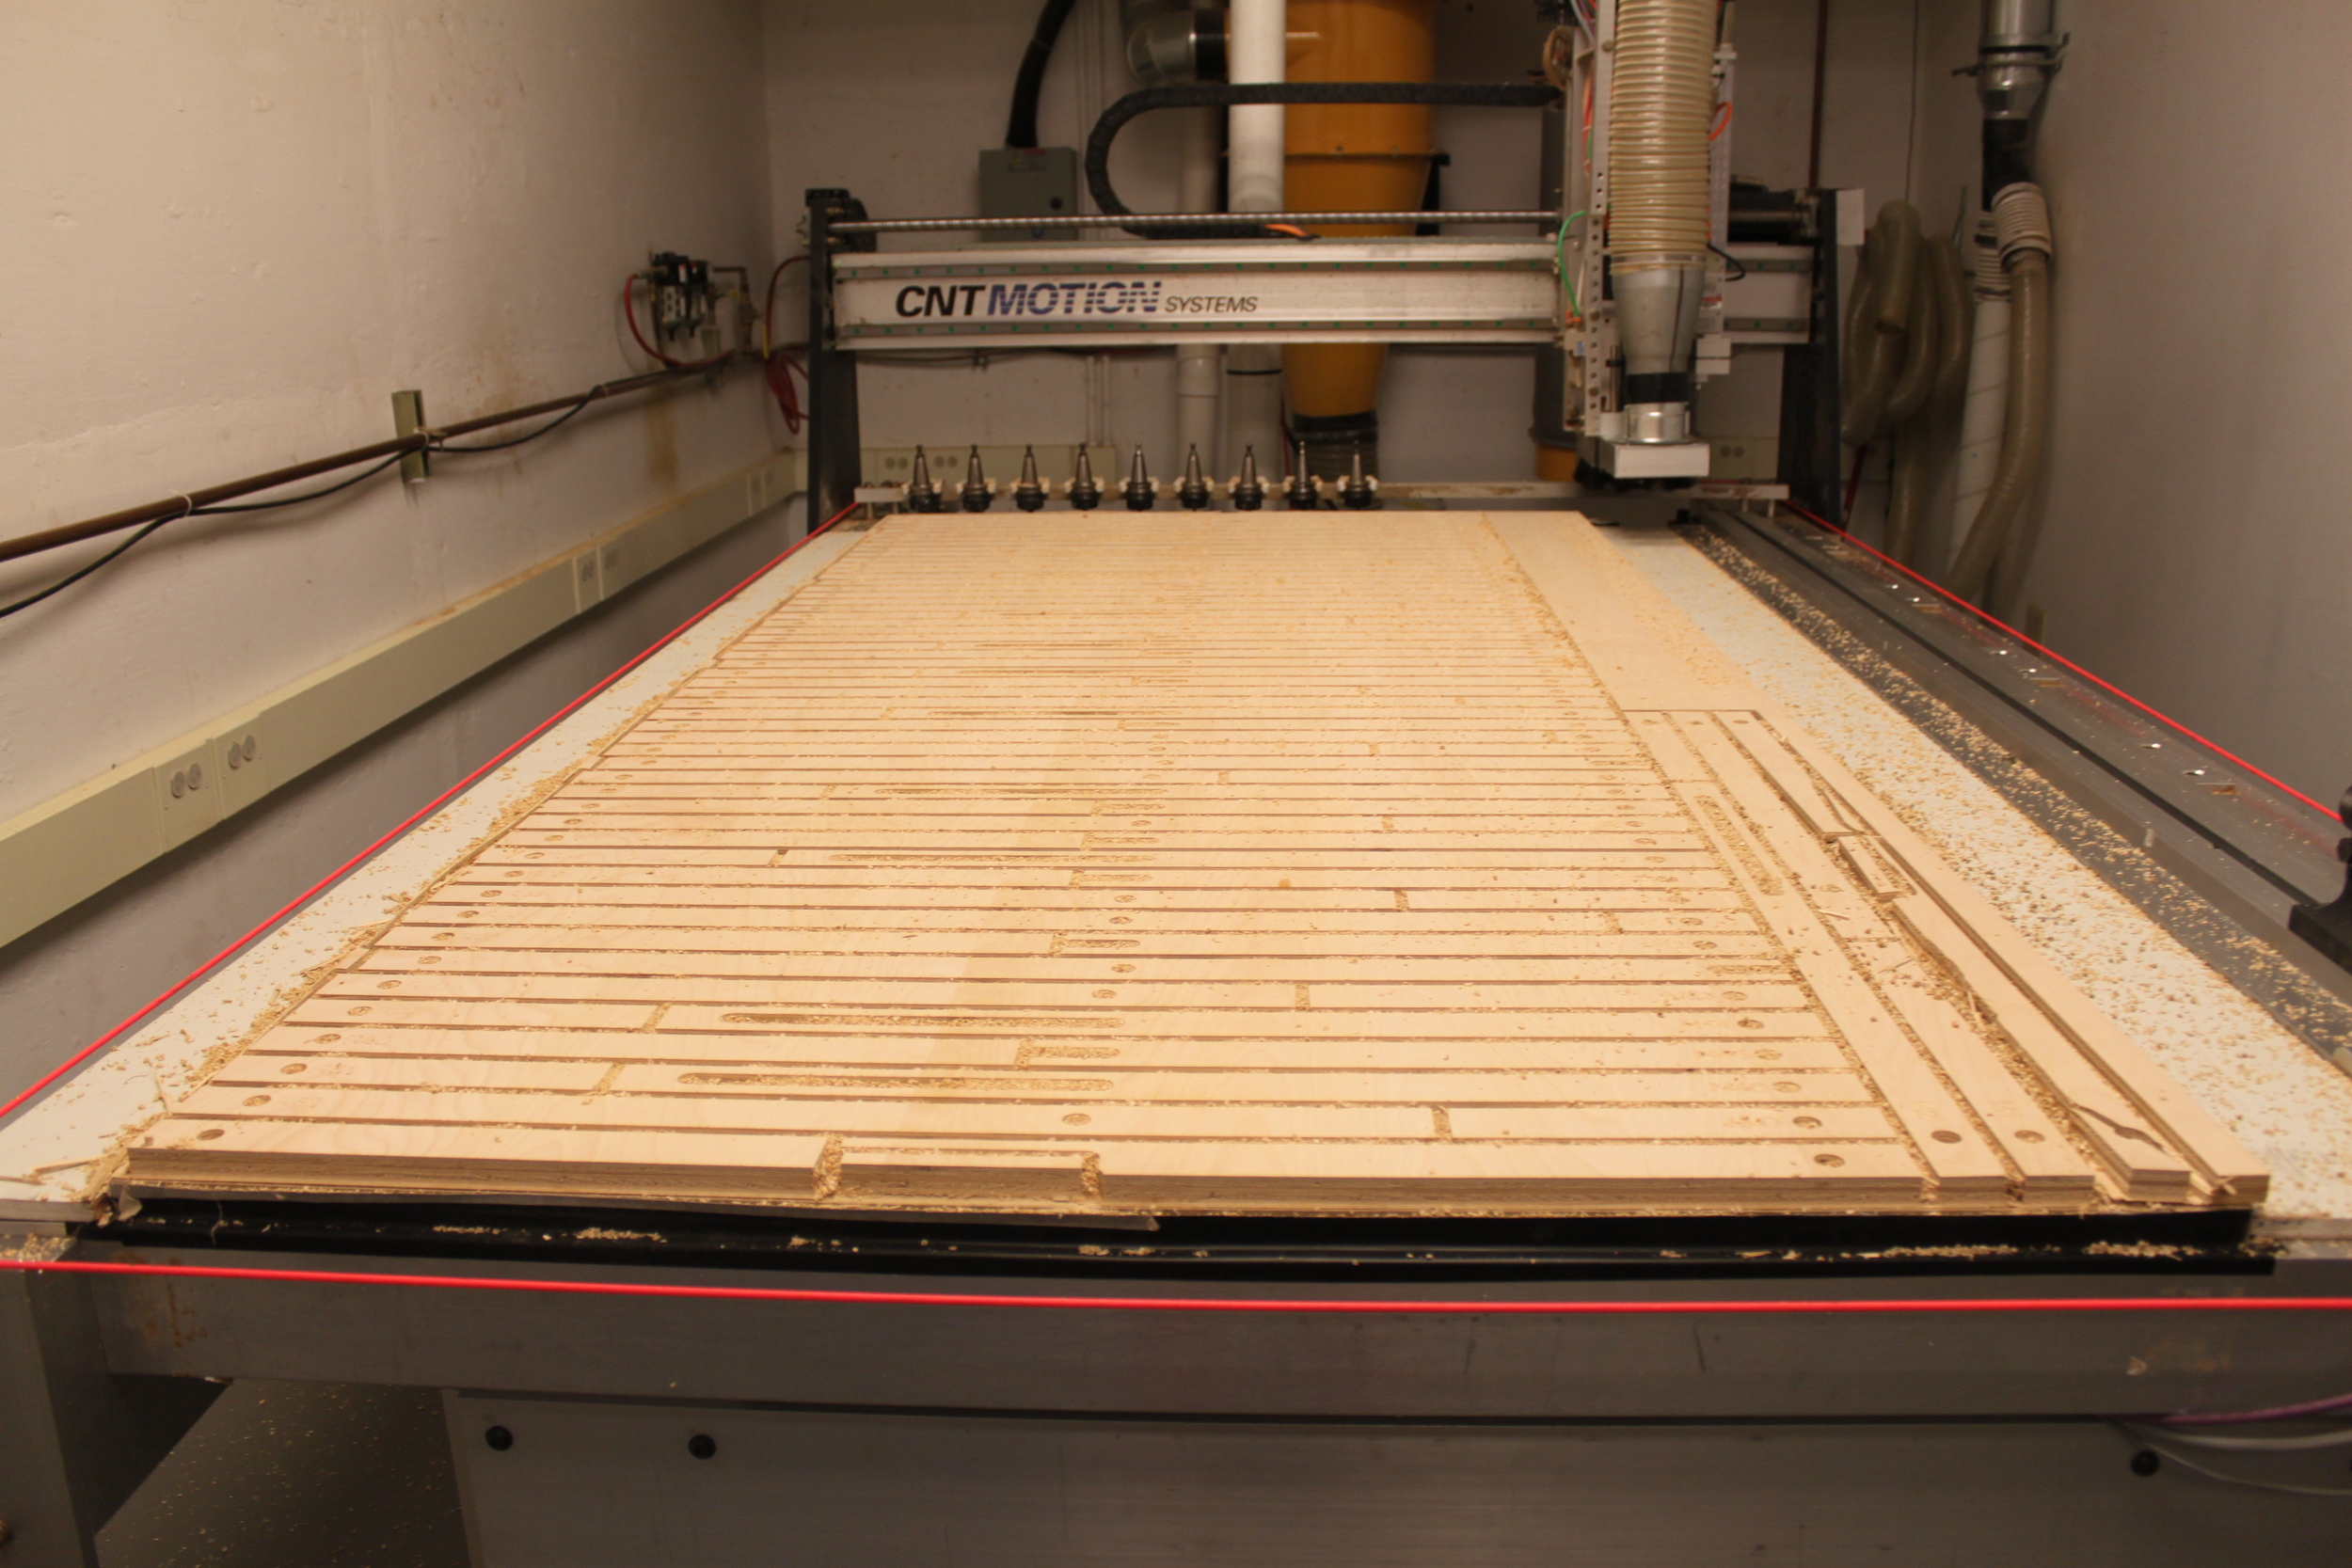
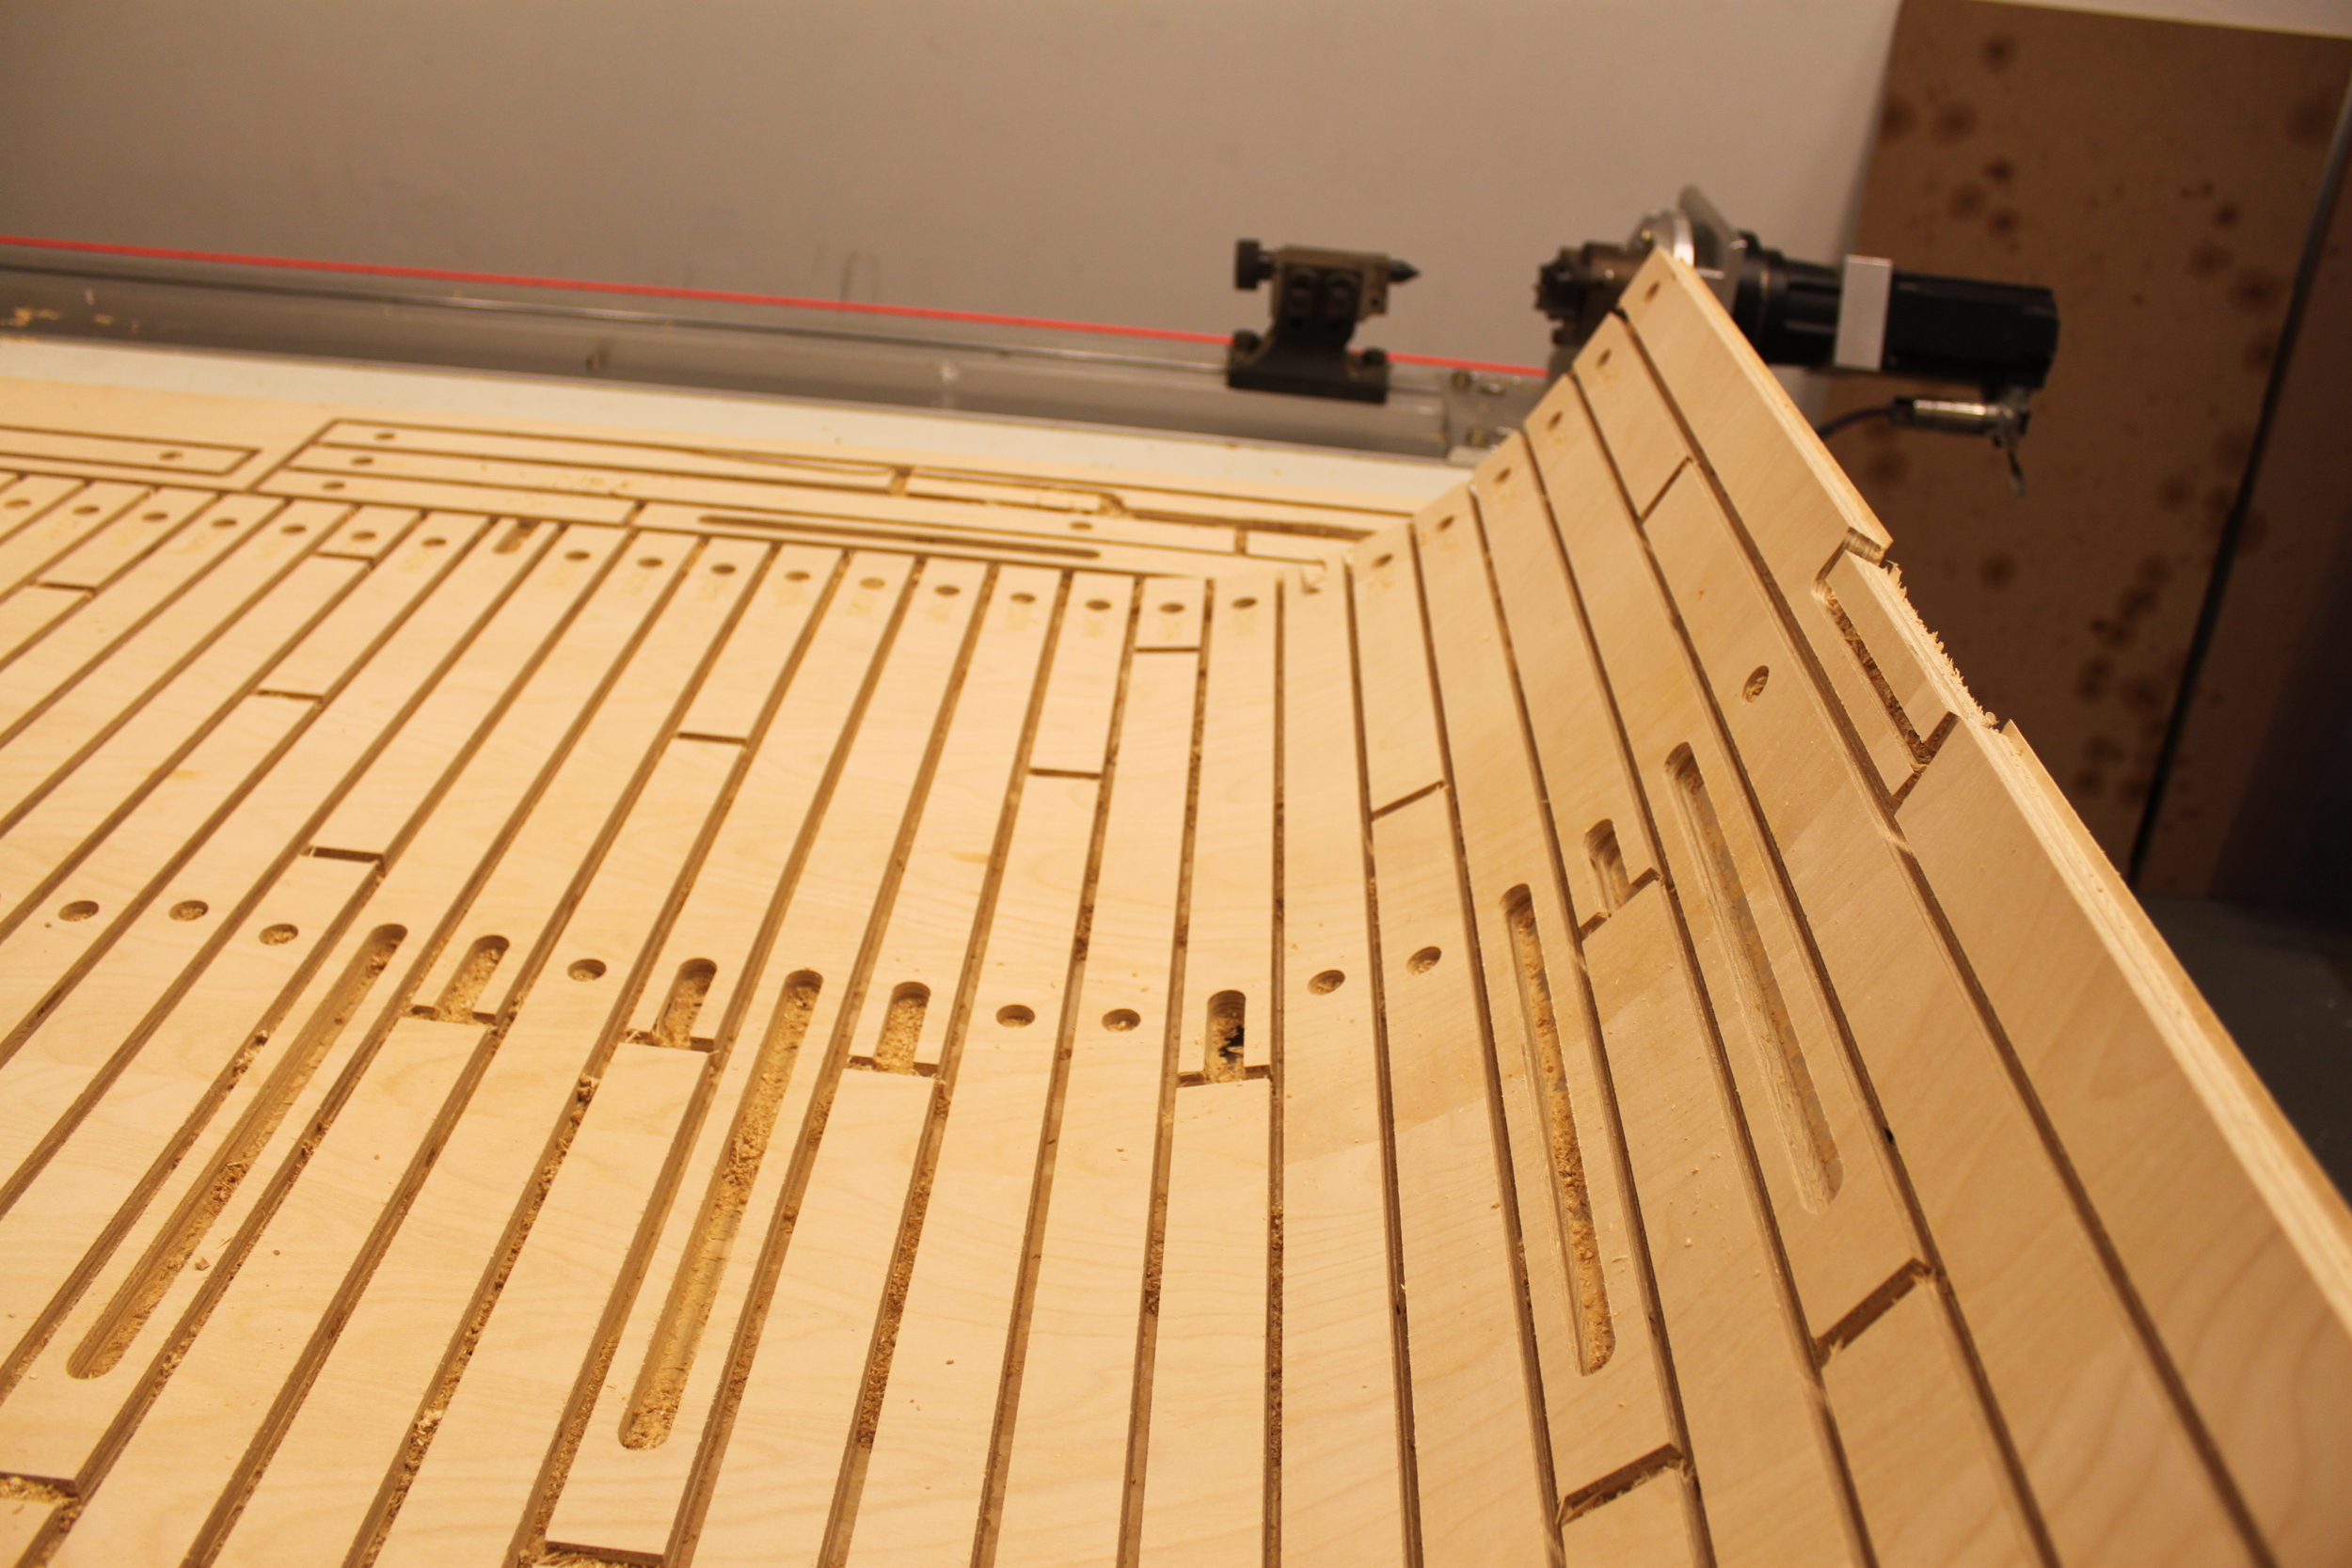
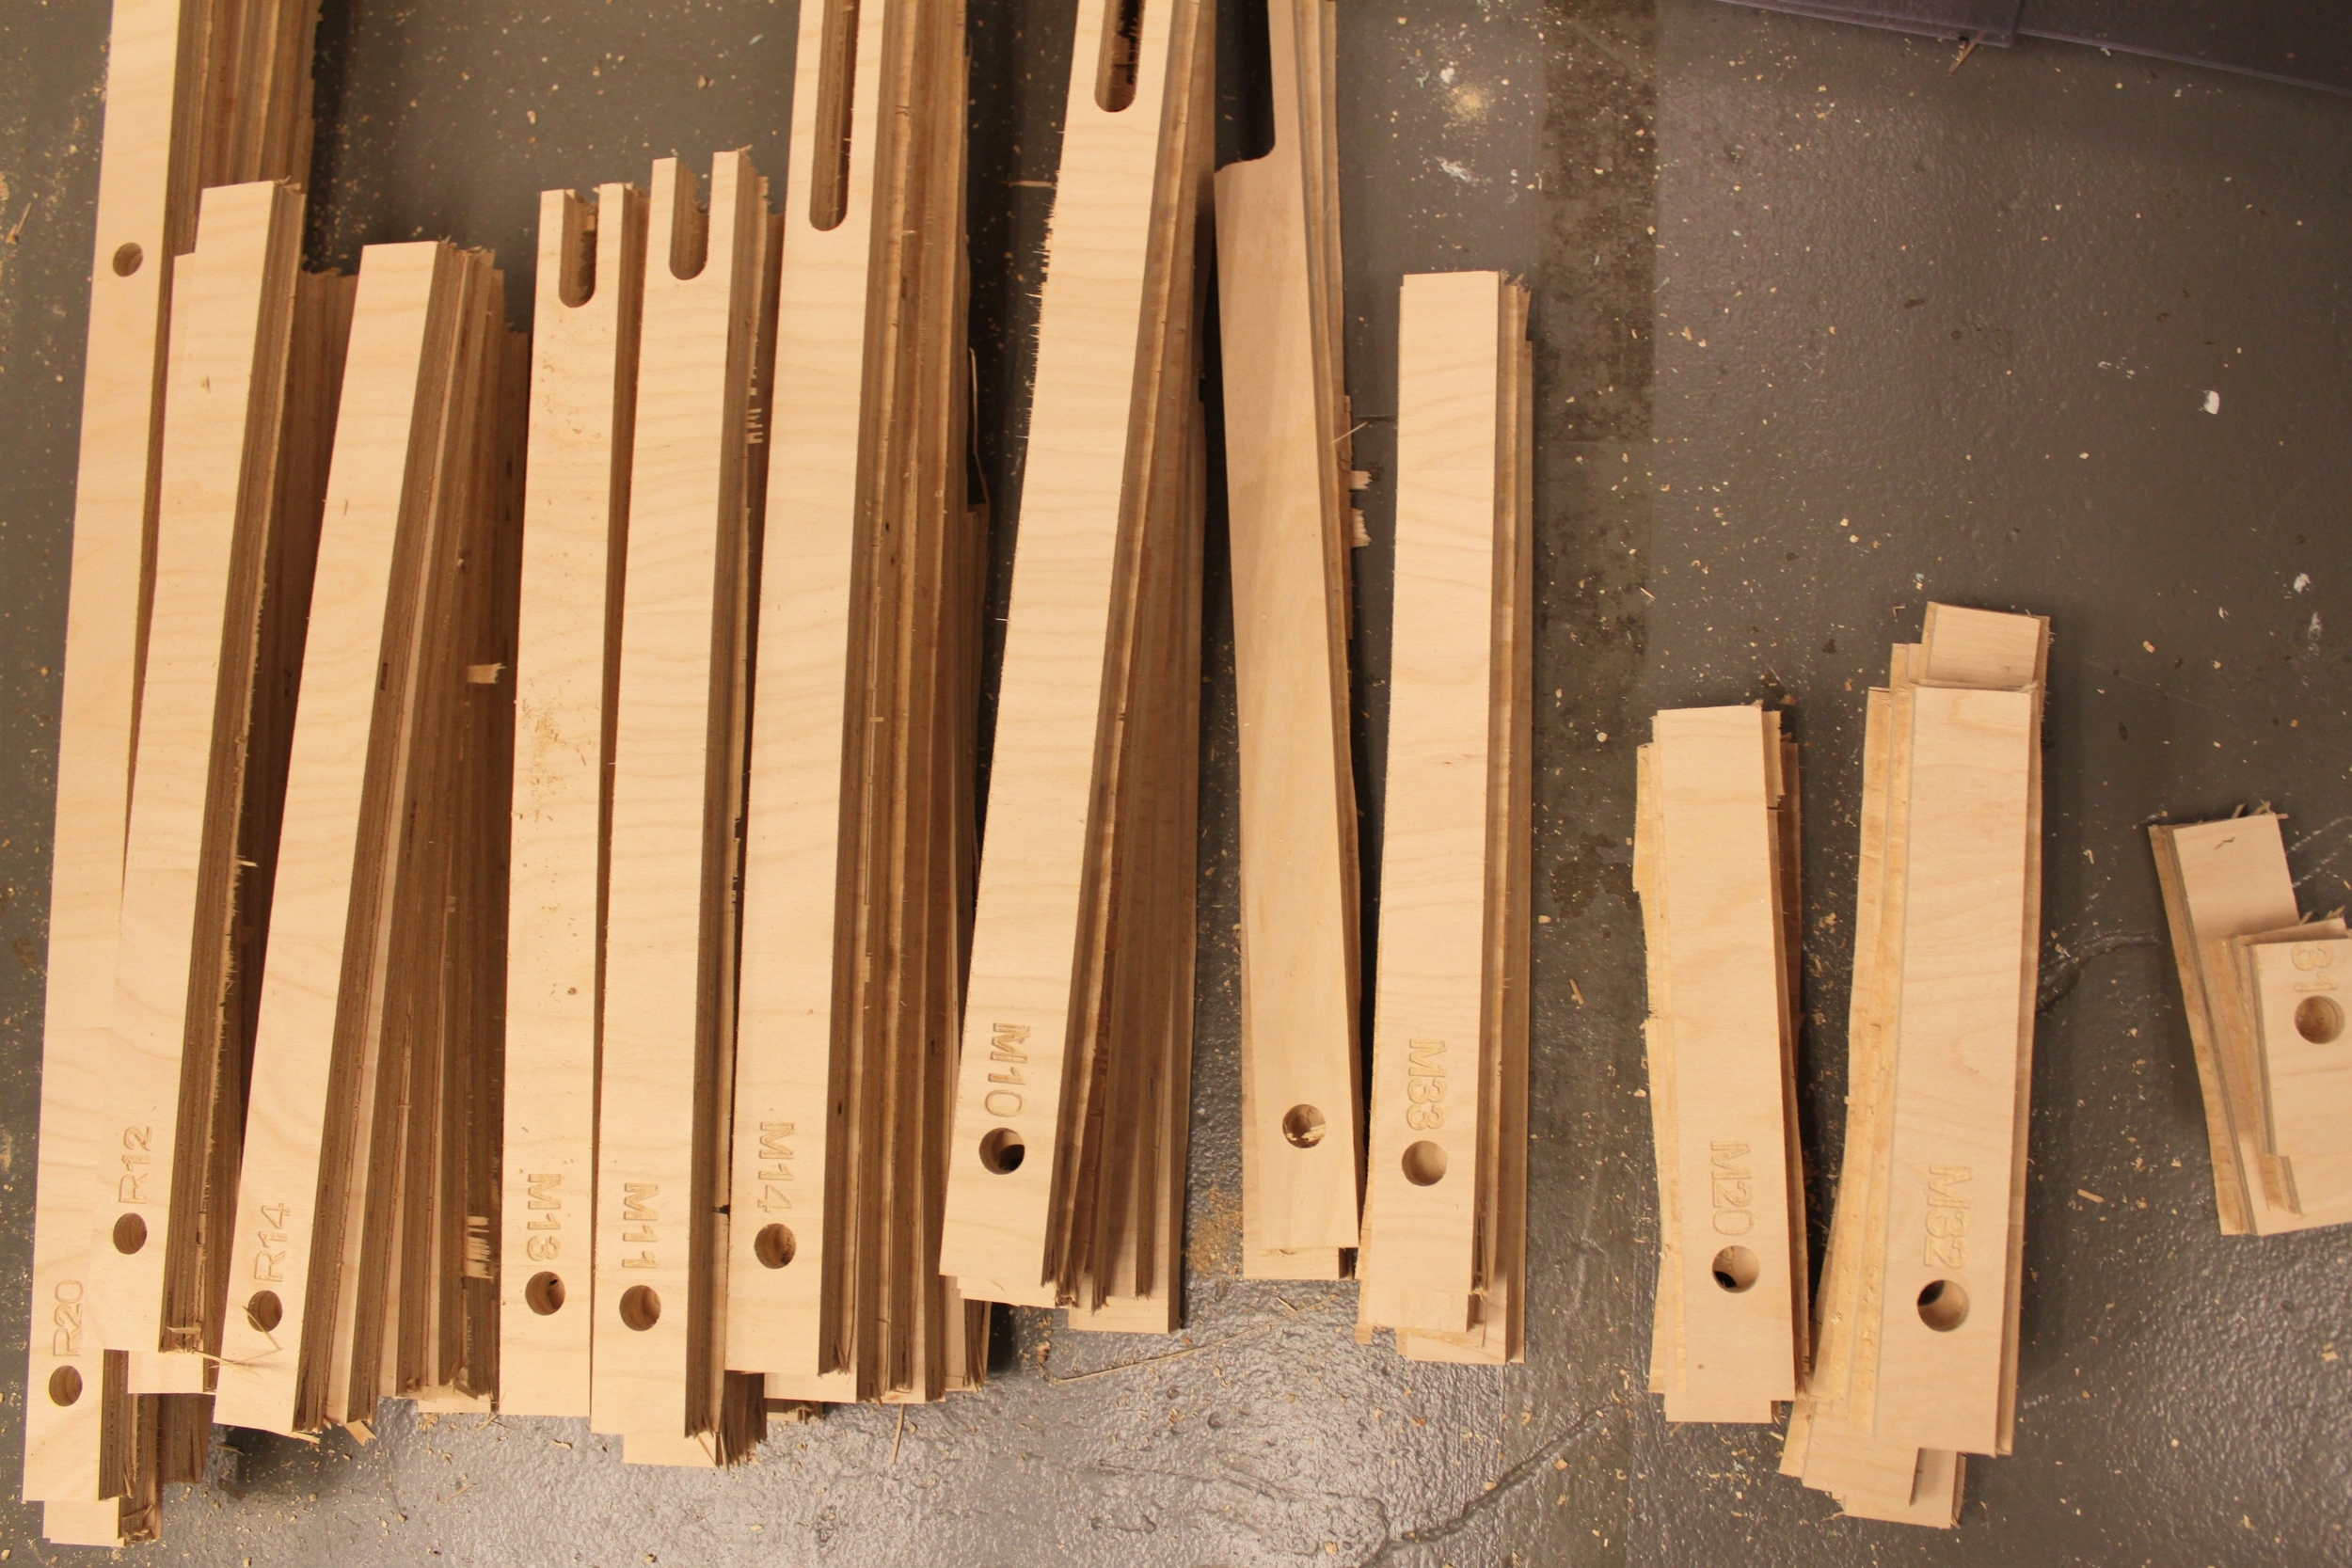
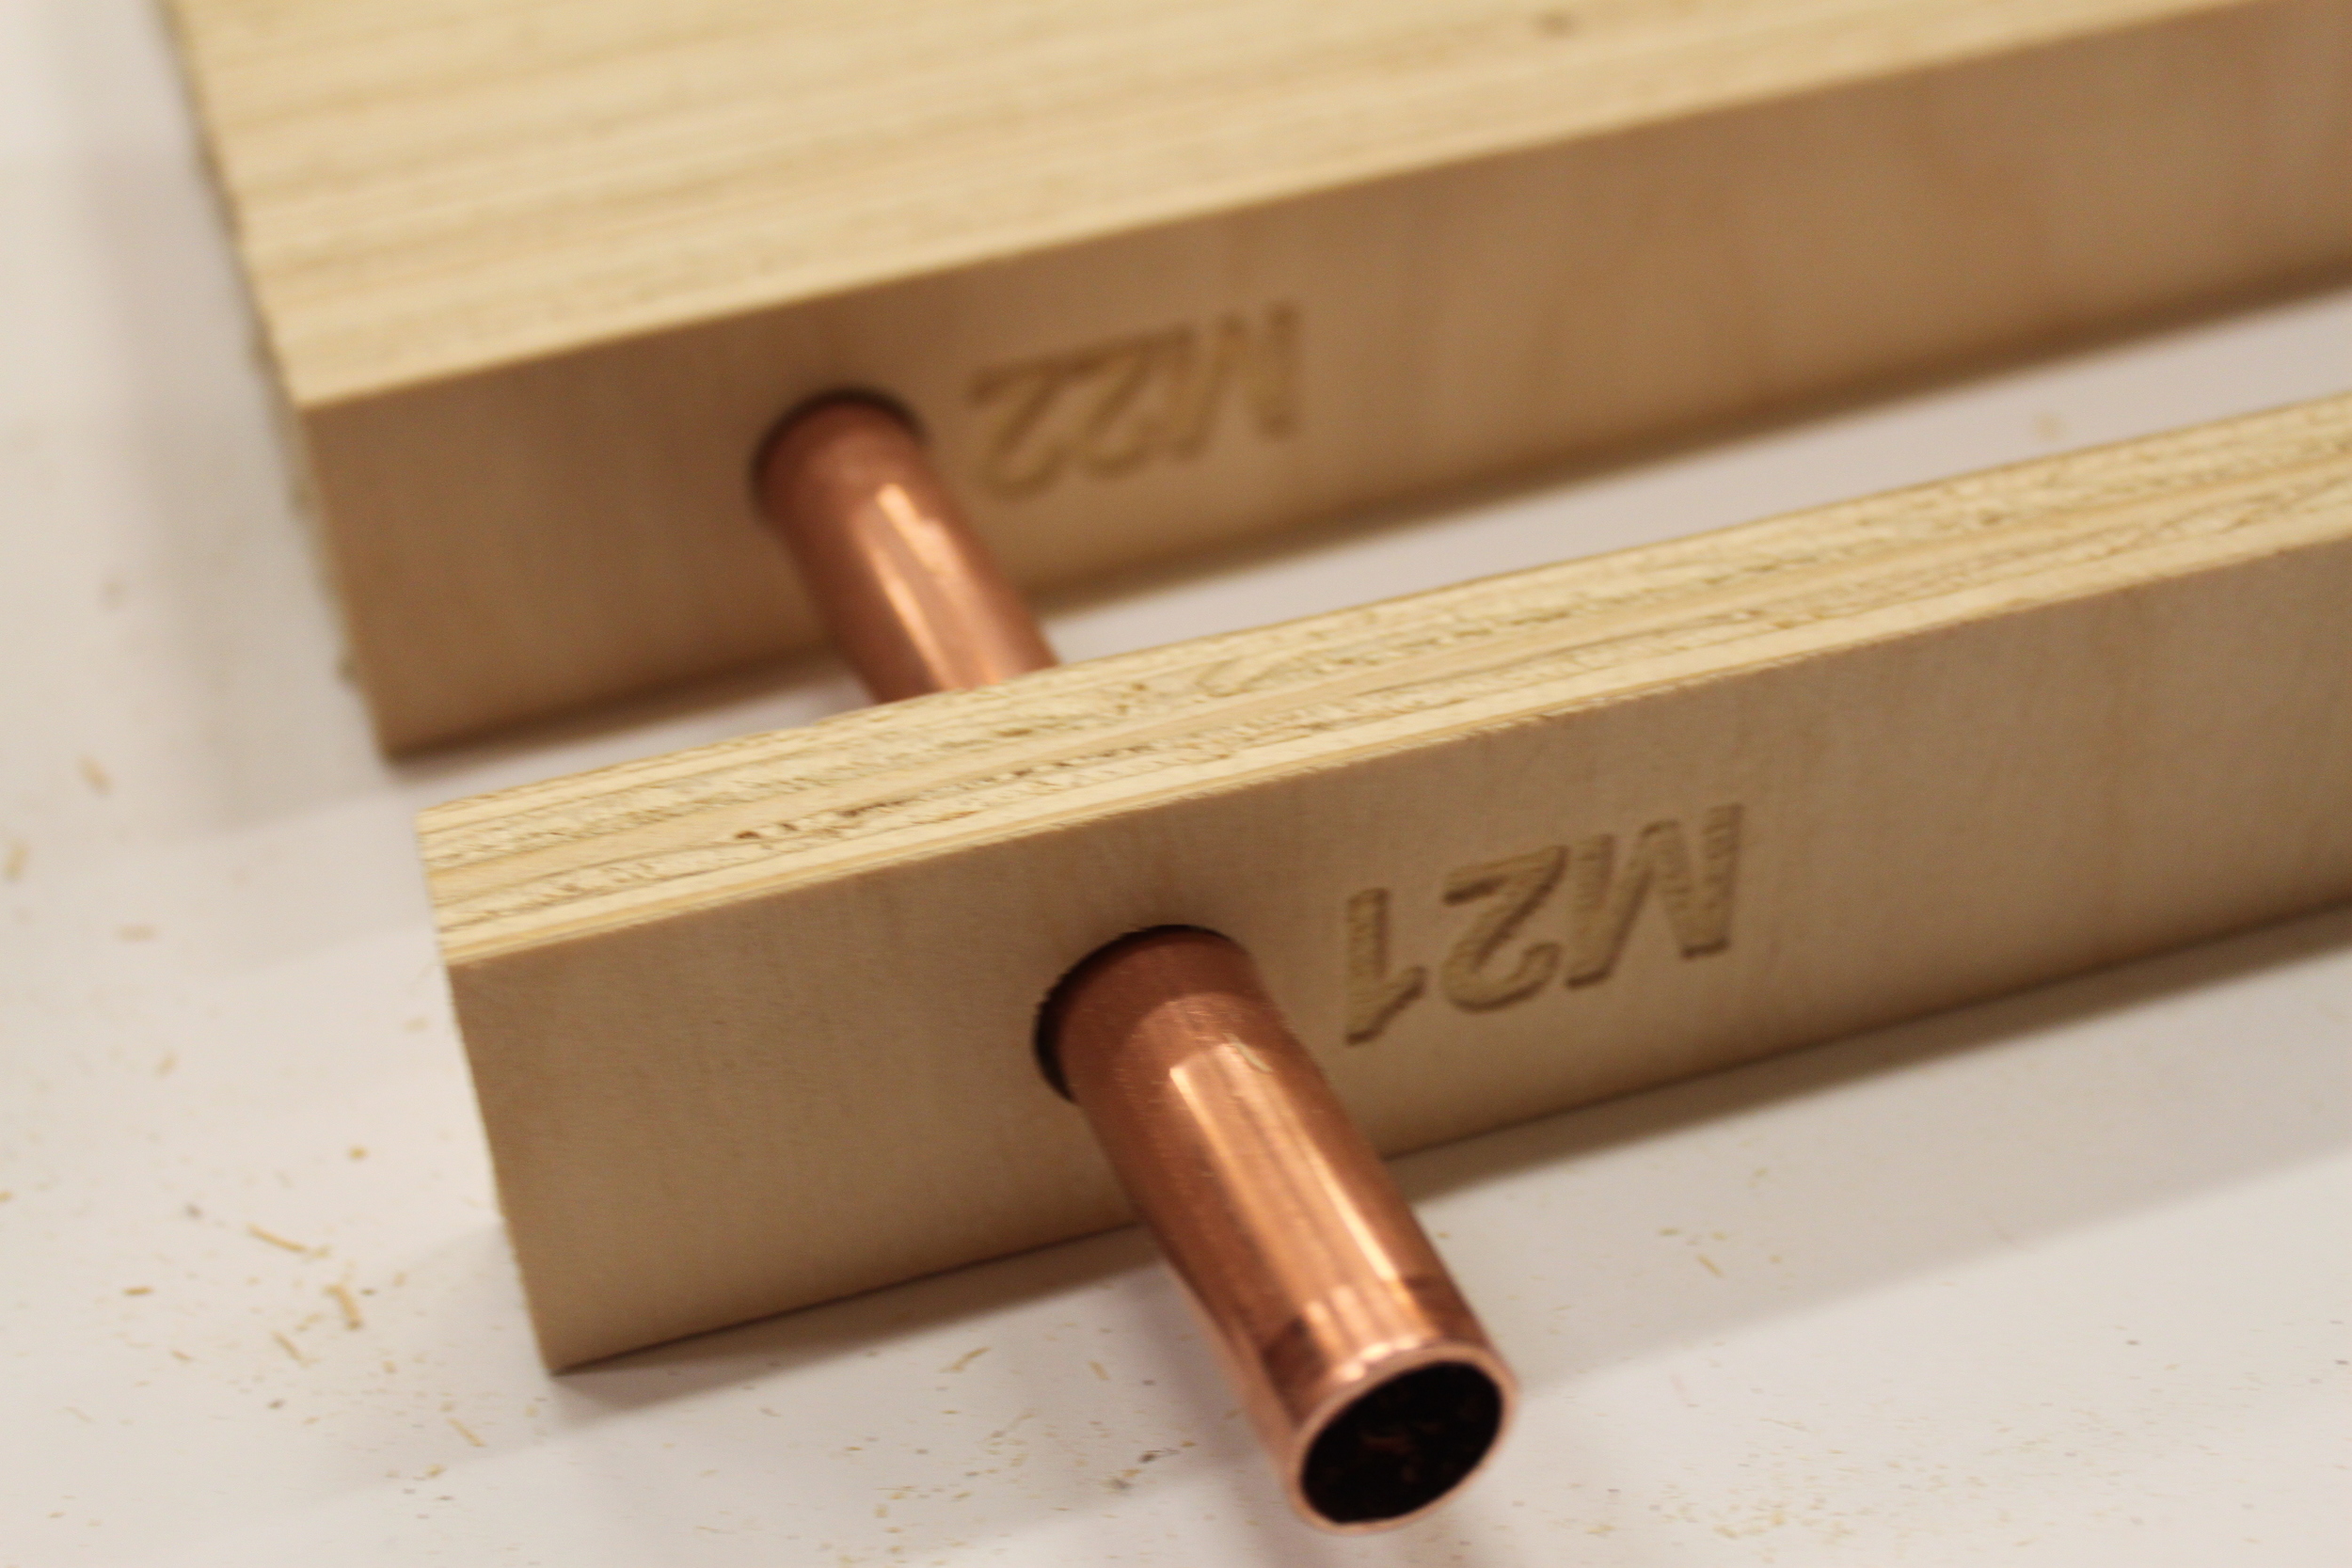
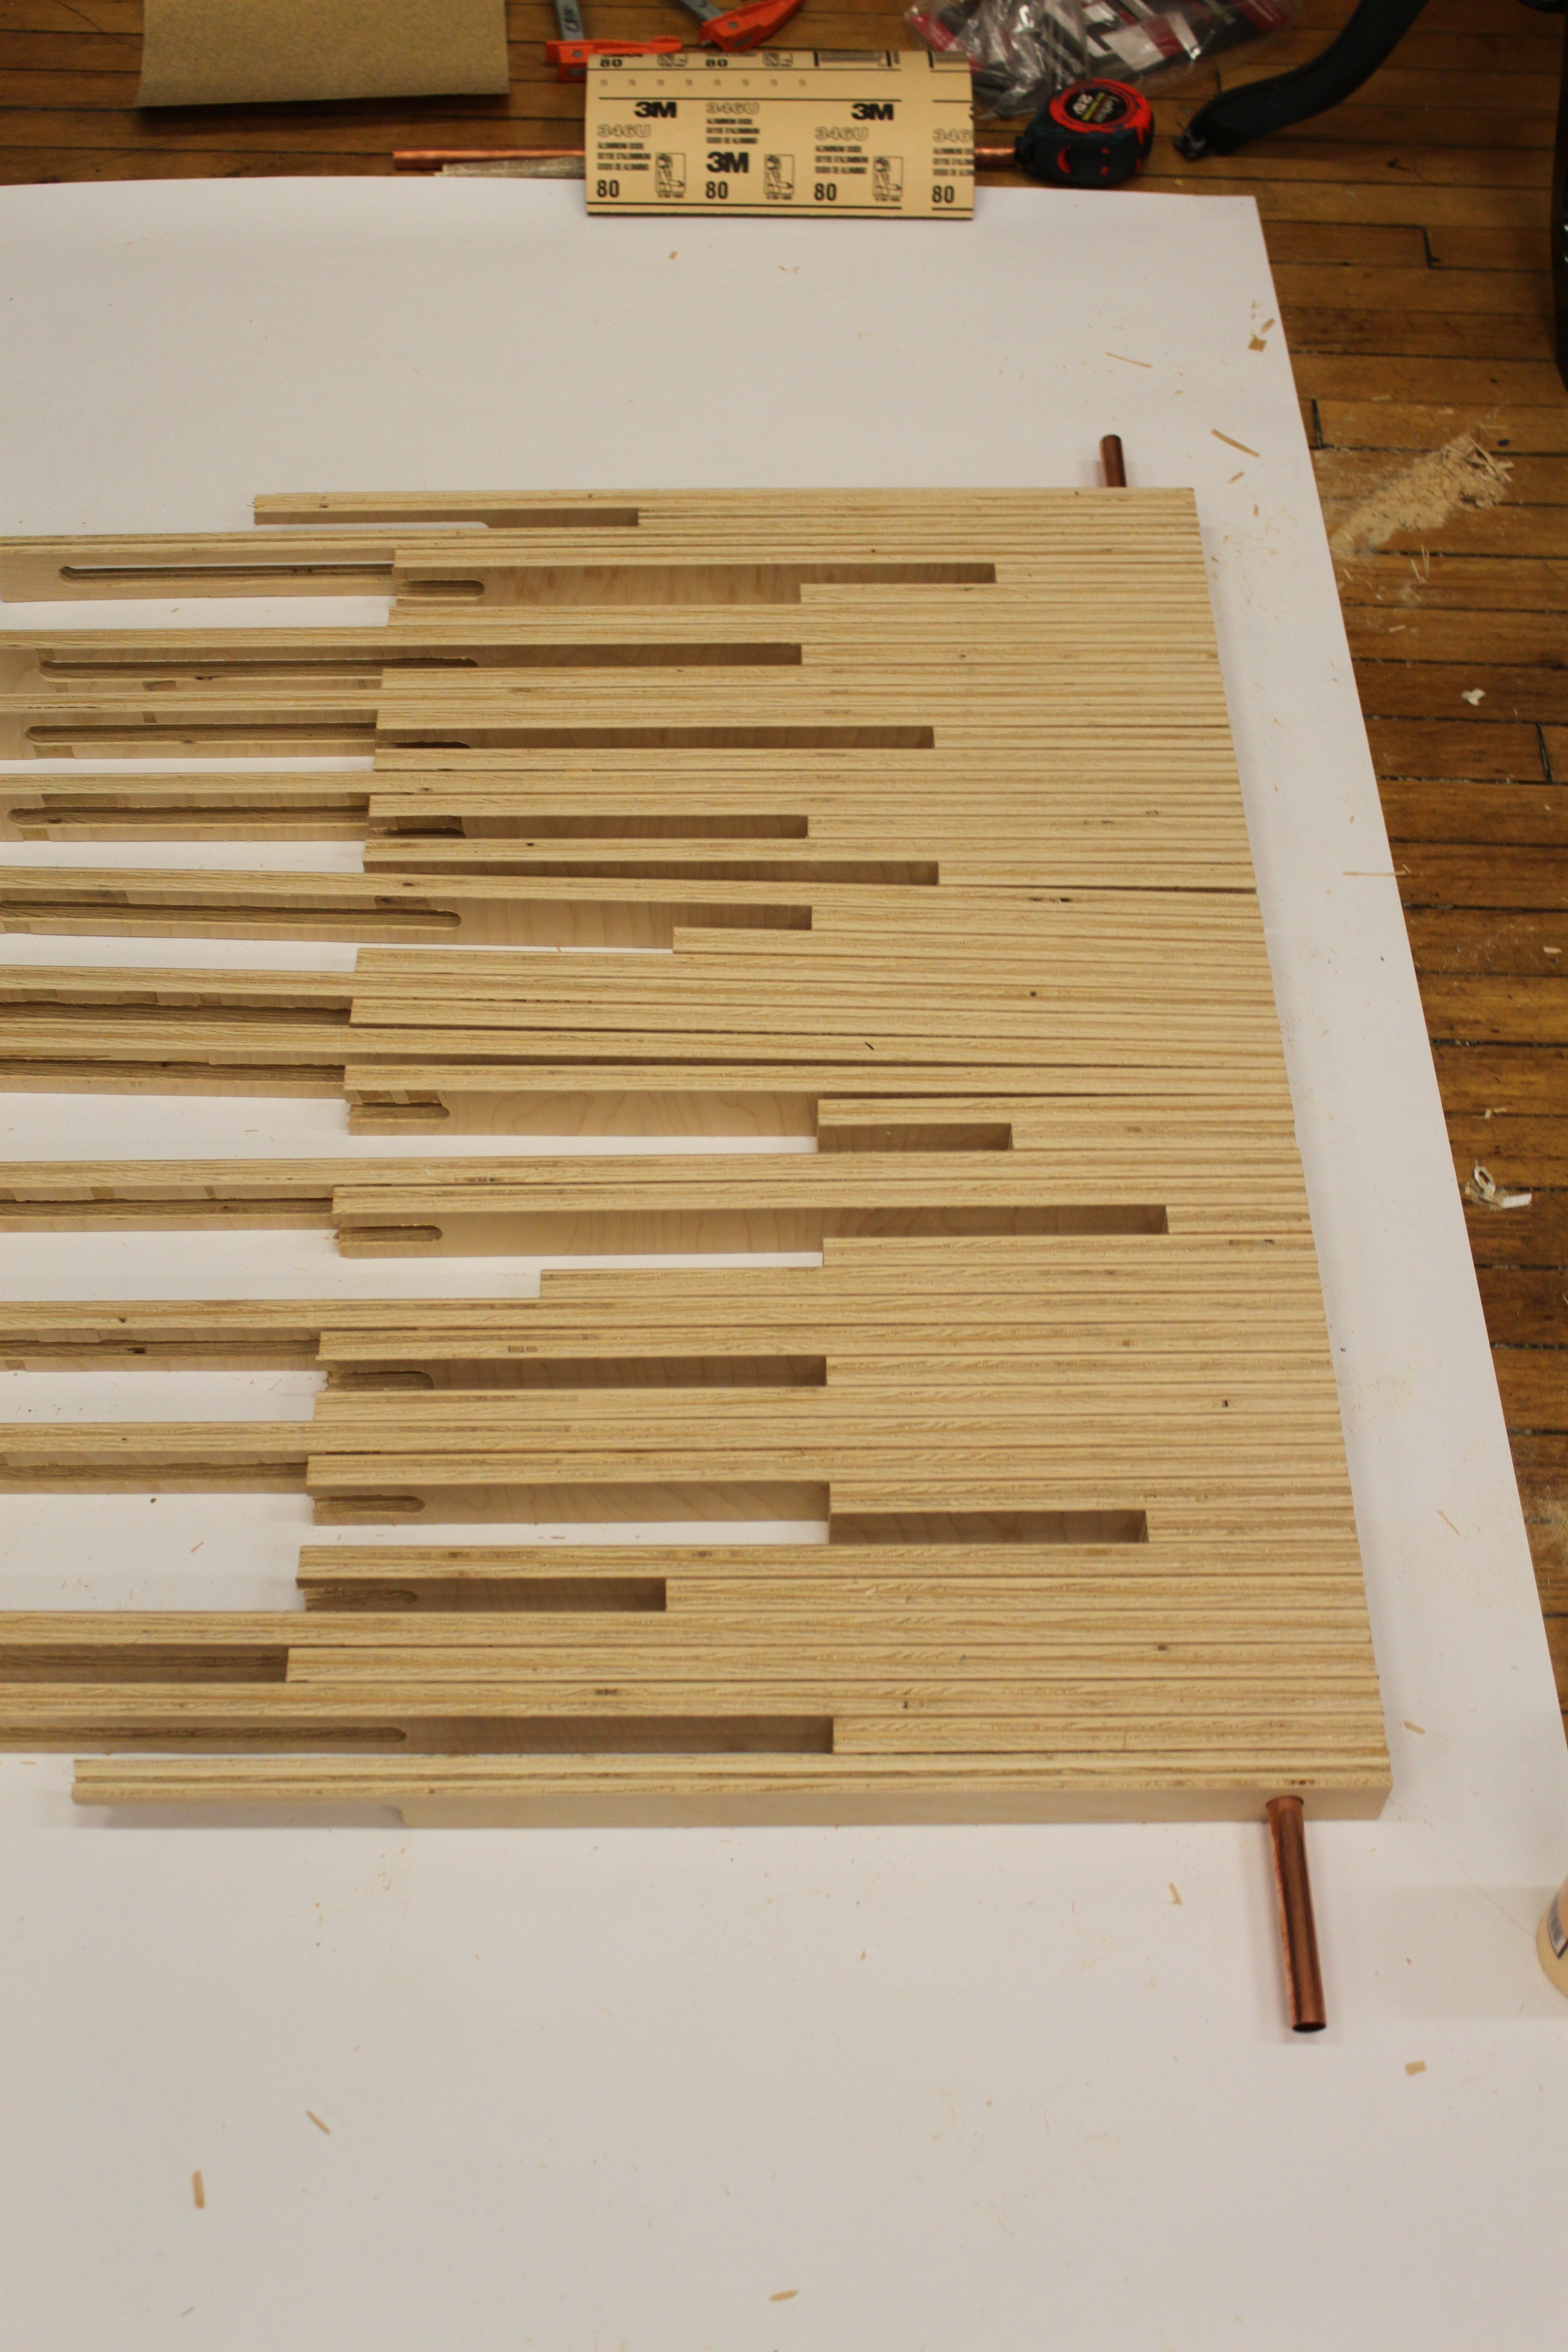
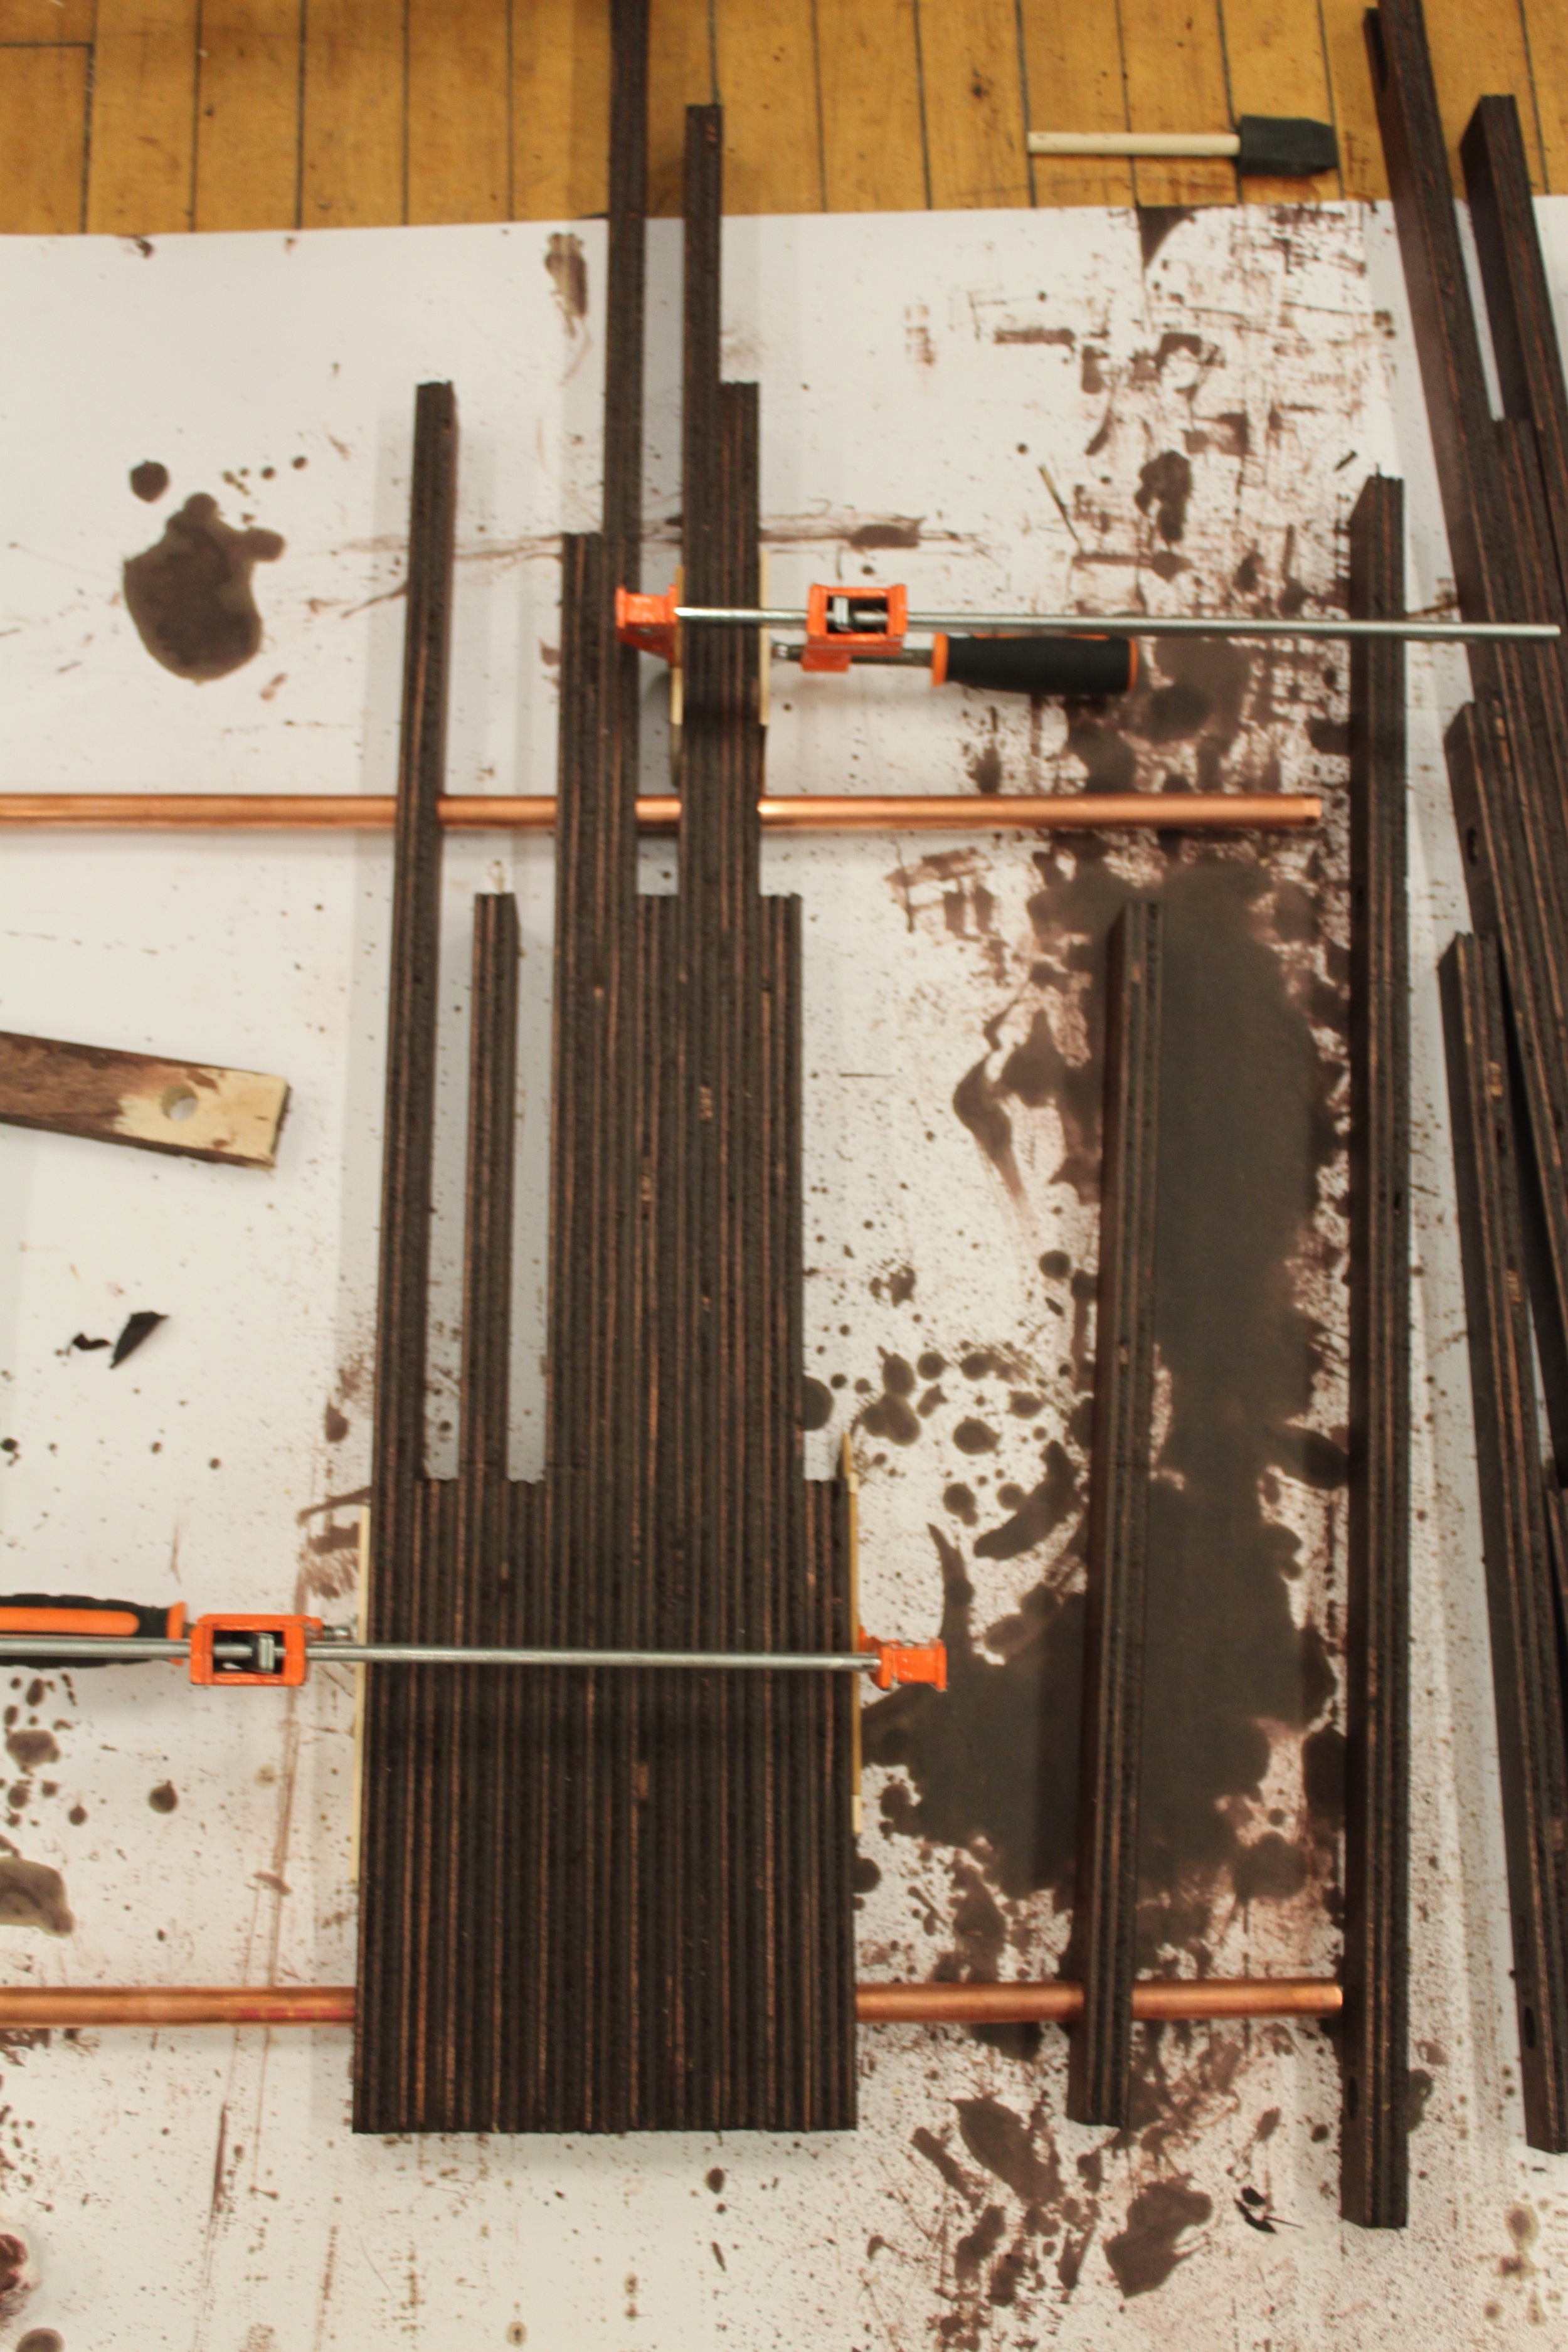
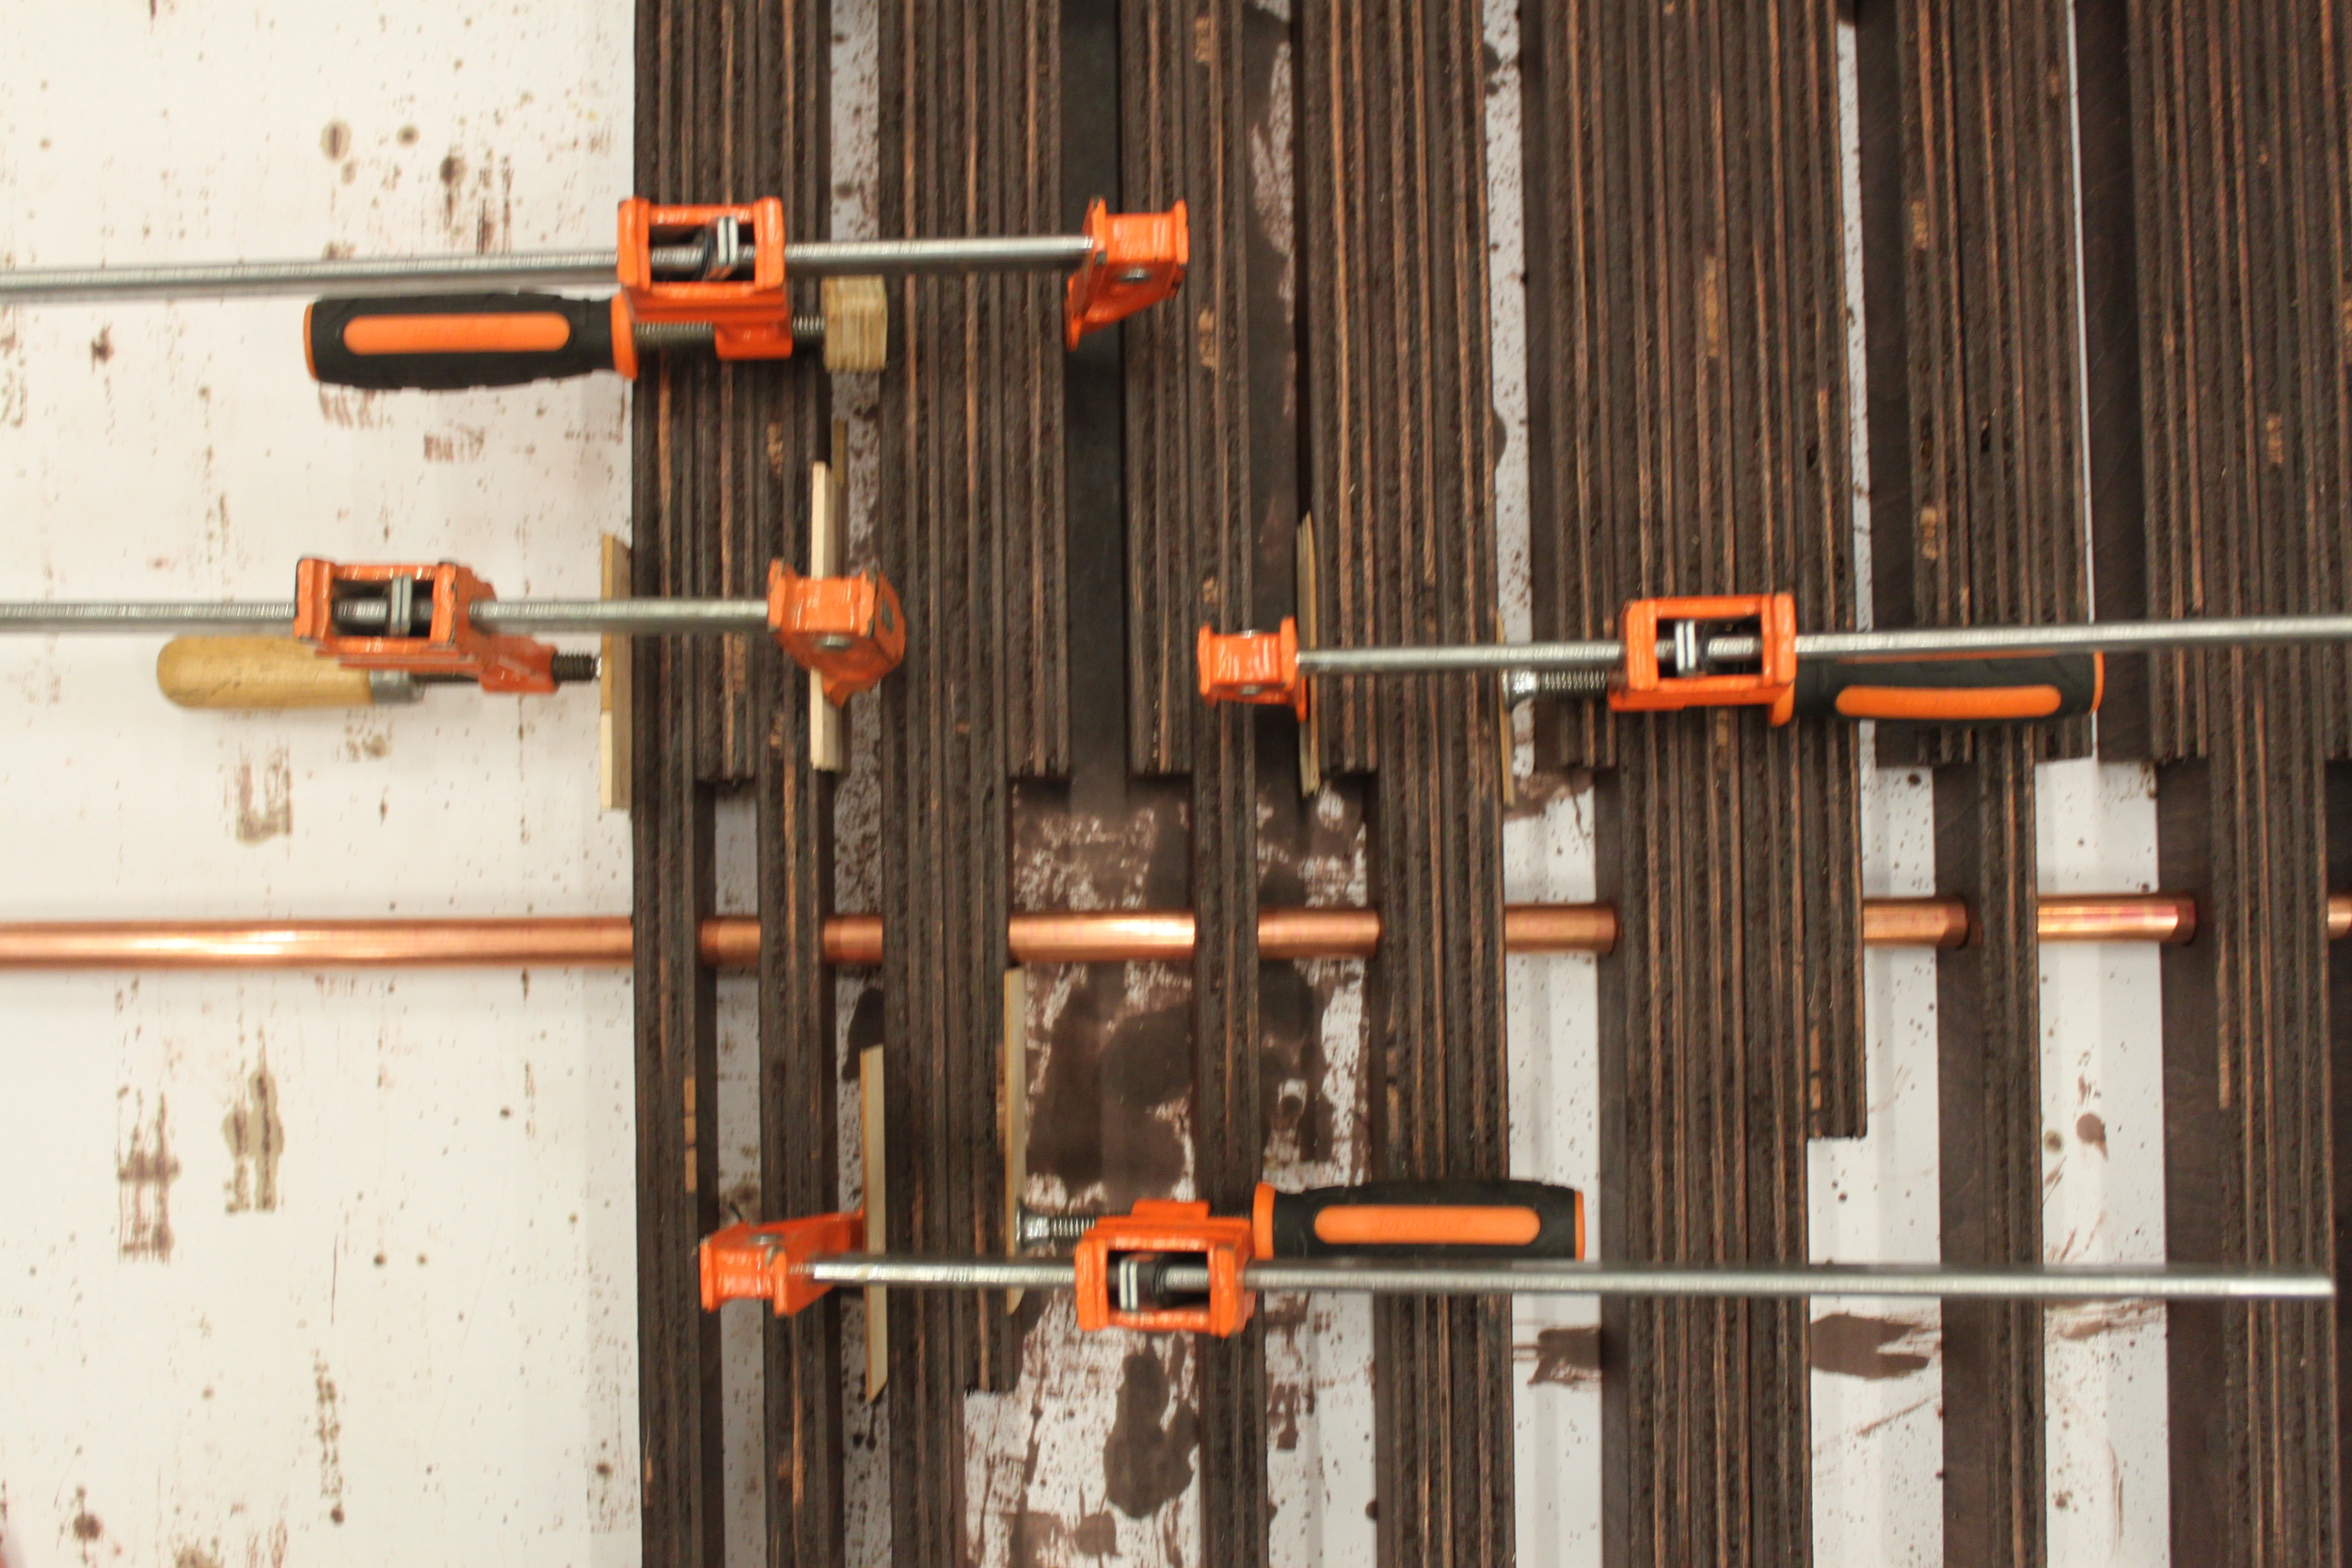
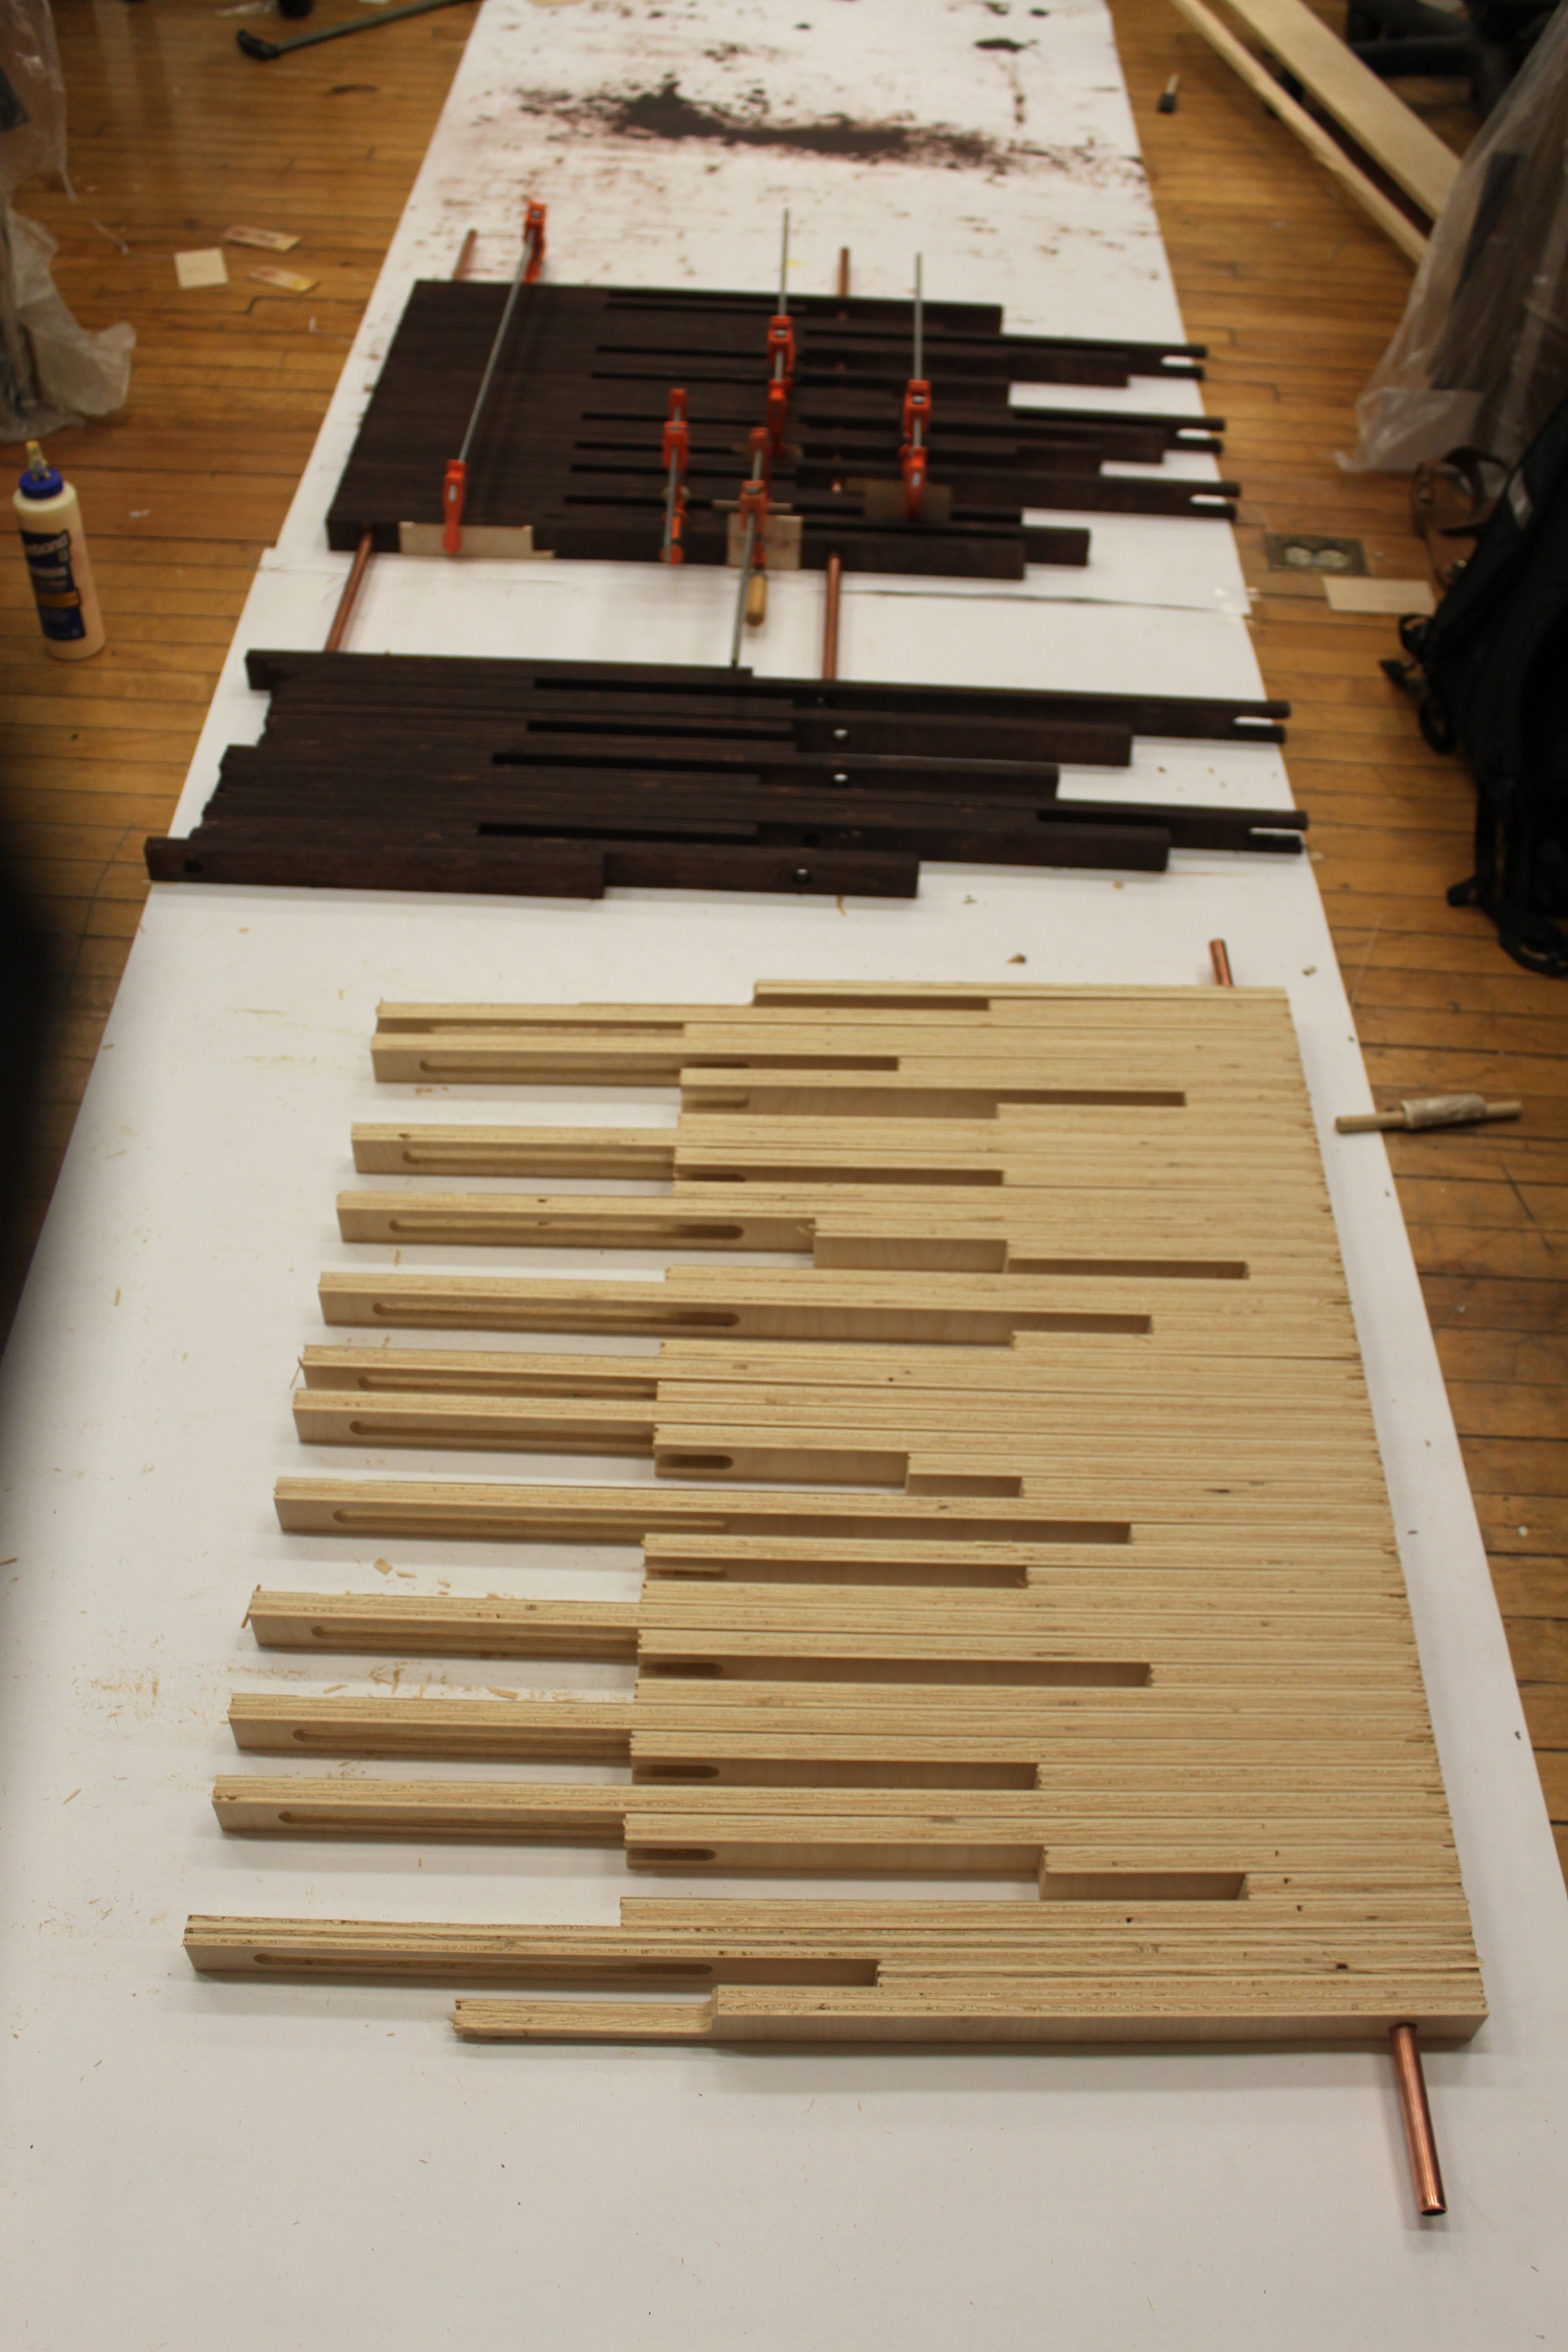

production process
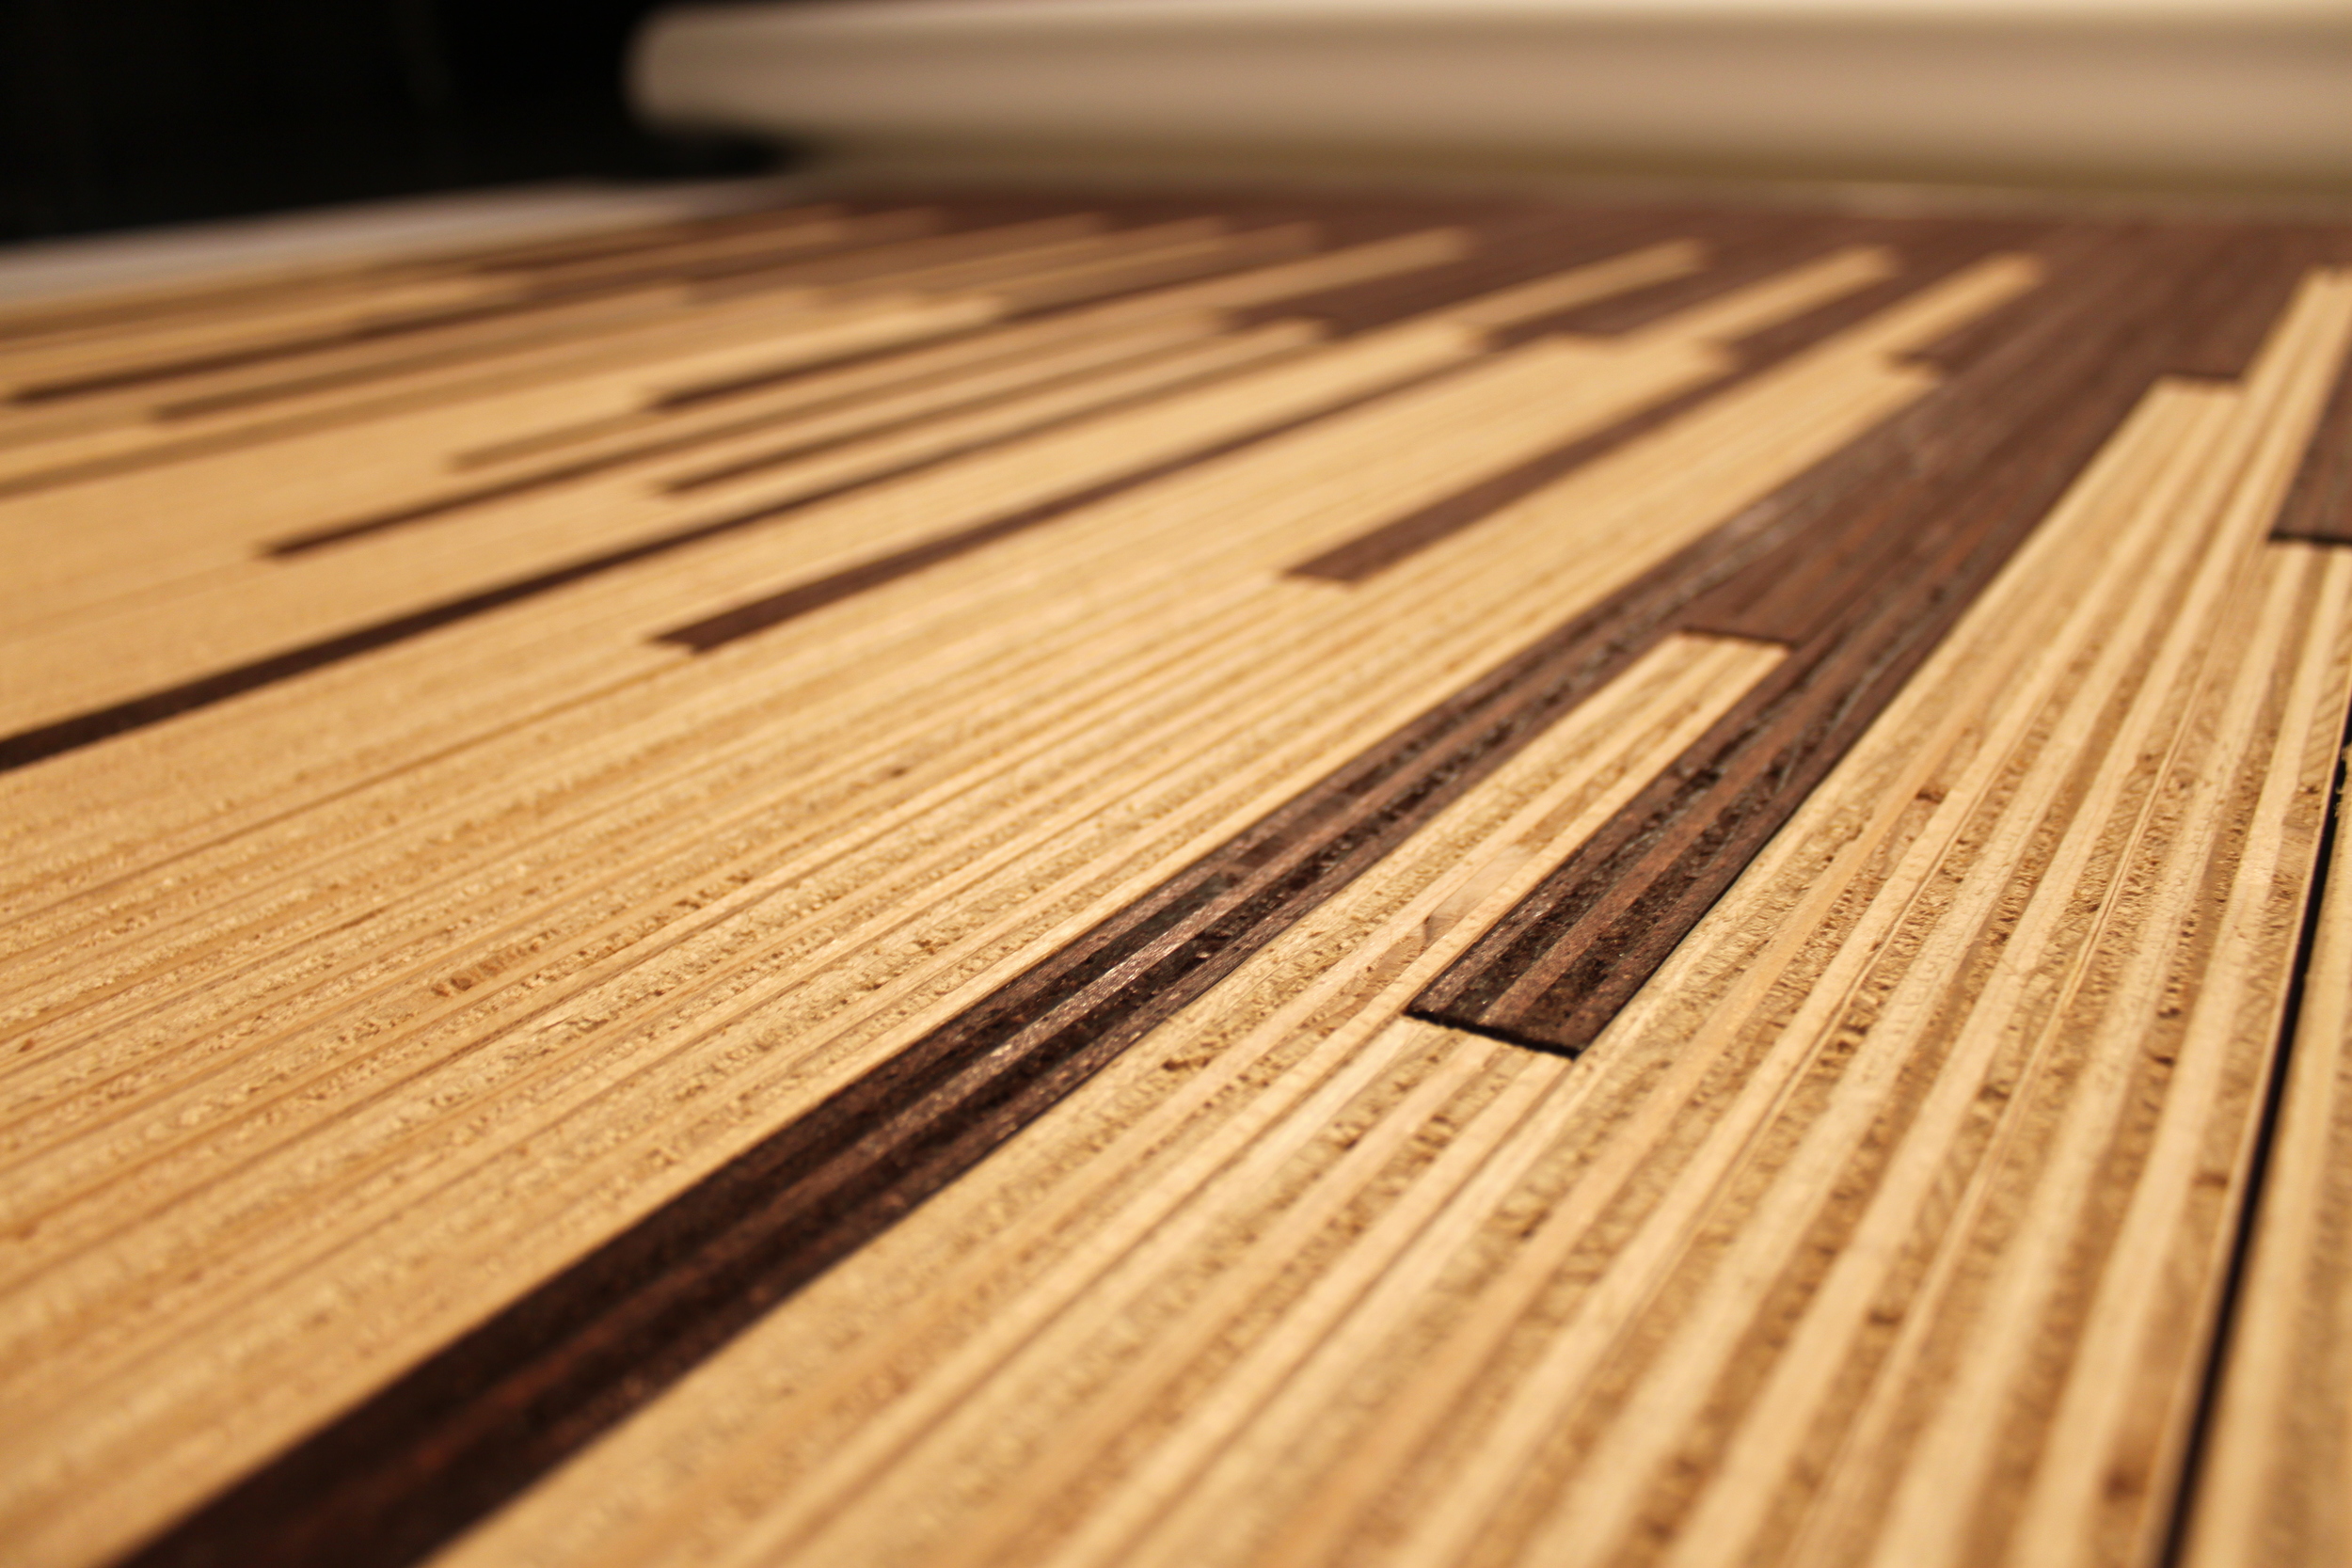
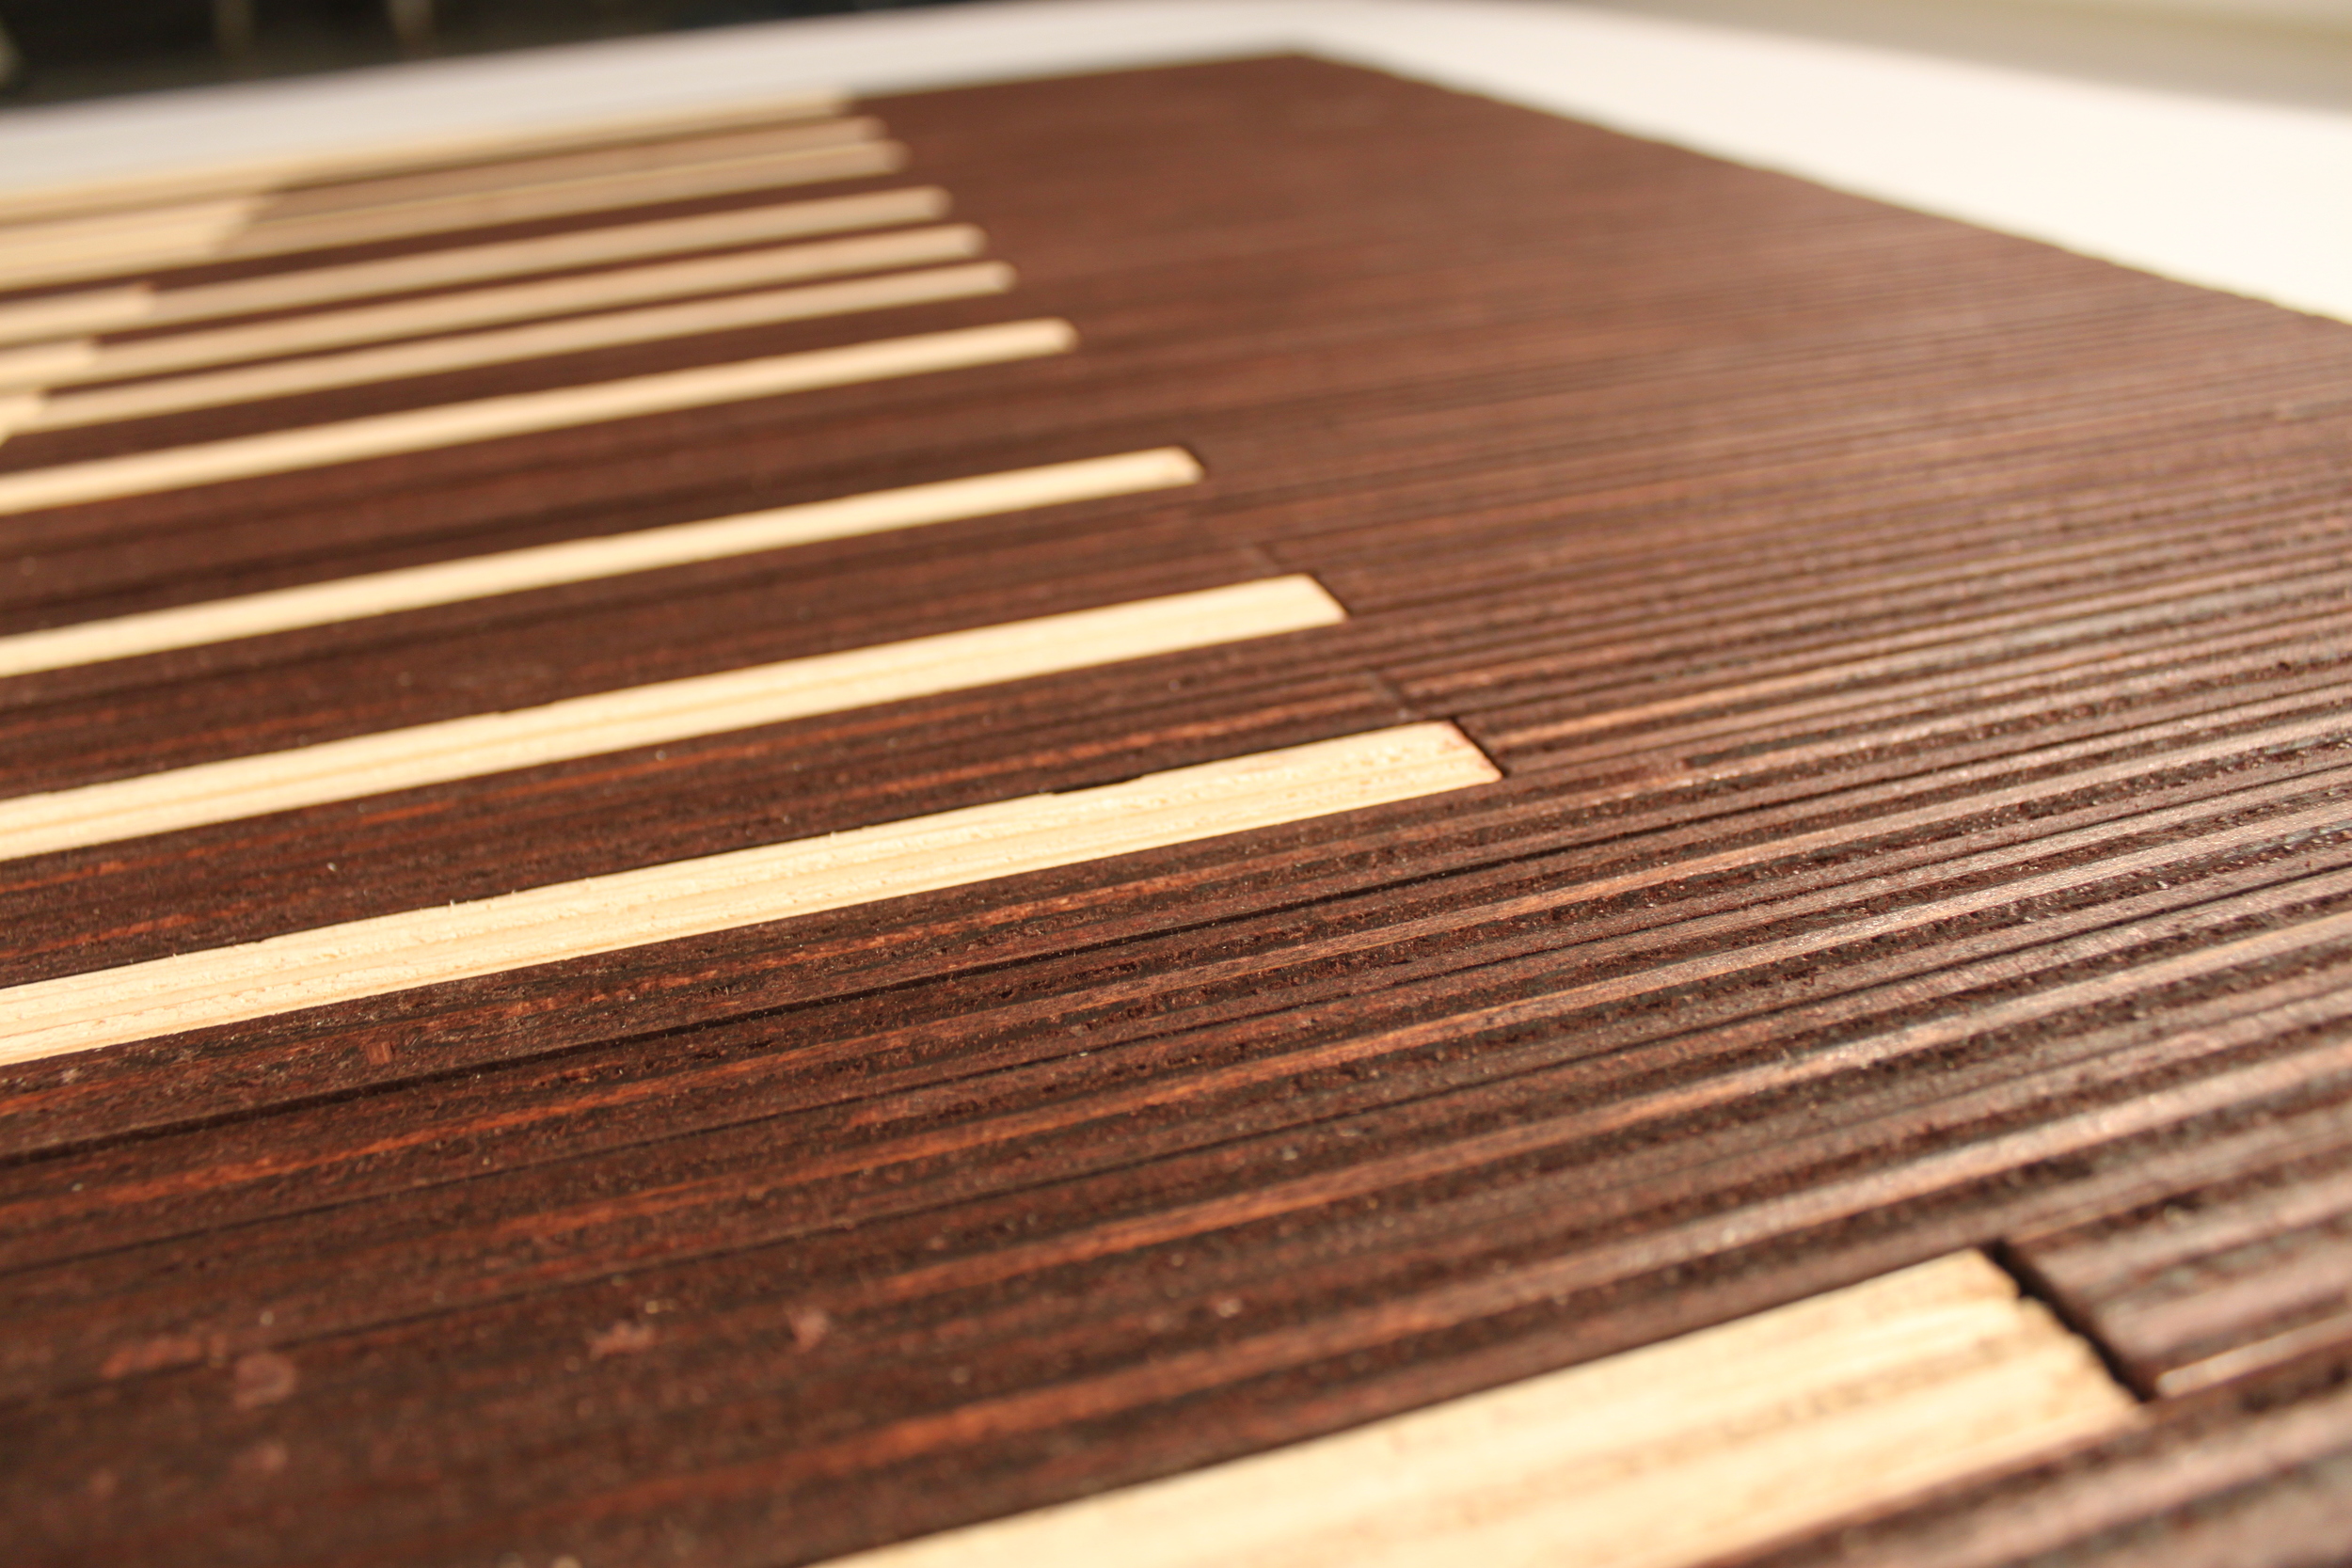
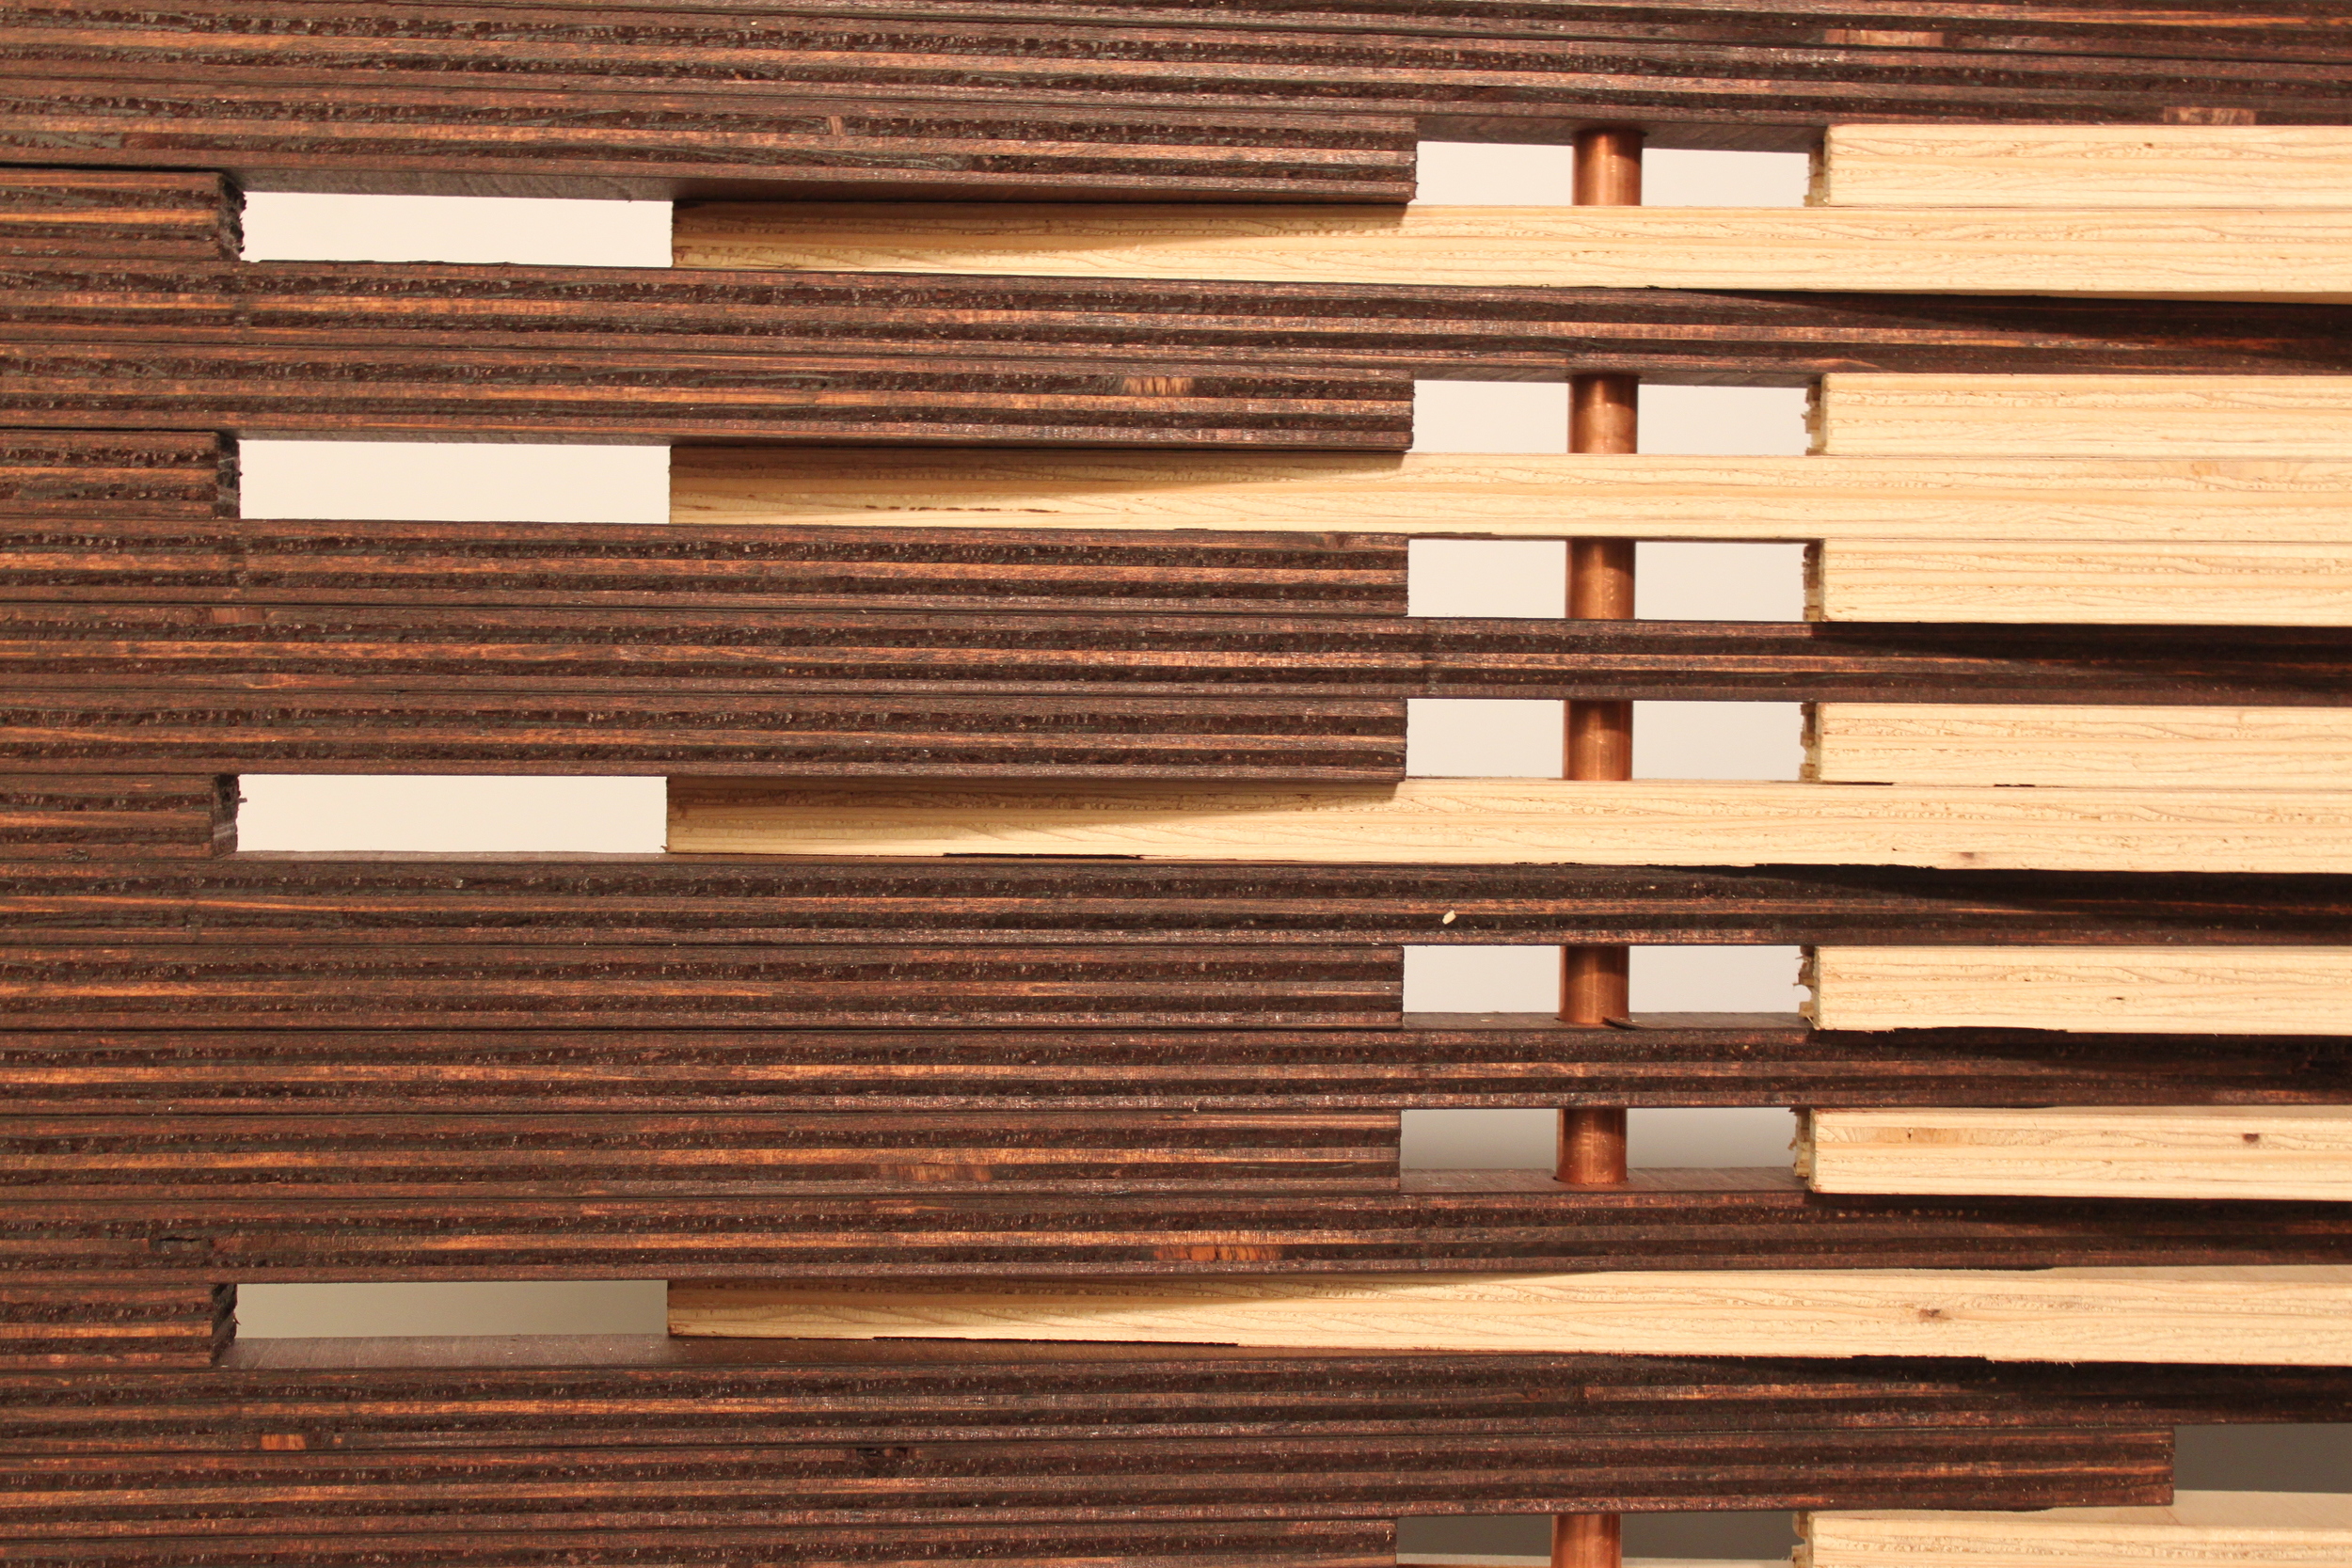
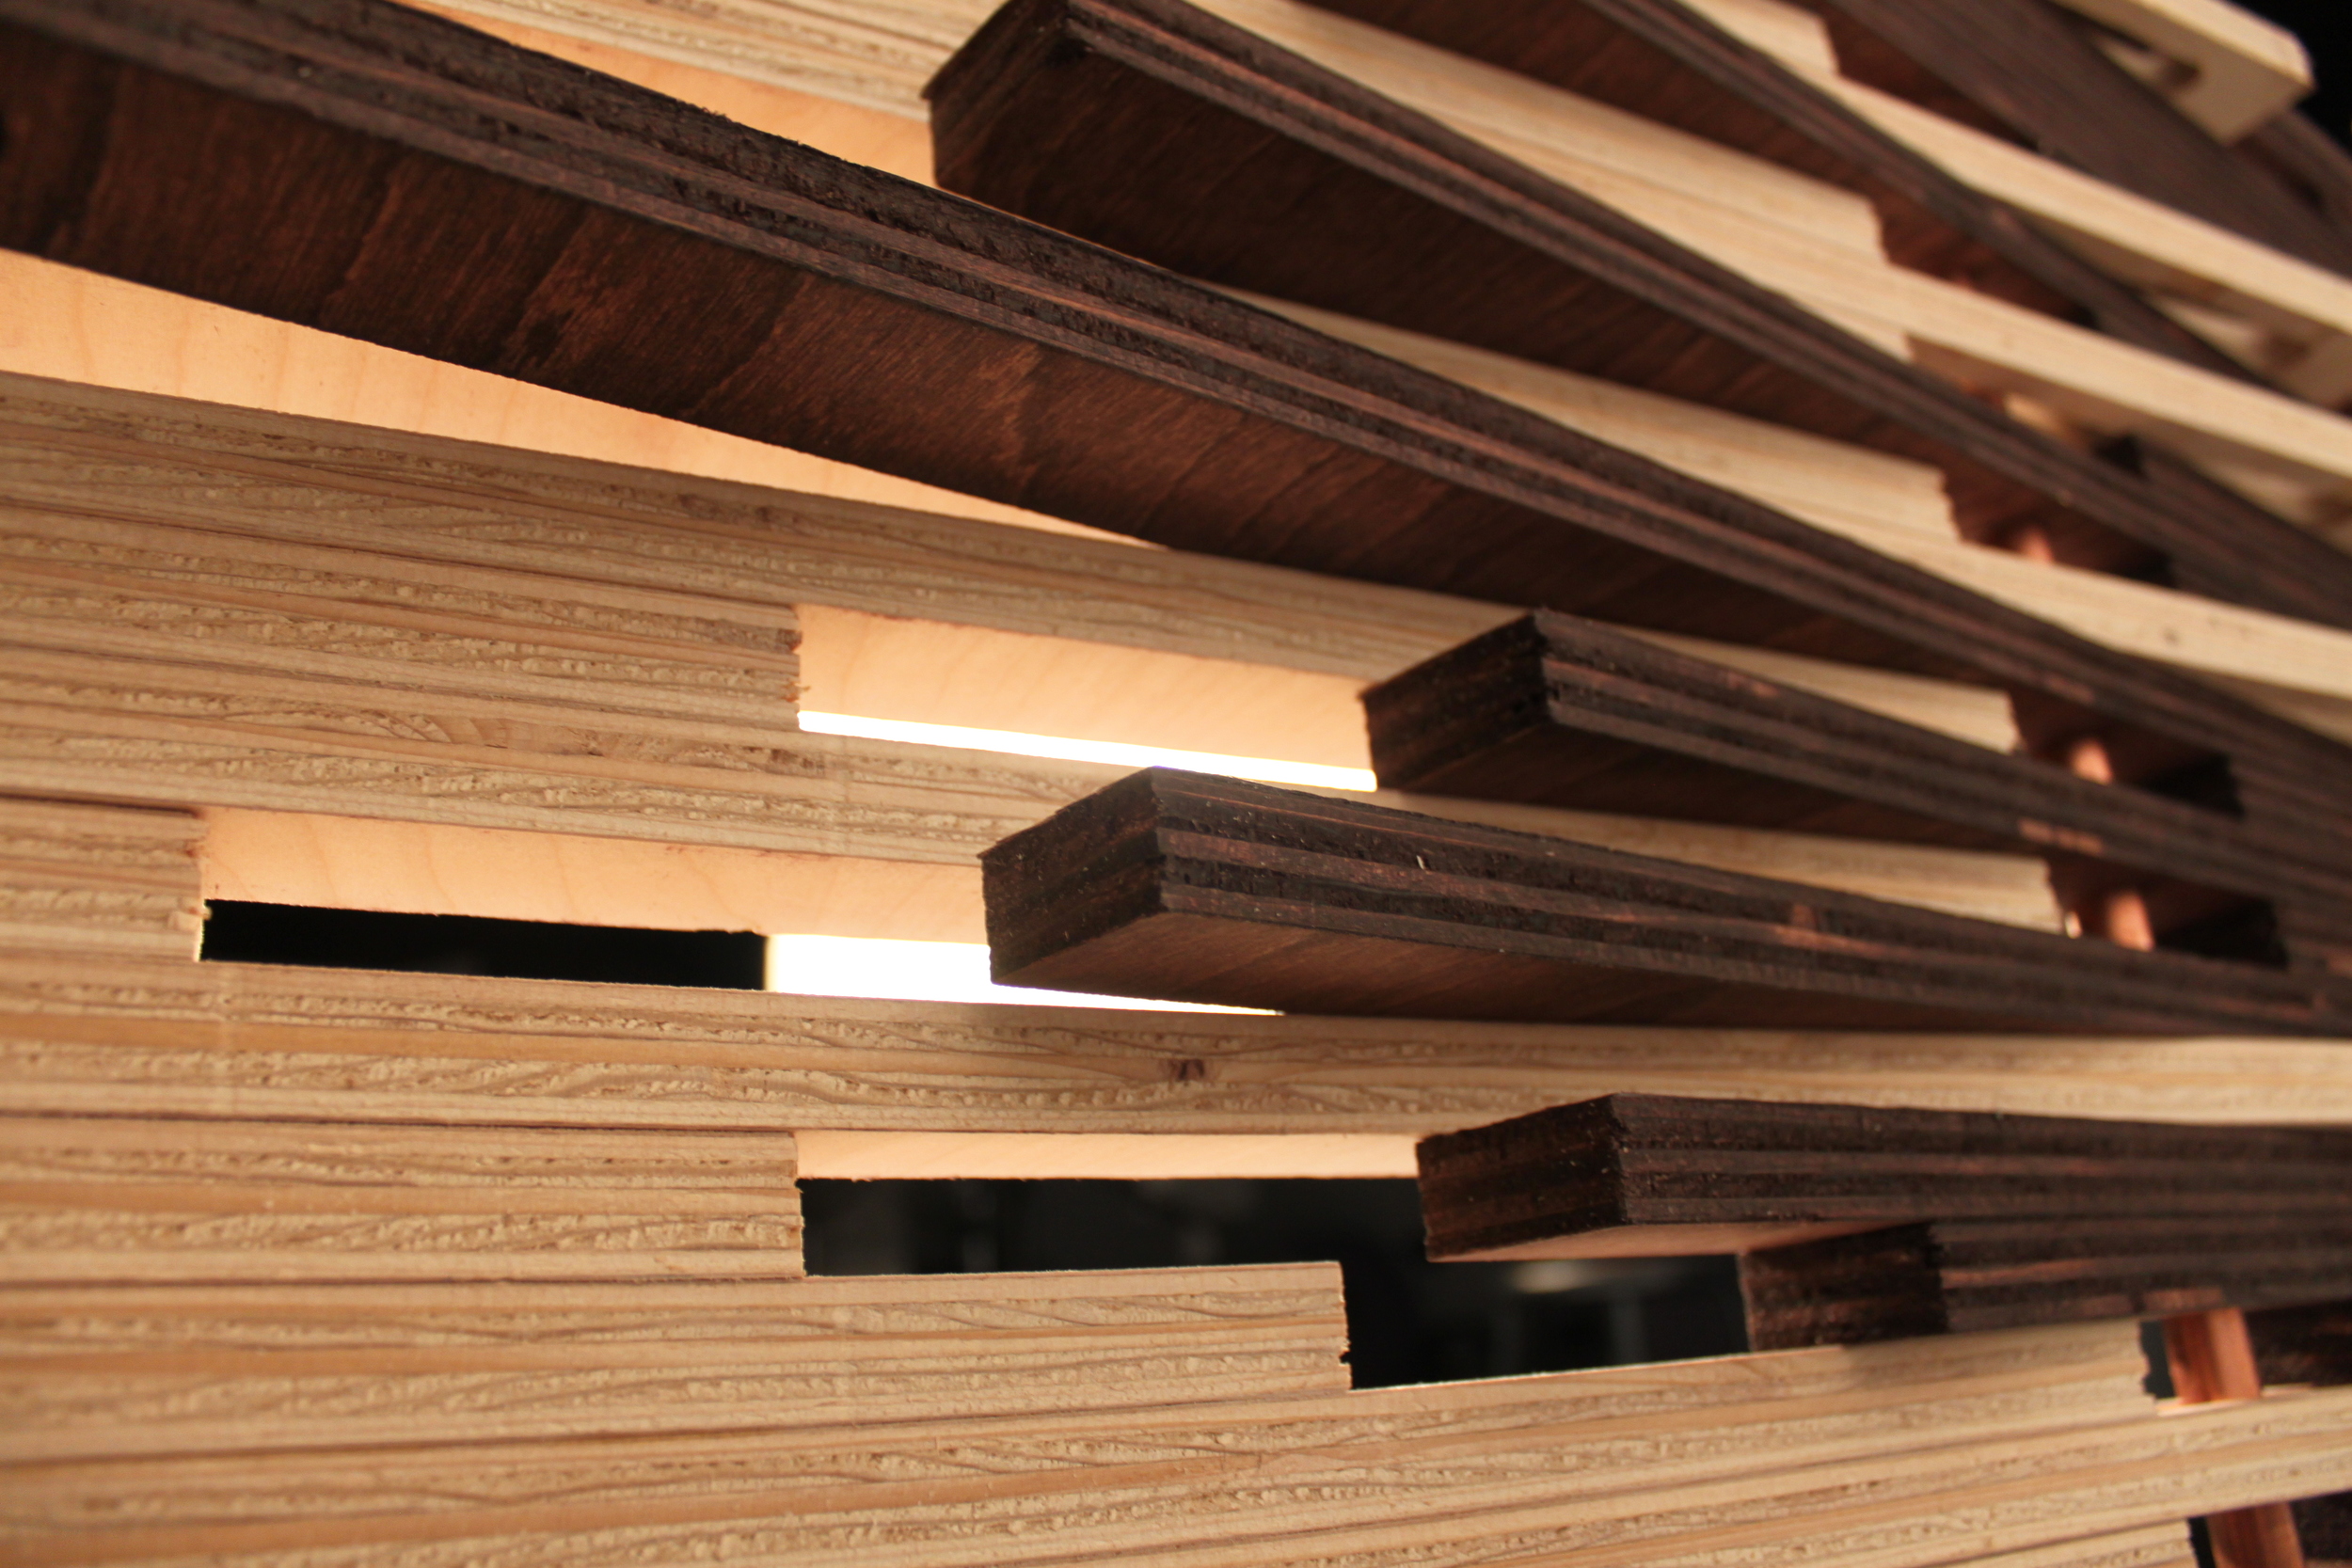
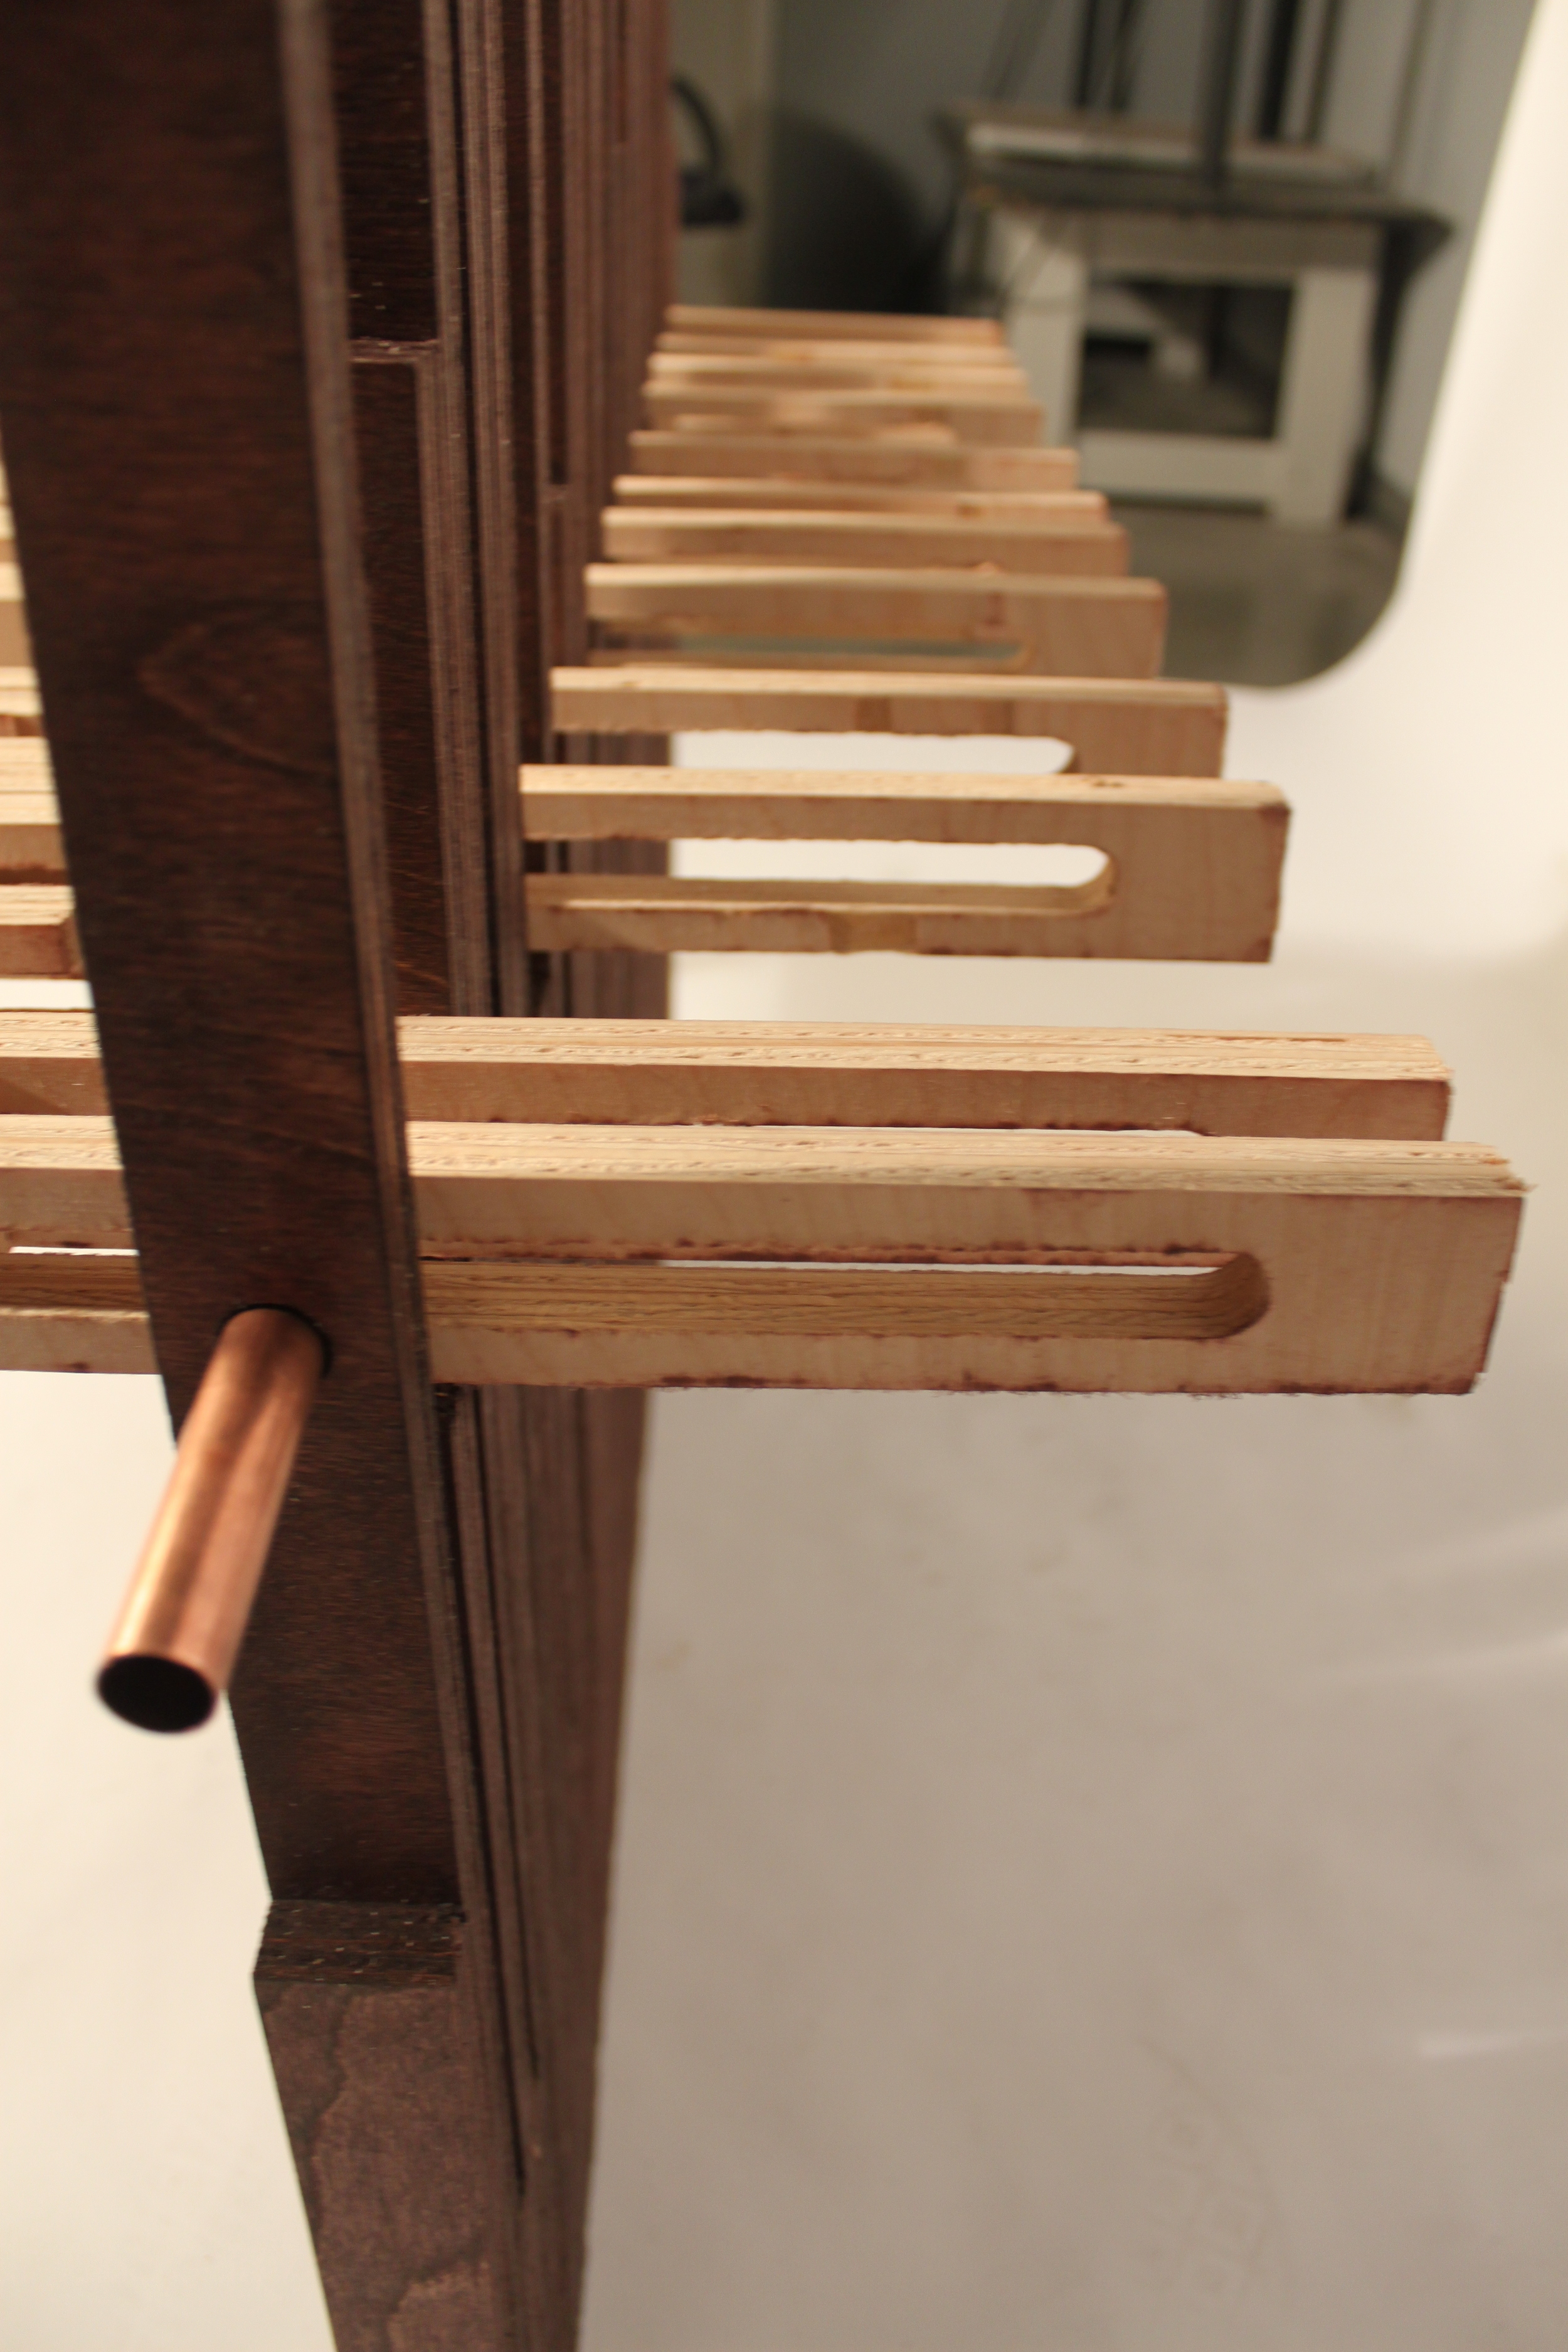
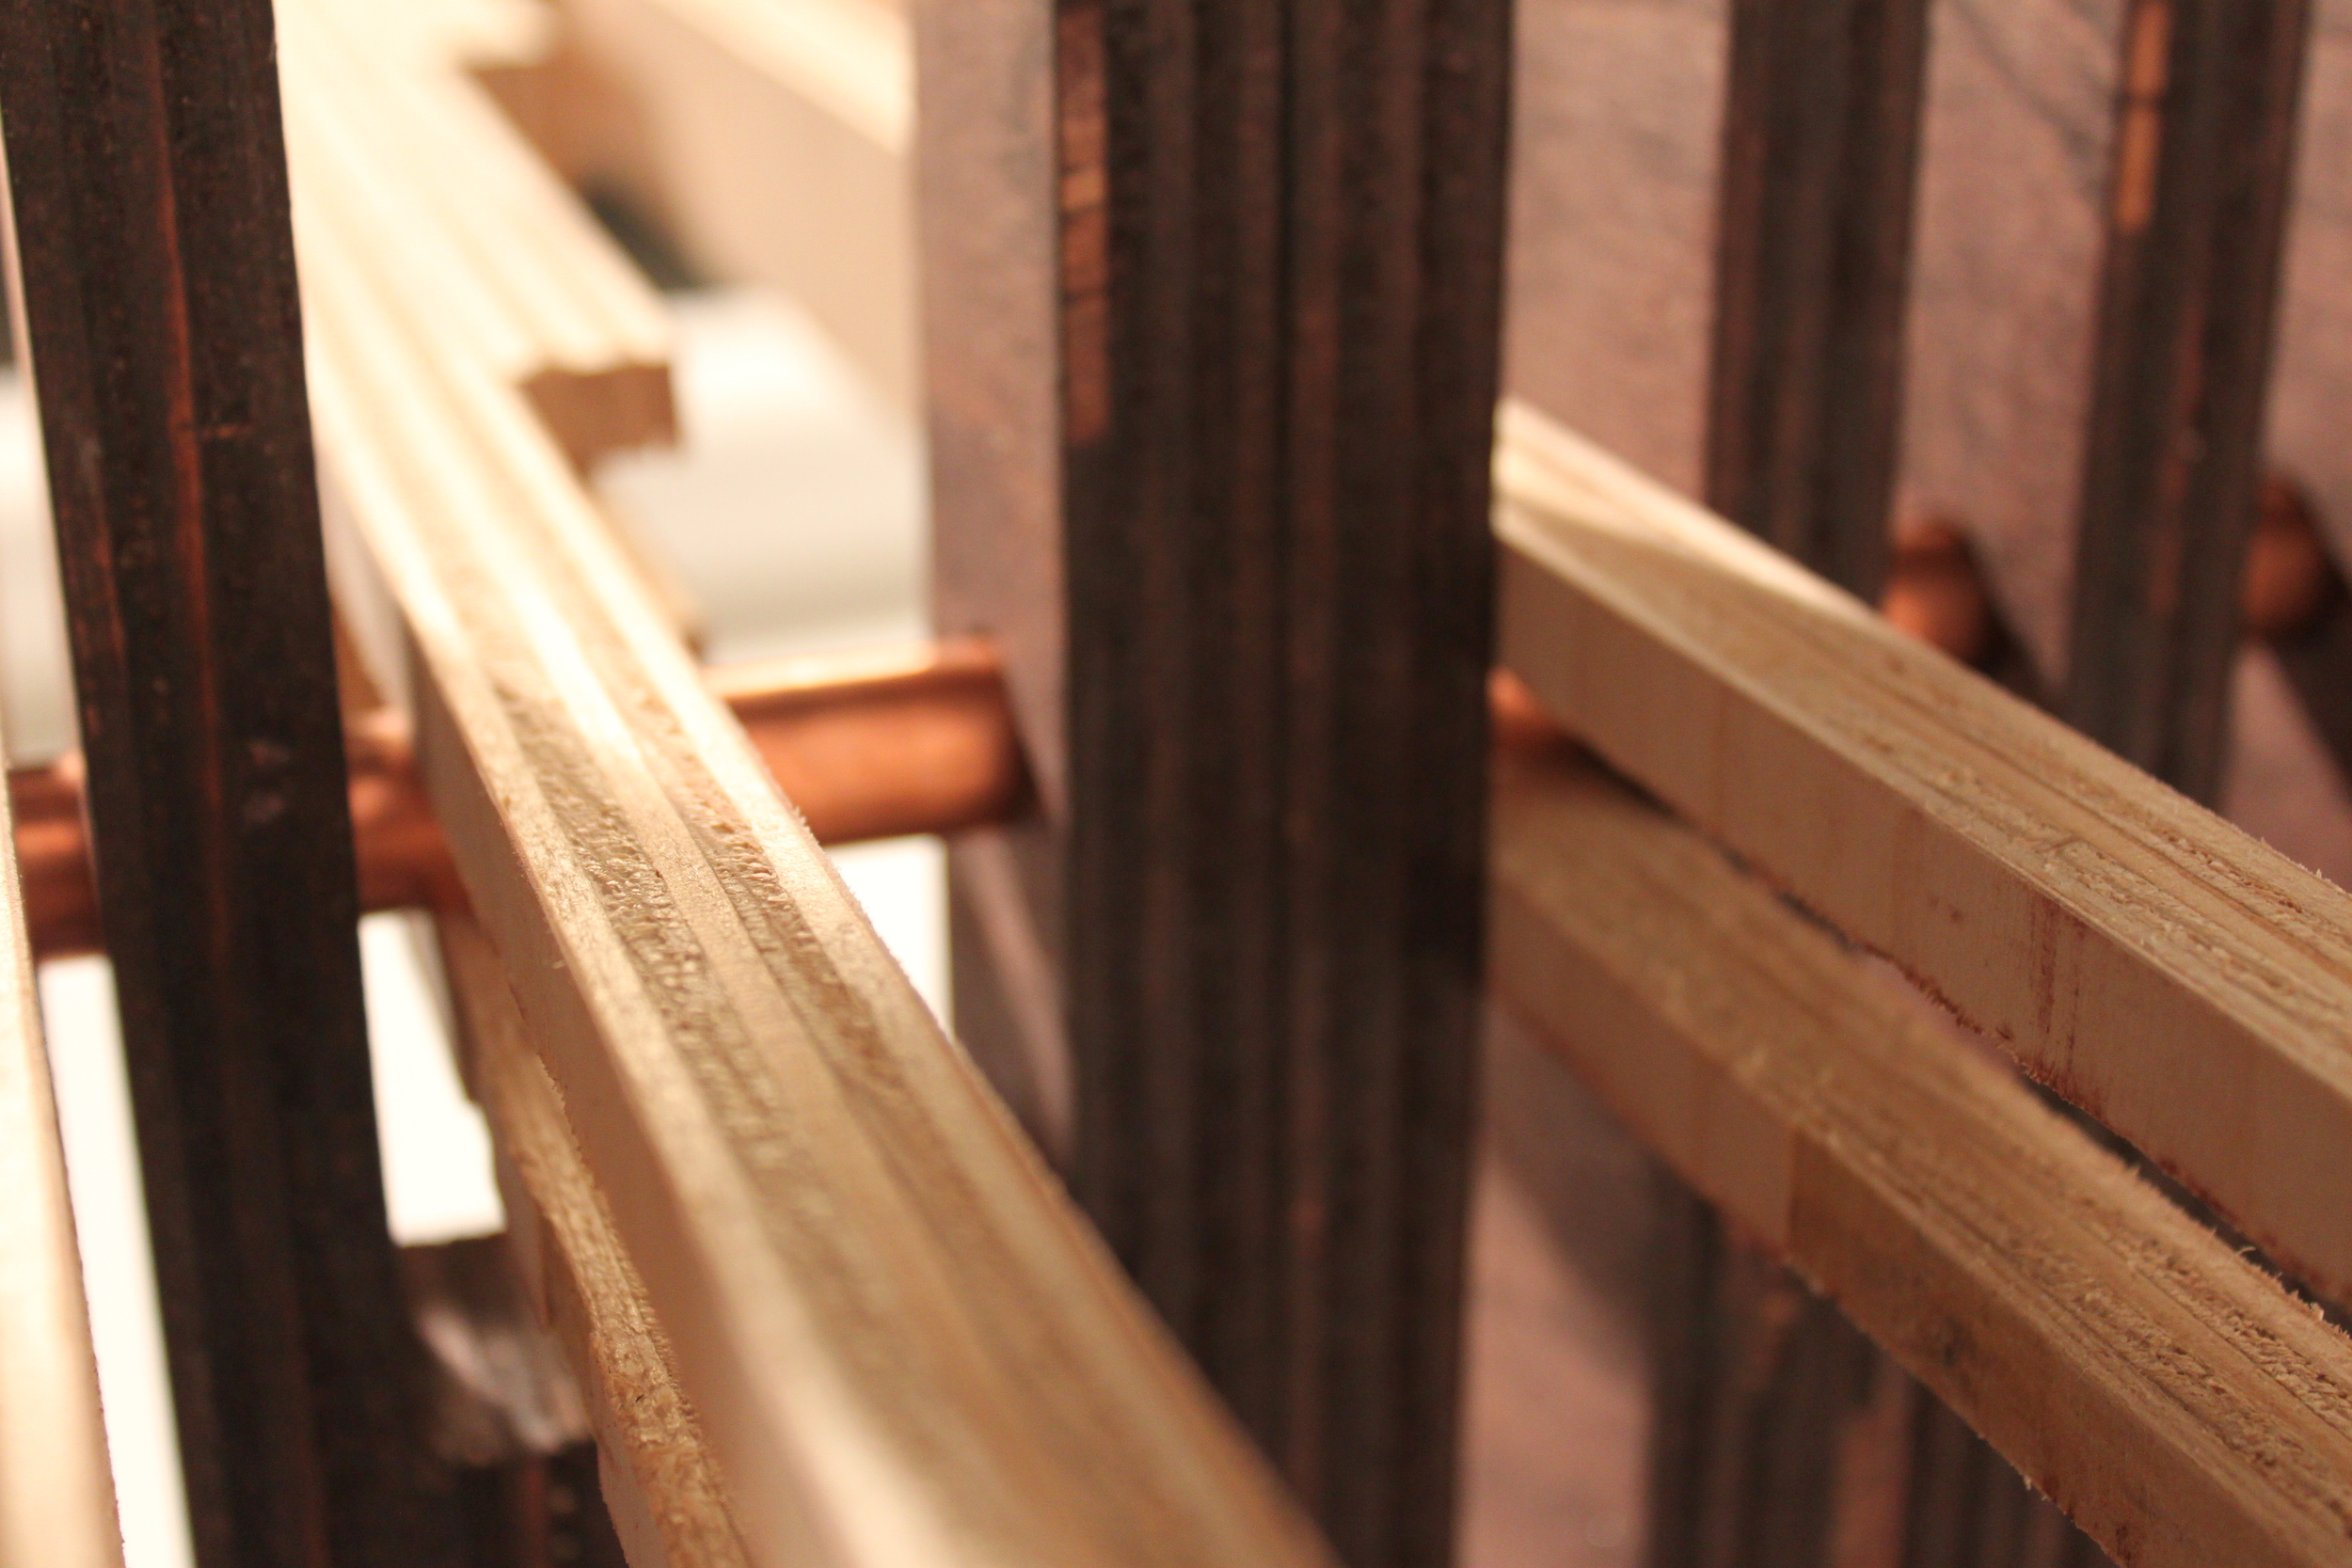

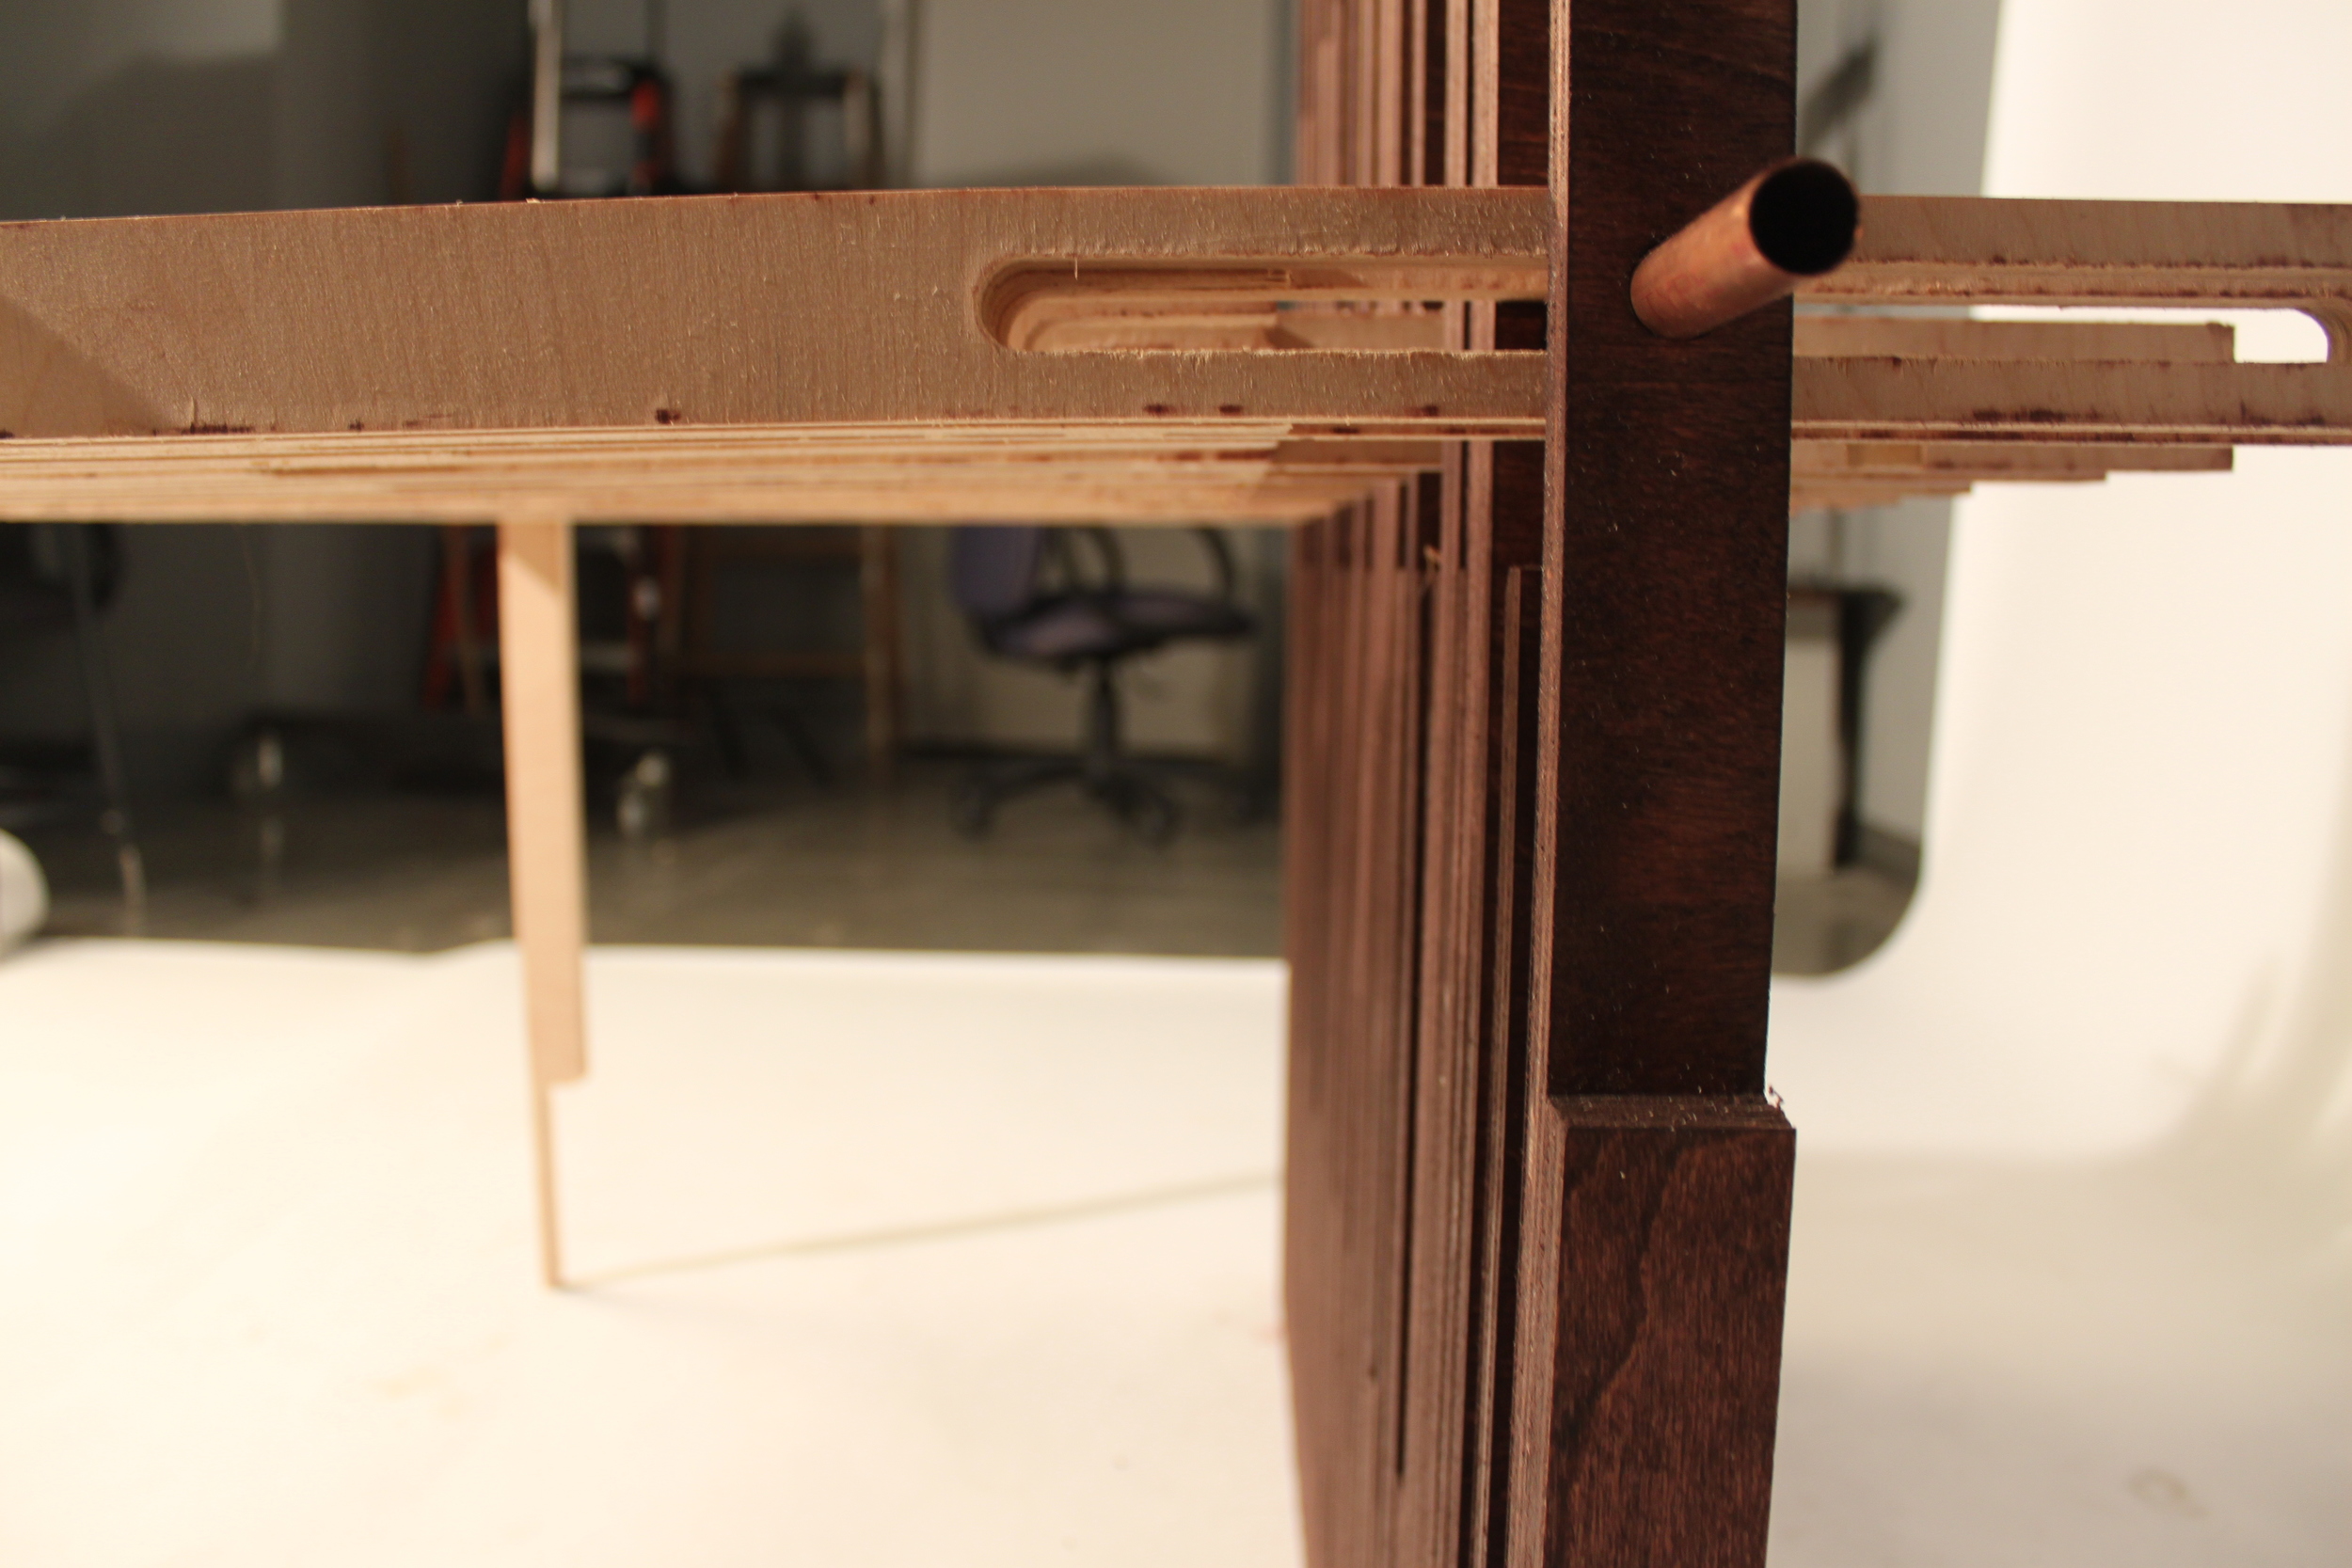
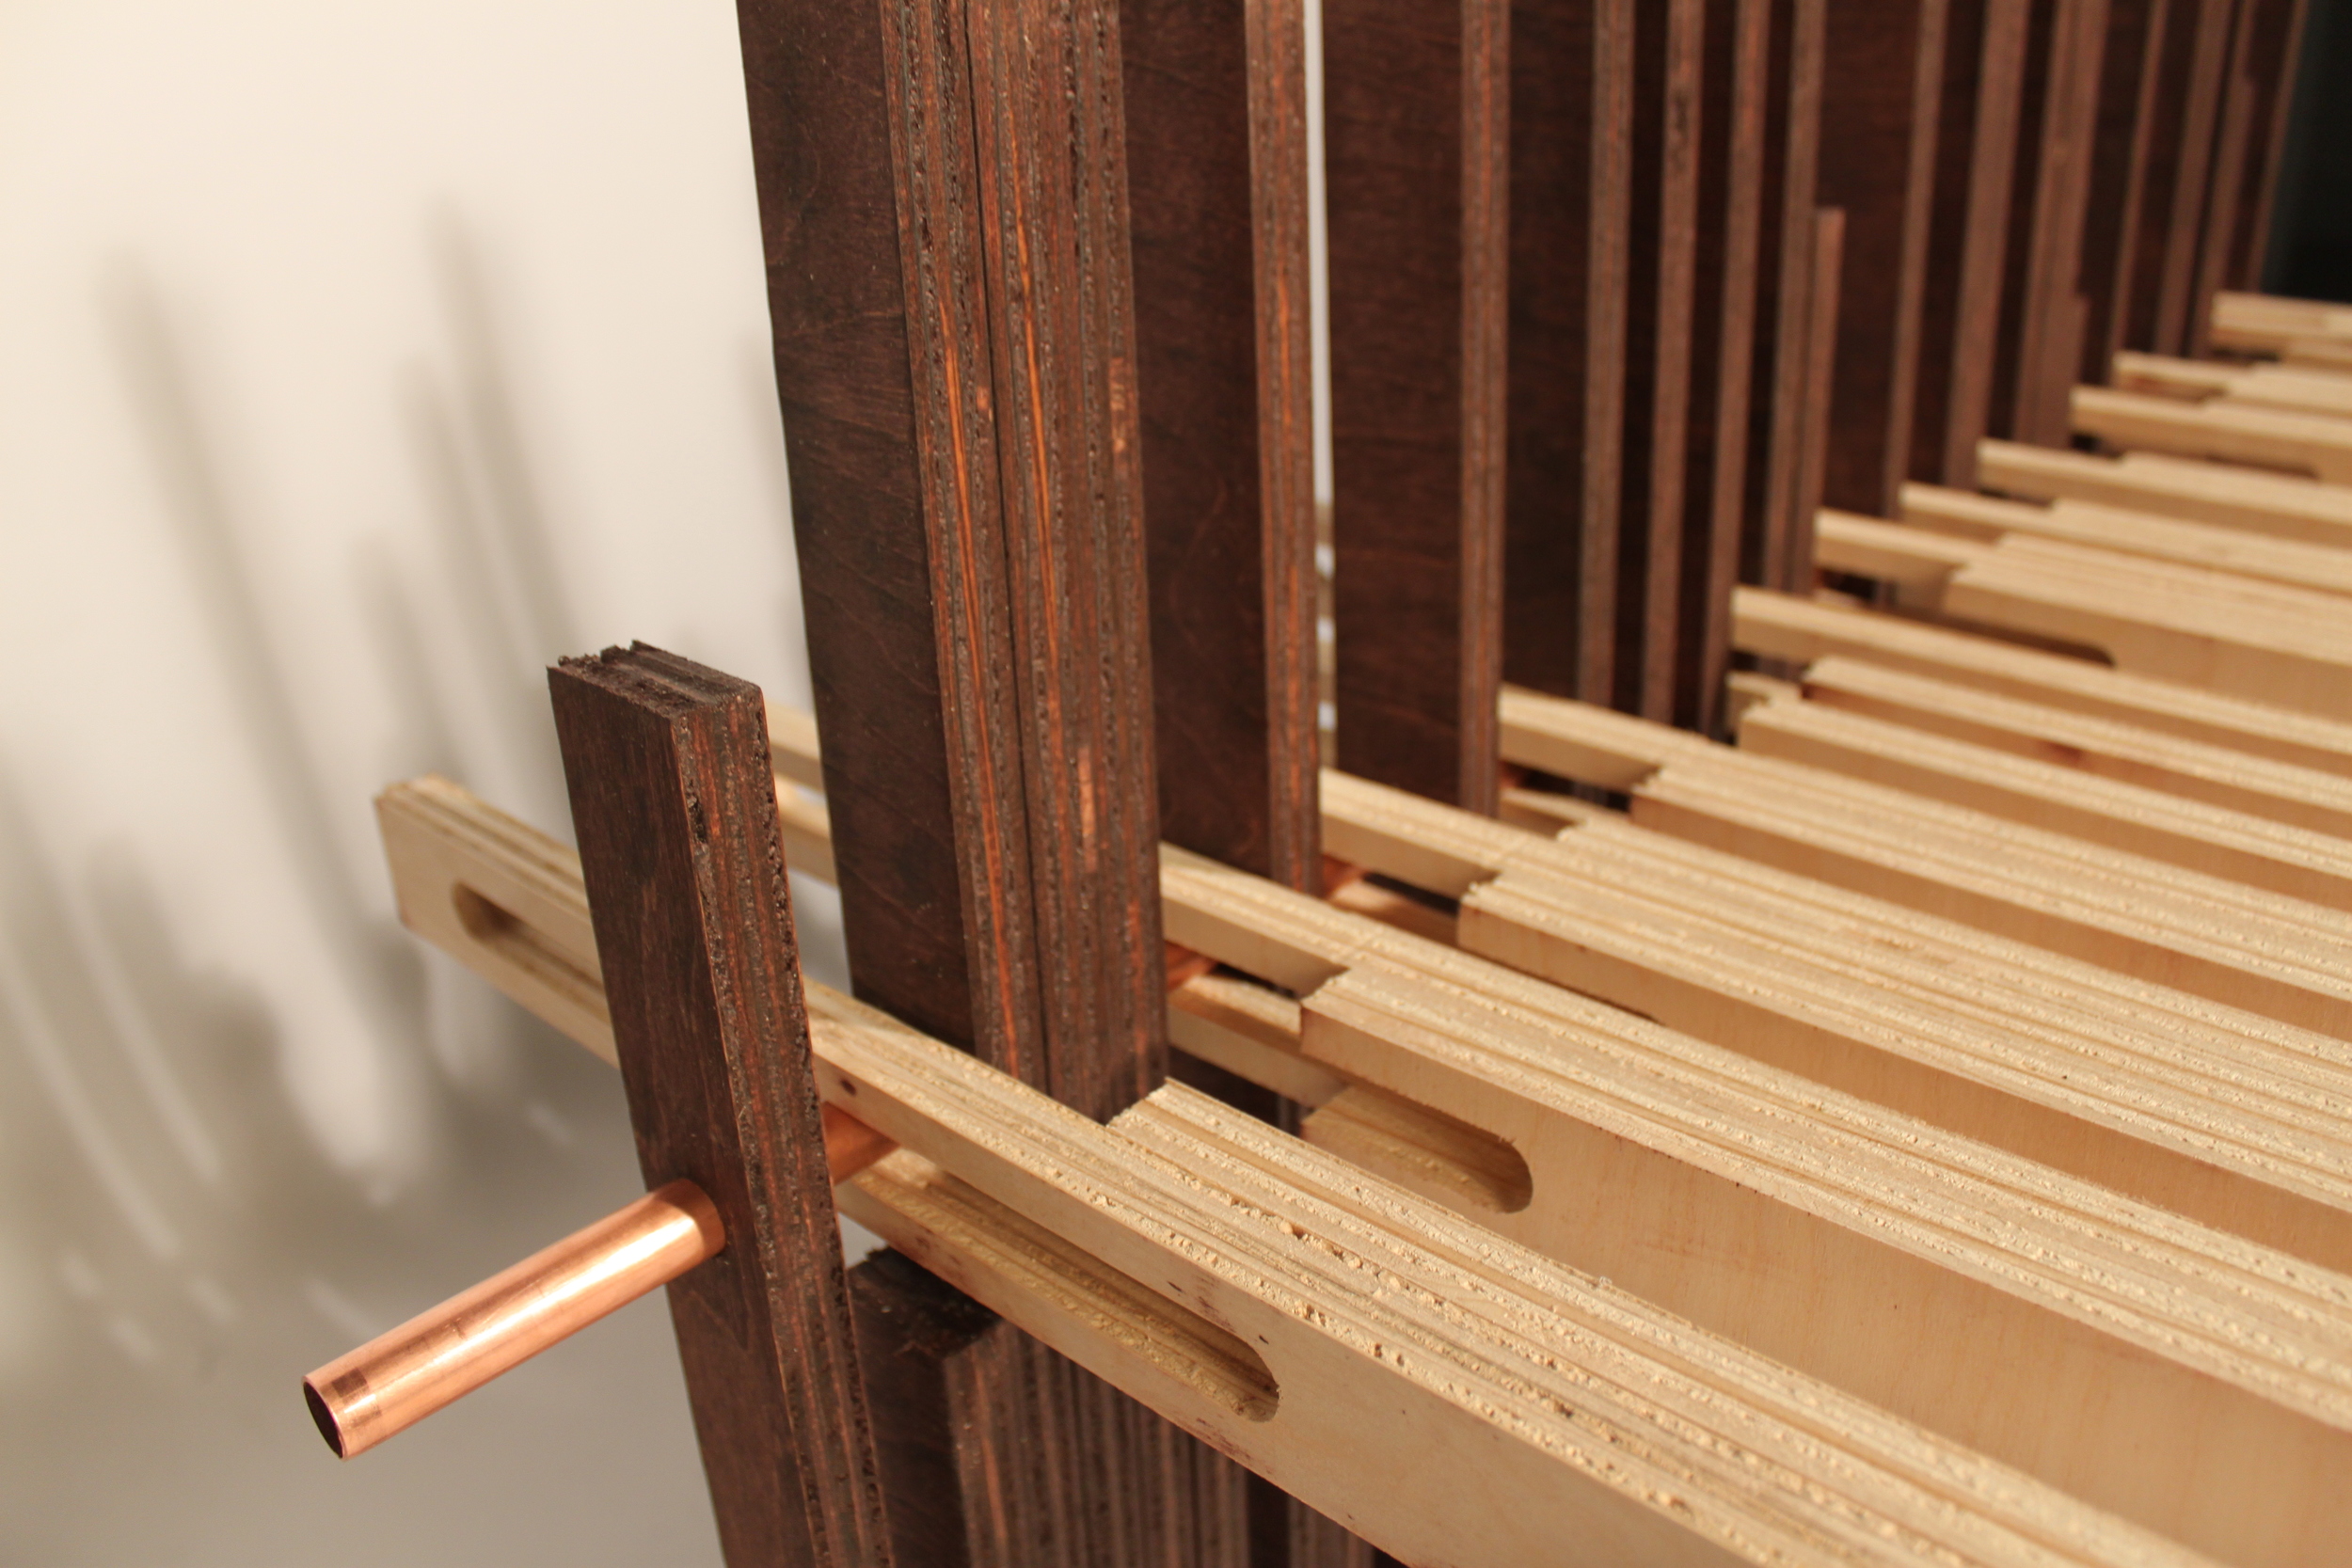
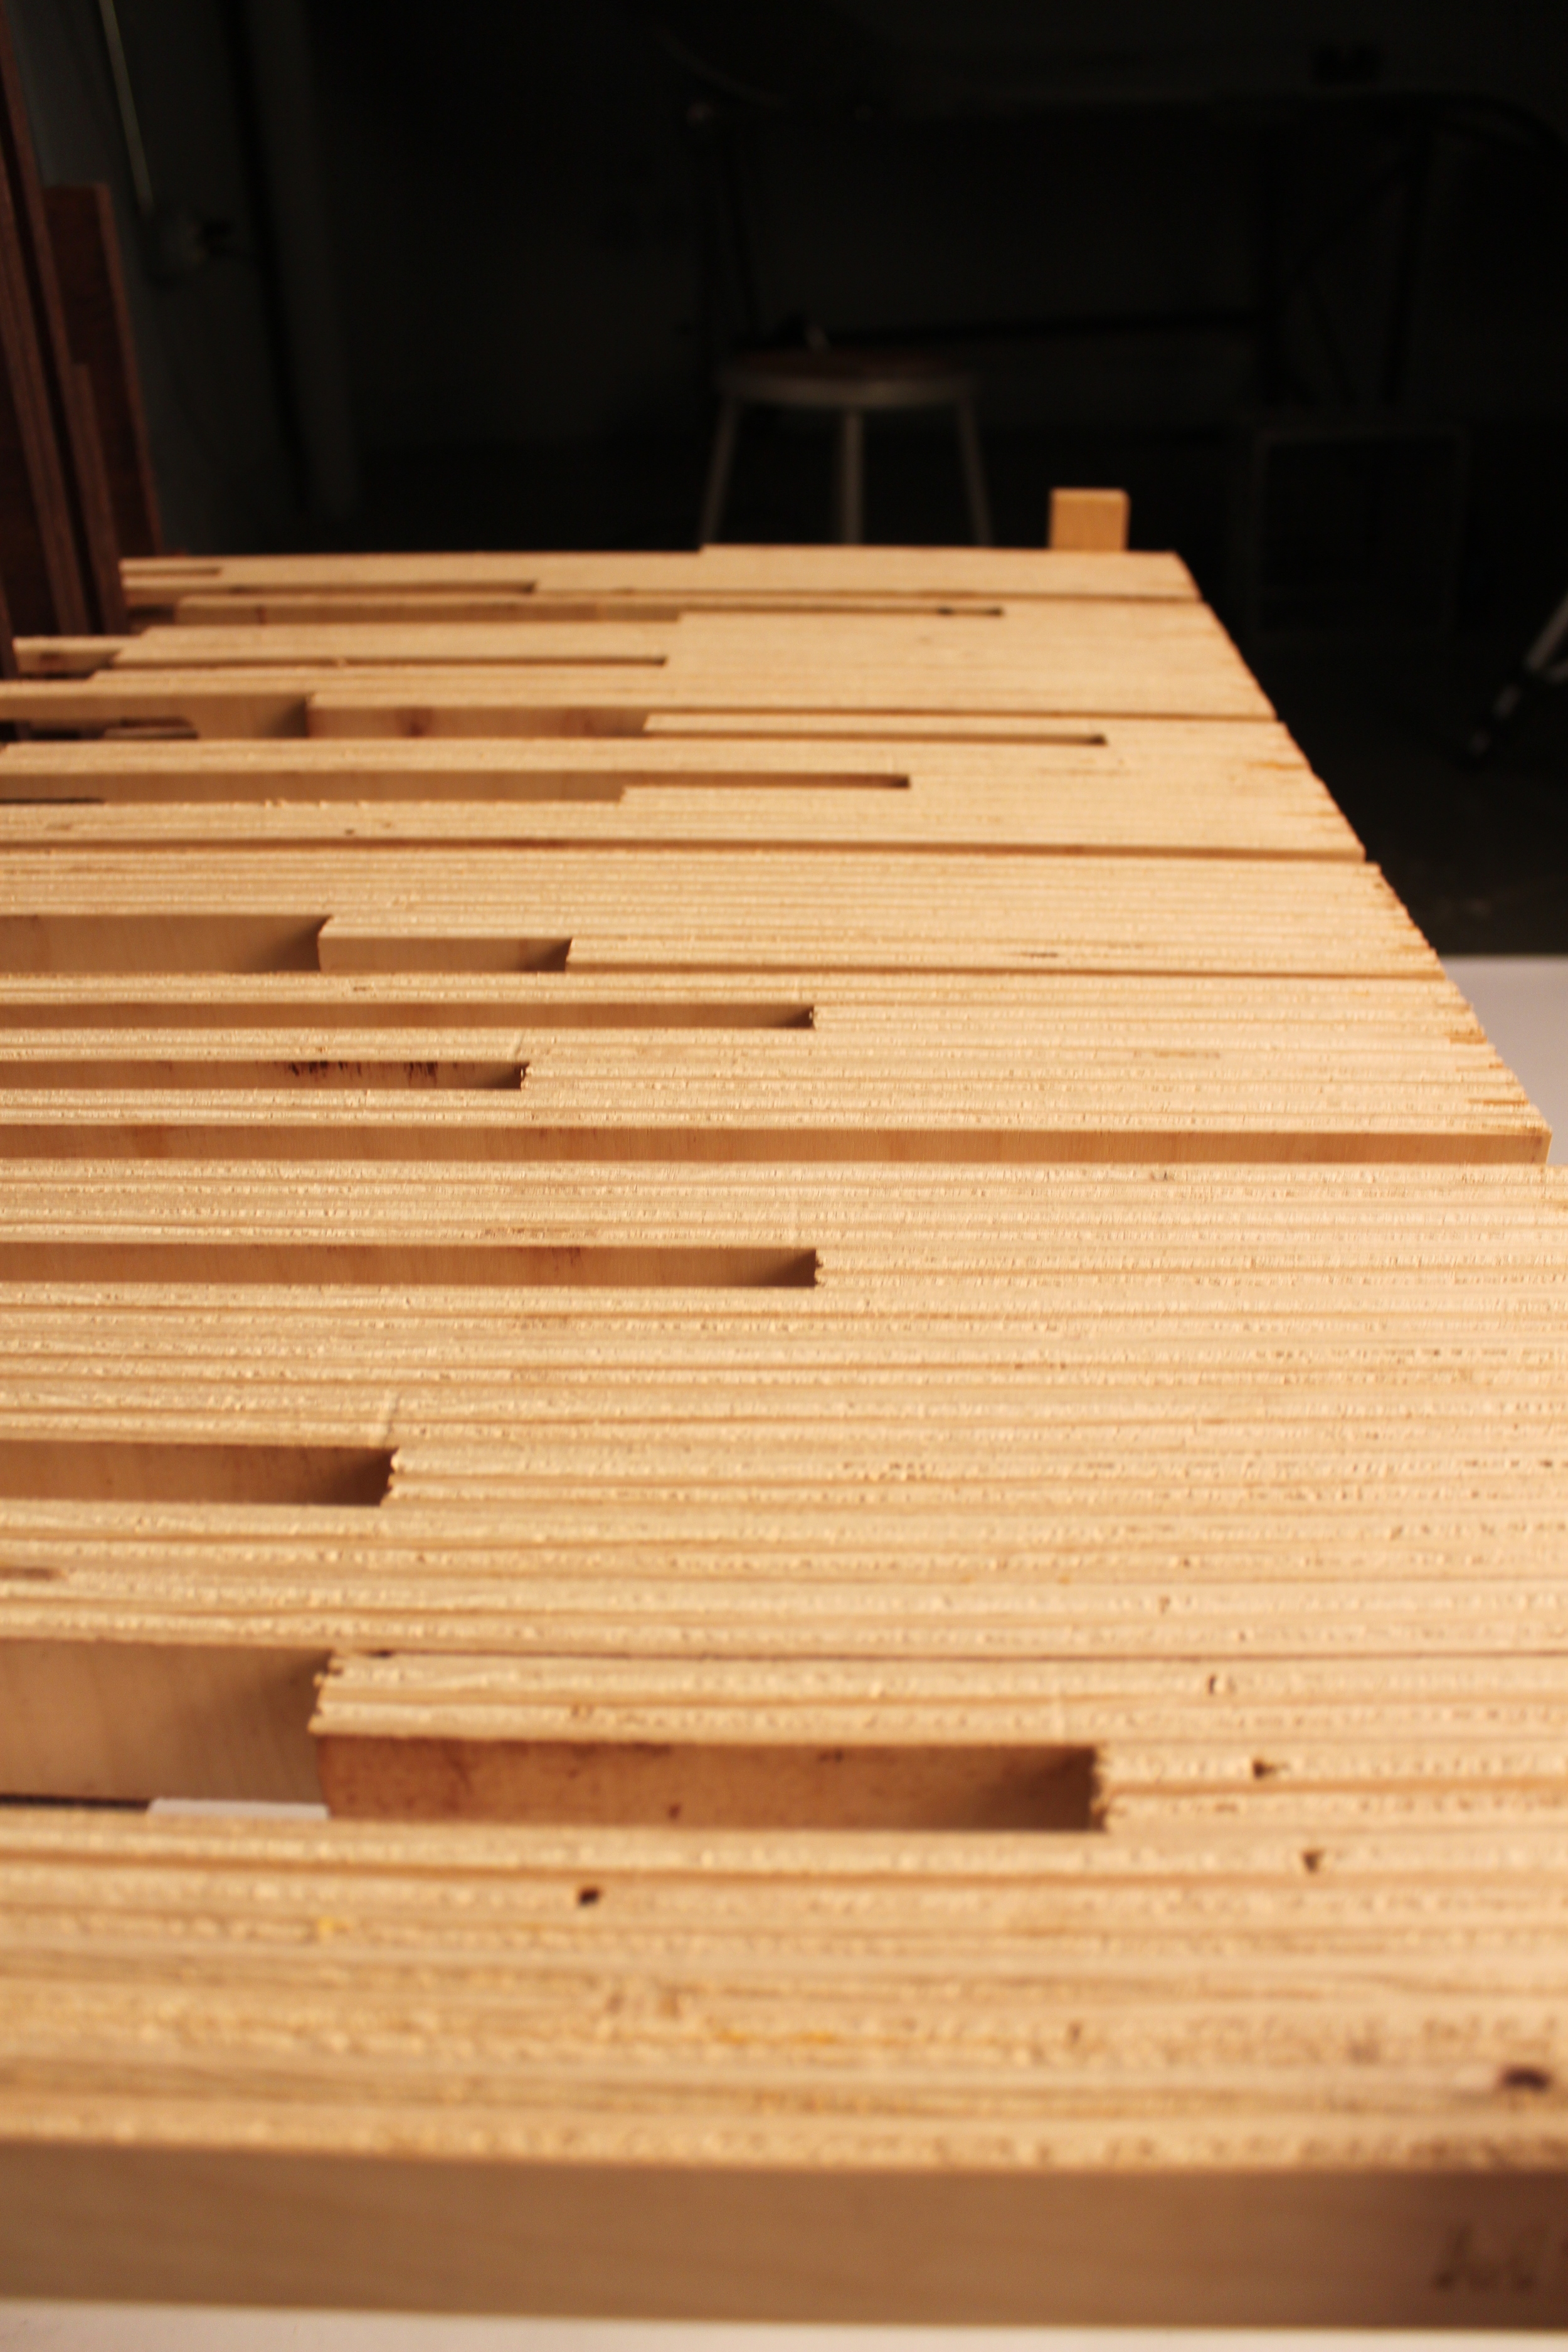
details documentation
horizontal screen
vertical table
human scale